

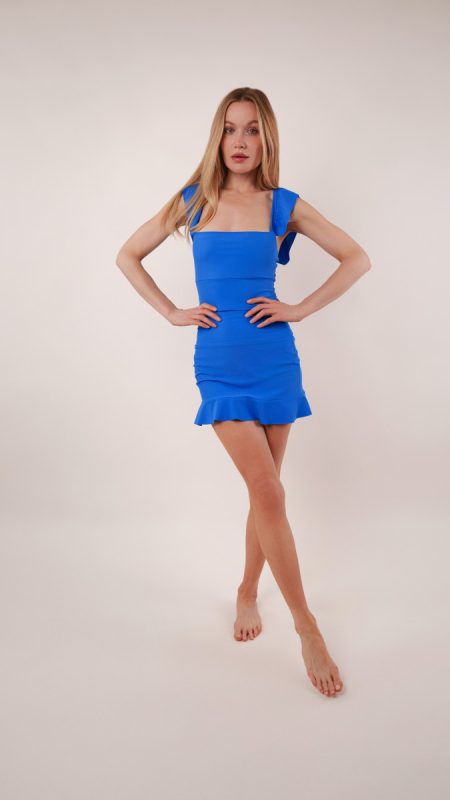
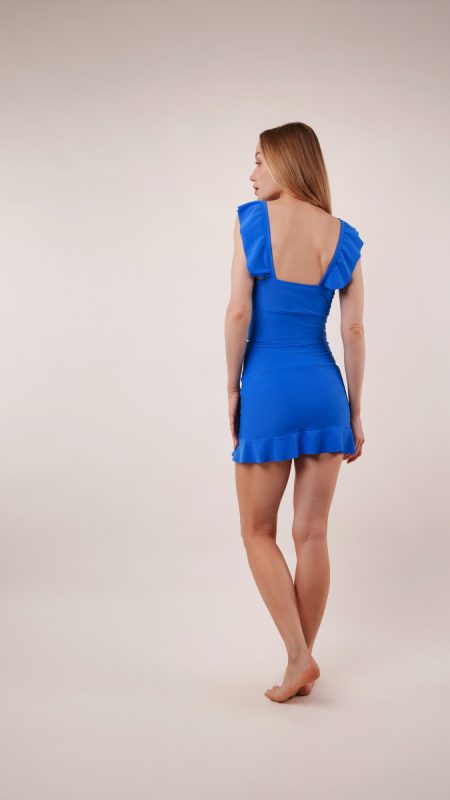
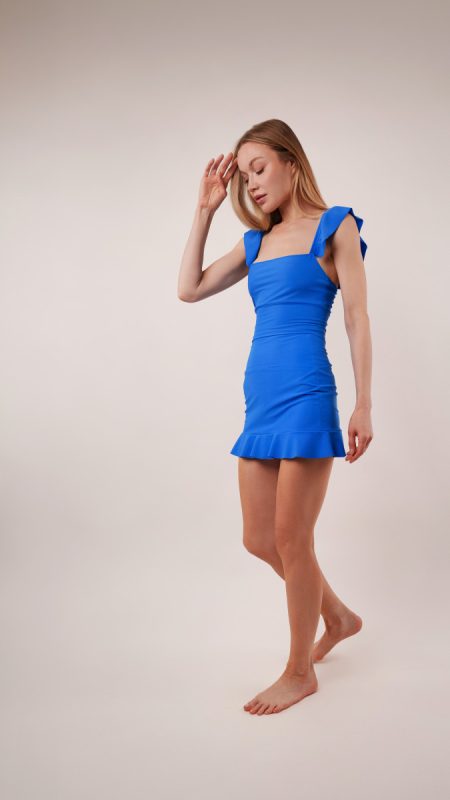
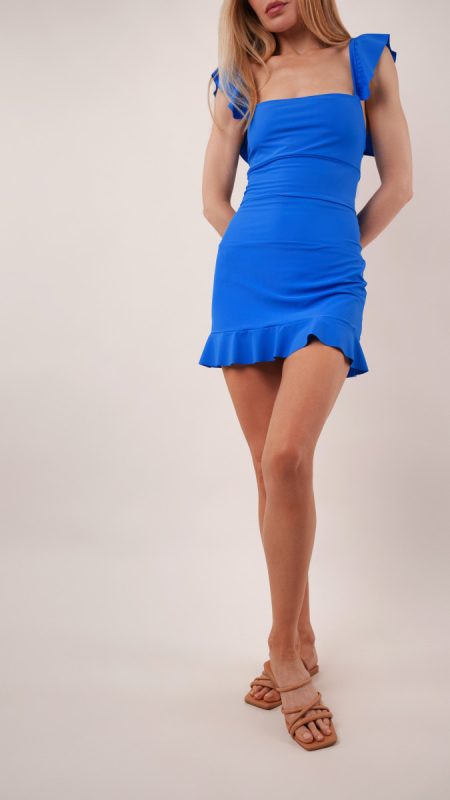
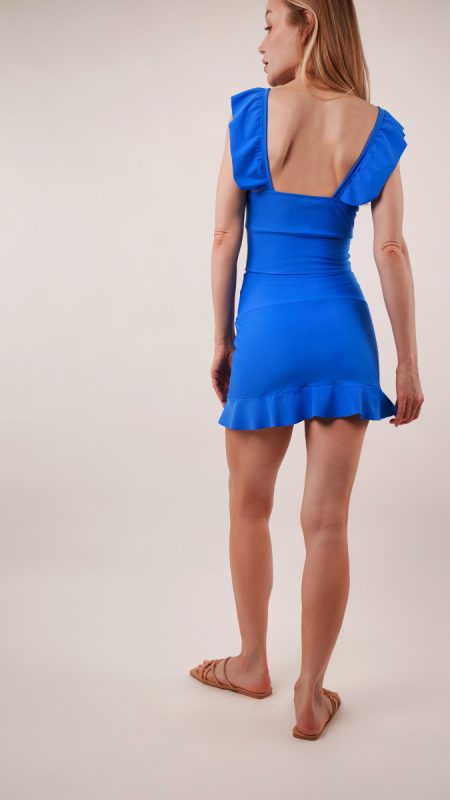
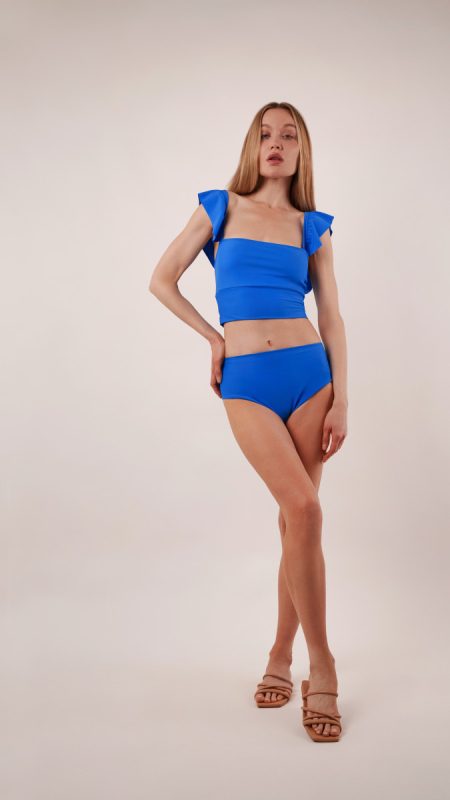
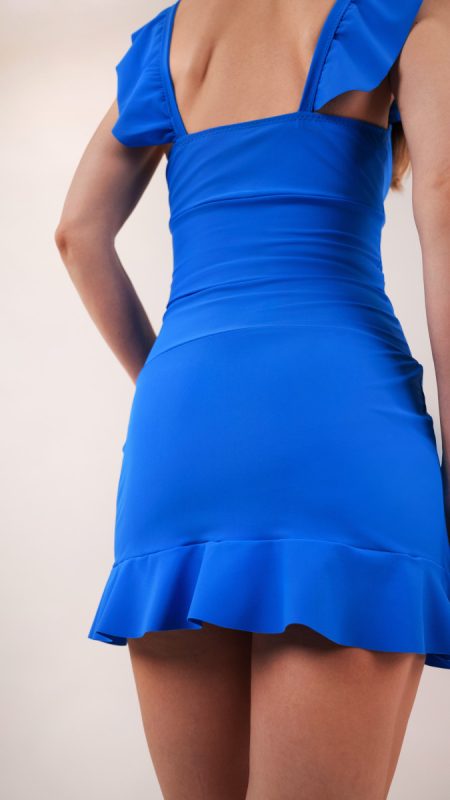
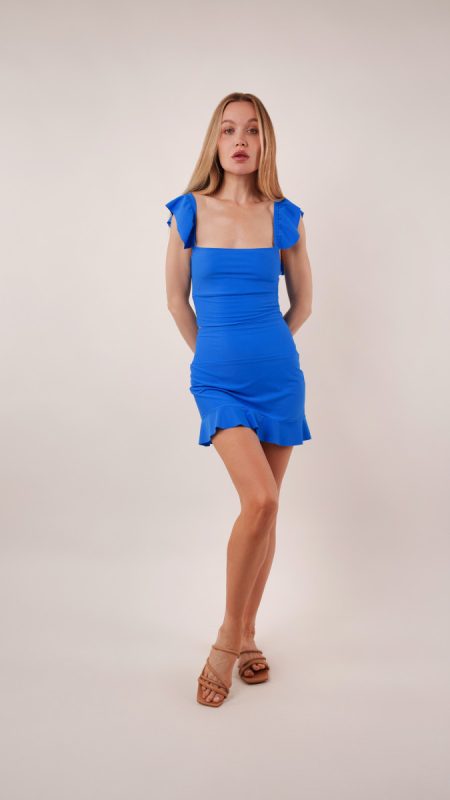
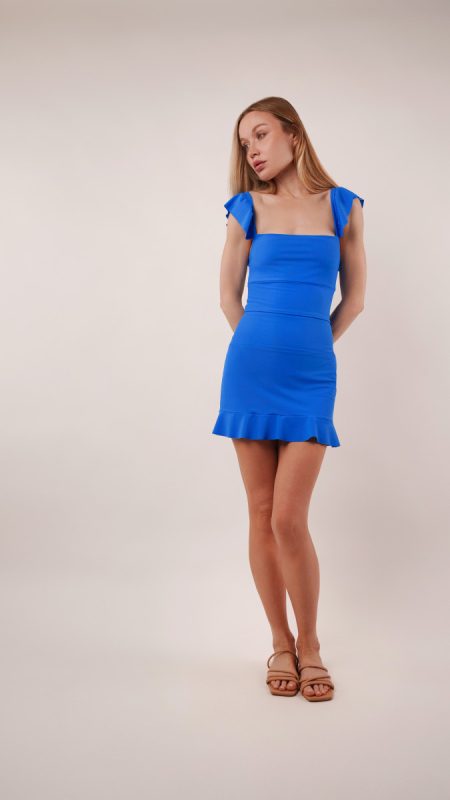
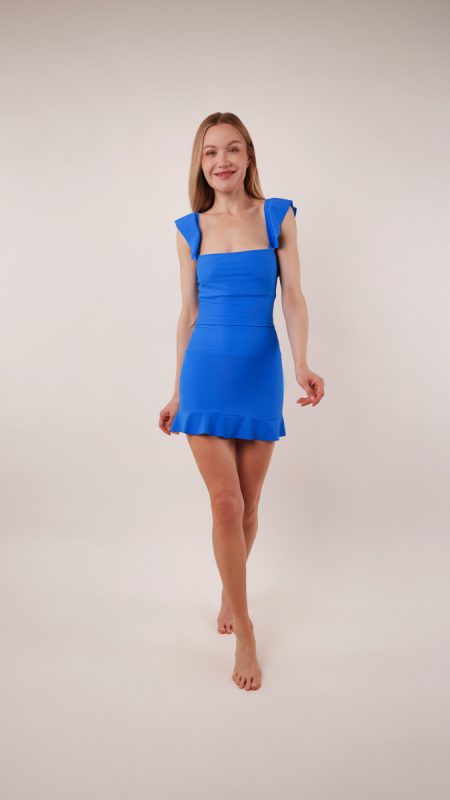
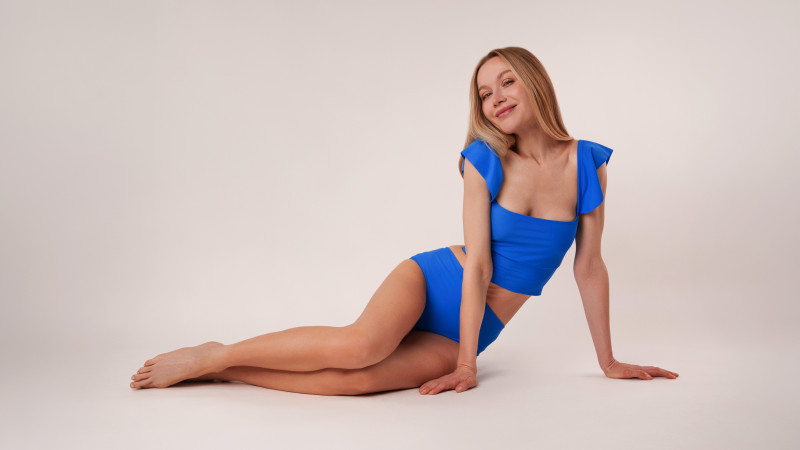
Meet your new summer sewing obsession: the Azure Tankini Skirt Set. This versatile three-piece pattern is designed to move with you from poolside lounging to beach boardwalk dinners without missing a beat. Made with Mood Fabrics’ gorgeous cerulean blue UV Protective Recycled Swimwear Tricot, this set combines comfort, support, and playful style in one look. Not a blue person? No problem. The Santorini Tricot Collection features over 30 vibrant shades, making it easy to customize your set to perfectly match your style.
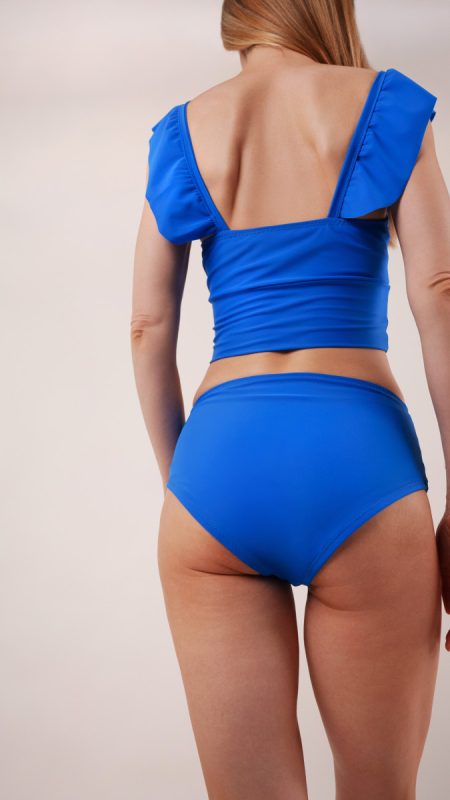
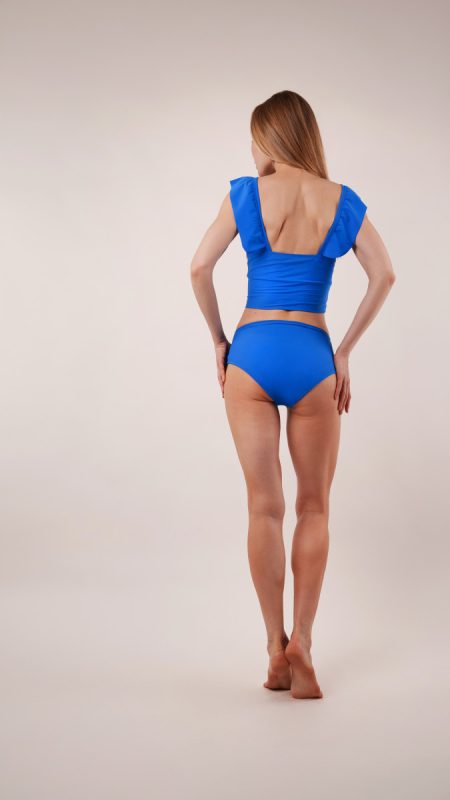
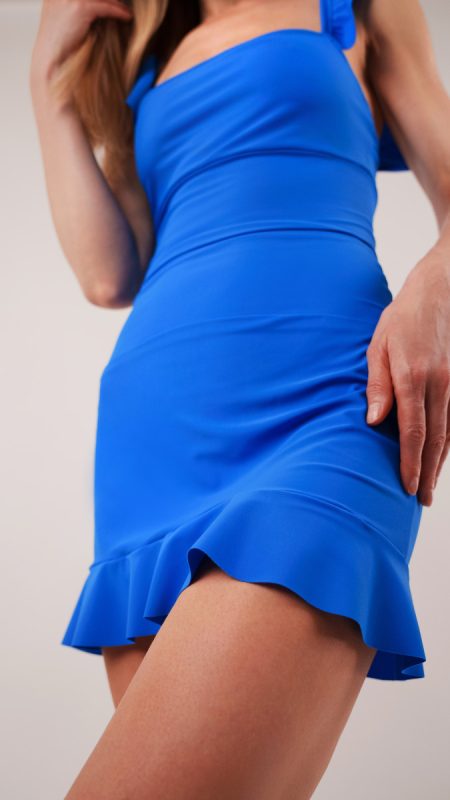
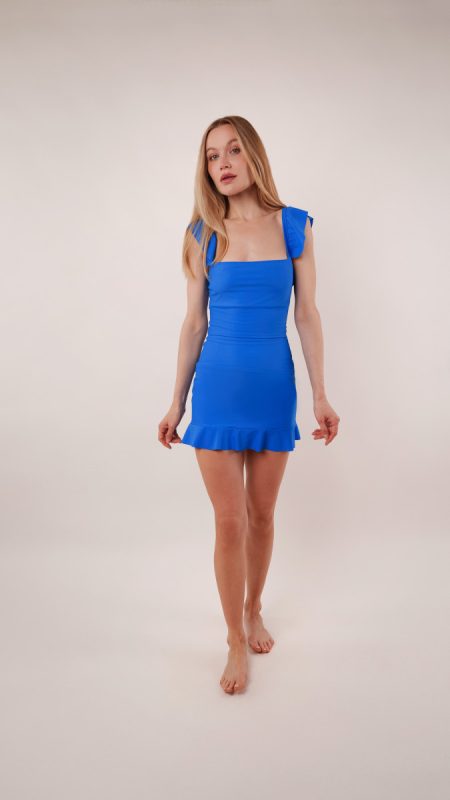
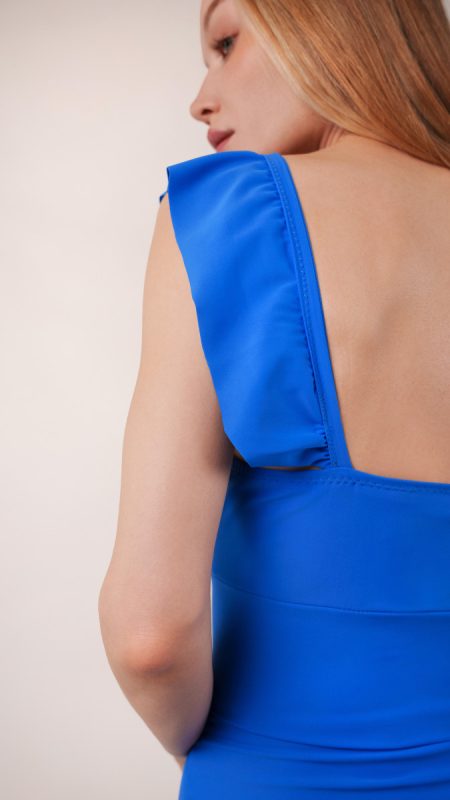
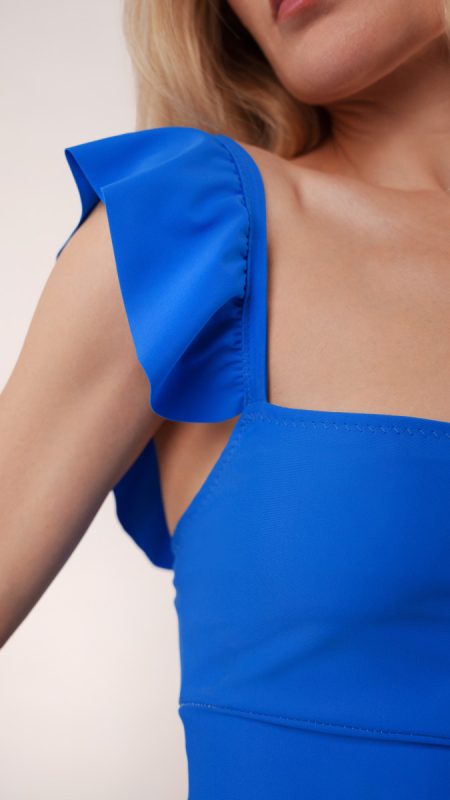
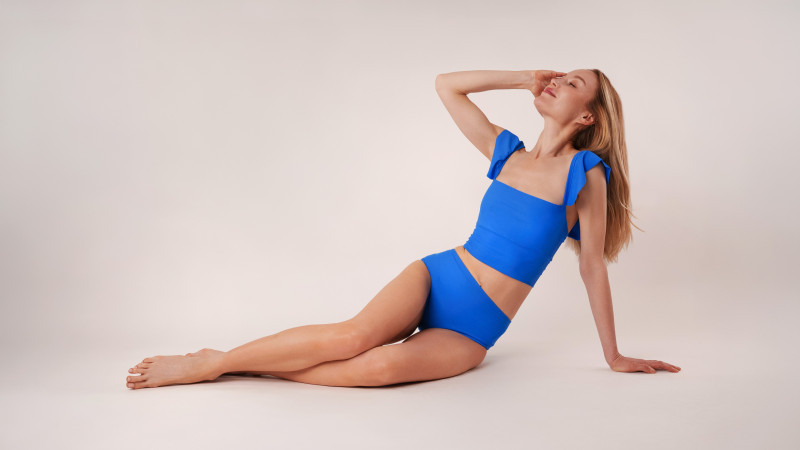
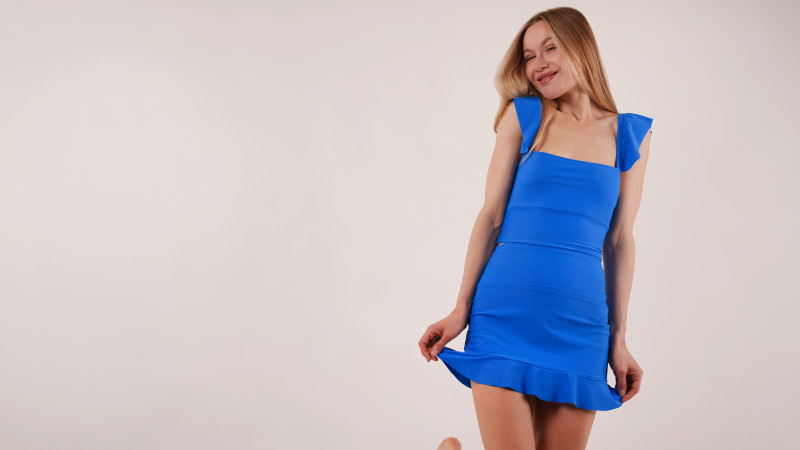
The Azure Tankini Skirt Set includes three separate pieces that can be worn together or completely mixed and matched. The tankini top features a secure, supportive fit with a wide underbust band that keeps everything comfortably in place while still feeling fun and feminine thanks to the flirty shoulder ruffles. The mid-rise bikini bottoms offer just the right amount of cheeky coverage, while the adorable ruffled mini skirt adds an extra layer for coverage both in and out of the water.
The best part? This pattern goes far beyond swimwear. Wear all three pieces together for a coordinated resort-ready look, style the bikini on its own for tanning days, or throw on the skirt with a different top for an easy summer outfit. You can even sew the top and skirt in a knit jersey instead of swim fabric to create an entirely new ready-to-wear set. From beachwear to streetwear, the Azure Tankini Skirt Set is ready for the summer when you are.
Essential Materials & Sizing Guide for the Azure Tankini Skirt Set
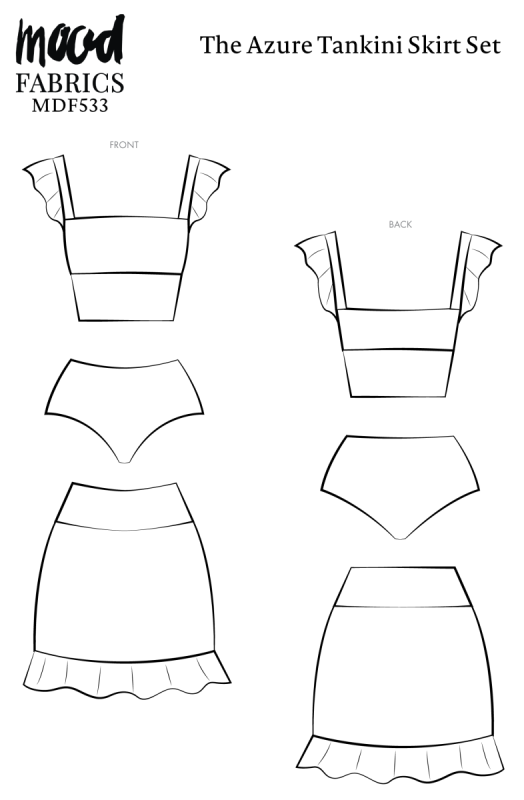
Continue reading for a breakdown of what knowledge and materials you need for creating your very own tankini set! We’ve got you covered with the recommended materials we used—if you want to follow along exactly—as well as a curated list of alternative fabric type recommendations if you want to customize your own version. The Azure Tankini Skirt Set free sewing pattern download includes technical drawings for seam and tankini set visibility, plus a size chart to help you find your perfect fit!
Purchase Products Used Below:
Quantities indicated are for sewing a size small* tankini set. Toggle the ‘SHOP THIS LOOK’ box to find quantity estimates for other sizes.
- 2 yards of Recycled Swimwear Tricot, UV Protective – Blue – Santorini Plus Collection
- 1 yard of Nude PowerNet Mesh – High Compression
- 1 each of Dritz Cotton Swimwear Elastic – 0.25″
- 2 each of Gutermann Sew All Thread 100m – 218 Wedgewood
- MDF533 – Azure Tankini Skirt Set Sewing Pattern (Free download below!)
Additional Products Used:
*Quick Tip! The ‘SHOP THIS LOOK’ box defaults to full-yard quantities. To order an exact half-yard quantity for any fabric, simply use the decrease quantity button (-) to subtract by the half yard. Then click “ADD TO CART” to add all materials to your cart. (Our system can only display full-yard quantities initially.)
Alternative Fabric Type Recommendations:
The Azure Tankini Skirt Set sewing pattern is best suited for light or medium weight stretch knit fashion fabrics. Explore other fabric types or colors from our featured collections for your tankini set with the links below.
Fabric Collections Used in this Post:
Download Your Free Sewing Pattern
Submit your name and email in the form below to receive the download link for the Azure Tankini Skirt Set free sewing pattern directly in your inbox. Mood Sewciety Patterns will send your free download link via email with the subject line: ‘Your Free Download from Mood Sewciety – The Azure Tankini Skirt Set’ (in PDF format for A4 and letter-size printing).
© MoodFabrics.com / MoodSewciety.com – Mass production, resale, or distribution of this pattern in any form is strictly prohibited.
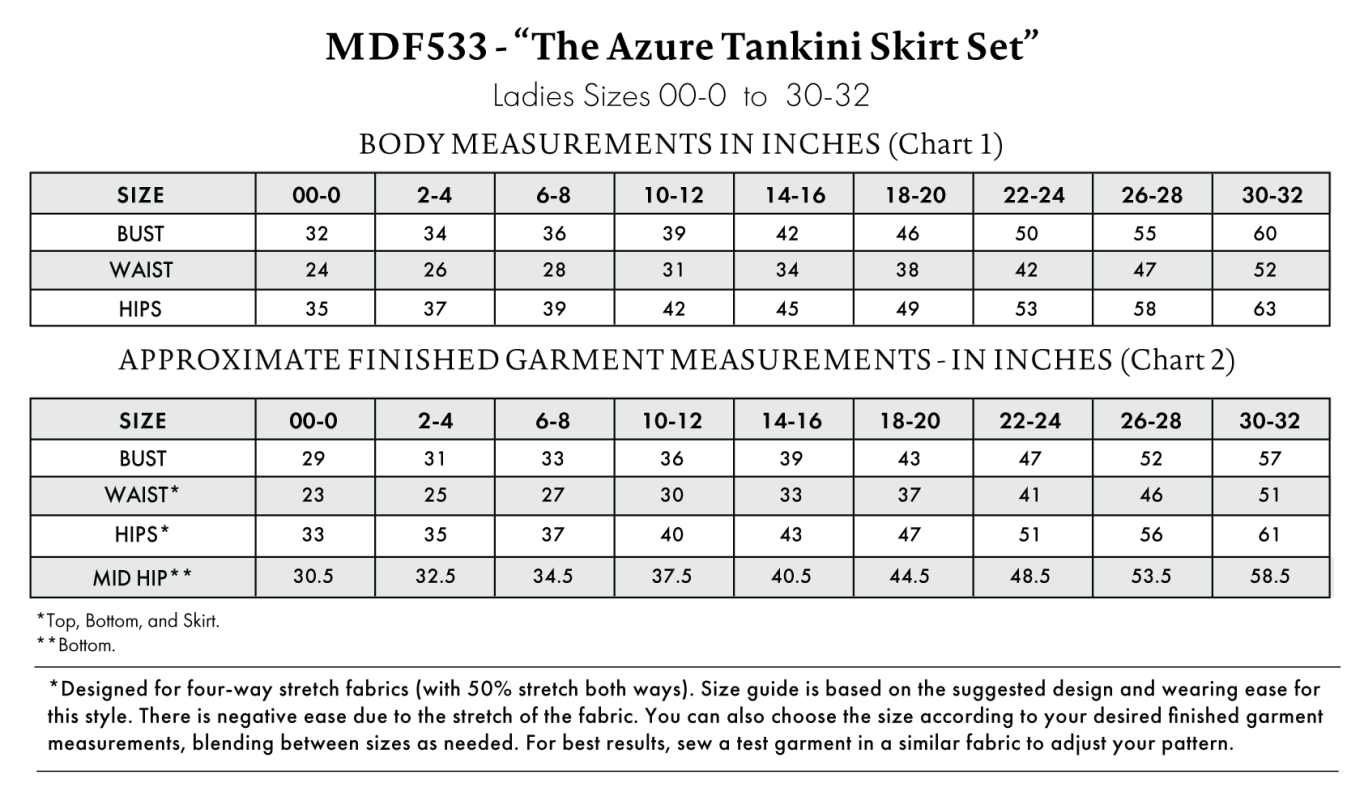
Find Your Perfect Fit
The Azure Tankini Skirt Set Sizing Guide is based on the suggested design & wearing ease for this style. You can also choose the size according to your desired finished garment measurements, blending between sizes as needed. Measure the printed patterns to make sure the dimensions are according to the desired fitting and adjust if needed before cutting the fabric. For best results, sew a test garment in a similar fabric to adjust your pattern.
Measurements may vary after adjustments. If using non-stretch fabrics, reference the approximate finished garment measurements chart to choose your size.
Note: Always read all the instructions before cutting the fabric!
How to Sew The Azure Tankini Skirt Set
The instructions provided below are designed to guide you through sewing the Azure Tankini Skirt Set from start to finish.
3 Tips for Sewing with Tricot
⇒ Make sure to switch out the needle on your sewing machine for a ballpoint needle, which is made for stretch fabrics.
⇒ Use a rotary cutter and self-healing cutting mat to cut out the pattern pieces. It will prevent the fabric from moving around as much as you’re cutting and will ensure your pattern pieces are symmetrical.
⇒ Use a zigzag stitch to connect ALL your pieces together. This will allow the fabric to stretch with you without popping seams open. Alternatively, you can use the straight stretch stitch on your machine, which is the stitch that looks like 3 straight stitches all lined up next to each other.
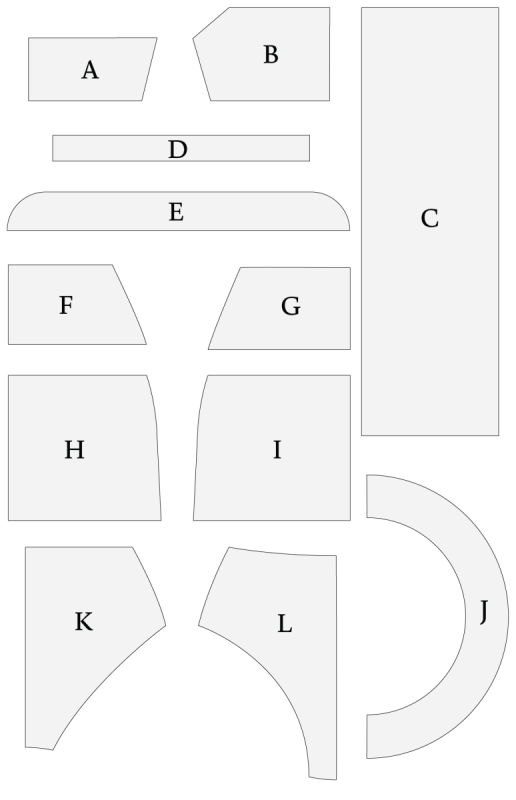
Pattern Pieces & Fabric Cuts Needed
- (A) TOP BACK
- Fabric – Cut 1 on Fold
- Lining – Cut 1 on Fold
- (B) TOP FRONT
- Fabric – Cut 1 on Fold
- Lining – Cut 1 on Fold
- (C) TOP WAIST PANEL
- Fabric – Cut 1
- (D) SHOULDER STRAPS
- Fabric – Cut 2
- (E) SHOULDER RUFFLES
- Fabric – Cut 2
- (F) SKIRT BACK WAISTBAND
- Fabric – Cut 2 on Fold
- (G) SKIRT FRONT WAISTBAND
- Fabric – Cut 2 on Fold
- (H) SKIRT BACK
- Fabric – Cut 1 on Fold
- (I) SKIRT FRONT
- Fabric – Cut 1 on Fold
- (J) SKIRT RUFFLE
- Fabric – Cut 1 on Fold
- (K) BOTTOM BACK
- Fabric – Cut 1 on Fold
- Lining – Cut 1 on Fold
- (L) BOTTOM FRONT
- Fabric – Cut 1 on Fold
- Lining – Cut 1 on Fold
Sew with a 1/2″ seam allowance for all seams unless otherwise specified.
Step 1
SKIRT SIDE SEAMS
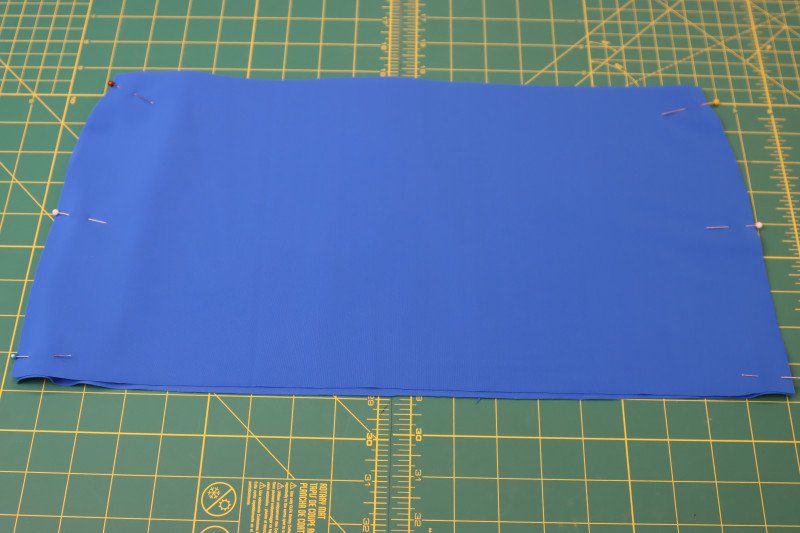
- Place the front and back skirt pieces right sides together.
- Pin and sew the skirt side seams with a straight stretch stitch.
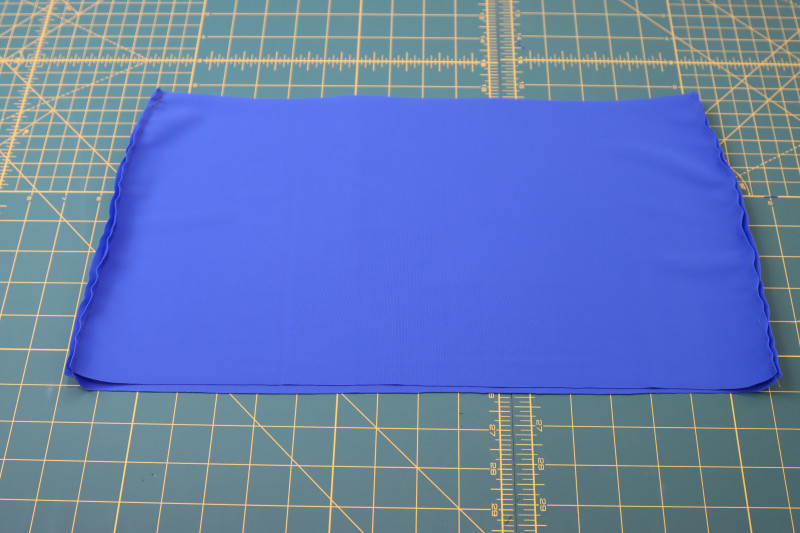
Step 2
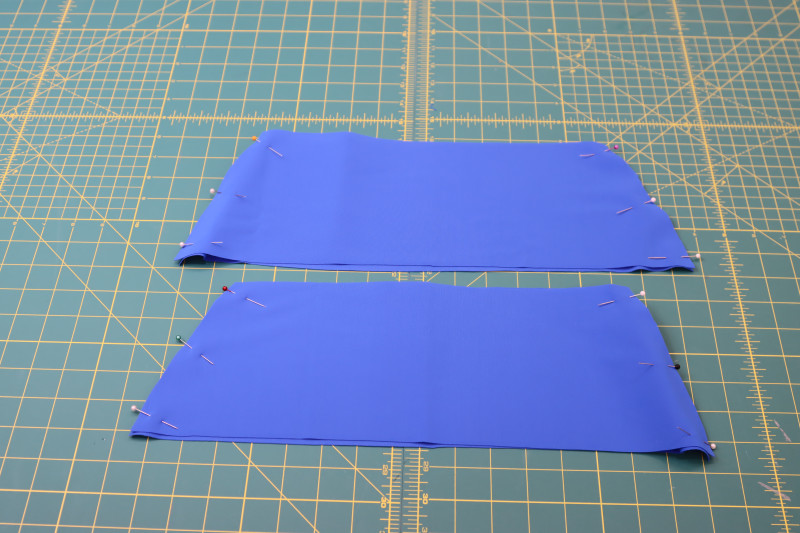
WAISTBAND
- Place the front waistband pieces on top of the back waistband pieces right sides together.
- Pin the front and back waistband pieces together at the side seams.
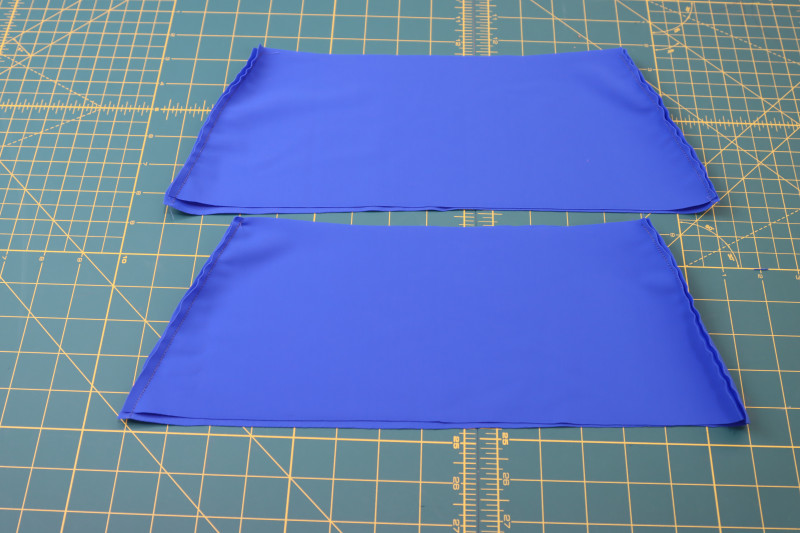
- Sew the waistband side seams.
- Flip one of the waistband pieces right sides out and place it right sides together with the other waistband piece.
- Pin and sew the waistlines of the two waistband pieces together.
- Flip the waistband right sides out.
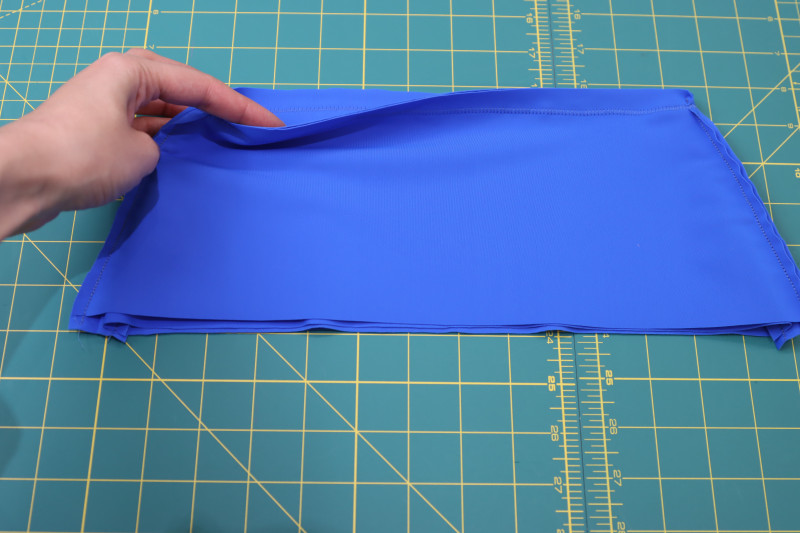
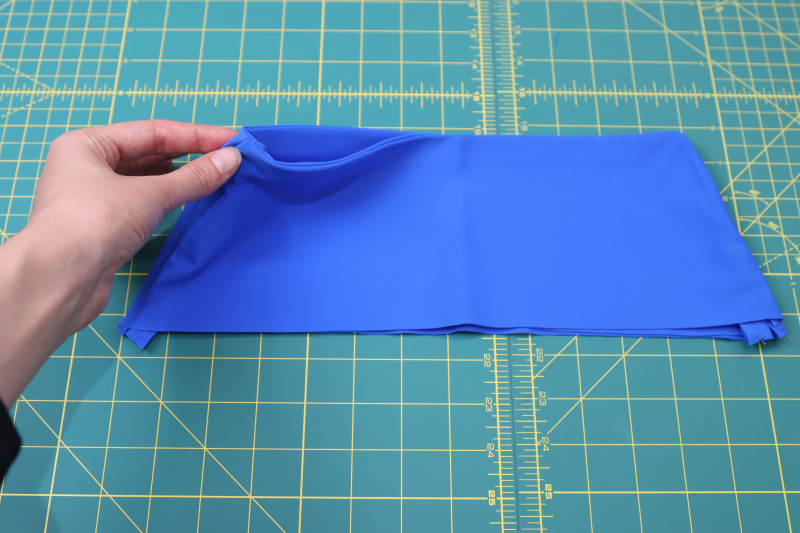
Step 3
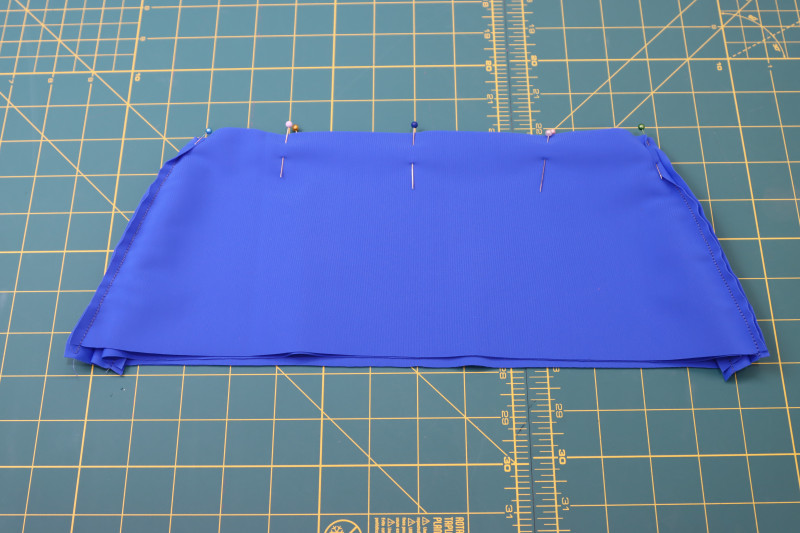
ATTACH WAISTBAND
- Pin the waistband to the right side of the skirt waistline.
- Sew along the pins to attach the waistband to the skirt waistline.
- Flip the waistband up and out.
- Flip the skirt right sides out.
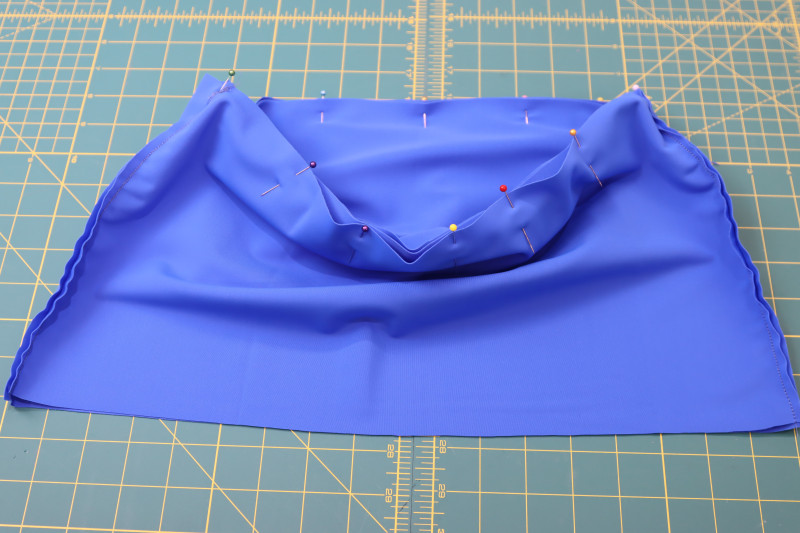
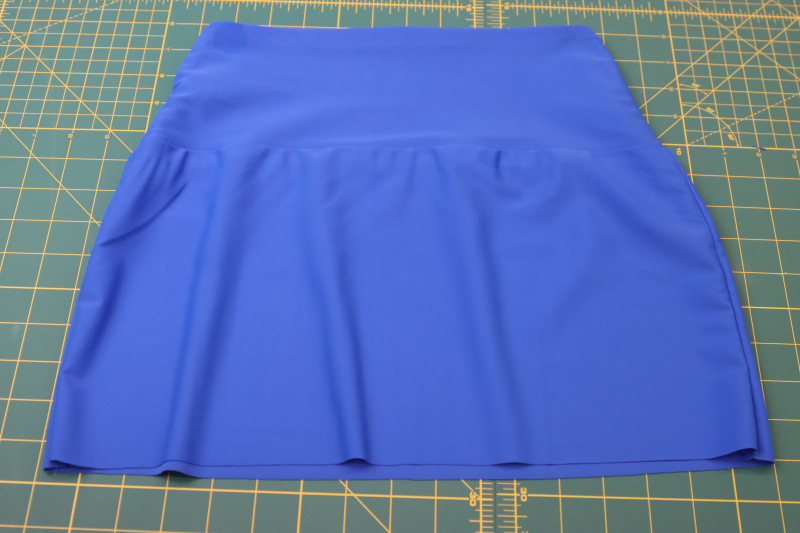
Step 4
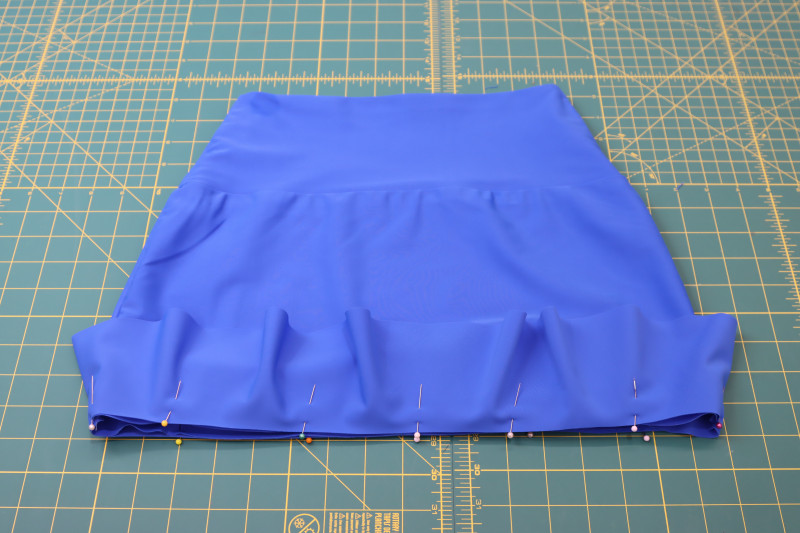
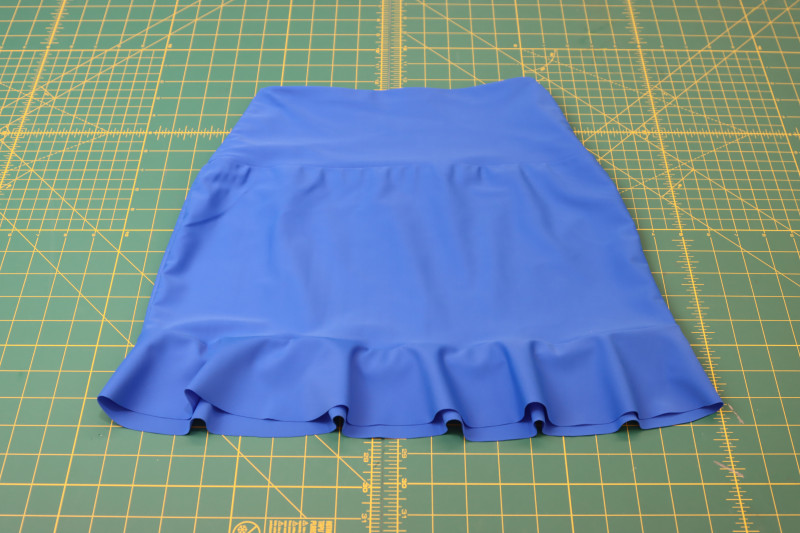
ATTACH RUFFLE
- Evenly pin the skirt ruffle right sides together with the hem of the skirt.
- Sew along the pins.
- Flip the skirt ruffle down and the skirt right sides out. Leave the hem of the skirt ruffle raw.
Step 5
SIDE & CROTCH SEAMS
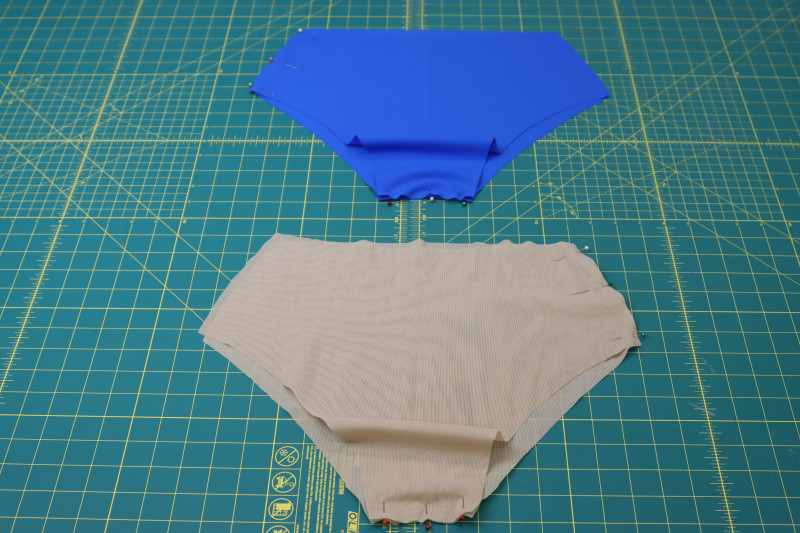
- Before starting the bottoms: Keep in mind that the lining is optional. If you’d like the bikini to be unlined, you can opt to add a gusset and finish the raw edges of the bikini the same way they are finished in the Antikythera One-Shoulder Bikini sewing pattern. Otherwise, this is how to make the bottoms fully lined.
- Place the front bikini bottom piece right sides together with the back bikini bottom piece (for both the main fabric and the lining).
- Pin the crotch seams of both the bikini bottom lining and the bikini bottom main fabric.
- Pin one of the side seams on the main fabric bikini bottom, and whichever side you choose, pin the opposite side seam of the lining.
- Sew along the pins.
Step 6
LEG HOLES
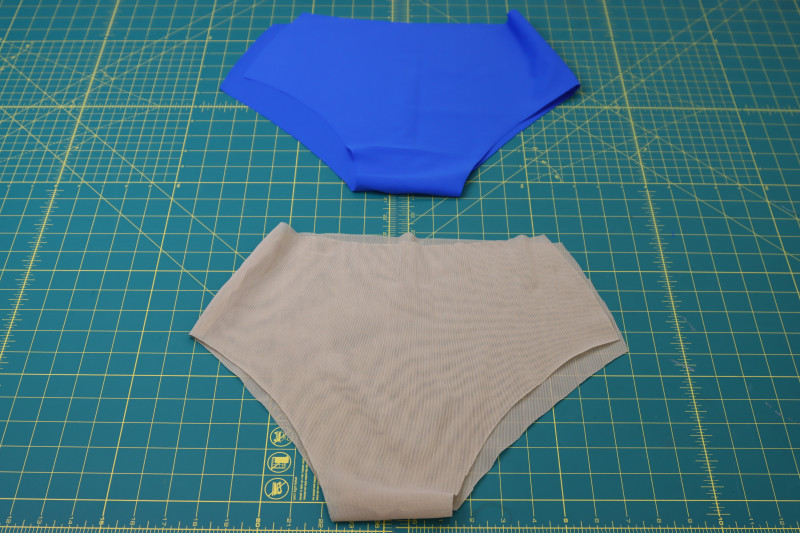
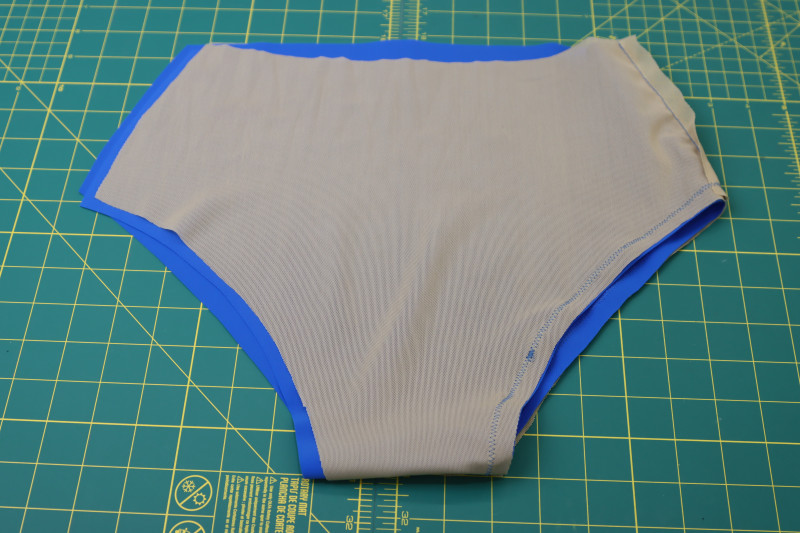
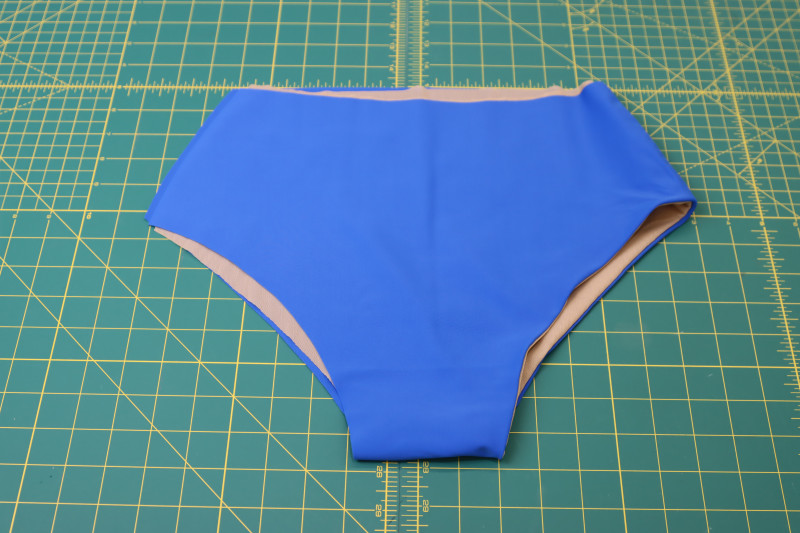
- Place the lining bikini bottoms right sides together with the main fabric bikini bottoms.
- Pin the lining to the main fabric around the leg hole.
- Sew around the leg hole.
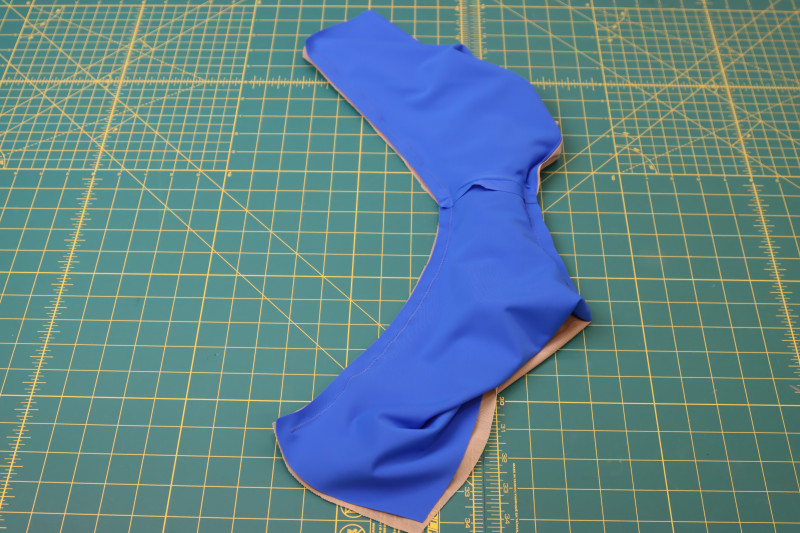
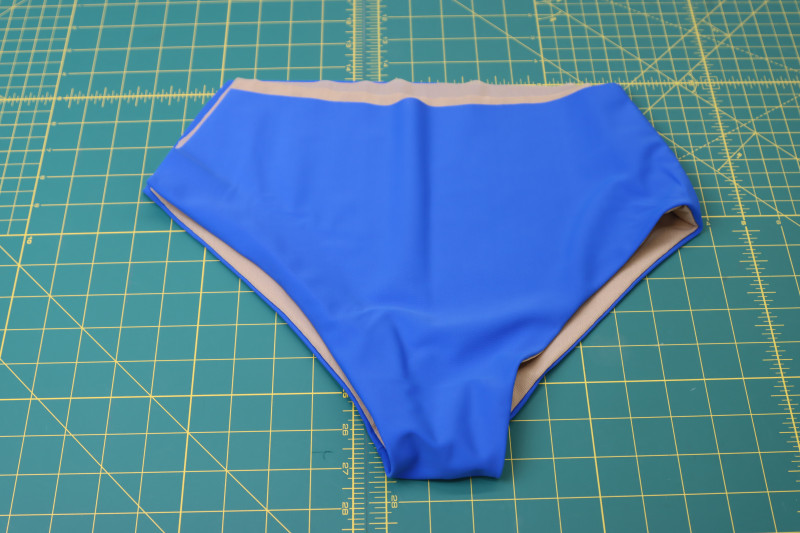
- Flip the bikini bottoms right sides out.
- Use the burrito method to close the other leg hole.
- Press the leg hole openings so that the lining doesn’t show from the outside of the bikini.
Step 7
CLOSE SIDE SEAM
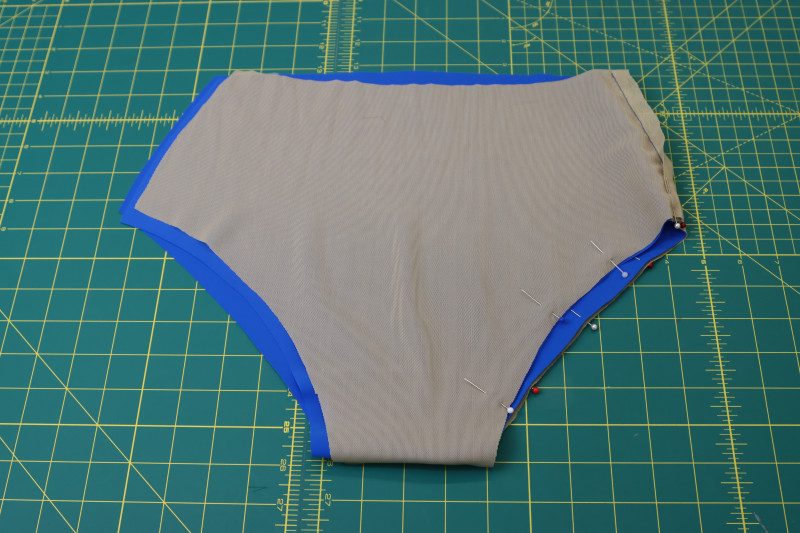
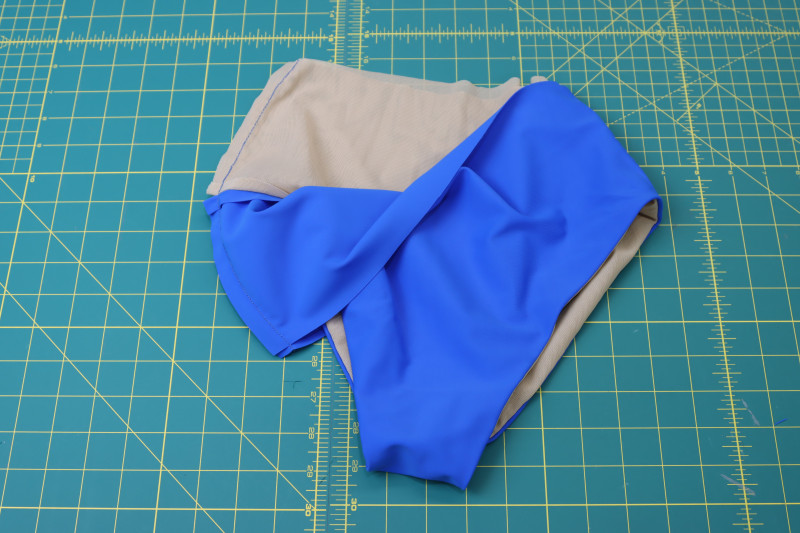
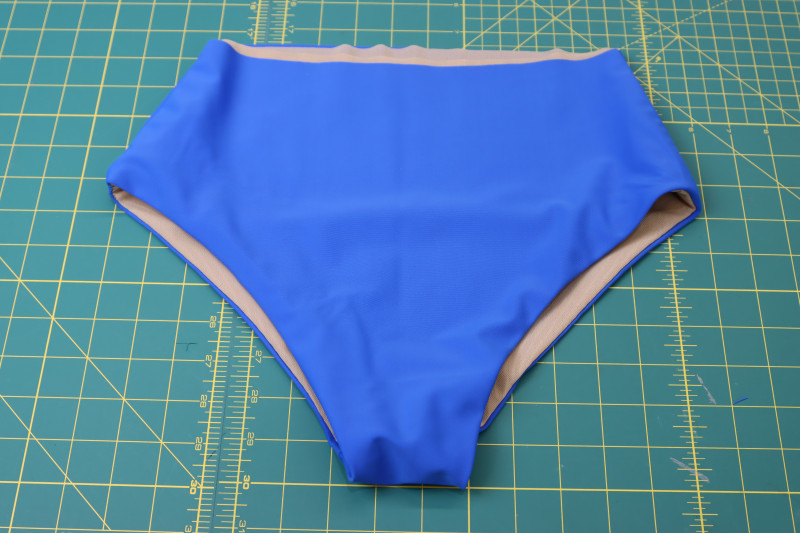
- Open up the unsewn side seam of the bikini bottoms and place the main fabric right sides together with itself, the lining right sides together with itself, and the seam at the hip of the leg opening lined up between both layers.
- Pin and sew the open side seam.
- Flip the bikini bottoms right sides out.
Step 8
CLOSE WAIST
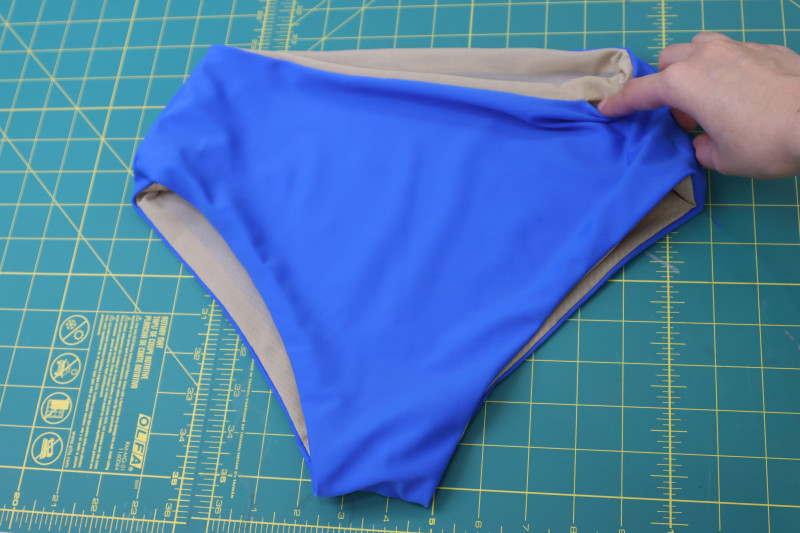
- Sew the main fabric to the lining at the waistline, right sides together, except for a small gap through which you will need to flip the bikini bottoms right sides out.
- Flip the bikini bottoms right sides out through the hole in the waistline.
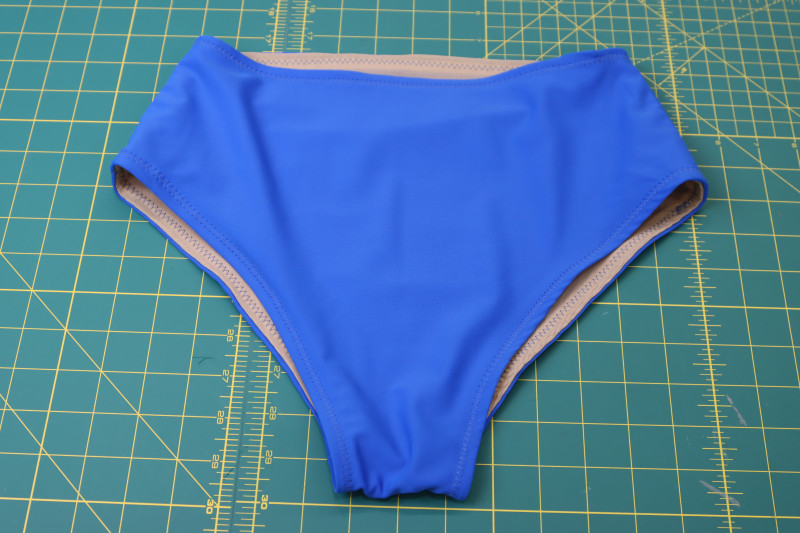
- Press the waistline.
- Sew a wide and long zigzag stitch along both leg openings and the waistline to ensure the lining does not show from the outside of the bathing suit.
Step 9
TOP SIDE SEAMS
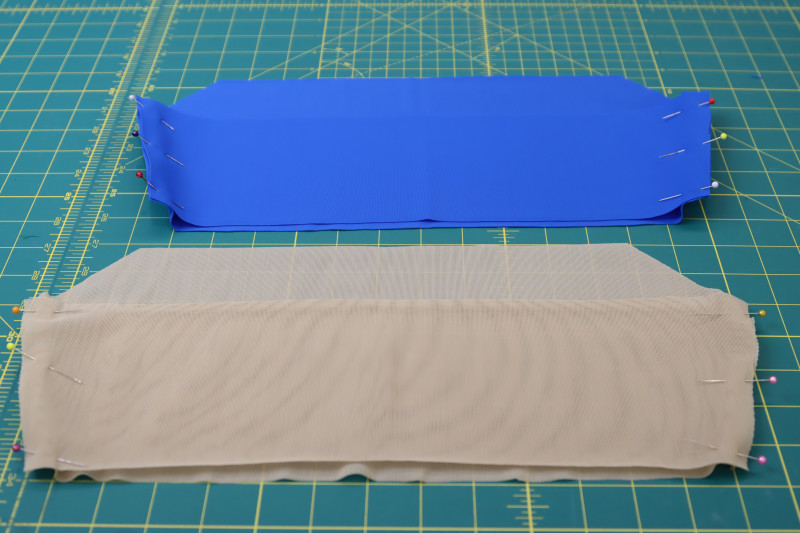
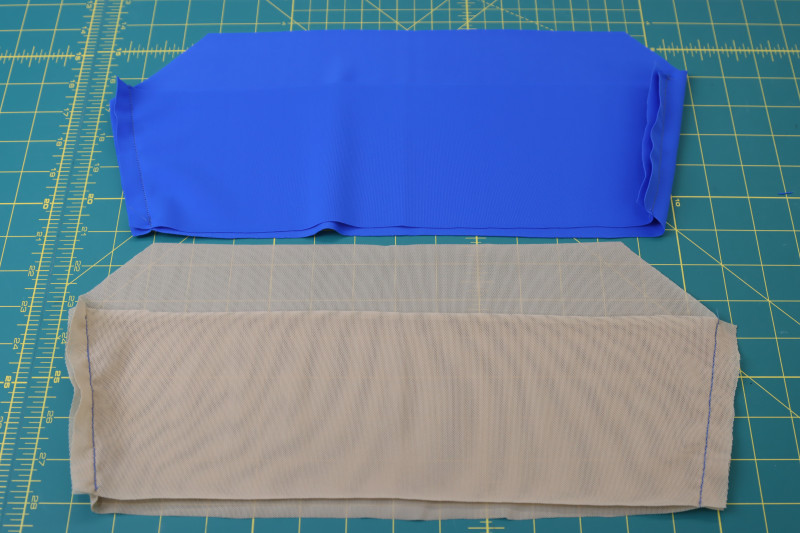
- Place the back top pieces right sides together with the front top pieces (for both the main fabric and the lining).
- Pin and sew the top side seams with a straight stretch stitch.
Step 10
STRAPS
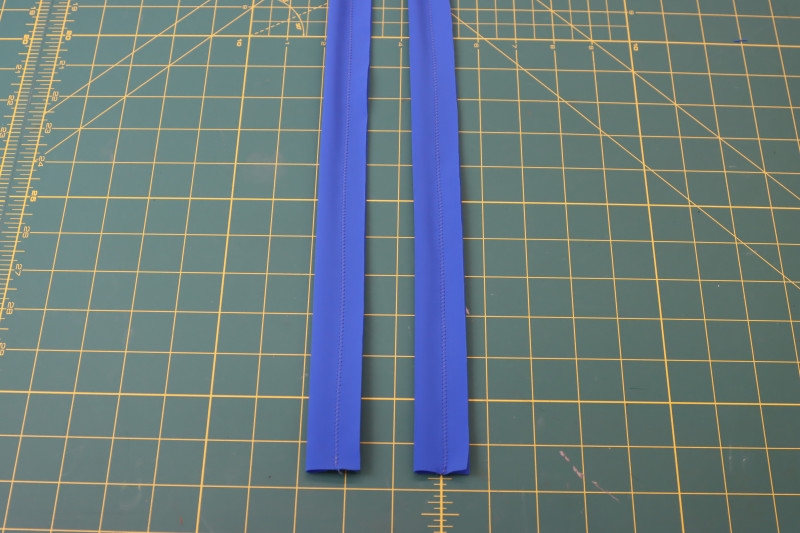
- Fold the straps longways right sides together.
- Sew the straps right sides together with a zigzag stitch.
- Trim the seam allowance to ¼ inch.
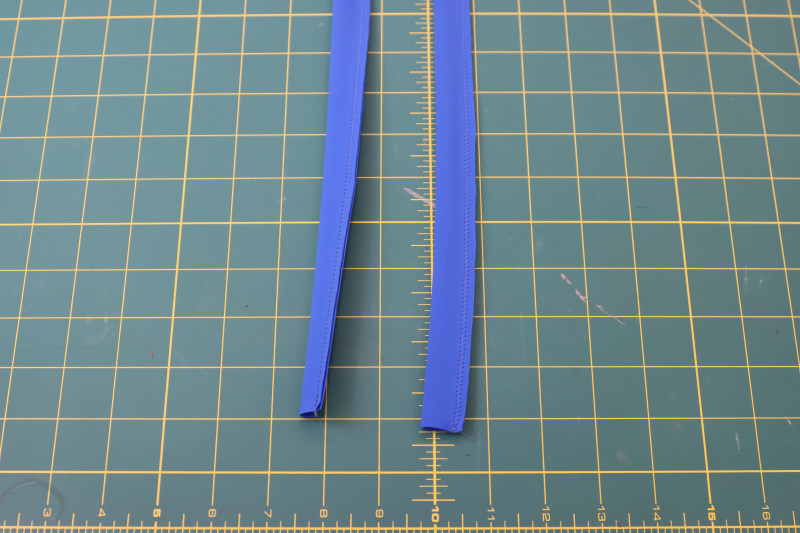
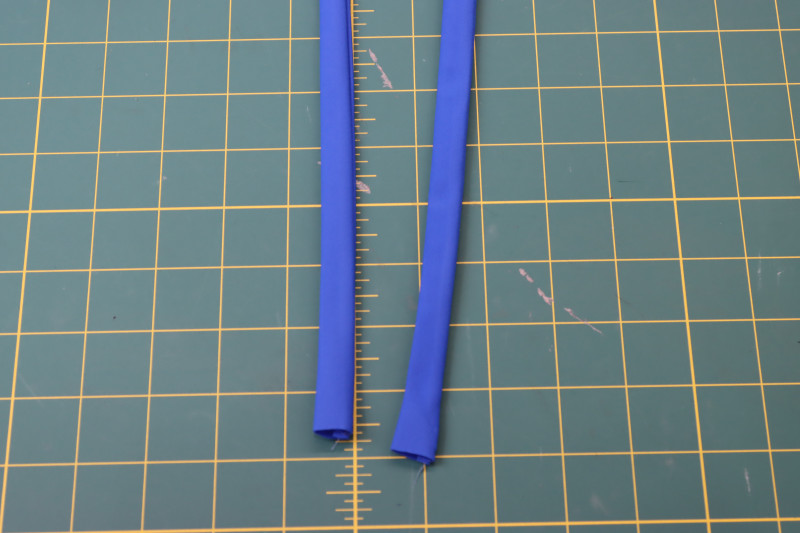
- Flip the straps right sides out with a loop turner.
- Press the straps flat.
Step 11
STRAP RUFFLES
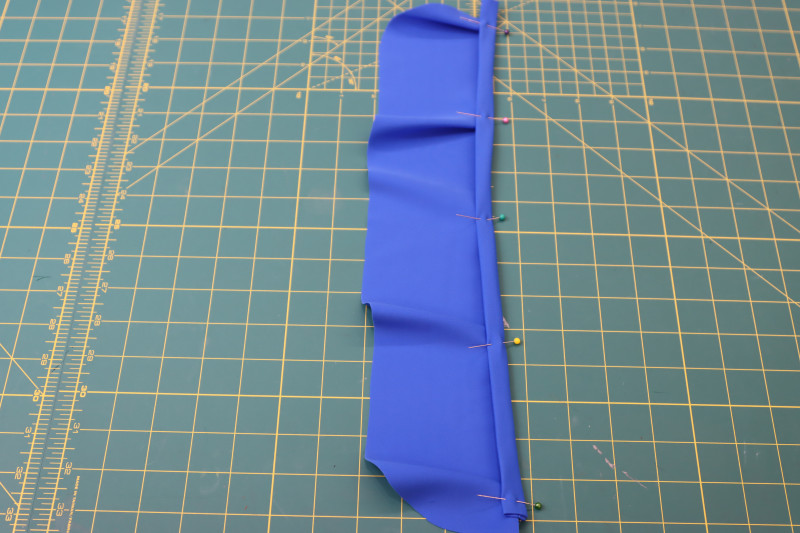
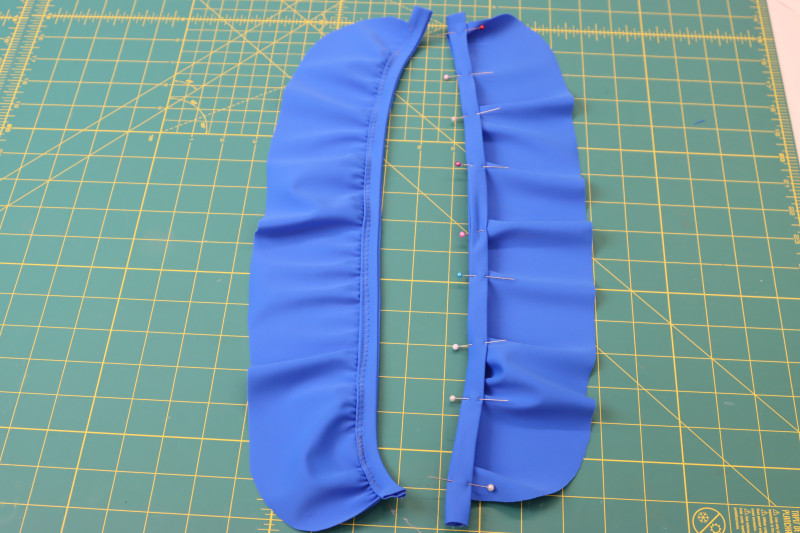
- Evenly pin the ruffles along the straps, stretching the strap to fit the length of the ruffle and leaving ½ inch of strap at the end before pinning the ruffle.
- Topstitch the ruffle to the strap with a zigzag stitch.
- Repeat for both straps.
Step 12
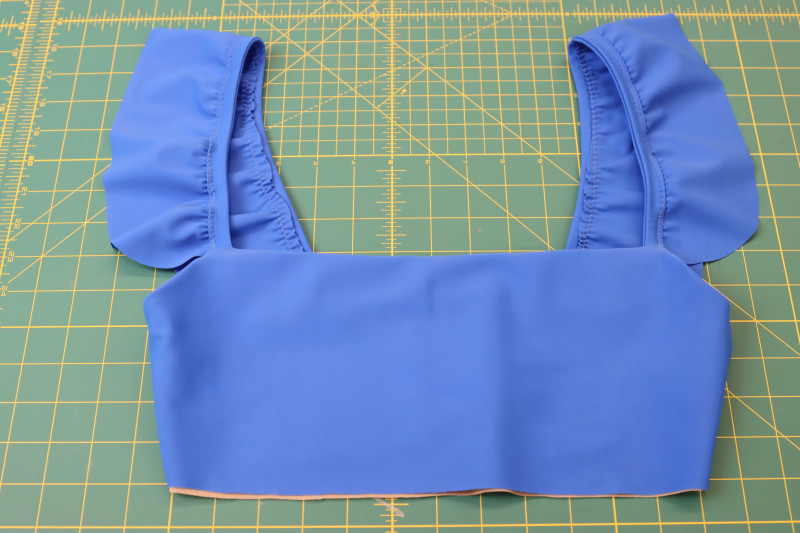
ATTACH STRAPS
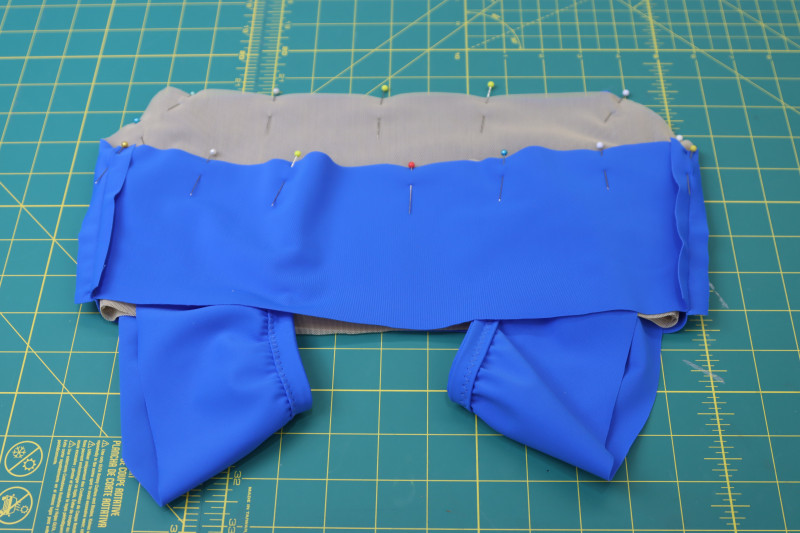
- Place the main fabric top right sides together with the lining top.
- Insert the straps in between the lining and the main fabric at the front of the top.
- Pin the straps between the lining and the main fabric at the two points in the front of the top, making sure the straps are right sides together with the main fabric and the ruffles are facing out from the top.
- Feed the other end of the straps in between the main fabric and the lining at the back of the top.
- Pin the other side of the strap so that it is right sides together with the main fabric at the back of the top. Make sure your straps are not twisted.
- Pin and sew around the entire neckline of the top, making sure to catch the straps.
- Flip the top right sides out.
Step 13
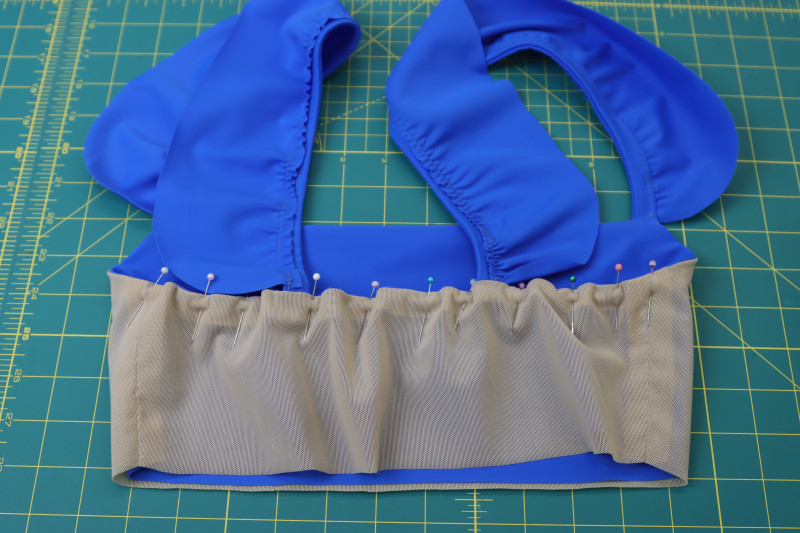
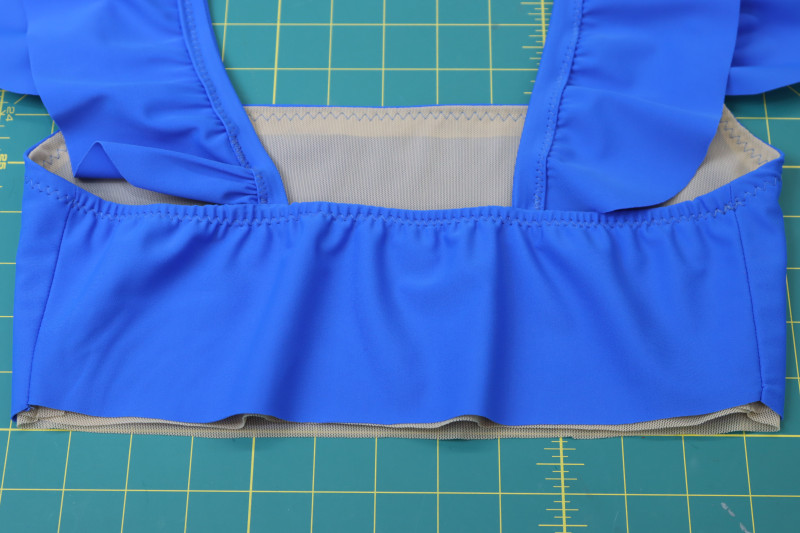
INSERT BACK ELASTIC
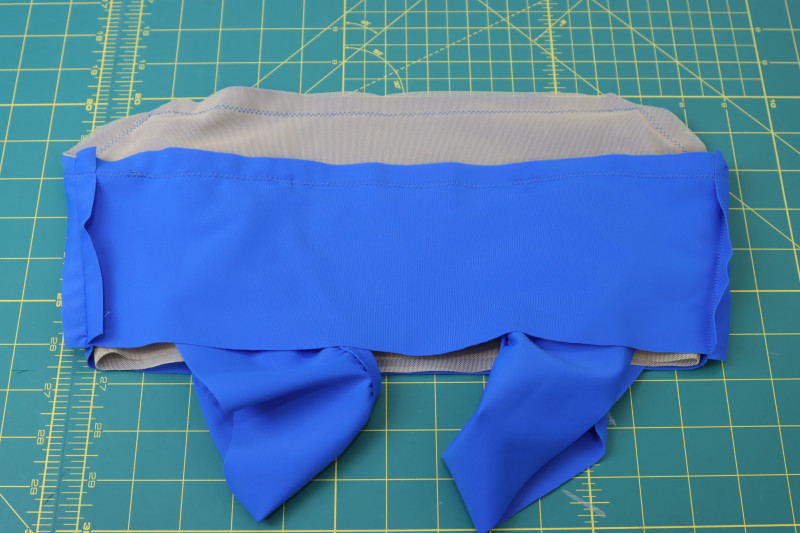
- Cut a piece of swimsuit elastic that is 1 inch shorter than the length of the back top piece.
- Pin the elastic in between the main fabric and the lining at the back neckline of the top, making sure the elastic is pinned from side seam to side seam.
- Topstitch around the entire neckline with a wide and long zigzag stitch, making sure to catch the elastic in the back.
- Flip the top right sides out.
Step 14
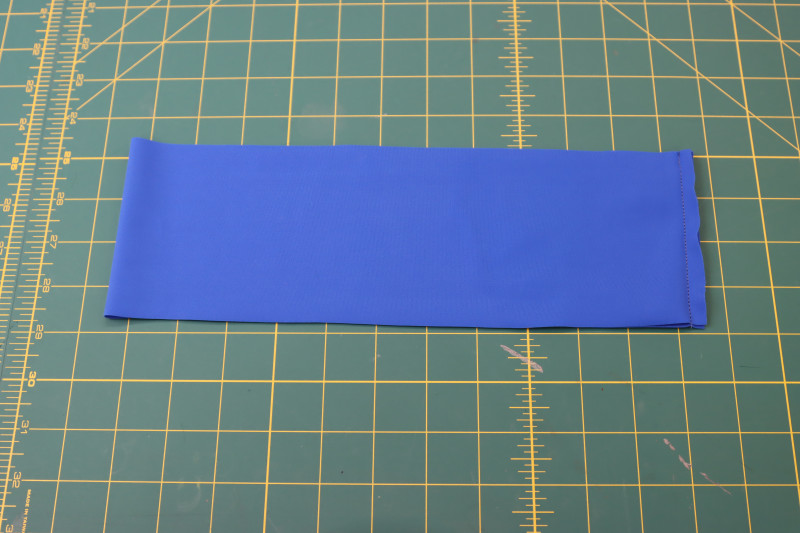
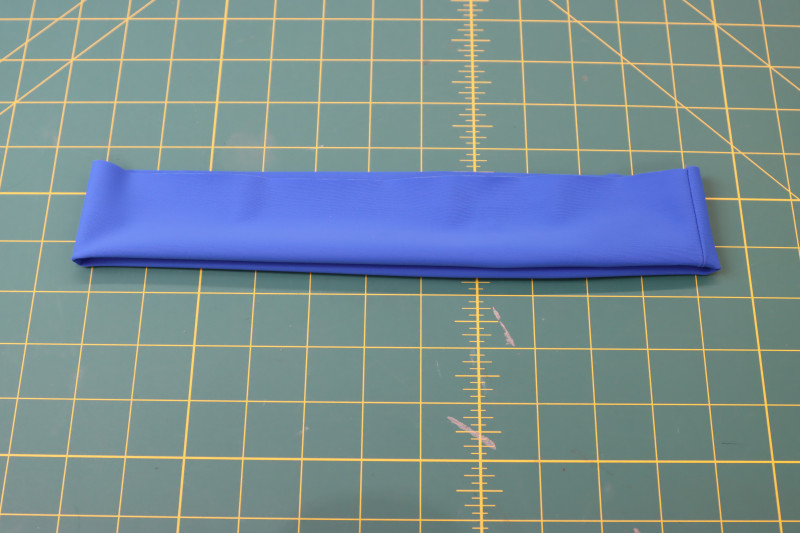
TOP WAISTBAND
- Fold the waistband right sides together with the two short raw edges touching each other.
- Pin and sew the short ends of the waistband right sides together.
- Fold the waistband wrong sides together so that if it half its original length and the seam allowance is hidden in the waistband.
Step 15
ATTACH TOP WAISTBAND
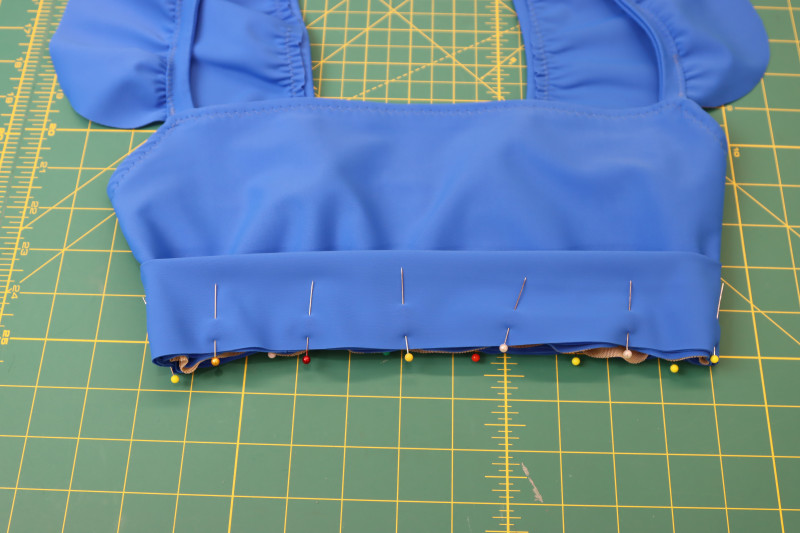
- Pin the raw edges of the waistband evenly around the bottom of the bikini top.
- Sew along the pins.
- Flip the waistband down and the bikini top right sides out.
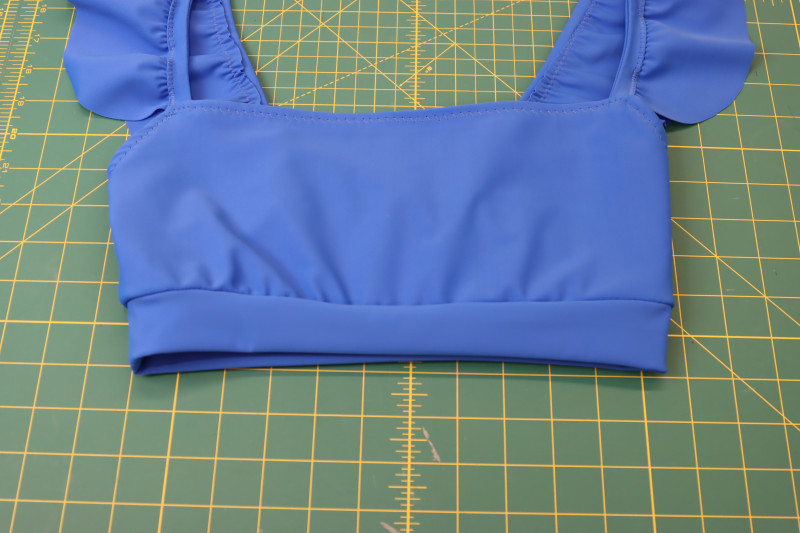
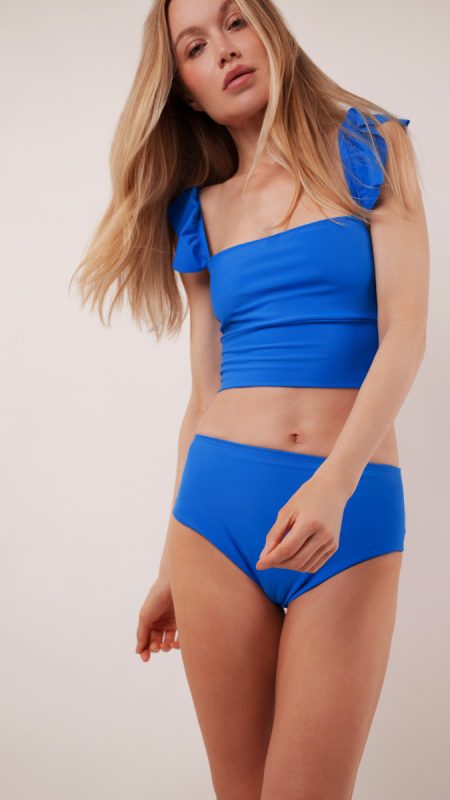

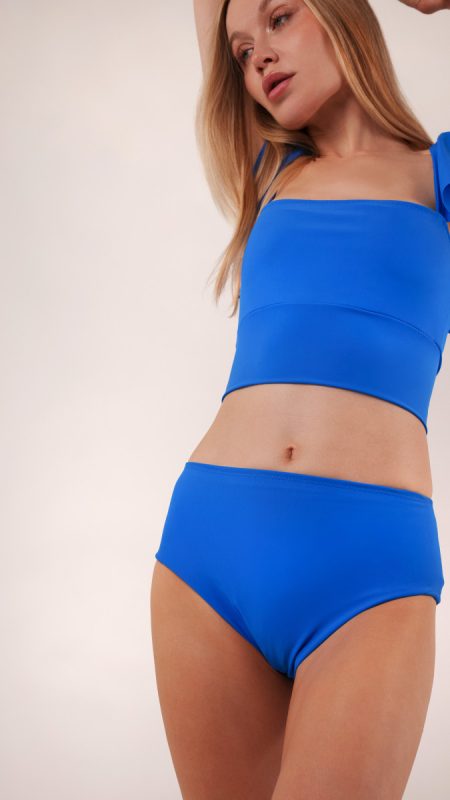
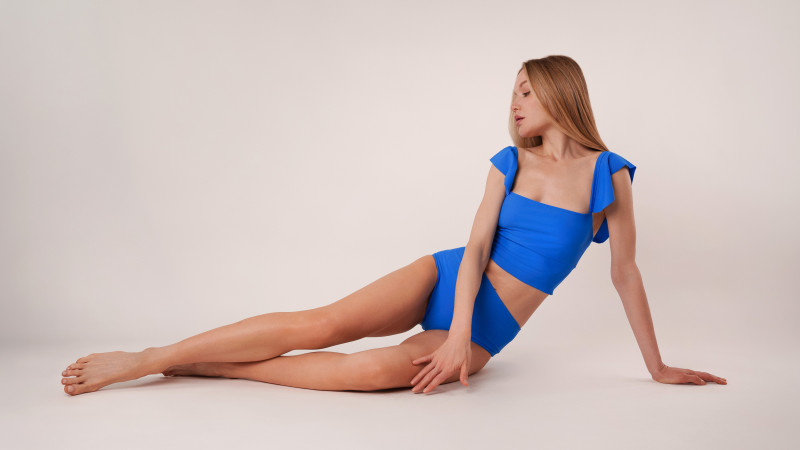
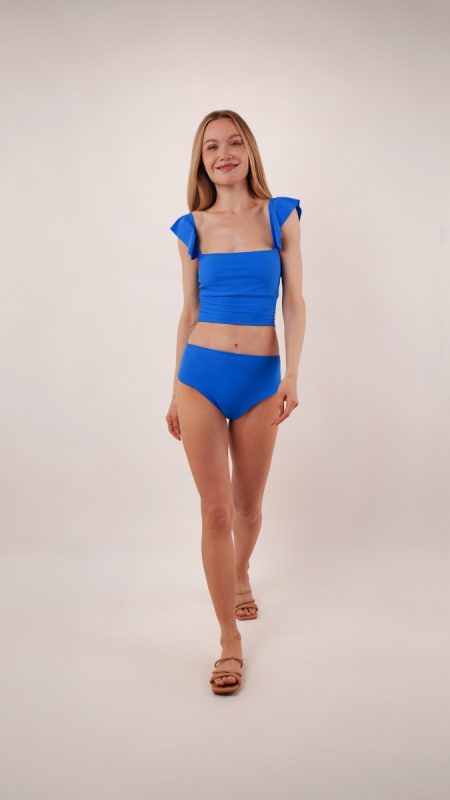
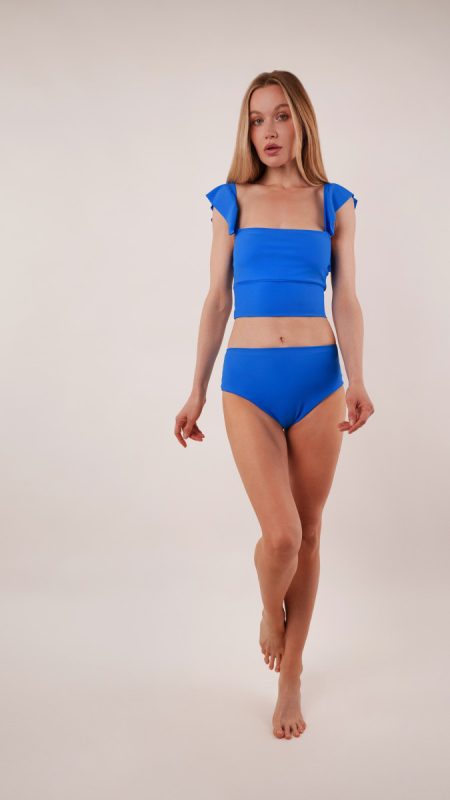
Sewing Success: The Finished Azure Tankini Skirt Set
Share this post with a friend (or two!), download the Azure Tankini Skirt Set free sewing pattern, and show us which fabrics and colors you choose, using the hashtags #MoodAzurePattern & #MadeWithMood—and don’t forget to tag us @MoodFabrics, too.


Free Sewing Pattern Inspiration for Your Next Project
With 525+ free sewing patterns and counting, your opportunities for sewing with Mood are endless!
We hope you had as much fun sewing this tankini set pattern as we did! As always, we want to hear from you—share your thoughts and comments below and let us know where you’ll be wearing the Azure Tankini Skirt Set free sewing pattern!
Can’t get enough sewing with Mood? Browse your next make with our latest free sewing patterns.

Does this beating suit take 2 yards for a medium or is that just in case you don’t have enough?
Hey Charlotte, if you want to make all 3 pieces, is takes just under 2 yards. You might be able to squeeze it out of 1.5 yards of you’re creative with pattern placement.
I love the silhouette of this outfit, but have enough bikinis already. Would it be possible to merge the top and skirt together into a dress and make it out of any stretch fabric?
You can definitely use these pattern pieces to make a 1 piece bathing suit, it would just be different construction. You would have to attach the bikini bottoms and the top to the skirt.
Love it
How can I select the size layer in this PDF? I tried using WPS Office, but I couldn’t find the option. Could you please tell me how to do it?
Hi Julia! Unfortunately, our patterns aren’t formatted for you to be able to select a size digitally… YET. But please stay tuned and check your email for future announcements.
Looks awesome! I can’t wait to start sewing!