

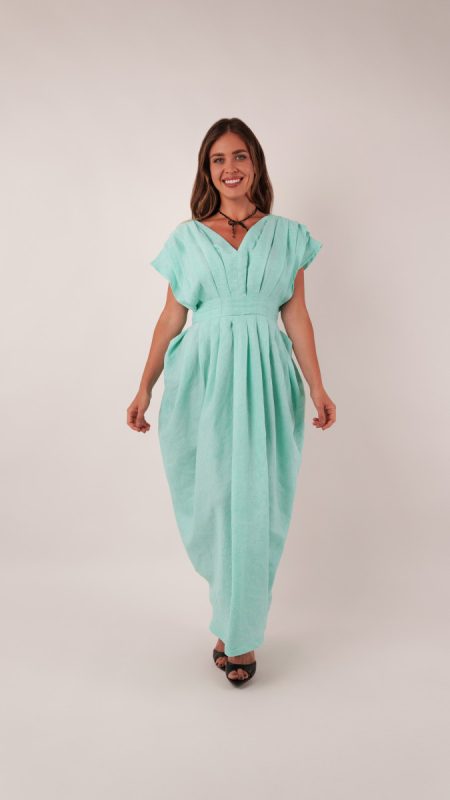
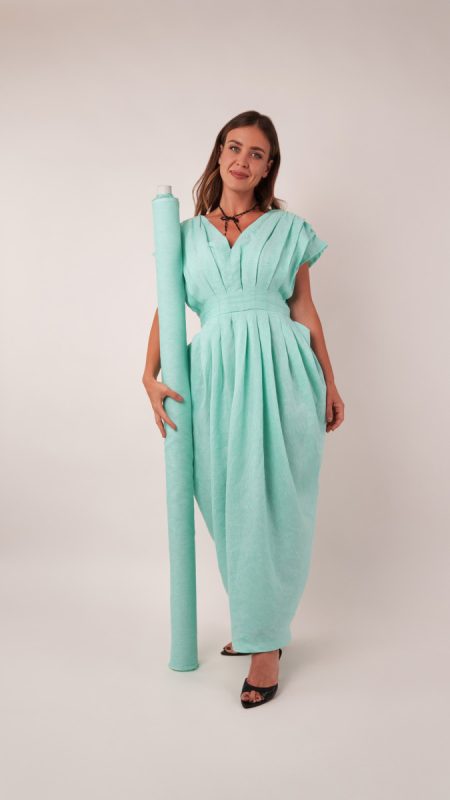
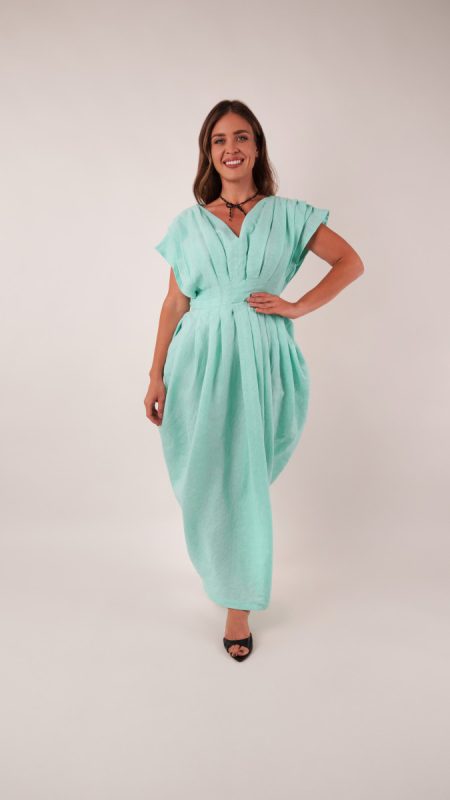
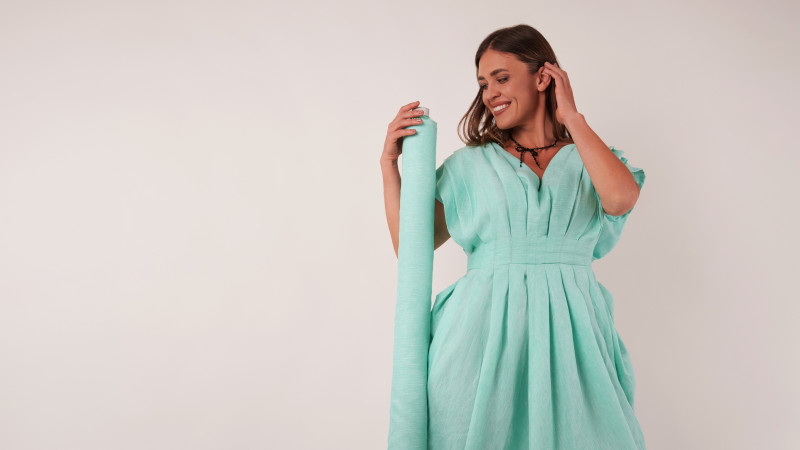
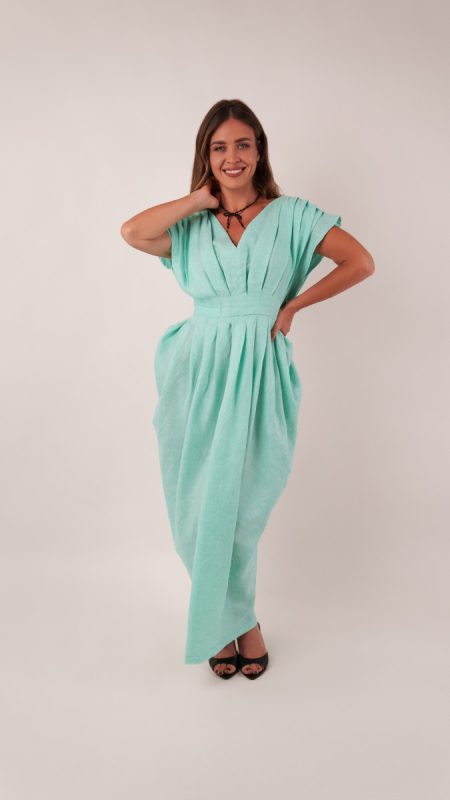
Some dresses earn a permanent spot in your beach bag, and the Larimar Cocoon Dress is one of them. Designed as an effortless and casual linen kaftan that can easily transition into dinner reservations by the water, this relaxed silhouette combines comfort with elegant draping for an easy summer staple.
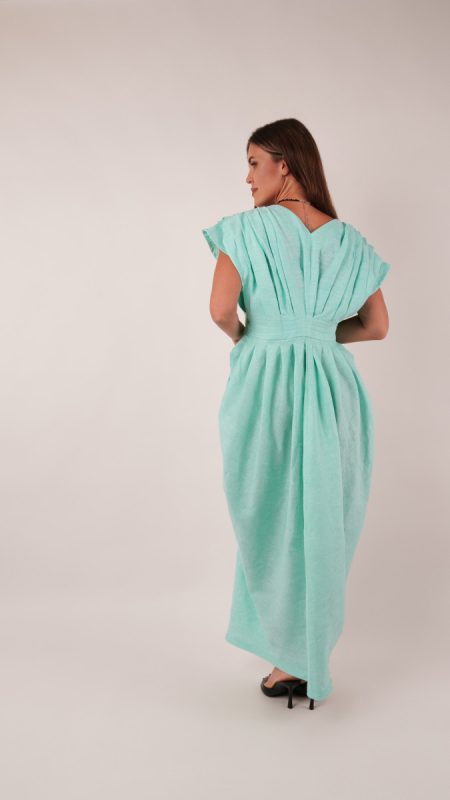
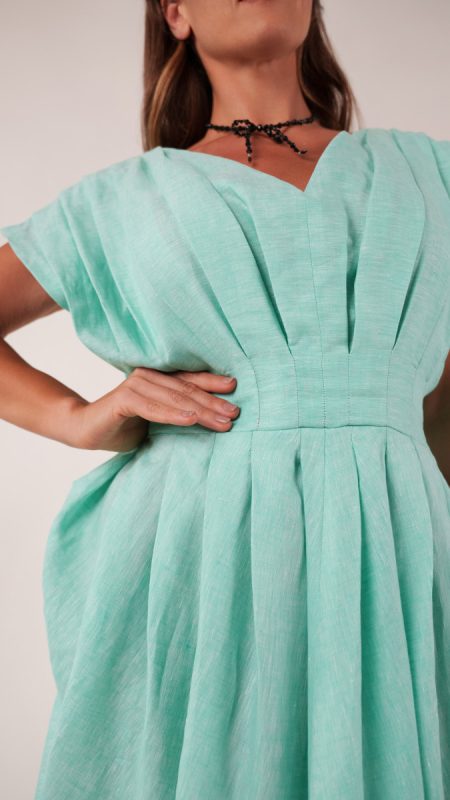
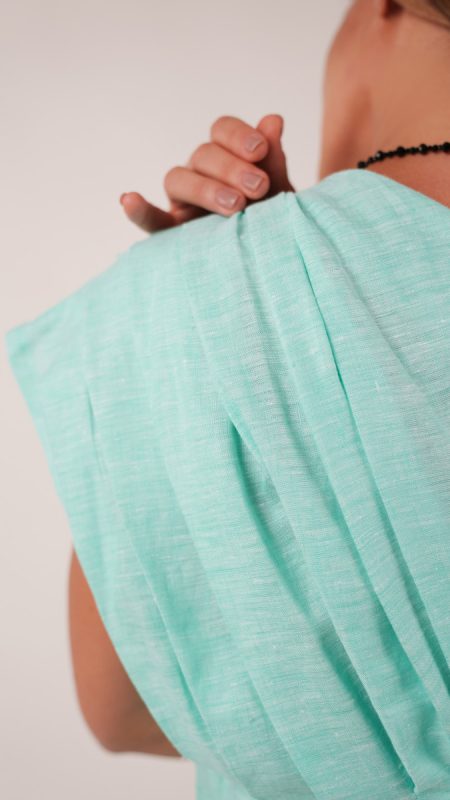
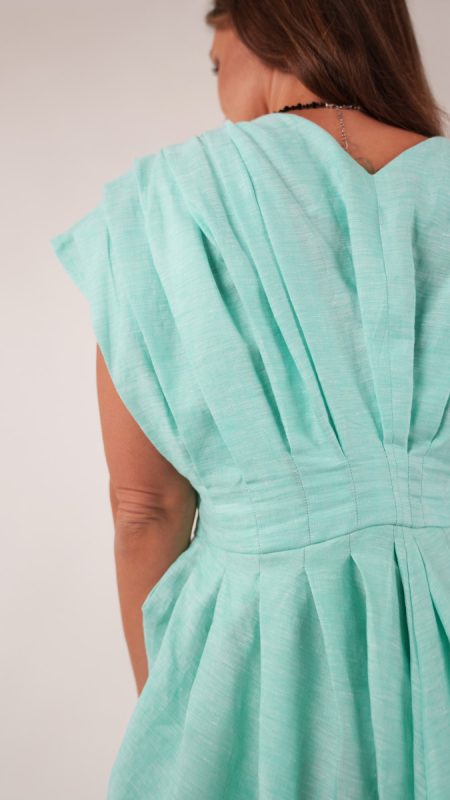
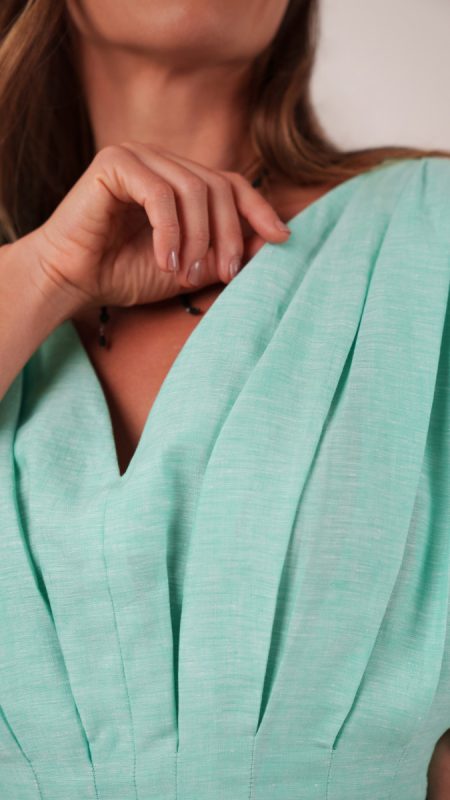
The Larimar Cocoon Dress features all over pleats from the shoulders to the hips, creating soft volume that skims the body without looking or feeling oversized. The cocoon shape offers a loose, breathable fit while still maintaining a flattering silhouette, making it an ideal project for anyone looking to sew something that’s both practical and polished. A center back zipper is completely optional, so you can choose between a quicker sew or a little extra ease when slipping it on and off.
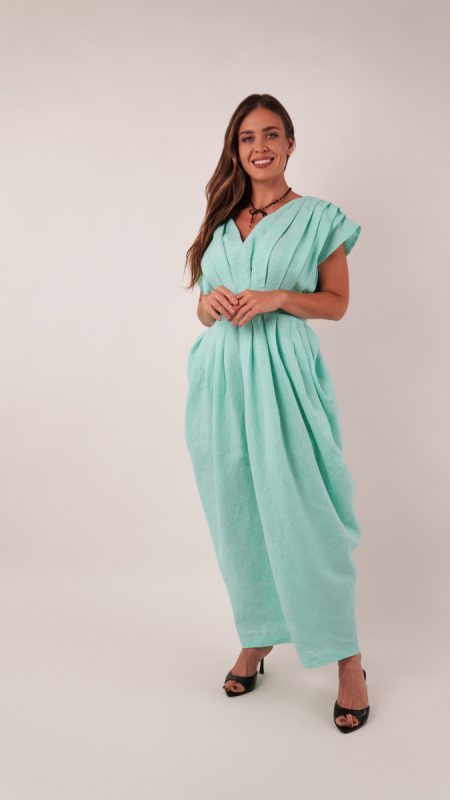
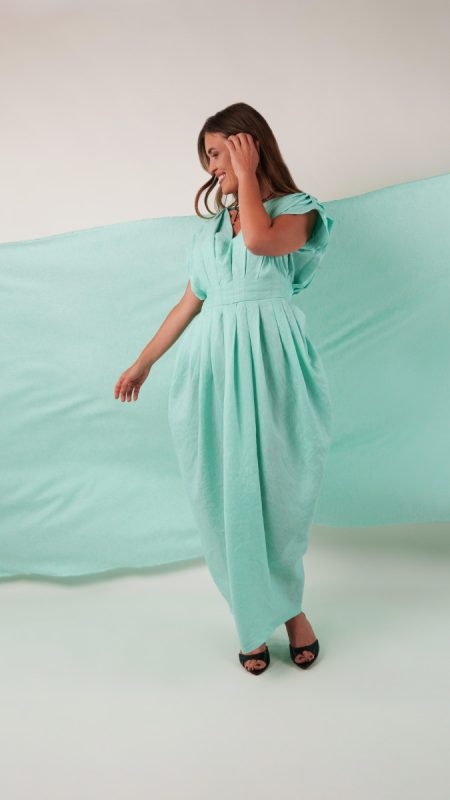
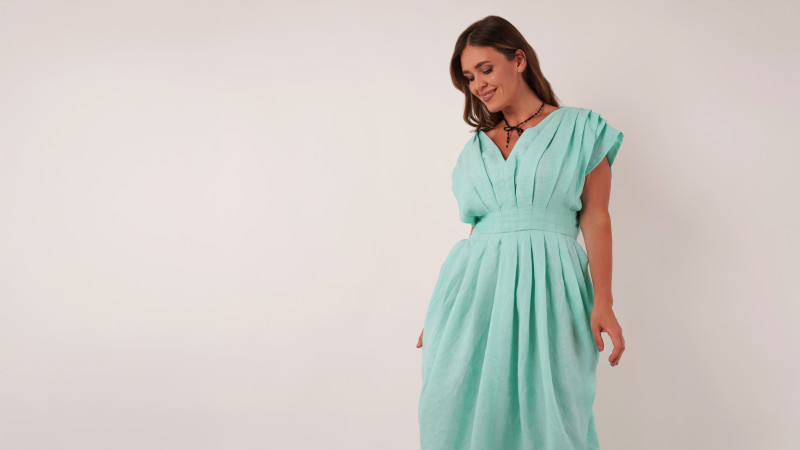
For a crisp, airy look that’s perfect over swimwear, sew yours in a lightweight linen chambray. If you prefer a softer, more fluid drape, fabrics like silk charmeuse or georgette will transform the dress into an elegant resort piece that stands out on its own.
Summer is JUST getting started, and the Larimar Cocoon Dress is ready for wherever the warm weather takes you.

Essential Materials & Sizing Guide for the Larimar Cocoon Dress
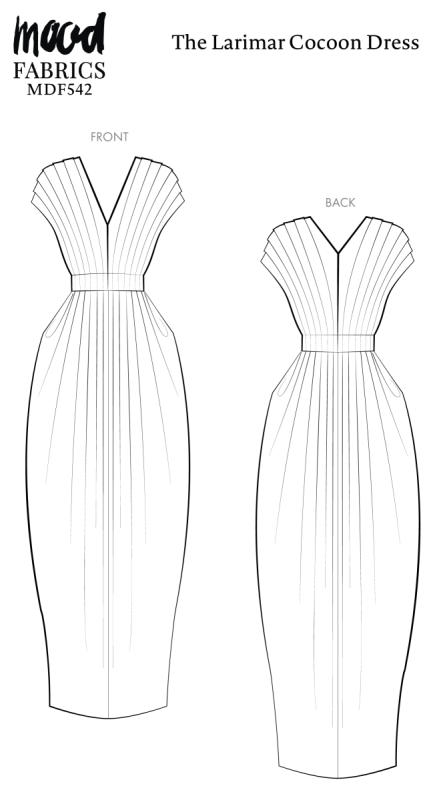
Continue reading for a breakdown of what knowledge and materials you need for creating your very own cocoon dress! We’ve got you covered with the recommended materials we used—if you want to follow along exactly—as well as a curated list of alternative fabric type recommendations if you want to customize your own version. The Larimar Cocoon Dress free sewing pattern download includes technical drawings for seam and cocoon dress visibility, plus a size chart to help you find your perfect fit!
Purchase Products Used Below:
Quantities indicated are for sewing a size medium* cocoon dress. Toggle the ‘SHOP THIS LOOK’ box to find quantity estimates for other sizes.
- 5.5 yards of Lightweight Linen Chambray – Heathered Cascade – Minerva Collection
- 1 each of Invisible Zipper 9″ by YKK – 534 Seafoam (optional)
- 2 each of Gutermann Sew All Thread 100m – 607 Crystal
- MDF542 – Larimar Cocoon Dress Sewing Pattern (Free download below!)
Additional Products Used:
*Quick Tip! The ‘SHOP THIS LOOK’ box defaults to full-yard quantities. To order an exact half-yard quantity for any fabric, simply use the decrease quantity button (-) to subtract by the half yard. Then click “ADD TO CART” to add all materials to your cart. (Our system can only display full-yard quantities initially.)
Alternative Fabric Type Recommendations:
The Larimar Cocoon Dress sewing pattern is best suited for lightweight or feather weight fashion fabrics. Explore other fabric types or colors from our featured collections for your cocoon dress with the links below.
Fabric Collections Used in this Post:
Download Your Free Sewing Pattern
Submit your name and email in the form below to receive the download link for the Larimar Cocoon Dress free sewing pattern directly in your inbox. Mood Sewciety Patterns will send your free download link via email with the subject line: ‘Your Free Download from Mood Sewciety – The Larimar Cocoon Dress’ (in PDF format for A4 and letter-size printing).
© MoodFabrics.com / MoodSewciety.com – Mass production, resale, or distribution of this pattern in any form is strictly prohibited.
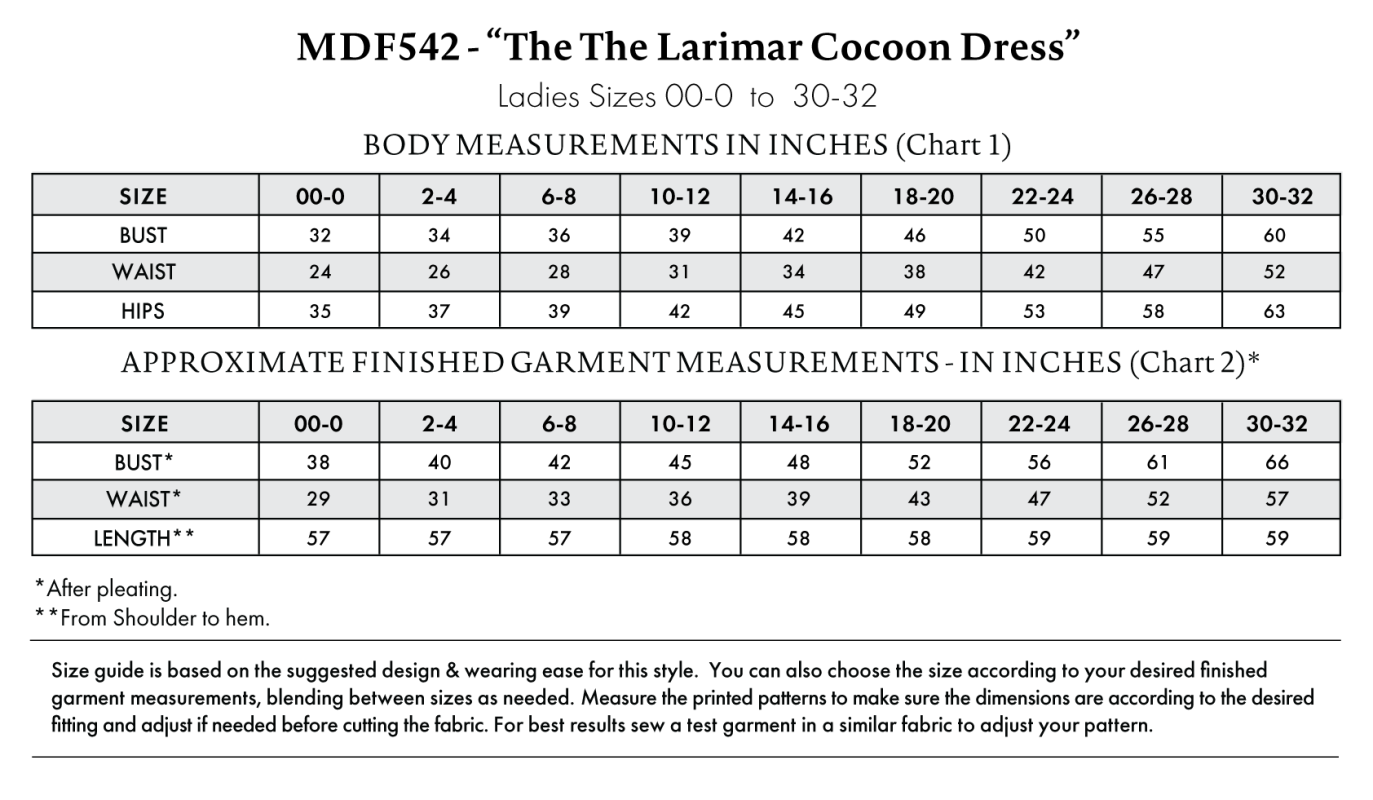
Find Your Perfect Fit
The Larimar Cocoon Dress Sizing Guide is based on the suggested design & wearing ease for this style. You can also choose the size according to your desired finished garment measurements, blending between sizes as needed. Measure the printed patterns to make sure the dimensions are according to the desired fitting and adjust if needed before cutting the fabric. For best results, sew a test garment in a similar fabric to adjust your pattern.
Note: Always read all the instructions before cutting the fabric!
How to Sew The Larimar Cocoon Dress
The instructions provided below are designed to guide you through sewing the Larimar Cocoon Dress from start to finish.


3 Tips for Sewing with Linen Chambray
⇒ Prewash and shrink your fabric BEFORE cutting out the sewing pattern.
⇒ Use a new sharp microtex needle to prevent runs and pulls in the fabric.
⇒ I didn’t do this for the dress, but you should finish the raw edges of all the seam allowances with a serger, zigzag stitch, or french seam.
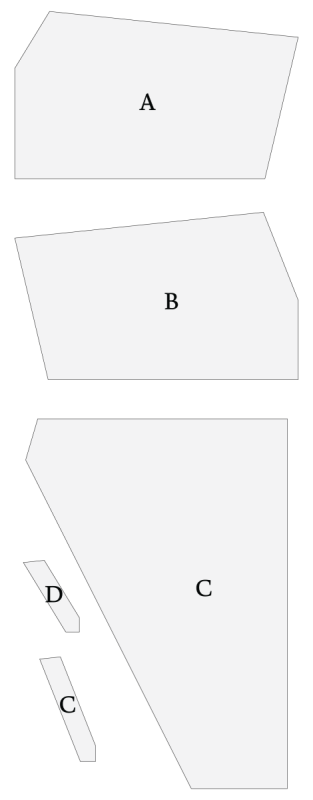
Pattern Pieces & Fabric Cuts Needed
- (A) TOP BACK
- Fabric – Cut 2 Mirrored
- (B) TOP FRONT
- Fabric – Cut 2 Mirrored
- (C) SKIRT
- Fabric – Cut 2 on Fold
- (D) TOP BACK FACING
- Fabric – Cut 2 Mirrored
- (E) TOP FRONT FACING
- Fabric – Cut 2 Mirrored

Sew with a 1/2″ seam allowance for all seams unless otherwise specified.
Step 1
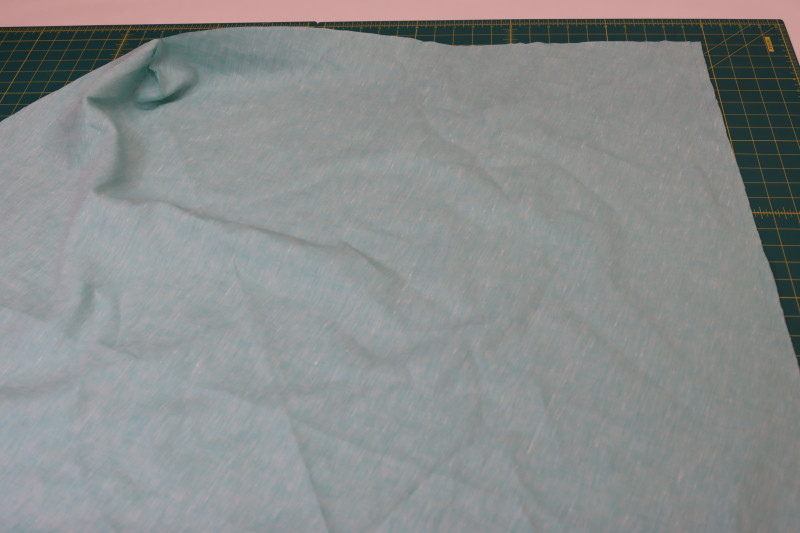
HIP PLEATS
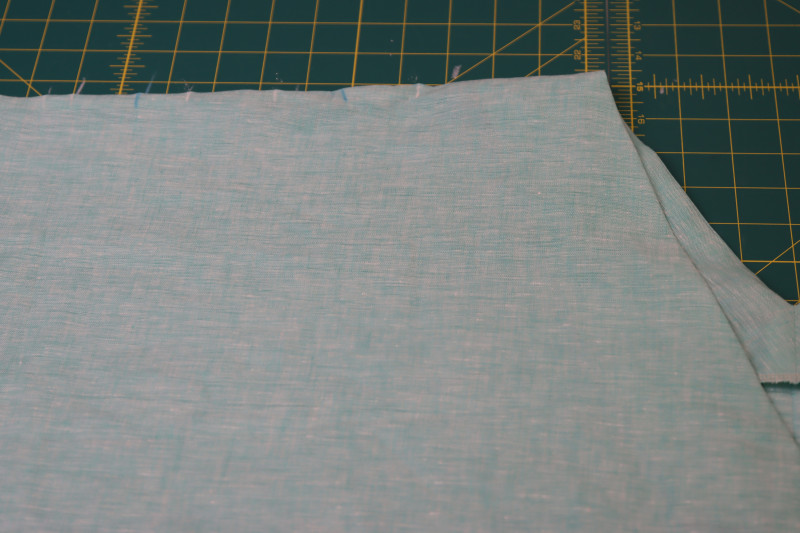
- Fold the fabric right sides together at the “side seams” of each skirt piece (they don’t technically have side seams since they’re cut on fold, but we’re sewing a seam at the hips right above the fold).
- Pin along the raw edges above the fold.
- Sew the hip pleats.
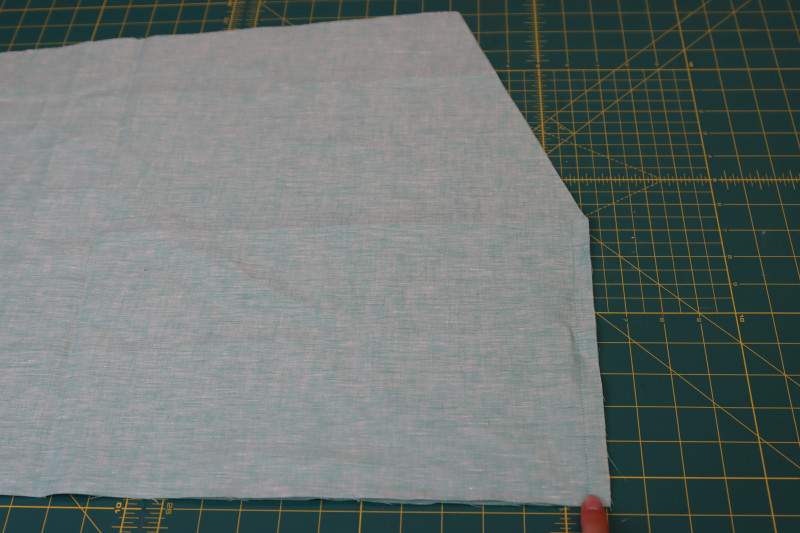
Step 2
CENTER FRONT SEAM
- Place the two skirt pieces right sides together with the front and back center seams lined up with each other.
- Pin and sew the left and right skirt pieces together at the center front seam (the center front and center back seam are identical since the skirt is just cut on fold, so just pick a side and that will be the front).
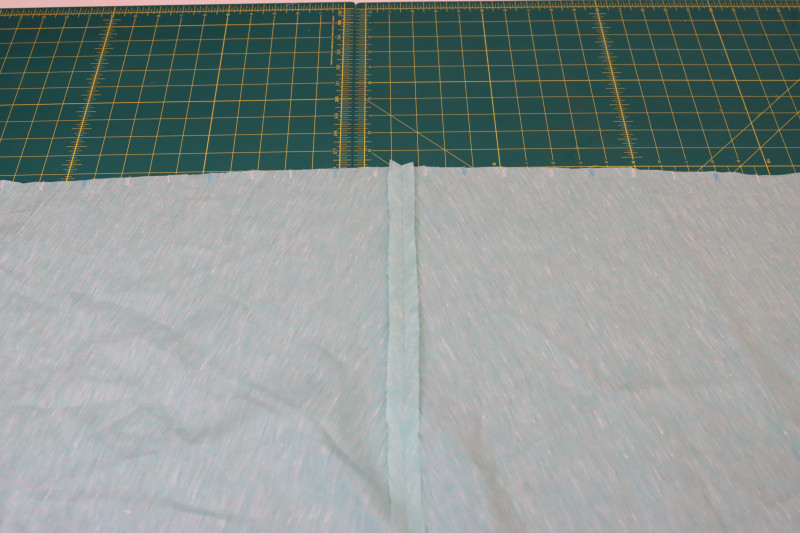
- Press the center front seam open and flat.

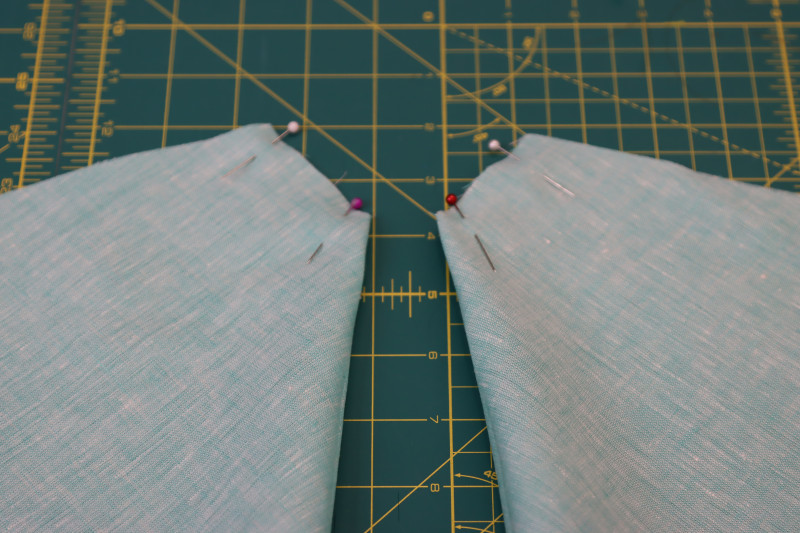
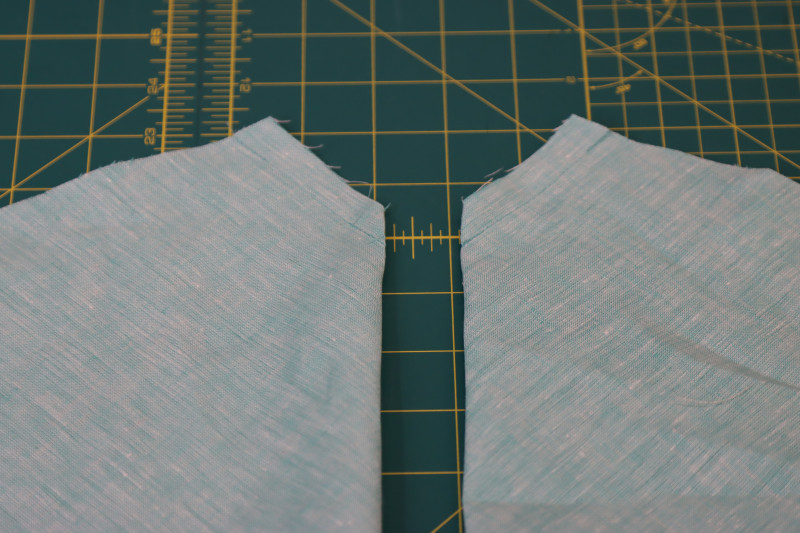
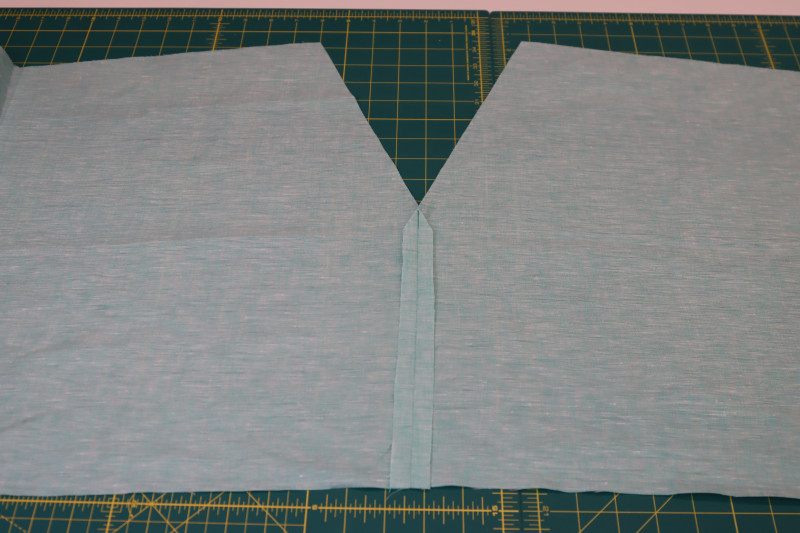
Step 3
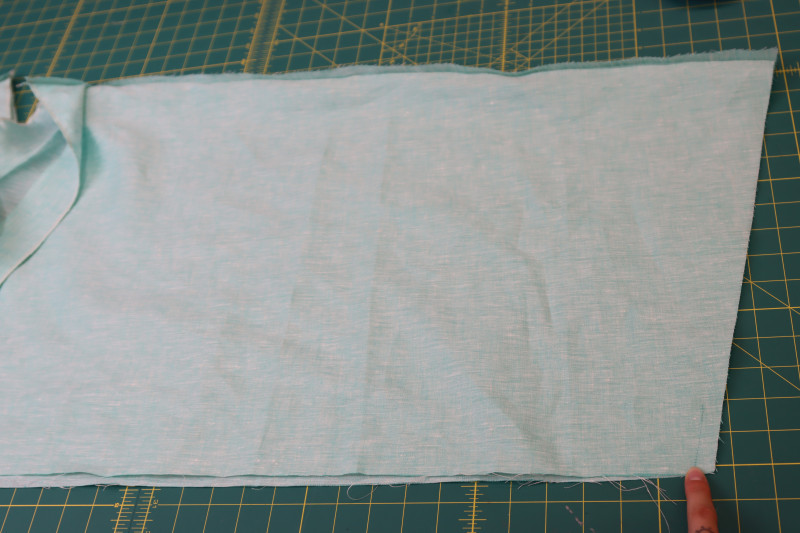
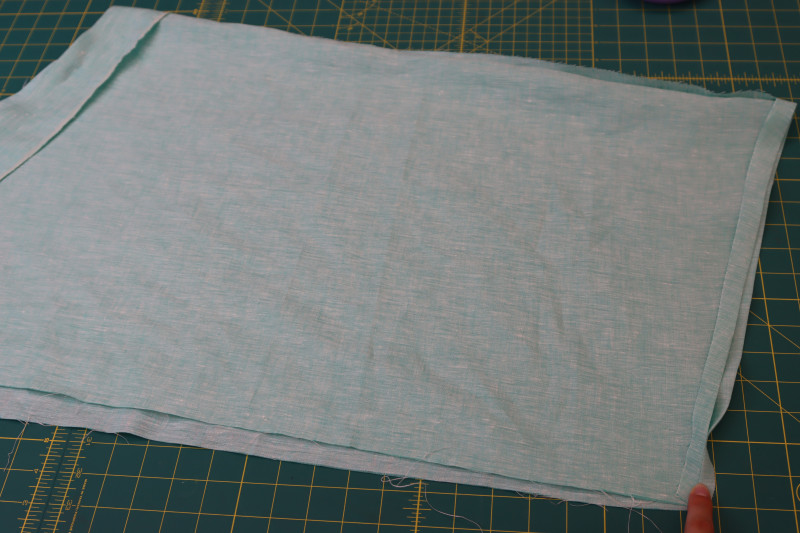
PREPARE TOP
- Place the front top pieces right sides together.
- Pin and sew the center front top seam.
- Press the center front top seam open and flat.
- Repeat the same steps with the back top pieces (NOTE: If you plan on putting a zipper in the back of the dress, DO NOT sew the center back seam yet. You’ll have to install a zipper).
Step 4
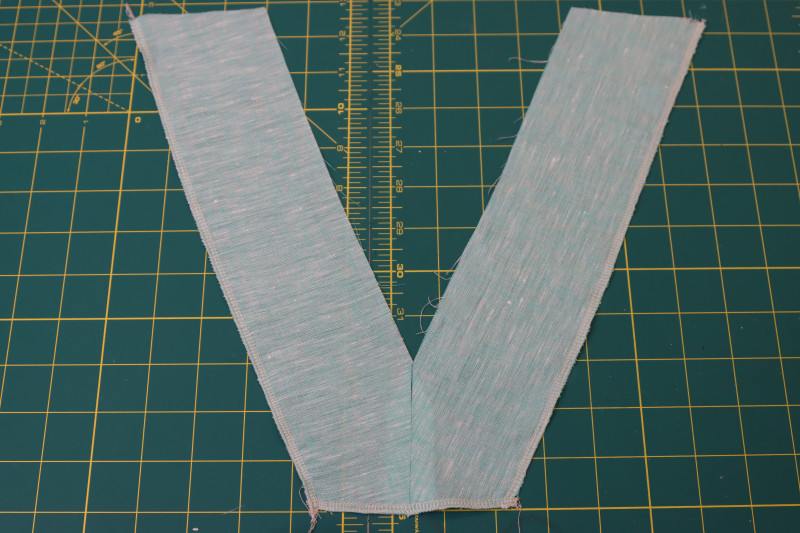
PREPARE NECKLINE FACINGS
- Place the front neckline facings right sides together.
- Pin and sew the center front facing seams.
- Press the center front facing seams open and flat.
- Repeat the same steps with the back neckline facing, unless you plan on putting in a zipper.
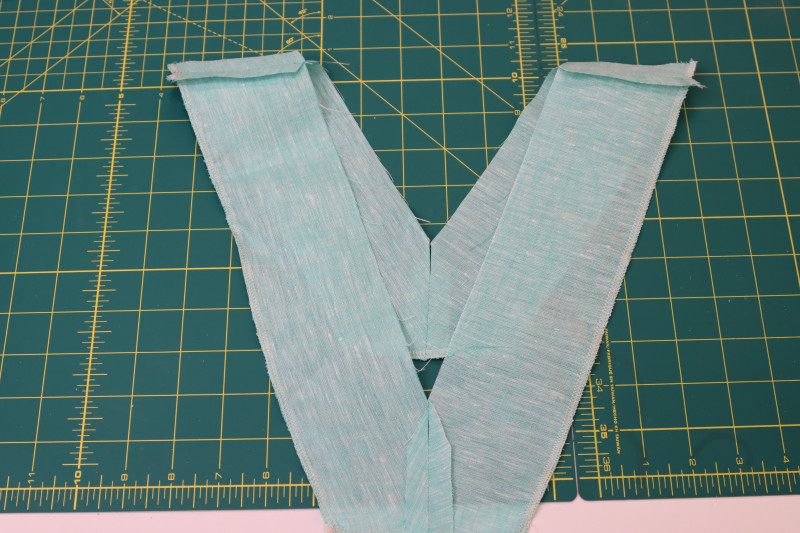
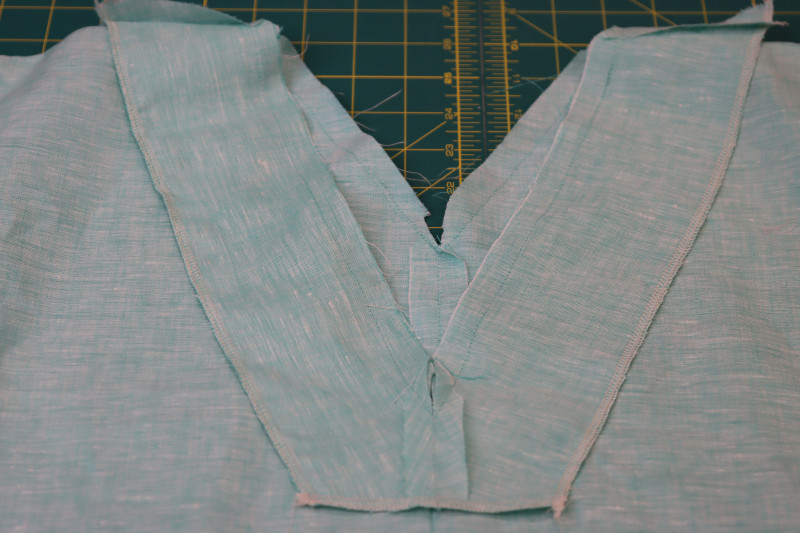
- Serge or hem the outer edges of the neckline facings so that the raw edges are finished.
- Place the front and back neckline facings right sides together with the shoulders lined up.
- Pin and sew the front and back neckline facings together at the shoulder seams.
- Press the neckline facing shoulder seams open and flat.

Step 5
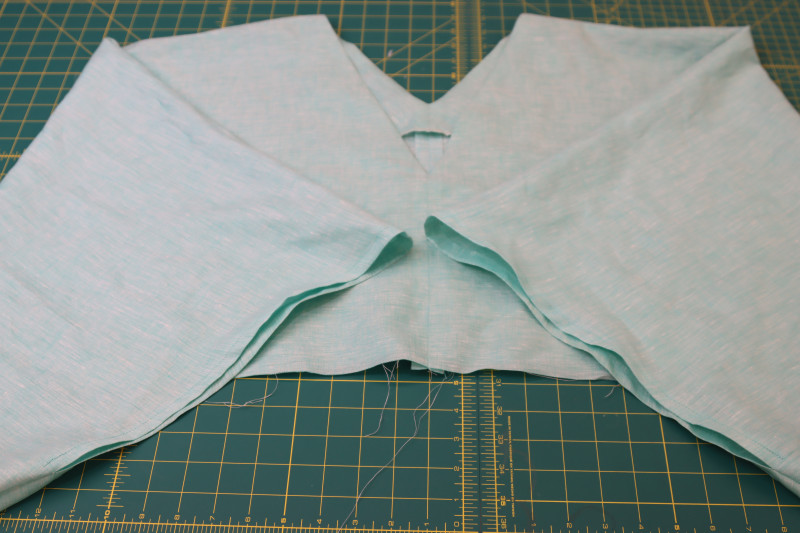
ATTACH NECKLINE FACINGS
- Place the front top right sides together on the back top and line up the shoulders.
- Pin and sew the front and back top pieces together at the shoulder seams.
- Press the shoulder seams open and flat.
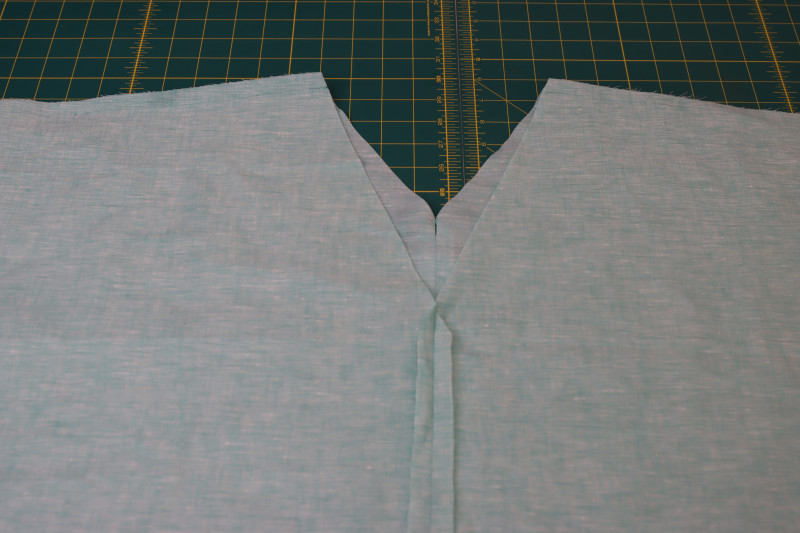
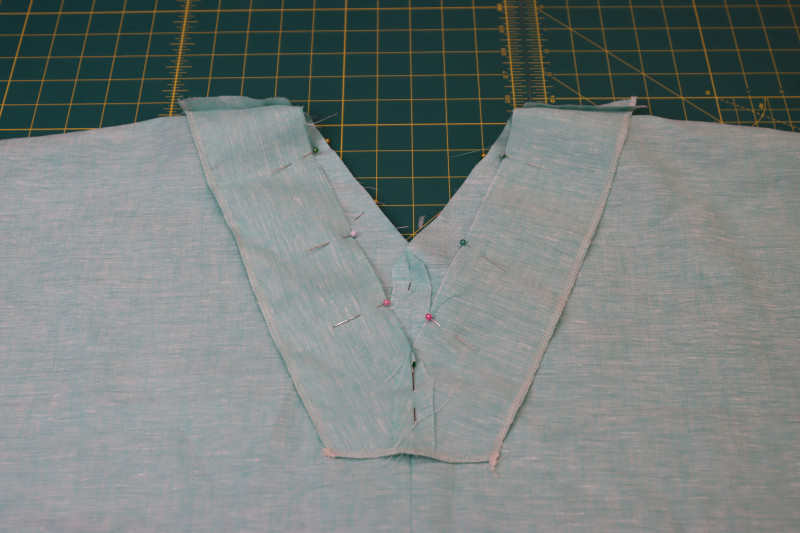
- Pin the neckline facing right sides together with the neckline of the top.
- Sew the neckline facing to the neckline.
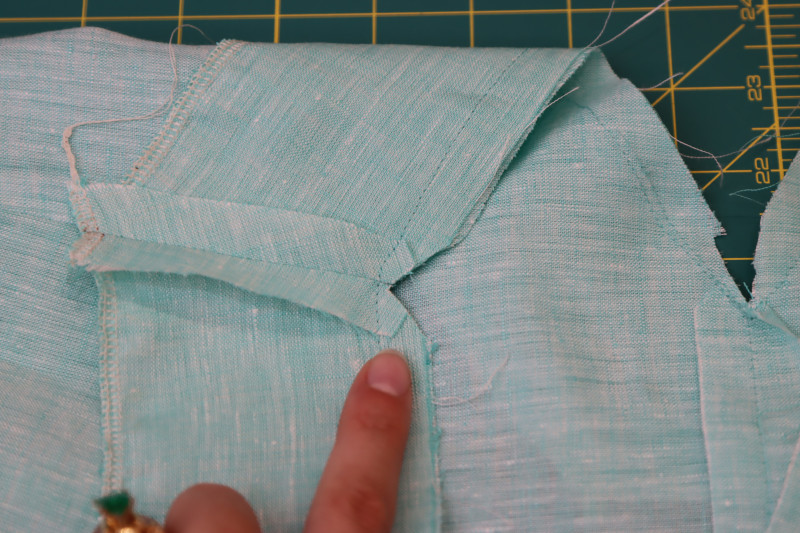
- Clip the corners of the neckline seam allowance.
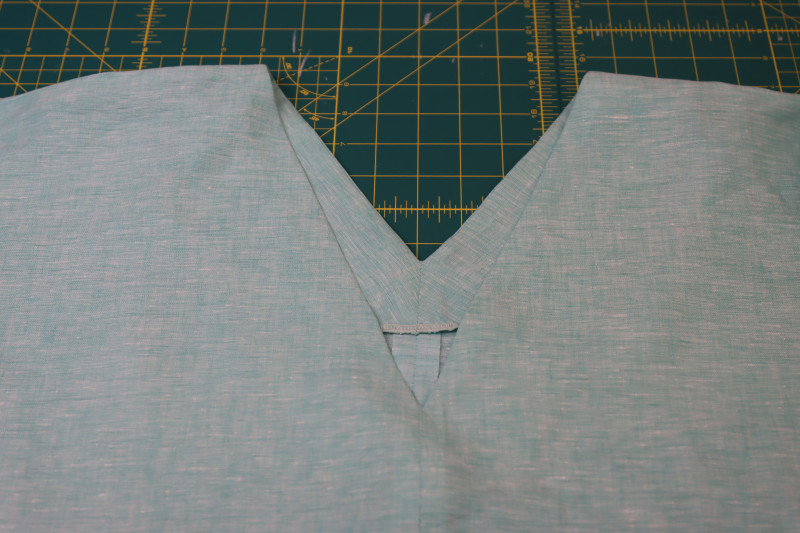
- Flip the neckline facing toward the inside of the top.
- Press the neckline facing seam flat.
Step 6
SLEEVES
- Decide how wide you want the opening of your sleeve to be. Initially, I wanted my sleeve opening to take up most of the sleeve, but I ended up going back and sewing halfway up the sleeve opening so that the hole was smaller.
- Pin and sew the sleeve opening to your desired length.
- Press a ½ inch fold into the raw edges of the sleeve openings.
- Sew the folded edge of the sleeve opening to hem it.
- Repeat for both sleeves.

Step 7
MARK PLEATS
- Allow me to demonstrate the mathematical equations required to calculate the number of pleats you need.
- The original length of the skirt waist in the size that I made was 107 inches (technically 106 minus ½ inch of seam allowance on each side).
- I wanted the final length of the skirt waist to be 36 inches so that I could fit it over my head and shoulders without a zipper.
- I wanted to have 24 pleats in total, 6 darts on each panel of the dress (front left, front right, back left, back right).
- The total amount of fabric I need to take in is 106 inches – 36 inches = 70 inches.
- 70 inches / 24 pleats = 2.92 inches per pleat. This means that our pleats will be about 2 ⅞ inches each.
- 106 inches / 24 pleats = 4.42 inches BETWEEN each pleat. This means that the center markings for each of our pleats will be about 4 ⅜ inches apart.
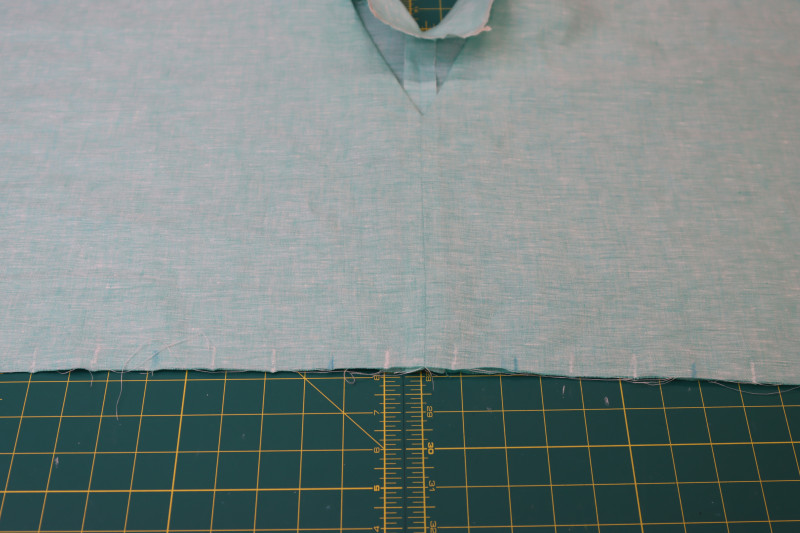
- Now that we got that math out of the way, I can start marking the pleats. I started marking the pleats from the center front of the dress so that they were even all the way around. To do this, make the first dart markings on the front of the dress 4 ⅜ inches apart with the spacing between them being CENTERED on the center front seam as shown in the photo below.
- Mark the center of each pleat 4 ⅜ inches away from the first markings you made.
- Repeat on both the front and back of the dress.
- Use ANOTHER COLOR of chalk to mark the side of each pleat. Find the center point of 2 ⅞ inches and line that up with each of the pleat center markings. Mark on the left and right side of each pleat where the ends of the pleat will get folded.
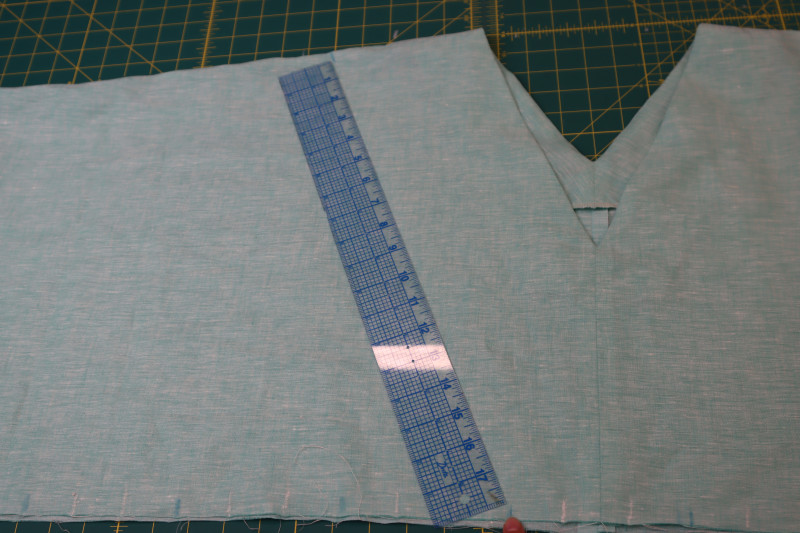
- We’re almost done marking the pleats, we just have to transfer the markings to the shoulders now. Take a clear ruler and line it up with the center of the dart closest to the center front seam.
- Orient the ruler so that it is running perfectly parallel with the neckline of the dress.
- Mark your first shoulder dart at the end of the ruler.
- Make the next shoulder pleat marking 4 ⅜ inches away from the first one (using your own measurements of course, but that is my distance between pleats).
- Continue on both shoulders until you reach the end.
- Mark the ends of the pleats on the shoulders like you did on the waist of the top and the skirt.
Step 8
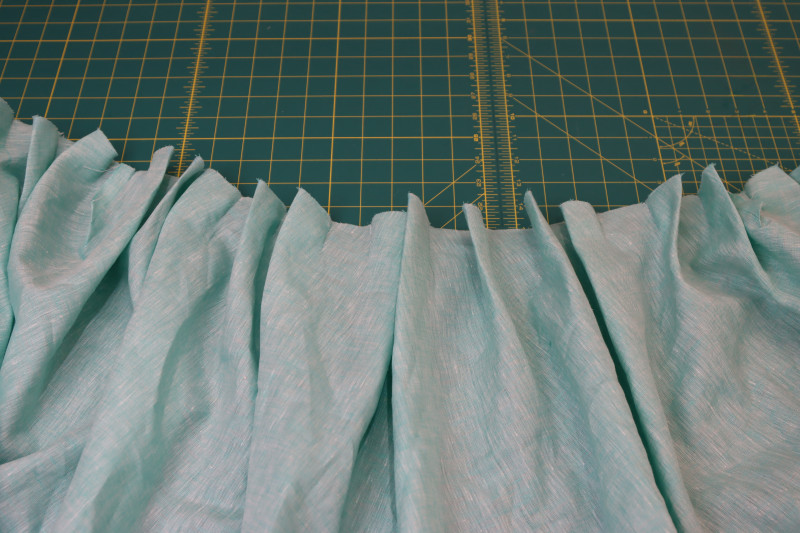
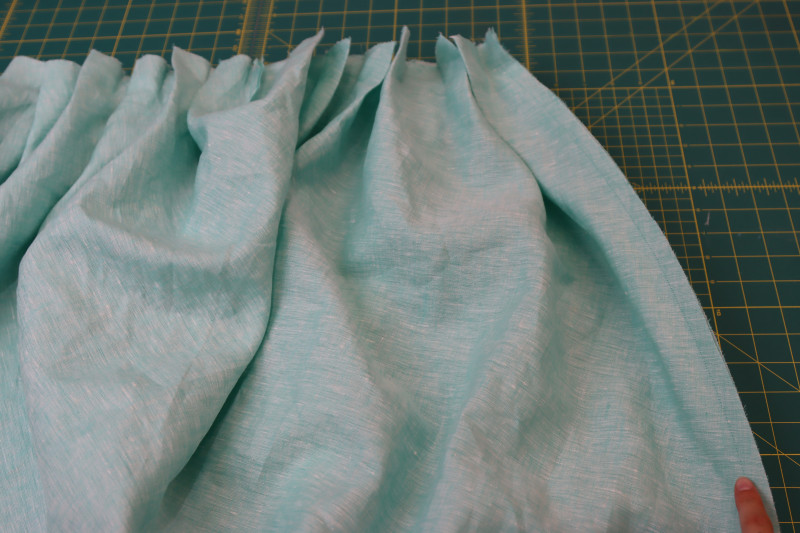
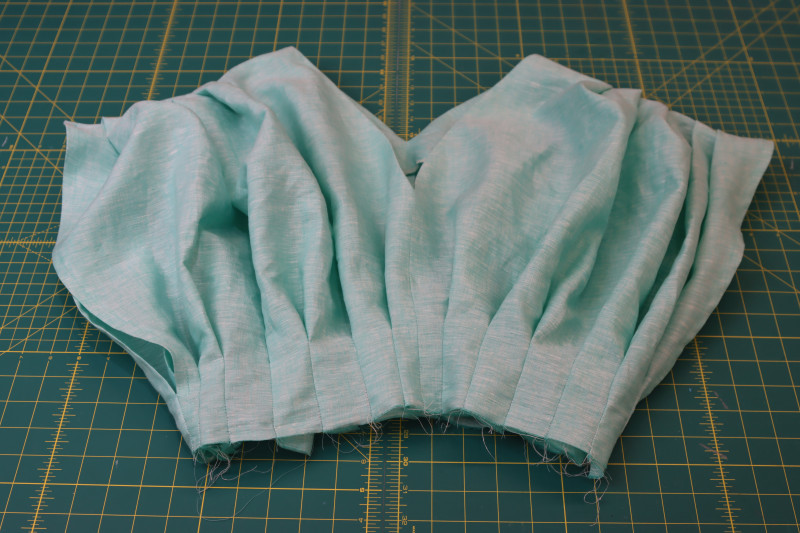
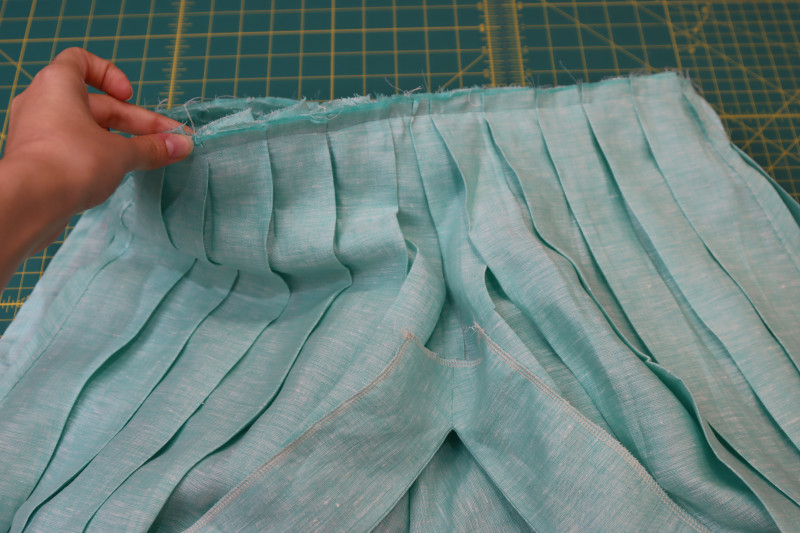
BOTTOM PLEATS
- Pinch the ends of each pleat right sides together with the center marking of the pleat centered in the fold.
- Pin the pleats as shown in the photo below.
- Sew a 1 inch seam down the ends of each pleat to close them.
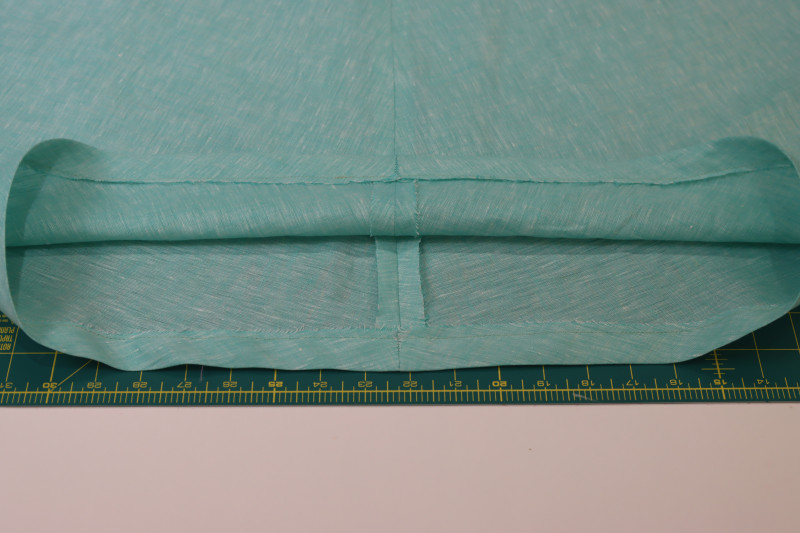
- If you’re not putting a zipper in your dress, sew the center back seam of the dress right sides together. If you ARE using a zipper, leave it open.
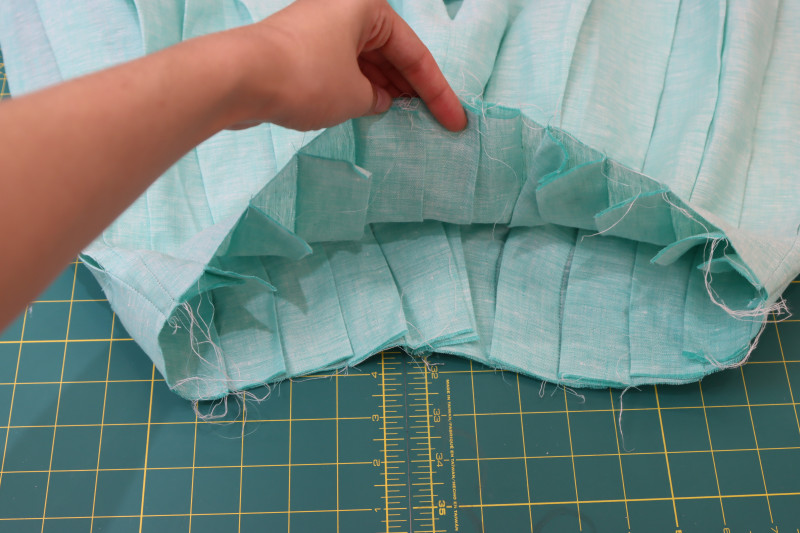
- From the inside of the skirt, fold the bulk of the pleats towards the center front and back seams so that the opening of the pleat is facing the sides of the body.

Step 9
TOP PLEATS
- Pinch the ends of the shoulder pleats right side together with the center of the pleat centered on the fold.
- Place a pin to hold the the ends of the pleat together.
- Repeat for each shoulder pleat.
- Sew a ½ inch seam on the inside of the fabric to secure each shoulder pleat.
- Bring the waist pleats together in the same manner as the shoulders by pinching the ends of each pleat together and placing a pin.
- Sew the waistline pleats on the top. Make sure the end of the pleat is at least 3 inches from the raw edge of the waistline.
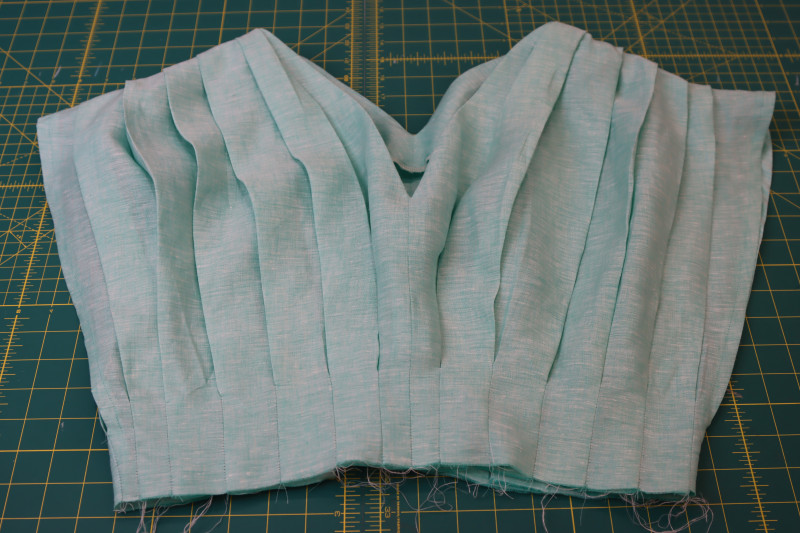
- Press the folds of the pleats so that they connect from the shoulder pleats to the waistline pleats.
- From the inside of the top, fold the bulk of the pleats towards the center front and back seams so that the opening of the pleat is facing the sides of the body.
Step 10
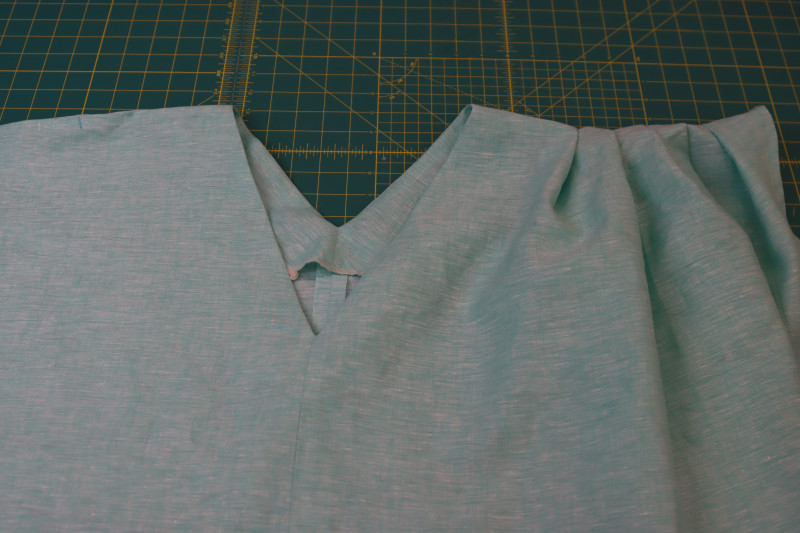
WAIST SEAM
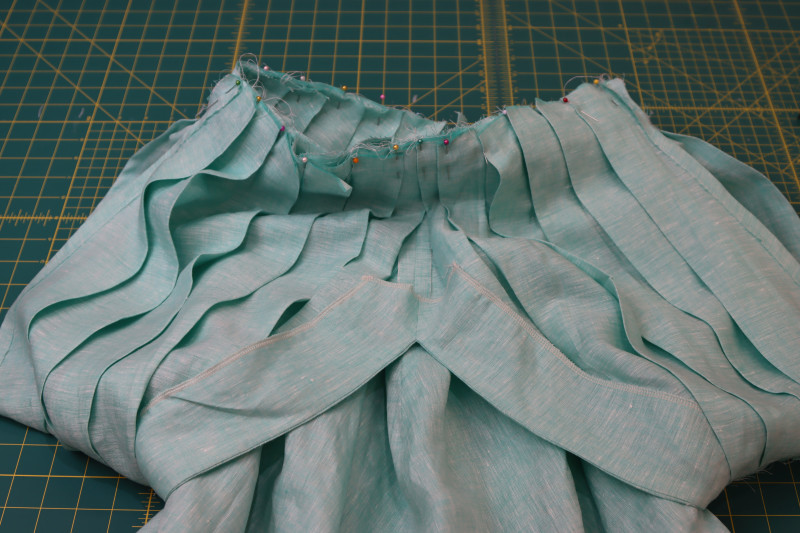
- Flip the top inside out.
- Place the waistline of the top and the waistline of the skirt right sides together, making sure the pleats are lined up as evenly as you can get them.
- Pin the top waistline to the skirt waistline.
- Sew the dress together at the waist.
- NOTE: If you were planning on putting in a zipper, now would be the time to do so. At this point, the dress is fully constructed unless you left the center back seam open.
Step 11
HEM
- Press a 1 inch fold into the bottom hem of the dress.
- Sew around the folded hem with a ⅞ inch seam allowance.
- You could also use fusible hem tape to hem the dress if you want a truly invisible hem.
Sewing Success: The Finished Larimar Cocoon Dress
Share this post with a friend (or two!), download the Larimar Cocoon Dress free sewing pattern, and show us which fabrics and colors you choose, using the hashtags #MoodLarimarPattern & #MadeWithMood—and don’t forget to tag us @MoodFabrics, too.


Free Sewing Pattern Inspiration for Your Next Project
With 525+ free sewing patterns and counting, your opportunities for sewing with Mood are endless!
We hope you had as much fun sewing this cocoon dress pattern as we did! As always, we want to hear from you—share your thoughts and comments below and let us know where you’ll be wearing the Larimar Cocoon Dress free sewing pattern!
Can’t get enough sewing with Mood? Browse your next make with our latest free sewing patterns.