
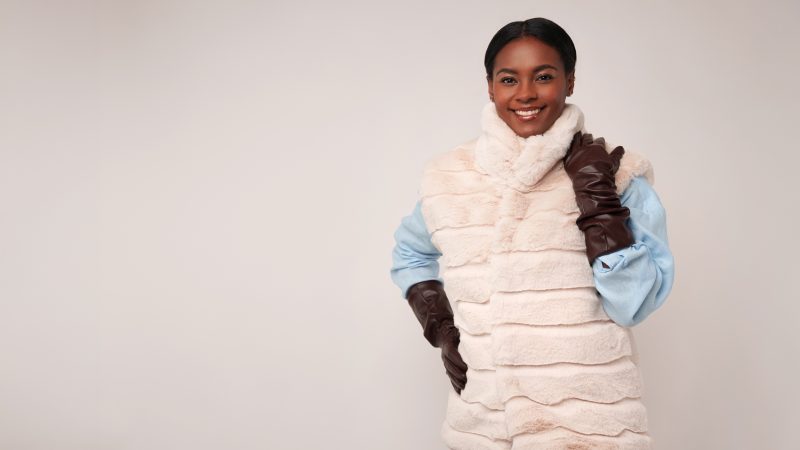
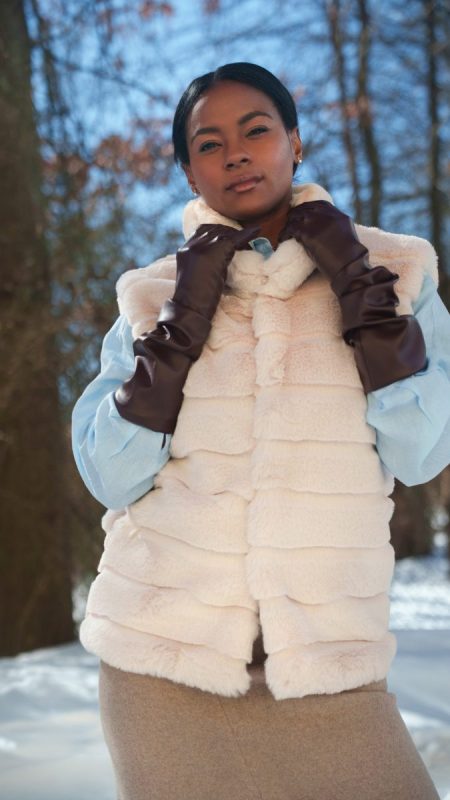
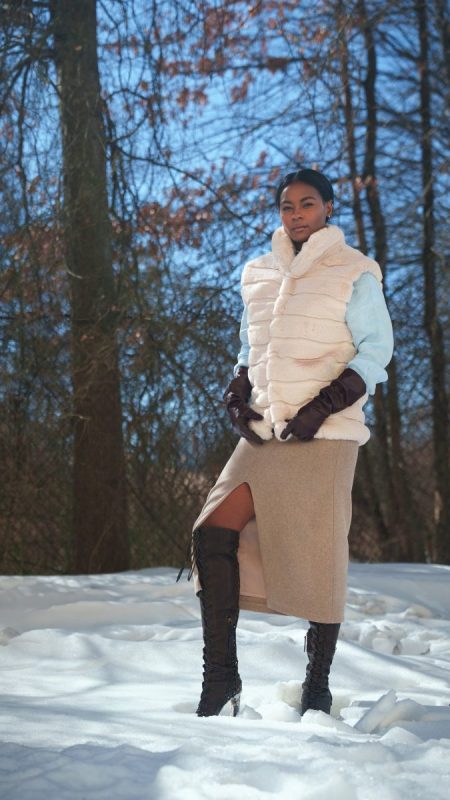
Meet the Summit Fur Vest, your cold-weather plot twist.
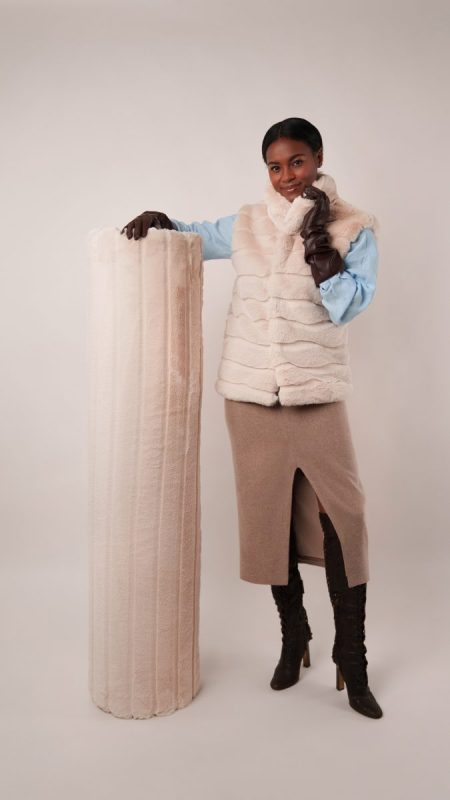
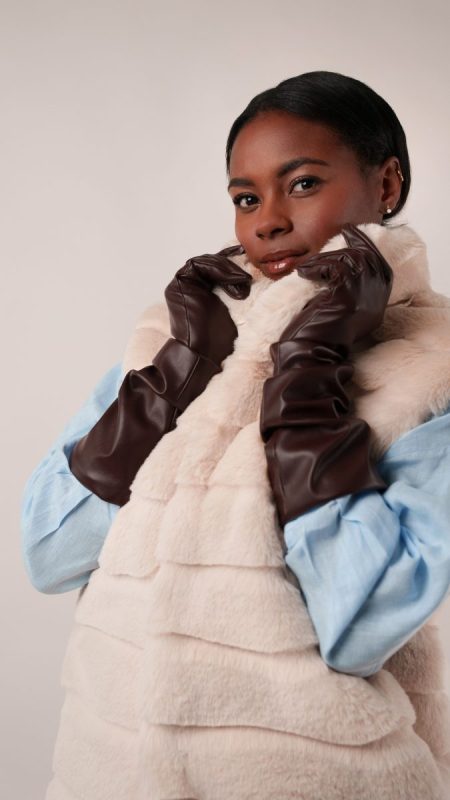
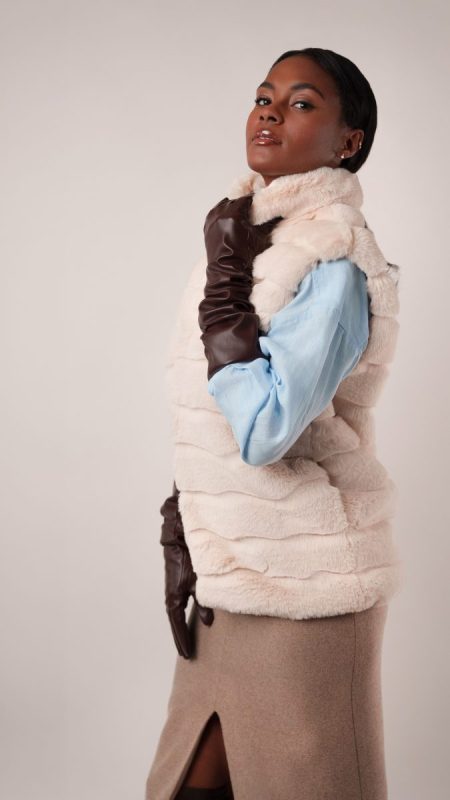
Crafted from an ultra plush, medium pile faux fur that feels like wearable cloud cover, and finished with a silky satin lining that glides over layers without a whisper of resistance, this vest is winter luxury with a practical streak. Yes, we added pockets. Obviously. We are no longer entertaining garments that refuse to hold our lip balm.
The super soft collar rises and wraps gently around the neck and shoulders, sealing out the frost while framing your face like a halo of warmth. Add a set of snaps at the front closure and suddenly this faux fur beauty transforms from cozy layer to fully functional fashion armor.
Below-freezing temperatures love to test your commitment to style. The Summit Fur Vest does not flinch. It laughs softly, buttons up, and steps outside. You can be fashion forward and trend setting even when the forecast reads “arctic.” Layer it over knits, tailored shirting, or a sleek turtleneck and watch winter become your runway instead of your retreat.
And here is the part that feels almost unfair: this pattern is wonderfully beginner friendly. There are only four different pattern pieces. Four. You could absolutely sew this in a single day, start to finish. It is the kind of project that delivers maximum impact with minimum complexity, like a shortcut that still ends at the summit.
Warmth. Drama. Pockets. One day of sewing. The Summit Fur Vest is ready when you are.
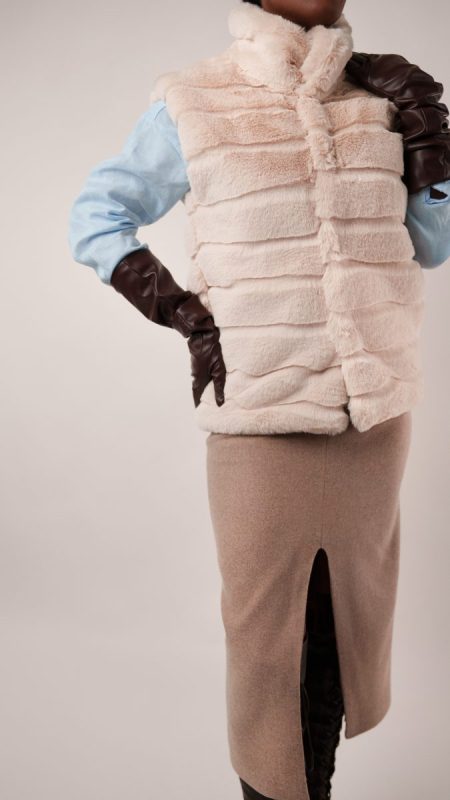
Essential Materials & Sizing Guide for the Summit Fur Vest
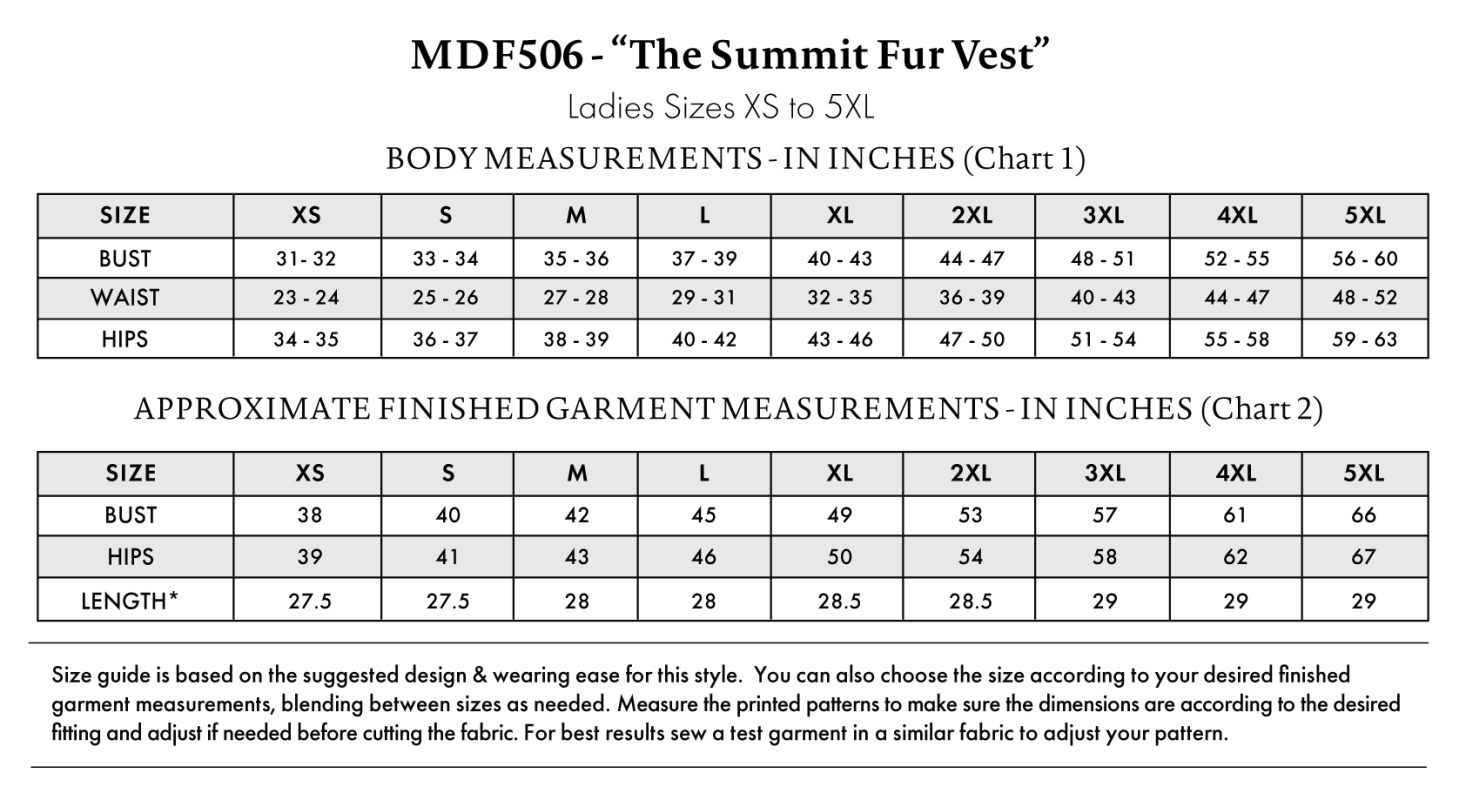
Continue reading for a breakdown of what knowledge and materials you need for creating your very own vest! We’ve got you covered with the recommended materials we used—if you want to follow along exactly—as well as a curated list of alternative fabric type recommendations if you want to customize your own version. The Summit Fur Vest free sewing pattern download includes technical drawings for seam and vest visibility, plus a size chart to help you find your perfect fit!
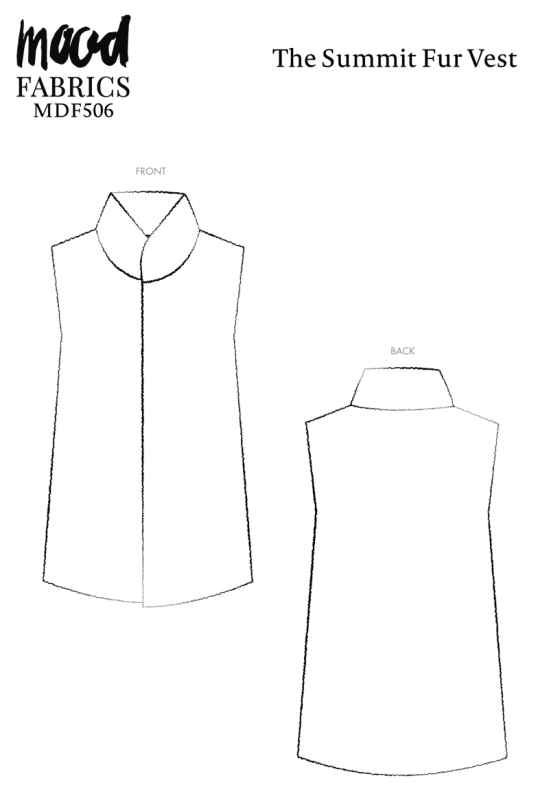
Purchase Products Used Below:
Quantities indicated are for sewing a size small vest.* Toggle the ‘SHOP THIS LOOK’ box to find quantity estimates for other sizes.
- 1.5 yards of Plush Medium Pile Recycled Polyester Faux Fur with Cut Stripes – Ecru
- 1.5 yards of Polyester Satin – Nu Champagne – Reverie Collection
- 2 each of Dritz 2 Sew on Snaps – 30mm
- 1 each of Gutermann Sew All Thread 250m – 505 Cashmere
- MDF506 – Summit Fur Vest Sewing Pattern (Free download below!)
Additional Products Used:
*Quick Tip! The ‘SHOP THIS LOOK’ box defaults to full-yard quantities. To order an exact half-yard quantity for any fabric, simply use the decrease quantity button (-) to subtract by the half yard. Then click “ADD TO CART” to add all materials to your cart. (Our system can only display full-yard quantities initially.)
Alternative Fabric Type Recommendations:
The Summit Fur Vest sewing pattern is best suited for heavy weight fashion fabrics. Explore other fabric types or colors from our featured collections for your vest with the links below.
Fabric Collections Used in this Post:
Download Your Free Sewing Pattern
Submit your name and email in the form below to receive the download link for the Summit Fur Vest free sewing pattern directly in your inbox. Mood Sewciety Patterns will send your free download link via email with the subject line: ‘Your Free Download from Mood Sewciety – The Summit Fur Vest’ (in PDF format for A4 and letter-size printing).
© MoodFabrics.com / MoodSewciety.com – Mass production, resale, or distribution of this pattern in any form is strictly prohibited.
Find Your Perfect Fit
The Summit Fur Vest Sizing Guide is based on the suggested design & wearing ease for this style. You can also choose the size according to your desired finished garment measurements, blending between sizes as needed. Measure the printed patterns to make sure the dimensions are according to the desired fitting and adjust if needed before cutting the fabric. For best results, sew a test garment in a similar fabric to adjust your pattern.
Note: Always read all the instructions before cutting the fabric!
How to Sew The Summit Fur Vest
The instructions provided below are designed to guide you through sewing the Summit Fur Vest from start to finish.
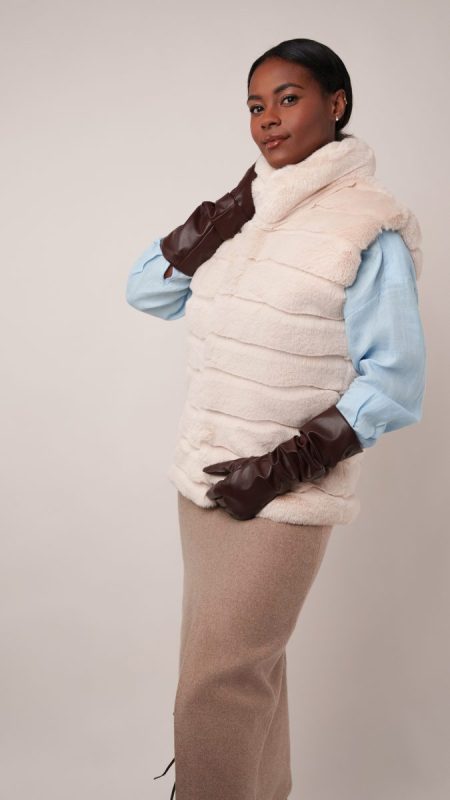
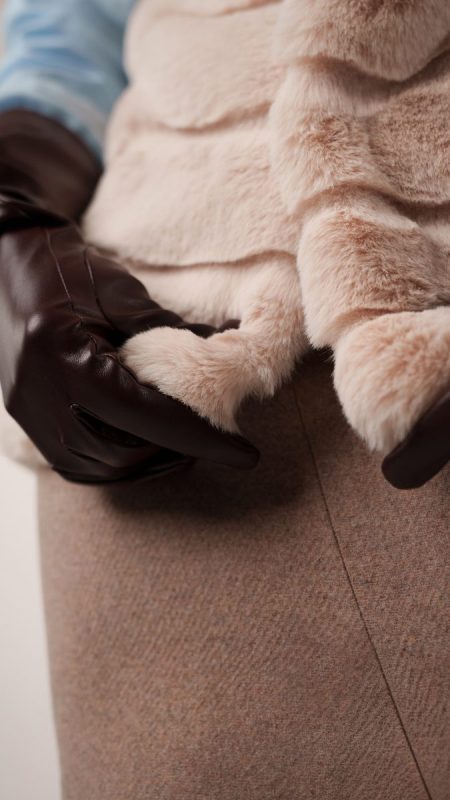
4 Tips for Sewing with Faux Fur
⇒ Do not iron it.
⇒ Do not put it in the washing machine or dryer after you make this garment. Take it to the dry cleaners.
⇒ When pinning faux fur right sides together with itself, tuck the fur sticking out over the raw edge in between the two pieces of fabric you’re pinning together. This will ensure that once it’s sewn, the fur won’t be stuck in the seam.
⇒ When cutting out the pattern, only cut through the backing of the faux fur. If you cut through the fur itself, you’ll have a hairy mess all over your sewing room.
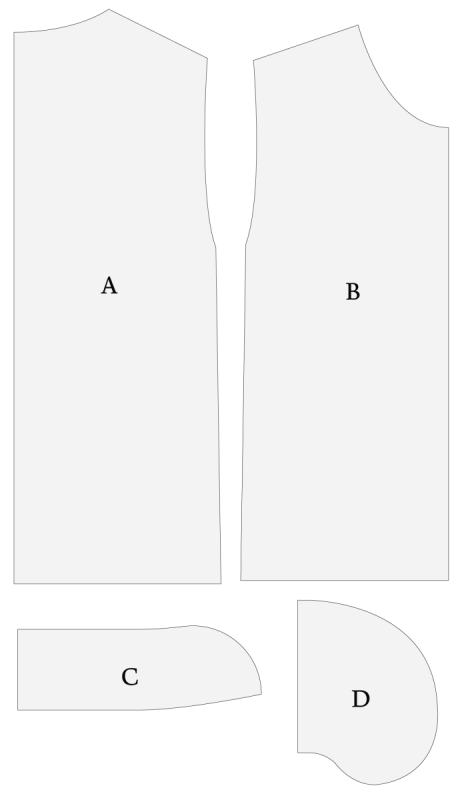
Pattern Pieces & Fabric Cuts Needed
- (A) BACK
- Fabric – Cut 1 on Fold
- Lining – Cut 1 on Fold
- (B) FRONT
- Fabric – Cut 2 Mirrored
- Lining – Cut 2 Mirrored
- (C) COLLAR
- Fabric – Cut 2 on Fold
- (D) POCKET
- Lining – Cut 2 Mirrored Pairs
Sew with a 1/2″ seam allowance for all seams unless otherwise specified.
Step 1
LINING COLLAR
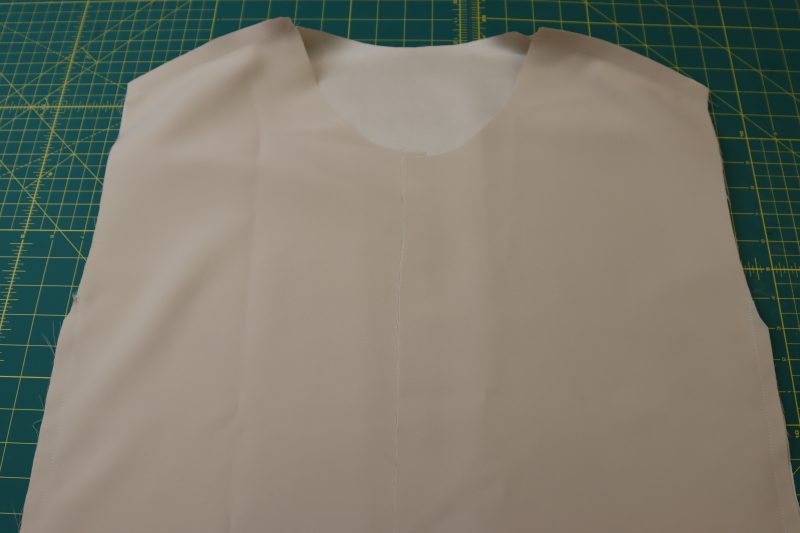
- Place the front vest lining pieces on top of the back vest lining piece right sides together and line up the shoulders.
- Pin and sew the front and back lining pieces together at the shoulders.
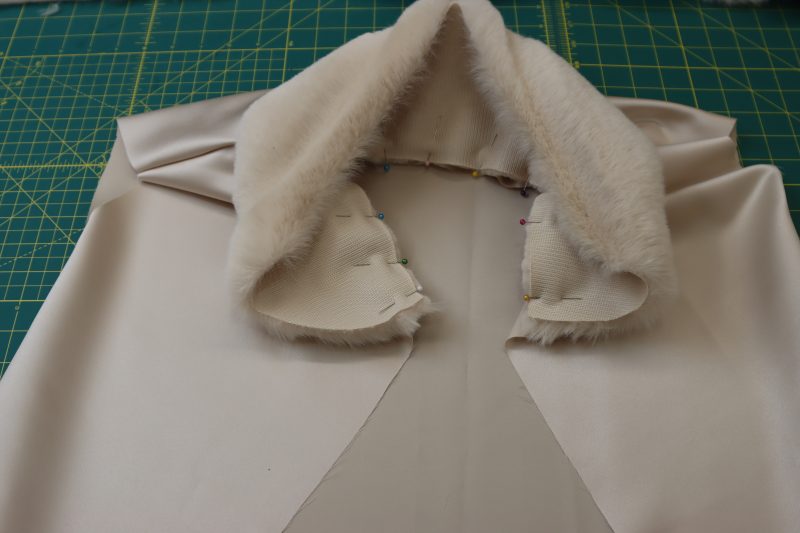
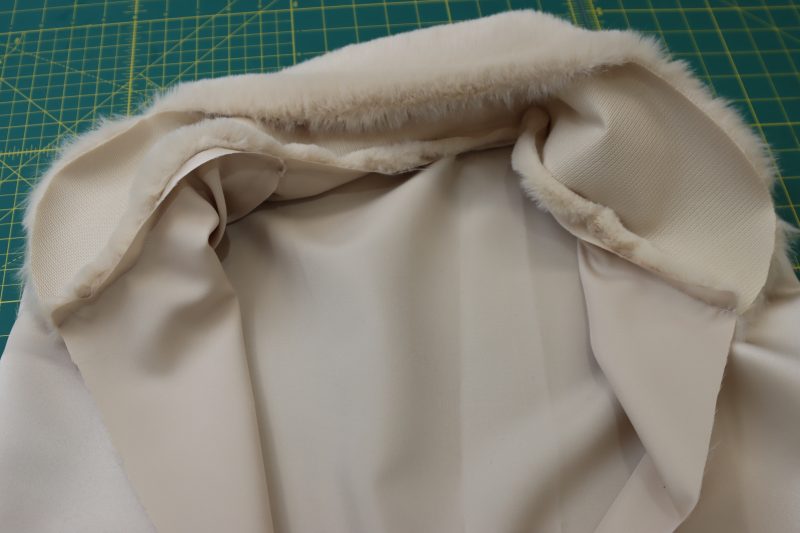
- Pin the straighter edge (not the one with the curved corners) of one of the faux fur collar pieces to the neckline of the lining, right sides together.
- Sew the faux fur collar to the lining.
Step 2
POCKETS
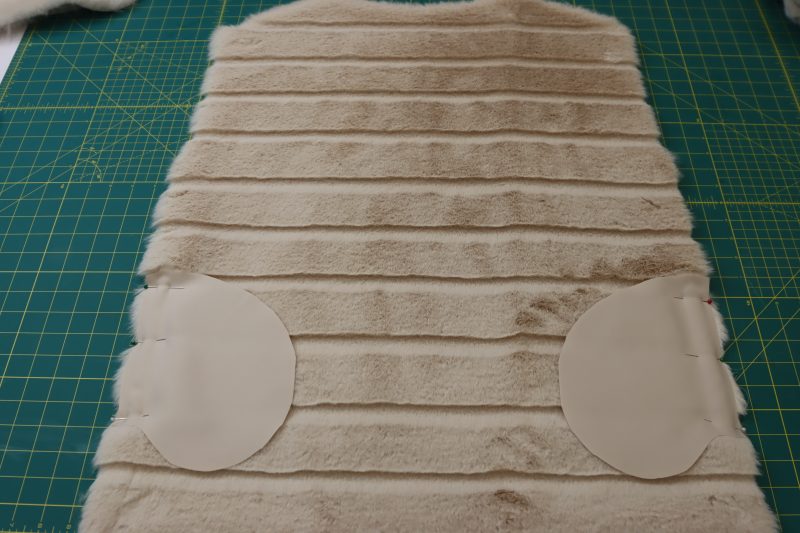
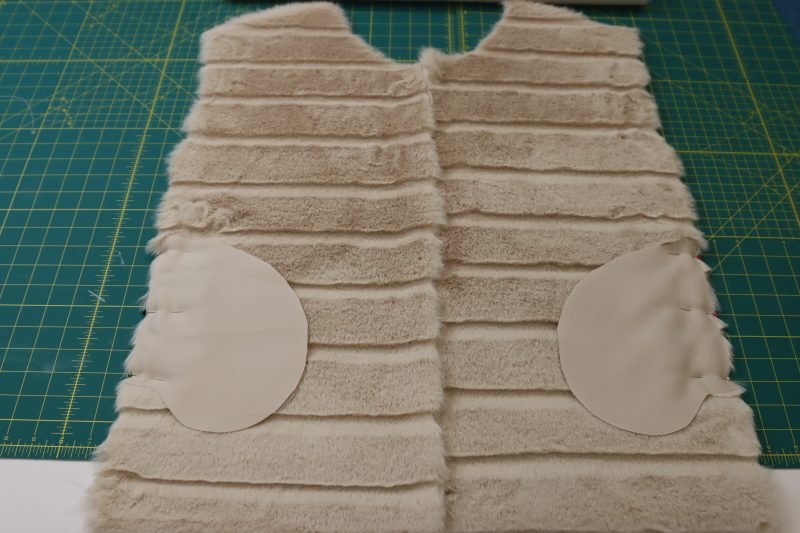
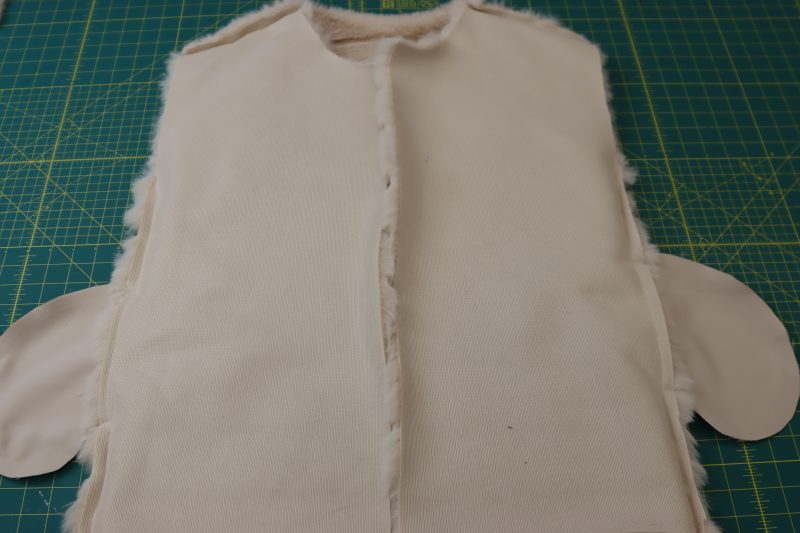
- Place the pocket pieces right sides together with the side seams of the faux fur back vest. The pockets should be centered on the side seams.
- Pin the pockets to the faux fur back of the vest.
- Repeat the same steps with the pockets on the faux fur fronts of the vest.
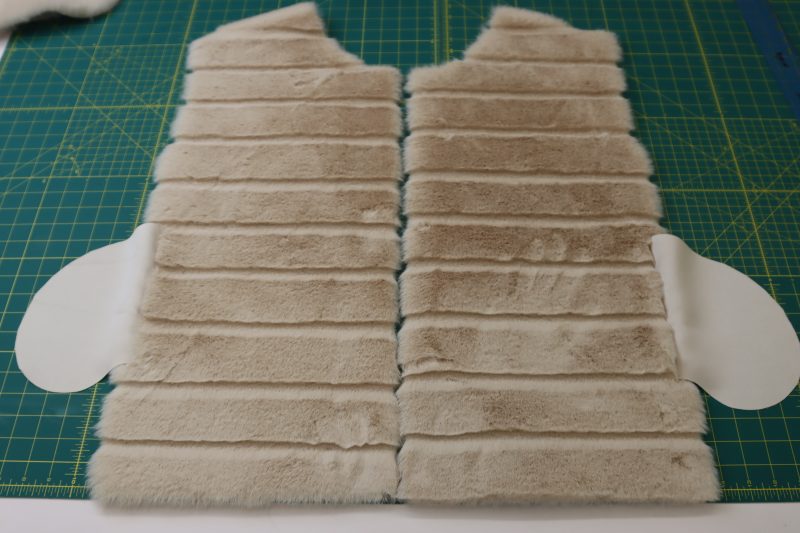
- Sew the pockets to the side seams of the vest.
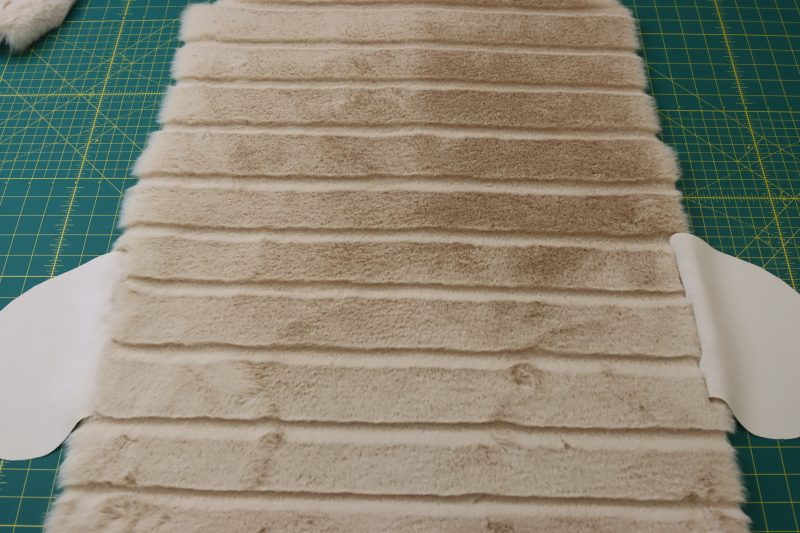
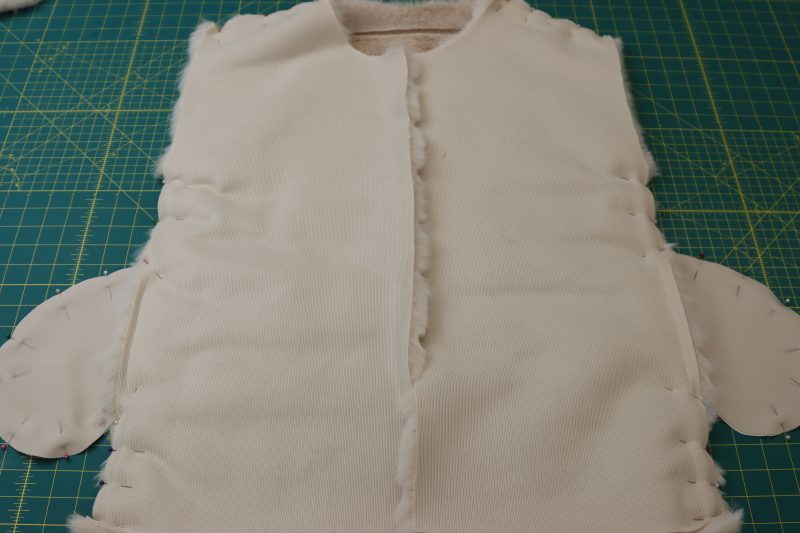
- Place the front faux fur pieces on top of the back faux fur piece right sides together with the pockets splayed out to the sides.
- Pin from the armpit to the hem at the side seams, making sure to pin all the way around the pocket bags.
- Sew the side seams and pocket bags.
- Pin and sew the front and back faux fur pieces together at the shoulders.
Step 3
SHELL COLLAR
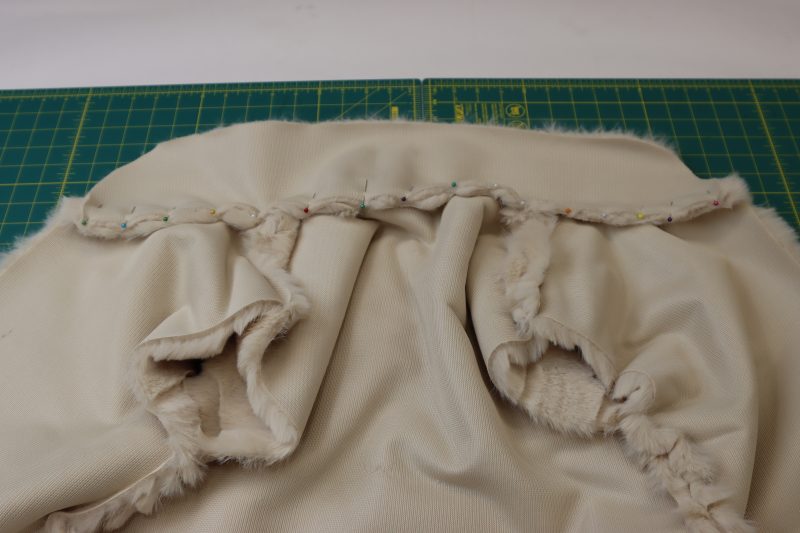
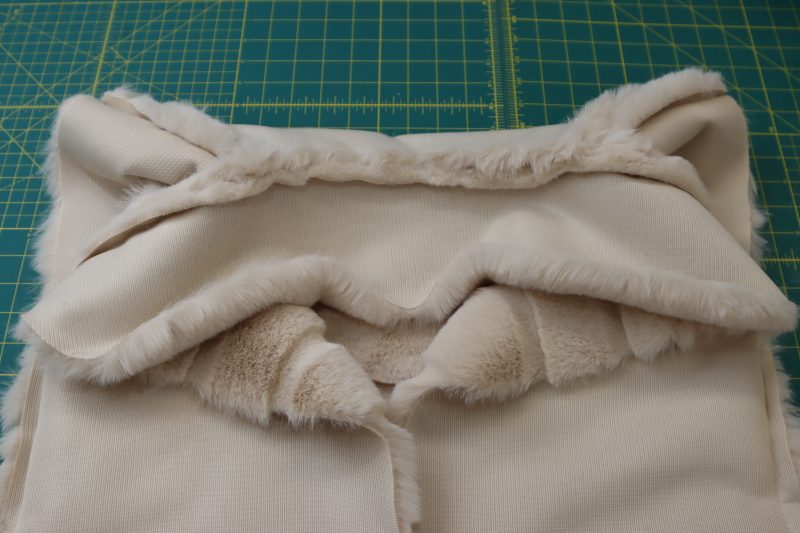
- Pin the faux fur collar to the neckline of the faux fur layer of the vest right sides together.
- Sew the collar to the faux fur layer.
Step 4
ATTACH LAYERS
- Place the lining vest inside of the faux fur vest, right sides together.
- Pin the two layers together around the neckline and both sides of the front opening.
- Sew the front of the vest right sides together.
- Flip the vest right sides out.
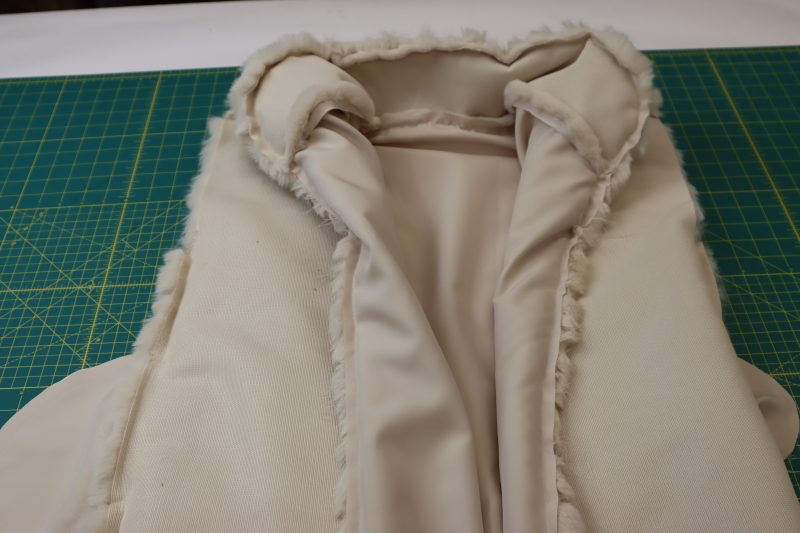
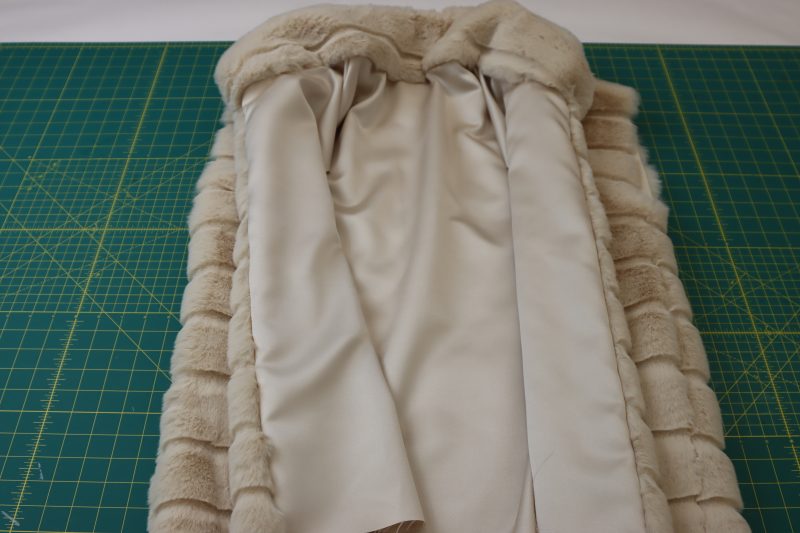
Step 5
ARMSCYES
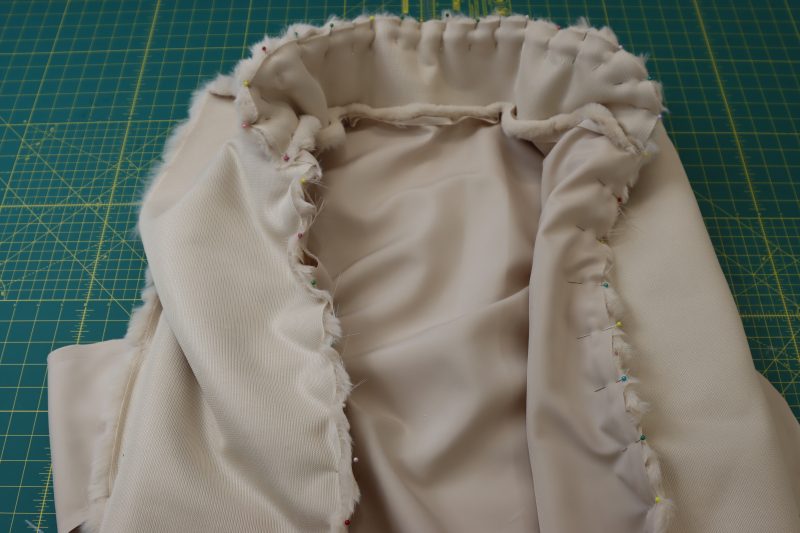
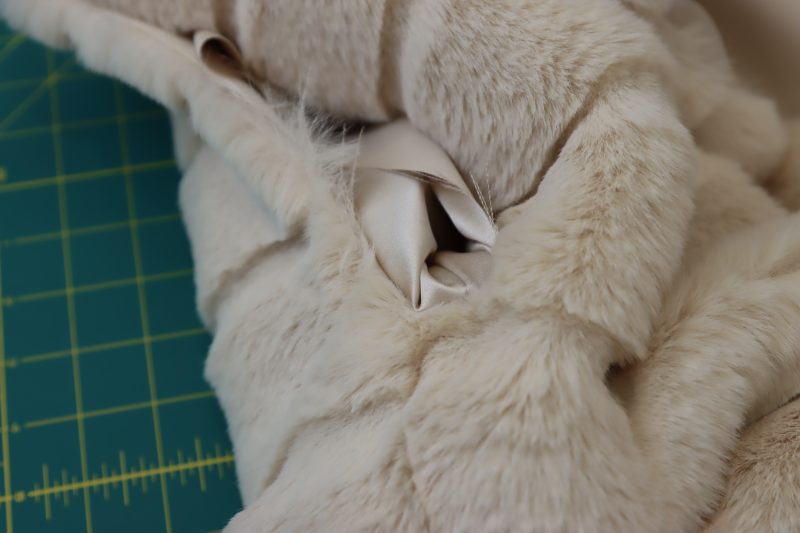
- Reach your hand through the bottom of the vest in between the lining and the shell, grabbing the seams under the armpit of one of the arms.
- Pinch the two seams between your fingers and fold just that part of the armscye right sides together, as shown in the photo below.
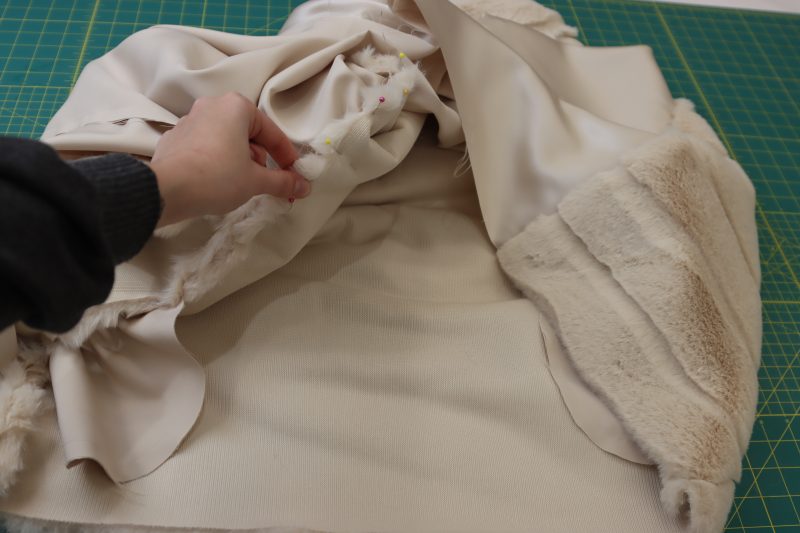
- Keeping the two seams pinched between your fingers, pull the armscyes out through the bottom hem opening of the vest and place a pin to connect the two pinched seams, right sides together.
- Begin placing pins all around the armscye, keeping the shell and the lining right sides together (Note: You will have to pull and manipulate the fabric a little bit because you are essentially sewing two holes to one another from the inside of the vest. Just go slowly and trust that all the raw edges will be hidden in the end).
- Sew around the pinned armscye.
- Cut notches into the area under the armpit to allow the fabric to lay flat when ironed.
- Flip the whole vest right sides out again and iron the armscye flat.
- Repeat the previous 7 steps to the opposite armscye.
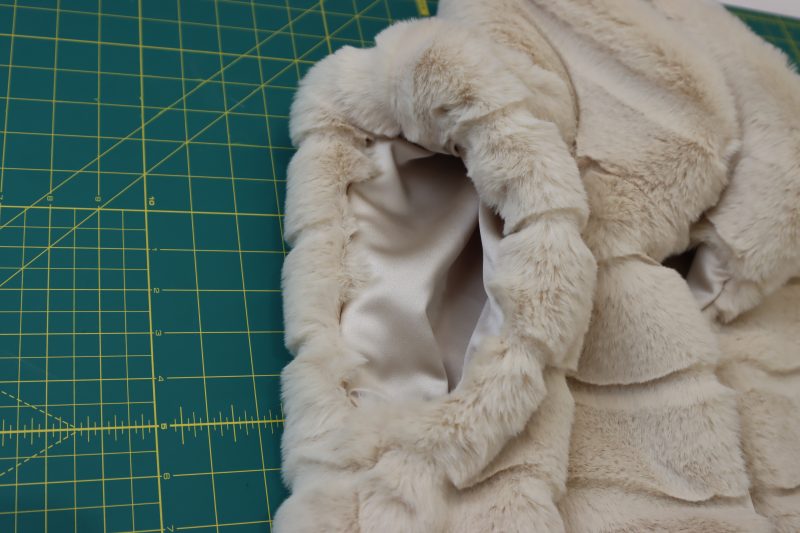
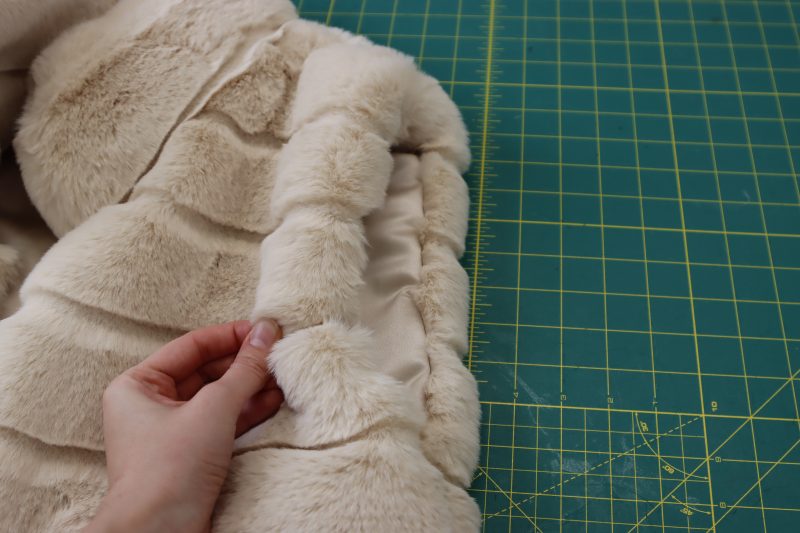
Step 6
HEM
- Flip the vest inside out from the bottom hem, making the lining and faux fur lay right sides together.
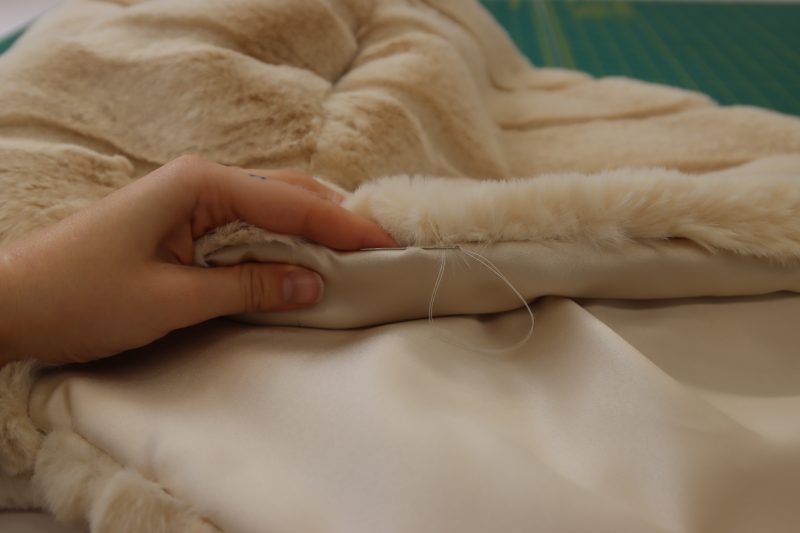
- Pin and sew the bottoms of the lining and the faux fur vest together, leaving a 6 inch gap through which to flip the vest right sides out.
- Flip the vest right sides out through the gap you left in the hem.
- Hand sew the gap in the hem closed using a ladder stitch and a needle and thread.
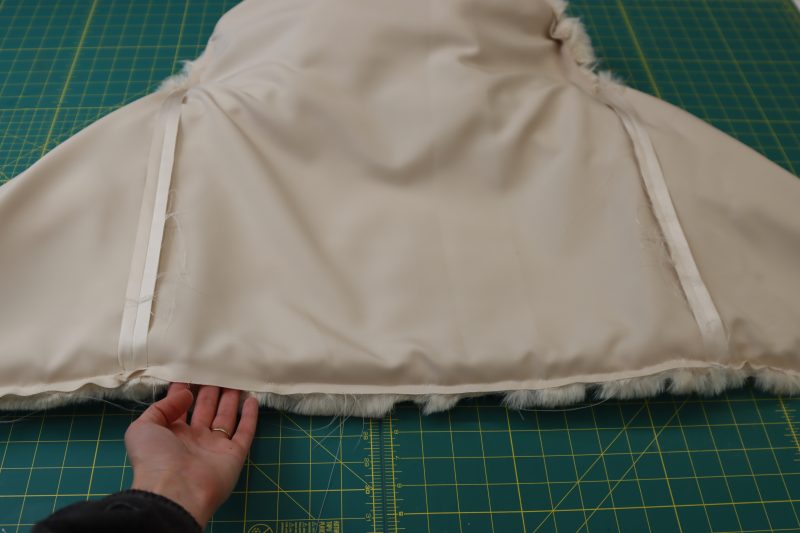
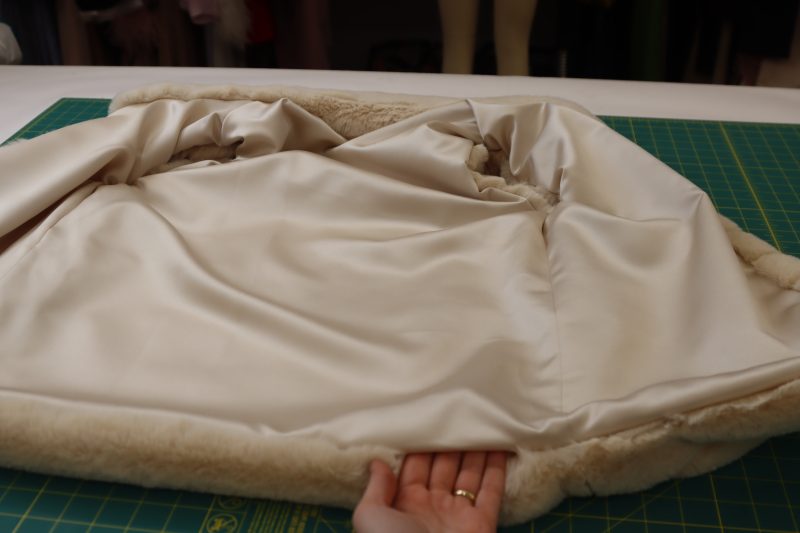
Step 7
SNAPS
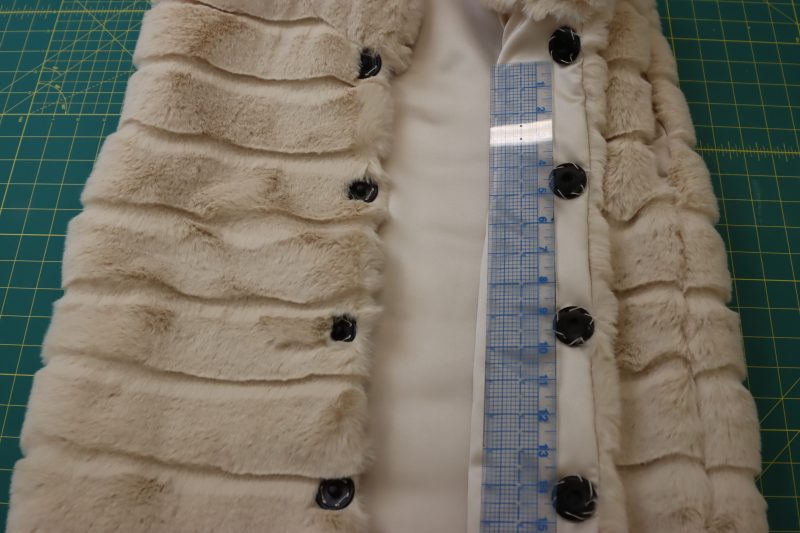
- Using a ruler, decide how many snaps you want on the front of the vest and how far apart you want them to be (I used 4 snaps and they were 5 inches apart from each other).
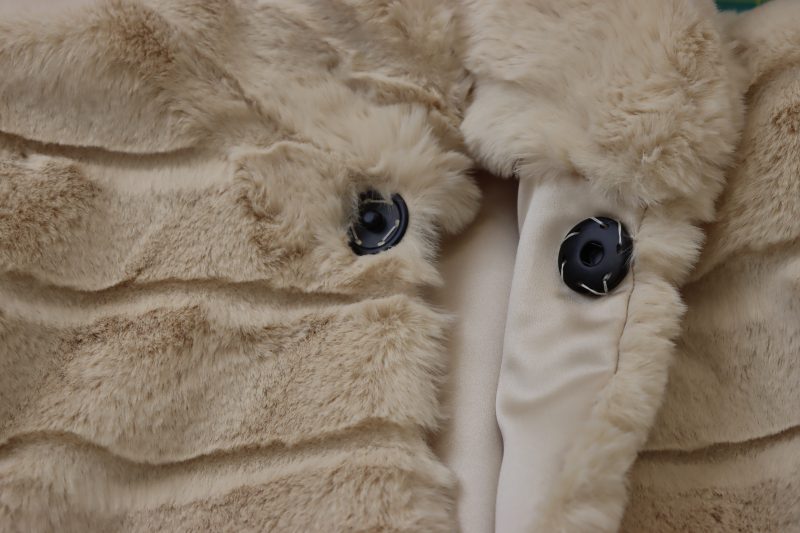
- Hand sew the fronts and back of the snaps opposite to each other on both sides of the front opening of the vest. The outie end of the snap should be on the faux fur side of the opening and the innie end of the snap should be sewn into the lining, as shown in the photo below.
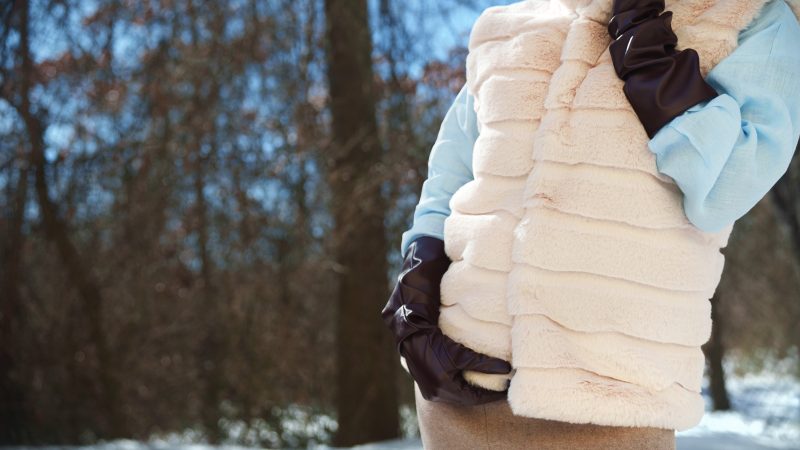
Sewing Success: The Finished Summit Fur Vest
Share this post with a friend (or two!), download the Summit Fur Vest free sewing pattern, and show us which fabrics and colors you choose, using the hashtags #MoodSummitPattern & #MadeWithMood—and don’t forget to tag us @MoodFabrics, too.

Free Sewing Pattern Inspiration for Your Next Project
With 500+ free sewing patterns and counting, your opportunities for sewing with Mood are endless!
We hope you had as much fun sewing this vest pattern as we did! As always, we want to hear from you—share your thoughts and comments below and let us know where you’ll be wearing the Summit Fur Vest free sewing pattern!
Can’t get enough sewing with Mood? Browse your next make with our latest free sewing patterns.

Downloading the free patterns is not working-email never generates. I’ve tried it with multiple patterns so you just subscribe and nothing.
Hey Gabriella, I’m sending this pattern directly to your email now. Check your inbox when you see this.
Hi Marisa,
I encounted the same issue as Gabriella. When I went to print the pattern, there were many parts of the pattern missing.
Thank you for your assistance.
Hey Cynthia, go ahead and try printing it again. There should only be 4 pattern pieces in total (front, back, collar, pocket), and there should only be one page that is completely empty (D5).
thank you
So many patterns this week! So exciting, thanks for all your hard work
Thank you for noticing, Liv! We’ve been working really hard to be consistent with both the quality and quantity of our patterns. I’m so glad you’ve been loving them.
A couple of extra steps:
It would reduce bulk if the fur in the seam allowances was trimmed before sewing.
For a couture finish, the giant snaps could be covered with lining fabric before attaching. Or at least, use a silver snap or better match (i realize the stark contrast is easier to see for instruction, & you probably know this).
These are really great tips Sue! These changes would give it an even more professional finish.
I’d like to add a hood … any suggestions ? Also ,
Can I use your short piece fur for this ? Thanks
Hi Jessica! Try taking the hood pattern from the Spokane Hoodie from Mood Sewciety and cutting it out in the same fabric you’re using for the outside of the vest. I recommend sewing the hood in between the collar and the neckline of the vest, so that the hood is inside the collar and not covering it.
Hallo zou graag het patroon van bodywarmer krijgen
Je kunt het patroon gratis downloaden door je naam en e-mailadres in te vullen in het veld onder ‘Download je gratis naaipatroon’. Controleer vervolgens je e-mailinbox (en voor de zekerheid ook je spammap) op een e-mail van Mood Sewciety Patterns met als onderwerp ‘Je gratis download van Mood Sewciety’. Scroll naar beneden naar de blauwe link onder de titel van de e-mail en klik daarop. Deze knop brengt je naar de webpagina met de pdf van het patroon, die je thuis op A4-papier kunt afdrukken. Laat het me weten als je nog hulp nodig hebt bij het downloaden van het patroon!
Yes please
Hey I am a bit confused, there is no mention of when to sew the back lining to the back fabric. I have just about to start step 5, the armpits, but my sides’ back lining is not sewn into the fabric nor are my side lining pieces. Should I have sewn the lining to the fabric when doing the pockets? However, looking at the photos of the POCKETS step- there is no mention of lining nor are the photos showing lining? Thank you for your help!!
Hey Iz, the lining is only sewn to the main fabric around the neckline, arm holes, and bottom hem. Basically, you make the same exact vest out of the lining that you do with the main fabric, then you put the lining inside of the main fabric right sides together, then you attach them at the neckline, armholes, and hem. The side seams of the lining are never connected to the vest. This is standard for most jackets and outerwear with linings.
Additionally, the pockets are only sewn into the main fabric, not the lining. The pocket bags just sit in between the main fabric and the lining. I hope this clarifies that step where you got stuck!
Hi, I’ve downloaded the patterns and I have a question. Why aren’t the shoulder measurements the same for the back and front, even though it’s the same size?
Hi Ruth
Thank you for your comment!
I just checked the patterns to confirm, and the front and back shoulders match in all sizes. Sometimes shoulders can appear different due to the seam allowance. You can mark the seam lines 1/2″ inside the edge of the pattern pieces, this way you can match the seam lines and trim any excess seam allowance where needed.
Hi I love this pattern was just wondering if you could add sleeves to this and if yes what do you recommend thanks for this lovely pattern x
Hey Sarah! If you want to add sleeves to this vest, I recommend using the sleeve pattern from the Glacial Duster Coat. It is a really similar faux fur coat and the sleeves will work for both patterns.