
Create a blend of joyfulness and sophistication for your closet with The Marostica Midi Dress Free Sewing Pattern!
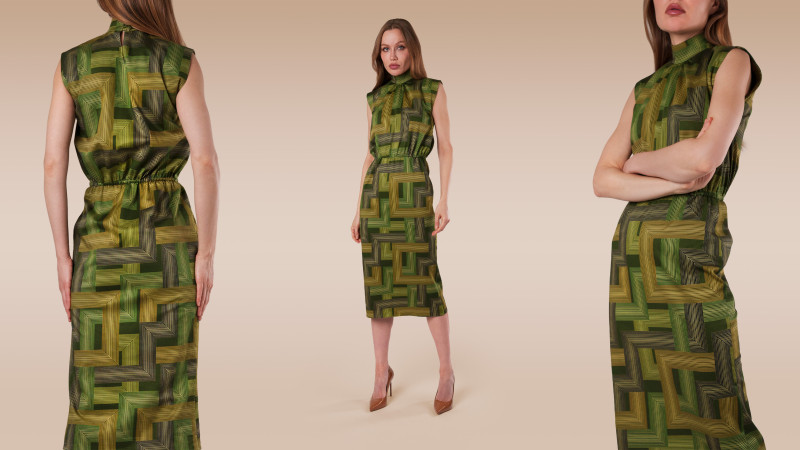
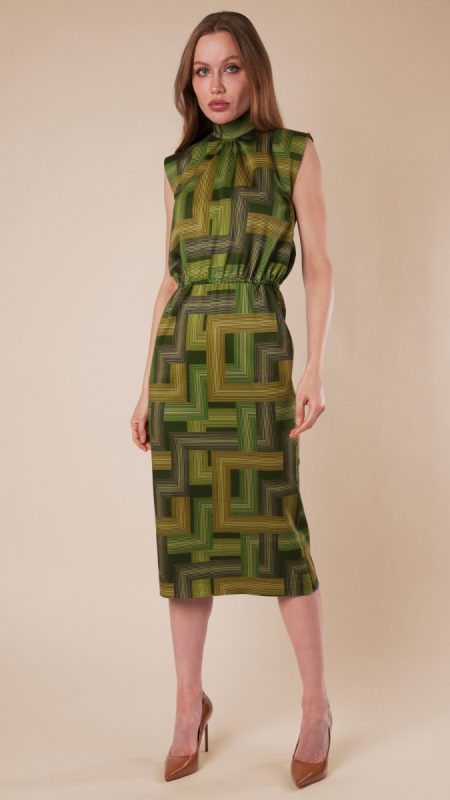
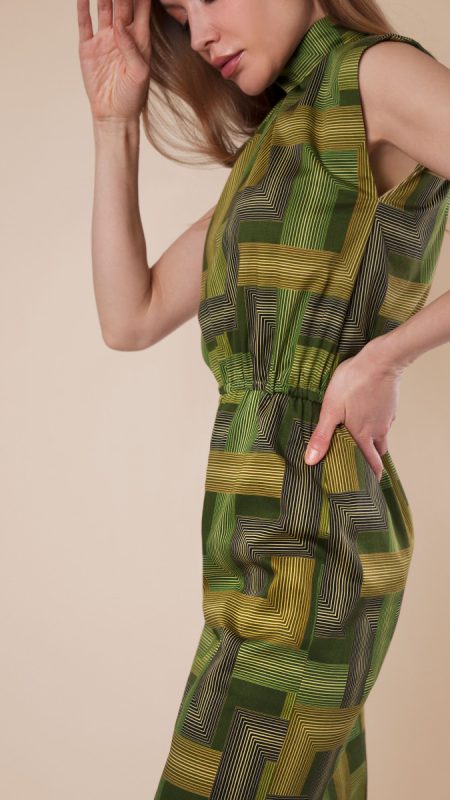
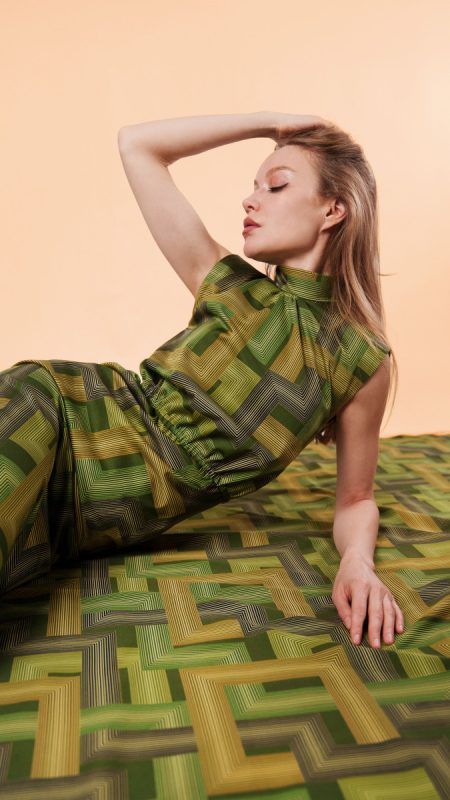
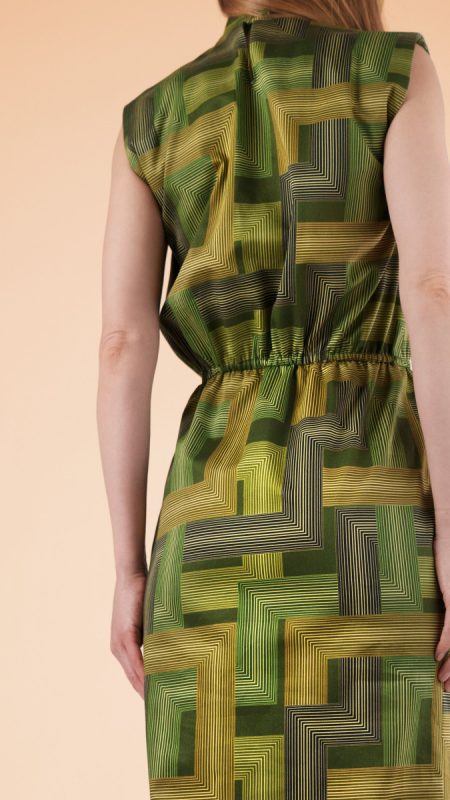
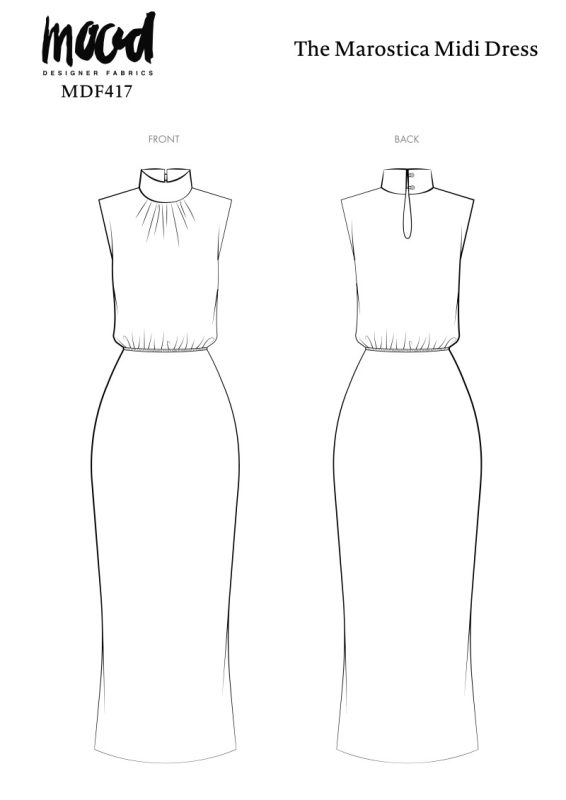
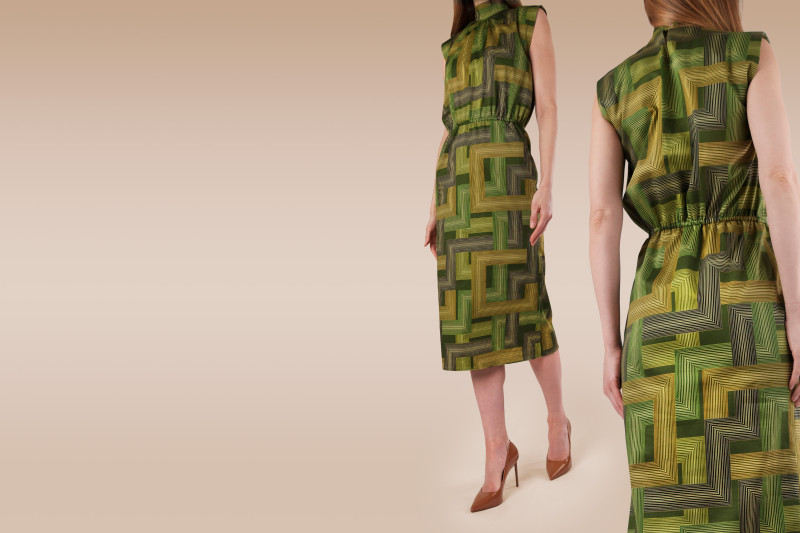
Named after the town of Marostica, Italy—famous for its life-sized human chess games—this dress is made to captivate, featuring a hedge maze print that takes inspiration from the art of strategy and puzzle-solving. This sleeveless design showcases a refined mock neck with subtle gathers at the front, while the back of the collar fastens with silk buttons and delicate button loops. An elasticated waistline creates a beautiful contour while providing all-day comfort.
The flowy, midi-length skirt completes the dress, making this elegant look ideal for a range of occasions—from weekend outings to evening events. Whether you’re a beginner ready to challenge yourself or an experienced sewist looking for a quick, satisfying project, this sewing project is a perfect addition to your handmade collection. Much like solving a maze or playing a strategic game, sewing The Marostica Midi Dress is like embarking on a creative journey, where each step brings you closer to a stunning, timeless piece with a playful twist!
Purchase Products Used Below:
- 2 yards of Stretch Cotton Sateen – Olive and Hunter Green Geometric Lines – Hedge Maze Print – Mood Exclusive Acadia Collection (59” Width)
- 2 each of Mood Exclusive Pesto Silk Covered Button – 16L/10mm
- 1 yard of White Elastic – 0.25″
- 1 Spool of 768 Apple Green 100m Gutermann Sew All Thread
- MDF417 – The Marostica Midi Dress Sewing Pattern (Free Download below!)
Alternative Recommended Fabrics:
How To Sew The Marostica Midi Dress Free Sewing Pattern:
Use a 1/2″ seam allowance for all seams unless otherwise specified.
Tips for sewing with stretch cotton sateen – *97% Cotton 3% Elastane (10% Weft stretch)
- Use a stretch or ballpoint needle (size 75/11 or 80/12). These needles are designed to prevent skipped stitches on fabrics with some stretch.
- Sew with a stitch length of around 2.5 – 3.0mm to achieve neat, durable stitches on a medium-weight fabric.
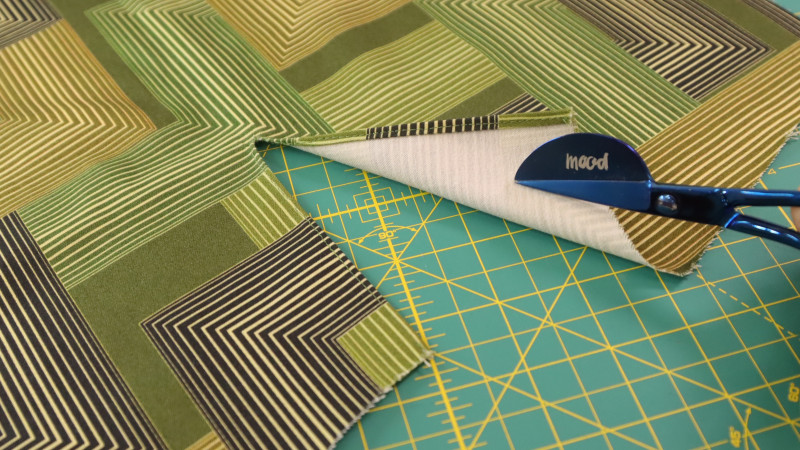
- Finish the seams with a French seam or overlock stitch to maintain a neat seam and prevent fraying.
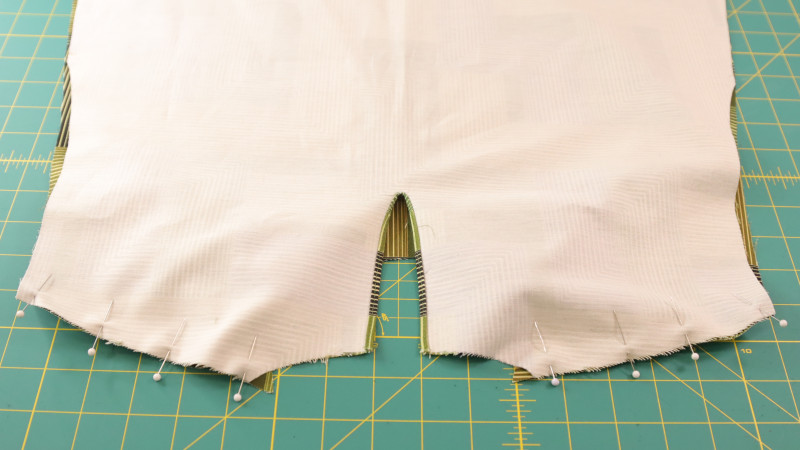
Step 1
To create the keyhole at center back, cut a slit down to the notch mark. Finish the edges by sewing a rolled hem.
Step 2
Join front and back together by sewing at the shoulder seams.
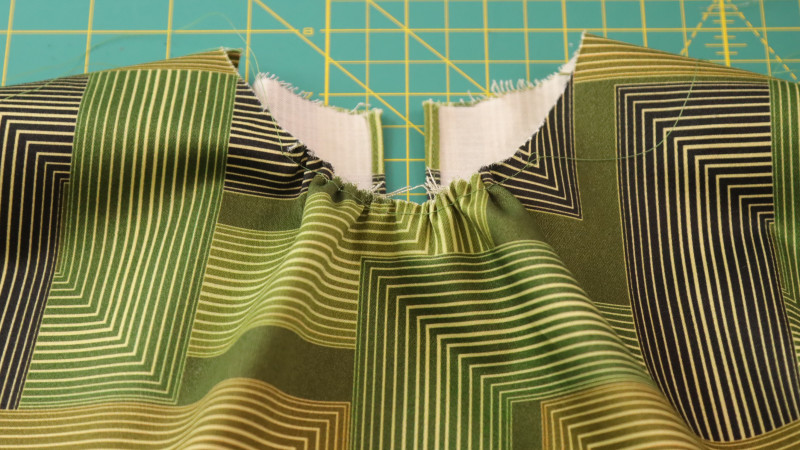
Step 3
Sew a basting stitch ¼” at the front to gather the front neckline.
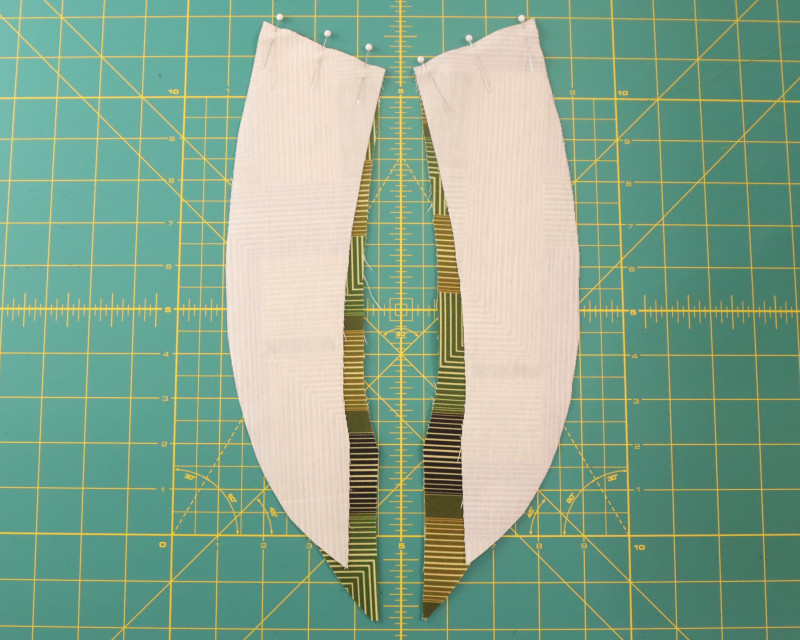
Step 4
Join the front and back armhole facings by sewing at the shoulder seam.
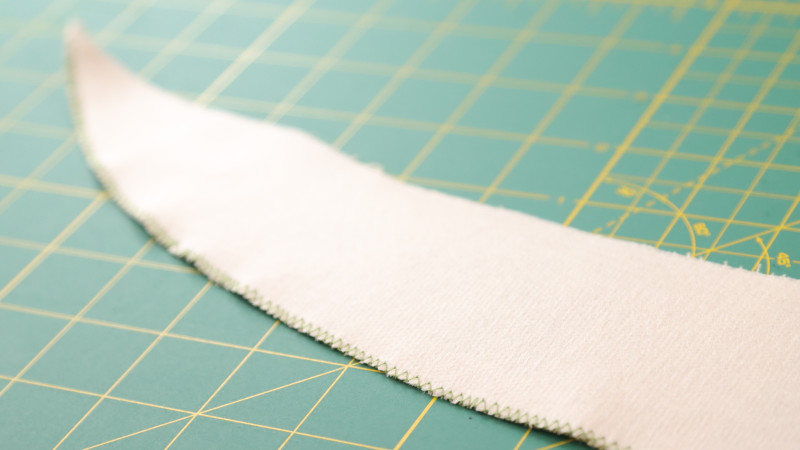
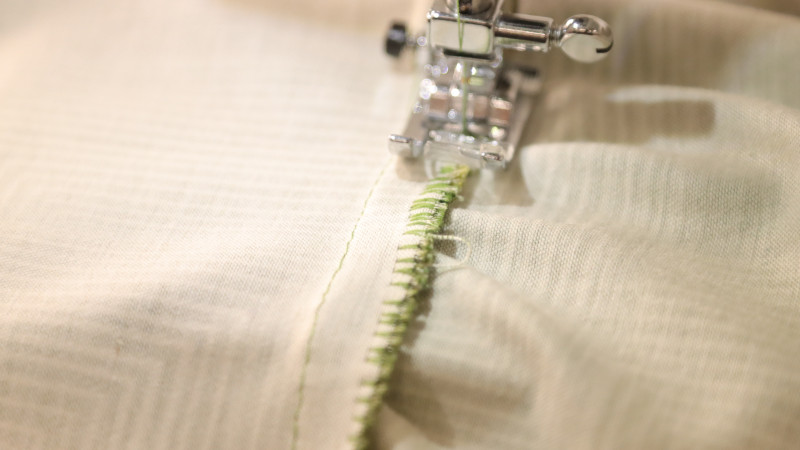
Step 5
Add interlining to the entire armhole facing and finish the edges with a serger or a zig-zag stitch.
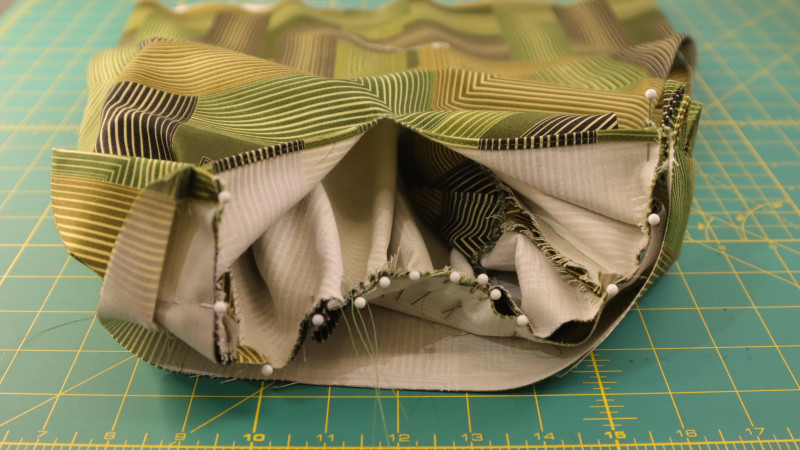
Step 6
Pin and sew the armhole facings along the armhole.
Step 7
Join front and back together by sewing the side seams.
Step 8
Under stitch the armhole facing to the seam allowance and sew the opposite side with an invisible stitch.
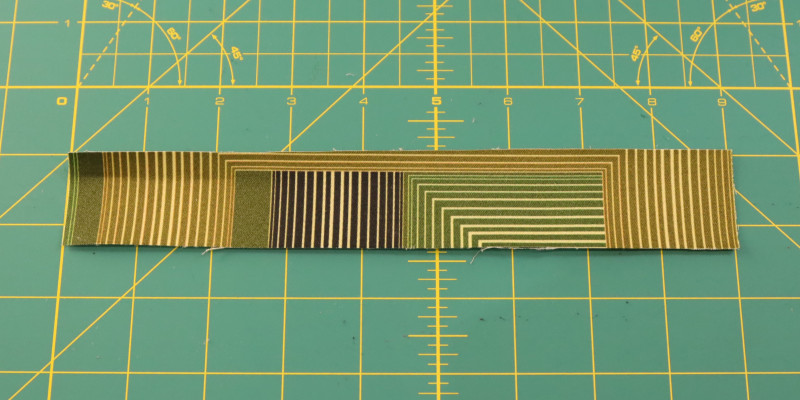
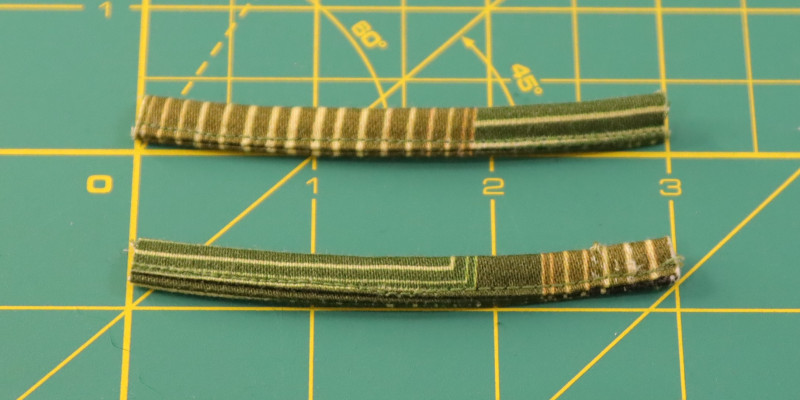
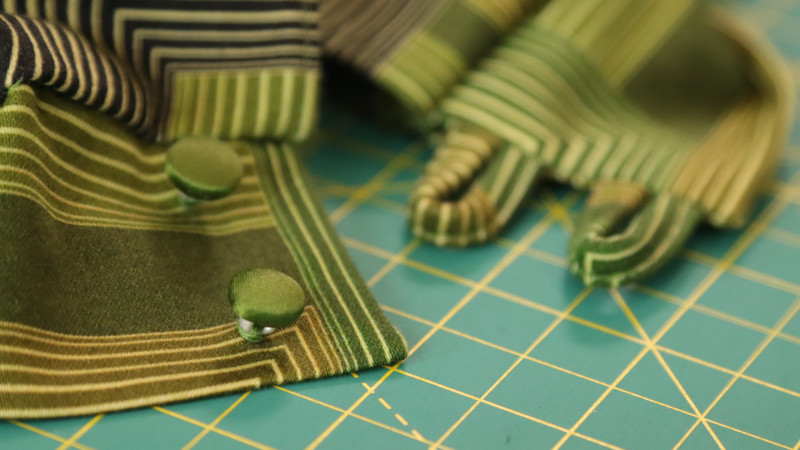
Step 9
To create the button loops with self fabric, cut a strip 1.5” wide. Fold the strip lengthwise, sew 1/4″, and press. Use a loop turner to turn the fabric right side out, then cut 3” loops.
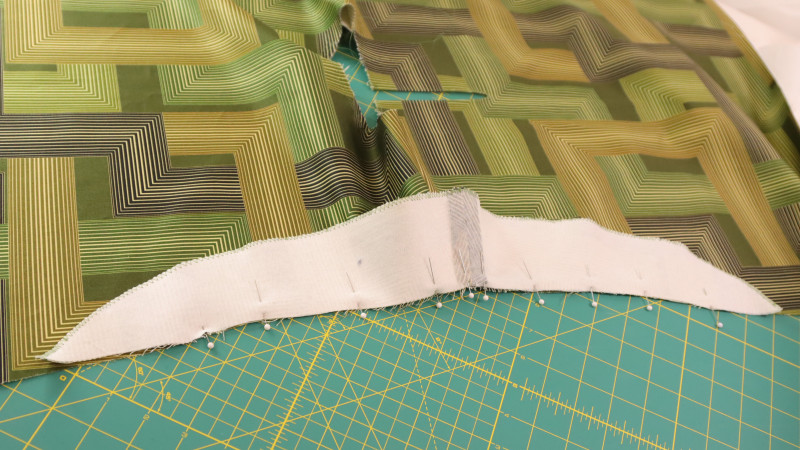
Step 10
Sandwich the loops in between the seam allowance and sew both sides of the collar, leaving 1/2″ seam allowance at the bottom.
Step 11
Sew one side of the collar along the outside of the neckline.
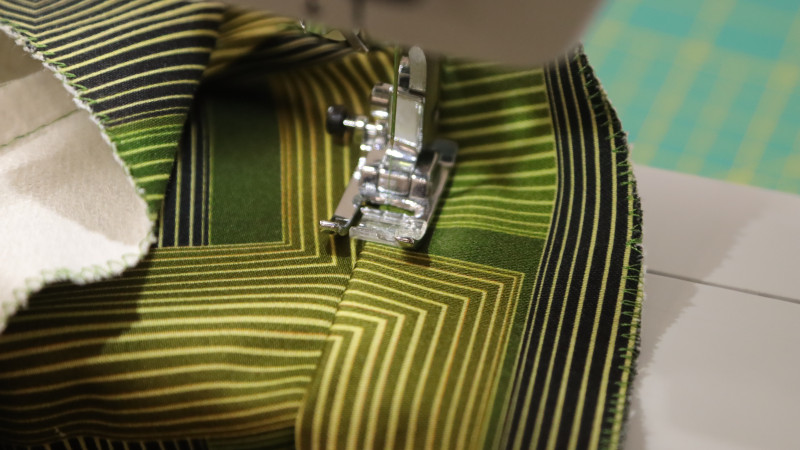
Step 12
Pin the other side of the collar to the inside of the neckline, then “stitch in the ditch” from the outside.
Step 13
Use a hand needle to sew the buttons on the other side of the collar.
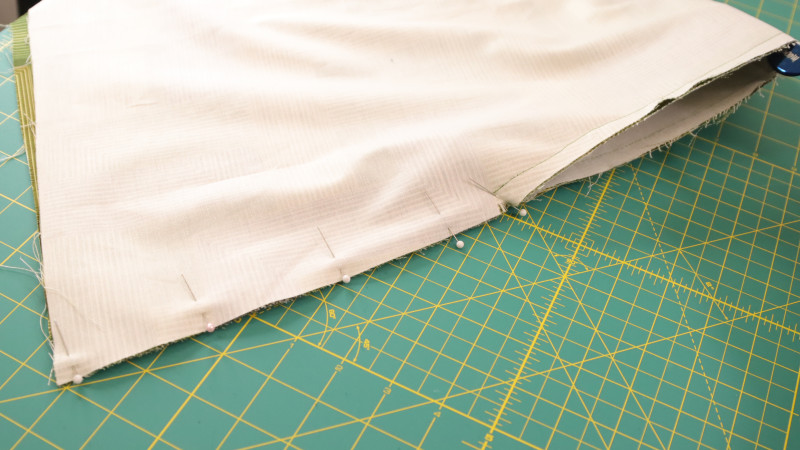
Step 14
Join the front and the back of the skirt together by sewing at the side seams.
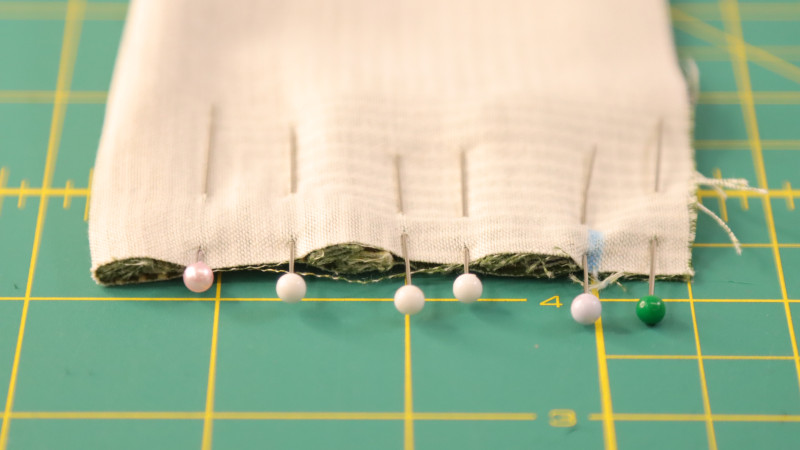
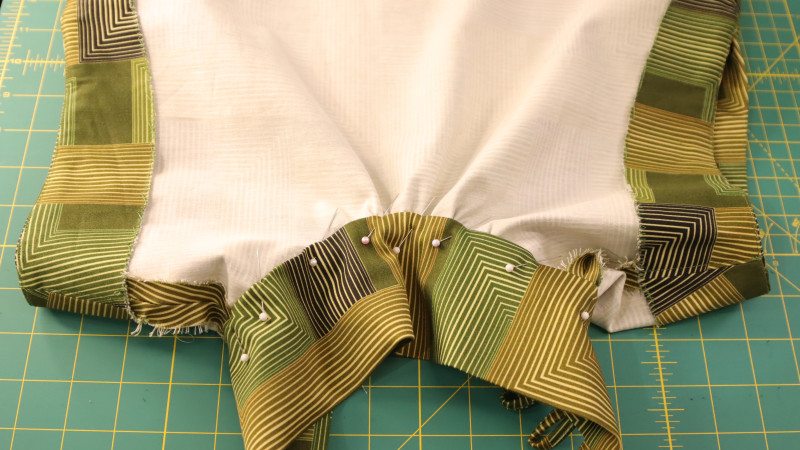
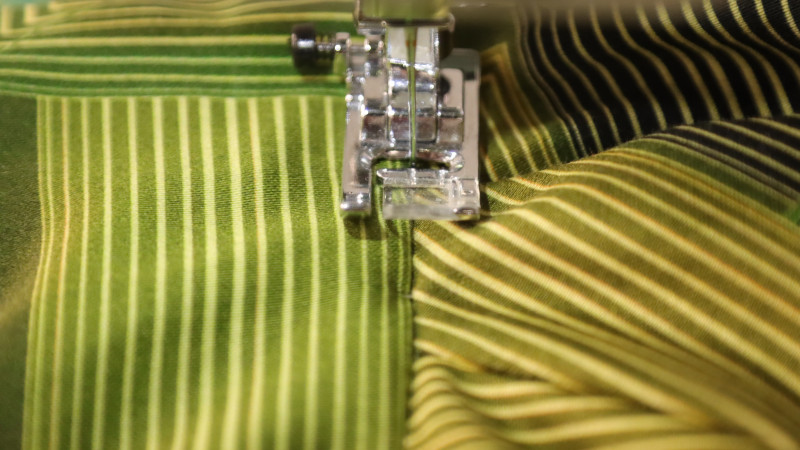
Step 15
Sew a basting stitch 1/4″ around the bottom of the bodice, then join the skirt to the bodice by sewing around the waistline.
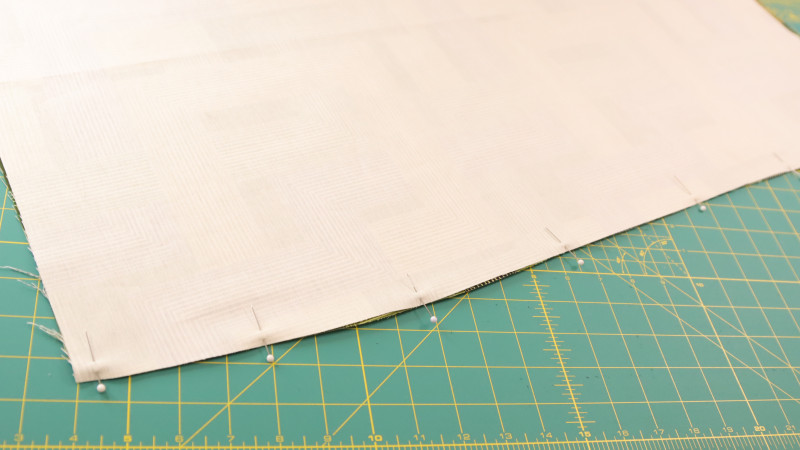
Step 16
Press the seam allowance upward, then sew across the top edge to create a casing for the elastic. Leave a 1″ gap open as an entry to insert the elastic.
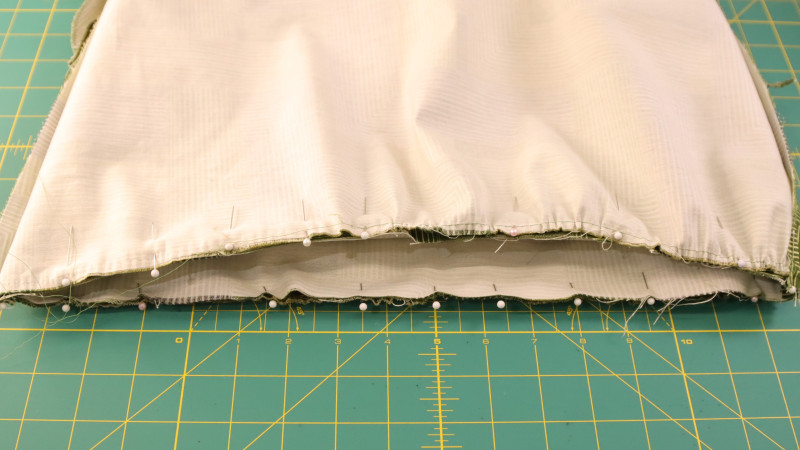
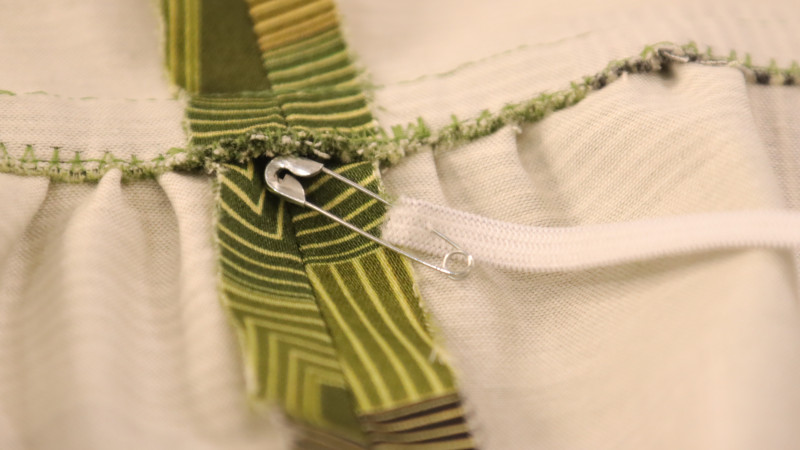
Step 17
Use a safety pin to pass the elastic through one side of the casing and back out the other side. Sew the ends of the elastic together and close the 1” gap.
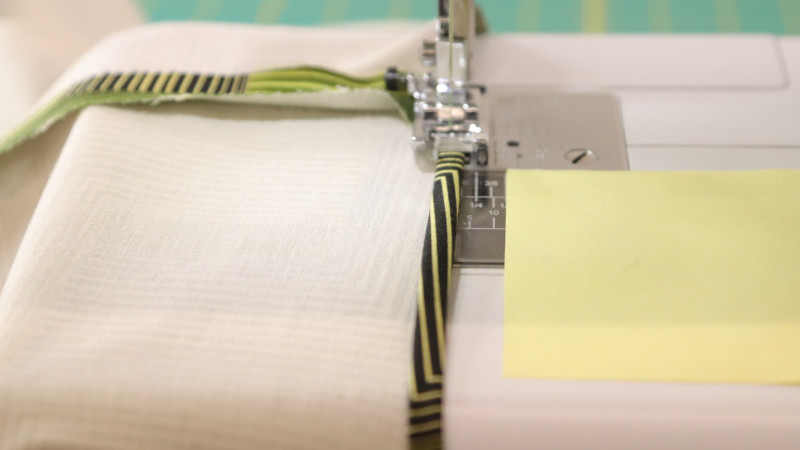
Step 18
Finish the garment by sewing a rolled hem at the bottom of the skirt.
The Marostica Midi Dress Free Sewing Pattern by Mood Fabrics
Feel free to share your completed midi dress pattern on social media to inspire others and showcase your hard work!
Share this post with a friend (or two!), download The Marostica Midi Dress Free Sewing Pattern, and show us which fabrics and colors you choose, using the hashtags #MoodMarosticaPattern & #MadeWithMood.
Thanks !
Lovely!! Thank you!
We hope you enjoy!
I love this beautiful dress ❤️ my size is a large
Happy sewing 🙂
This is so lovely! Is the entire dress interlined? The beige coloured wrong-side of fabric makes me think so but only the armhole facings are described as interlined. I can’t wait to make it!
You can interline the entire dress if you desire, but only the armhole facings were interlined for this project.
For those of us typically needing an FBA, would you just add width to bodice and more gathers at neck, or also add a side-seam bust dart? Thx.
Hello, you will not need to add any darts, you can add width and gathers to the dress as well as add length to the front center.
Ciao! Grazie del vestito! Ho visto che una delle stoffe consigliate è la seta. Ma deve essere seta elasticizzata oppure no?
Ciao, ti consigliamo di utilizzare un tessuto elastico ma puoi usare un tessuto non elasticizzato se aggiungi una cerniera al vestito
Love this midi dress! It looks like it could be made from woven fabrics too, though it might benefit from a side slit in the skirt.
Agreed – I’m making it this weekend and I cut the skirt back NOT on the fold – allowing for a center-back vent.
I made this with satin cut on the bias and received a lot of compliments! It was fairly easy to sew. The only modification I made was adding a slit on one of the skirt side seams for mobility, because due to my height (5ft/152cm) it was closer to a maxi dress, which I anticipated going in.
For the same reason the waist is slightly more like a drop waist, which I considered adjusting for but actually like the look of (with the long skirt it has a sort of Grecian vibe!).
My only trouble was with the facings, which I sewed in first as per instructions but then realized didnt fit. Next time I’ll try sewing the armscye facings in after doing the side seams to see if that helps.
Thank you for such a beautiful pattern!
How nice! Thank you for sharing your feedback.
I just finished making this using Mood Exclusive Green Funky Feline Stretch Brushed Cotton Twill.
Cut collar one size larger and front/back neck openings two sizes larger (so that collar isn’t too tight). Reduced height of collar 1.5″.
Created a center-back bodice seam – this allows for a much nicer keyhole opening.
Cut back skirt such that it has a seam down center back – allows for a vent at CB. Didn’t need the vent though as I’d used a fairly large size of pattern. (When choosing size, be sure the garment waist measurement will fit over your shoulders!)
Made arm holes more like real armscyes and drafted a pattern piece for the facing.
Took off 4.75″ from length and made a 1.5″ blind-stitch hem w/bias binding edge. I’m 5′ 8″ and this made the dress 70cm from my waist for a not-too-long ‘midi’ dress.
Added on-side-seam pocket.
The bodice is quite long – I ended up taking off 1.5″ from it’s length and still have a blouson look.
Would it be possible to have sleeve on this dress because my arm is kind of big and i’m not confident to show it. Thanks for the response
Yes, you are able to download a sleeve pattern that you like from any other free pattern, then sew it around the armhole instead of using the facing pattern.
I love this dress and want to make but can you please advise what type of interlining is best used for this dress?
Thank you!
Hello, please have a look at the wide variety of lining fabrics that Mood has to offer!
I’m contemplating making this just as a blouse, which I think it would make very nicely.
Also considering the neckline gathering by running a strip of elastic along (besides) the stitchline instead of running gathering stitch, just have a feeling that it might make a tidier gather of the fullness.
So watch this space
Yes and yes to all of this Anne!