

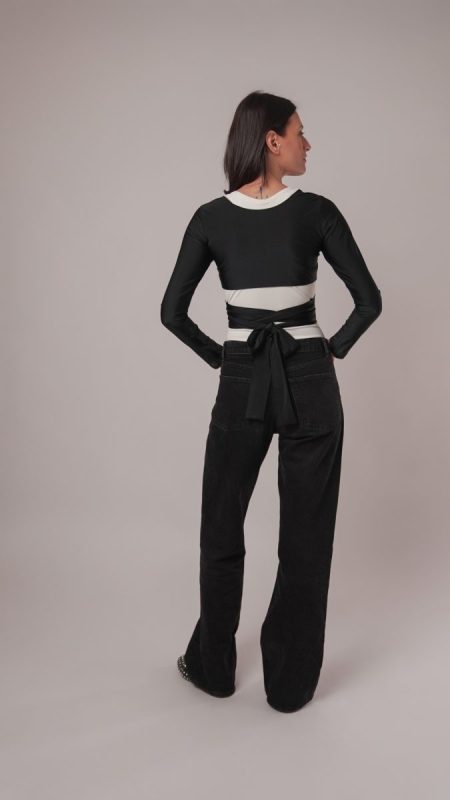
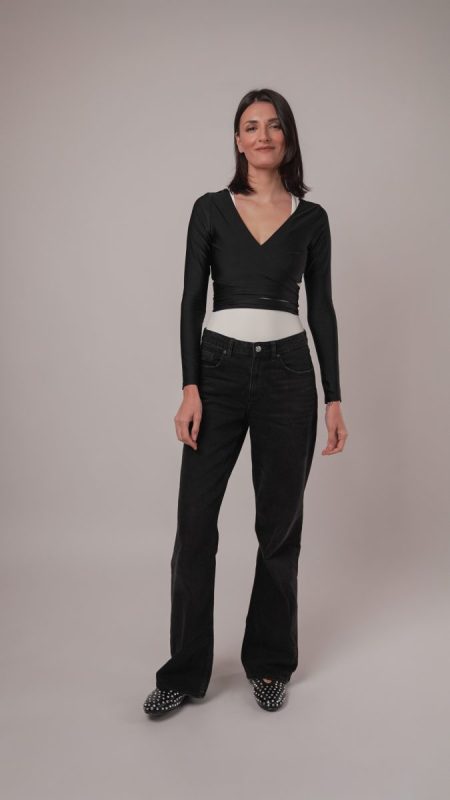
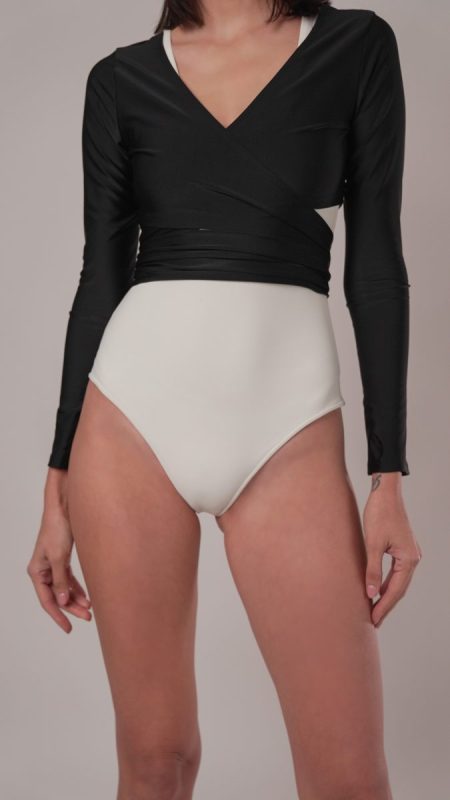
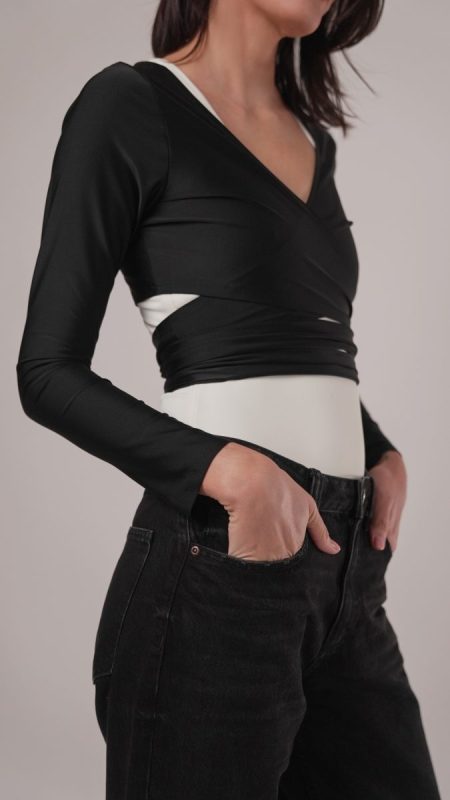
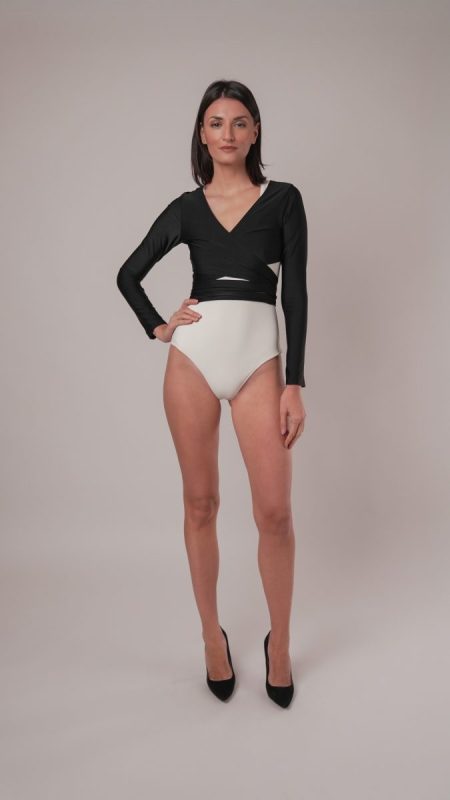
Introducing the Adagio Wrap Top, a lightweight layer inspired by the fluid, intentional movement of a ballerina’s warm up wardrobe. Crafted from performance spandex, this top offers a sleek athletic feel with the kind of stretch and recovery that moves with you, never against you. Its soft wrap silhouette can be tied snugly for support or worn loosely for an easy, relaxed finish, giving you options for both comfort and expression.
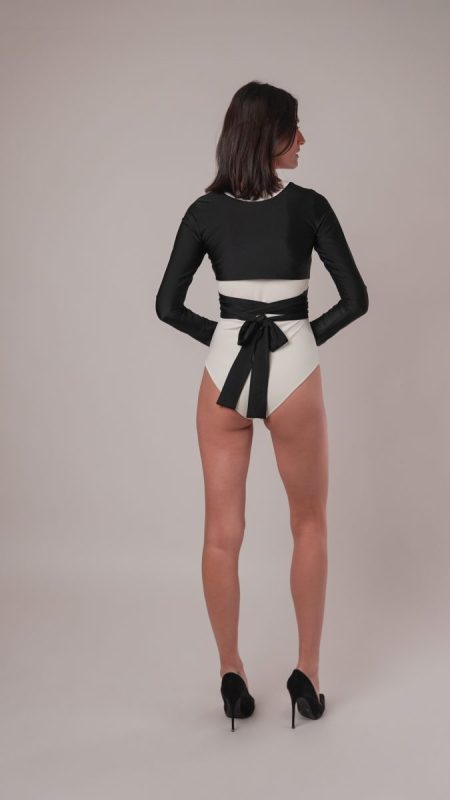
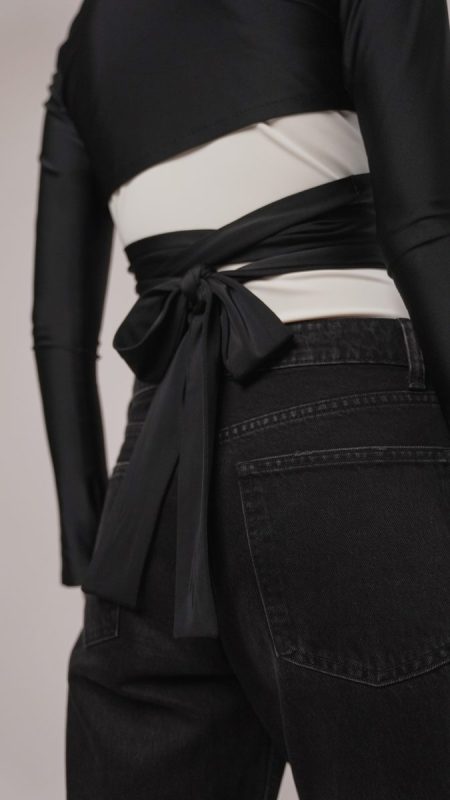
Designed to complement the Clara Bodysuit but just as striking on its own, the Adagio adds a touch of warmth without bulk. Wear it over the bodysuit for a polished, ballet-core moment, or pair it with a camisole, tank, or even nothing underneath when you want a lighter, breathable layer. It adapts naturally to your day, whether you are dressing it up with tailored trousers for Thanksgiving dinner or pulling it on with fleece sweatpants before heading out for Black Friday shopping.
The Adagio Wrap Top is your graceful, go anywhere layer of the season.

Essential Materials & Sizing Guide for the Adagio Wrap Cardigan
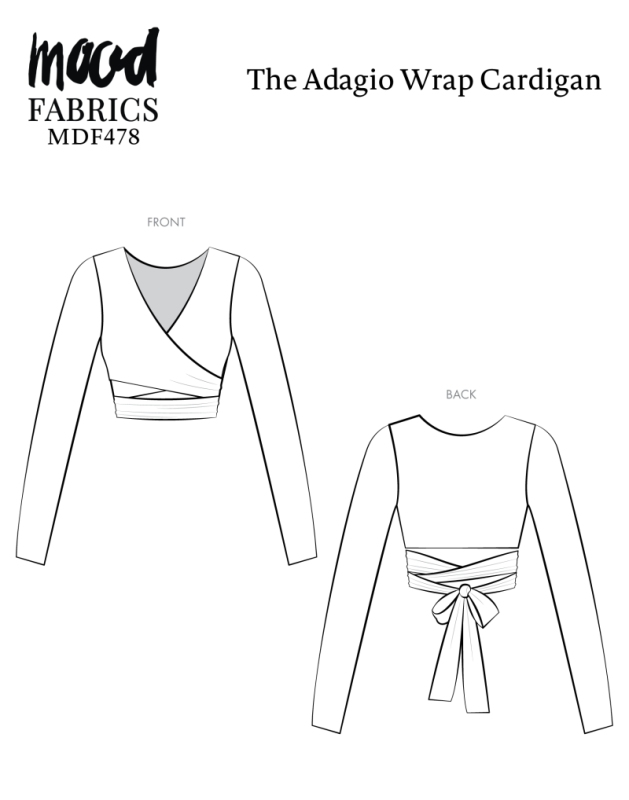
Continue reading for a breakdown of what knowledge and materials you need for creating your very own wrap cardigan! We’ve got you covered with the recommended materials we used—if you want to follow along exactly—as well as a curated list of alternative fabric type recommendations if you want to customize your own version. The Adagio Wrap Cardigan free sewing pattern download includes technical drawings for seam and silhouette visibility, plus a size chart to help you find your perfect fit!
Purchase Products Used Below:
Quantities indicated are for sewing a size small wrap top. Toggle the ‘SHOP THIS LOOK’ box to find quantity estimates for other sizes.
- 1.5 yards of Max-Dri Performance Spandex, Wicking and Anti-Microbial – Black
- 1 each of Gutermann Sew All Thread 250m – 10 Black
- MDF478 – Adagio Wrap Cardigan Sewing Pattern (Free download below!)
Alternative Fabric Type Recommendations:
The Adagio Wrap Cardigan sewing pattern is best suited for light or medium weight stretch/knit fashion fabrics. Explore other fabric types or colors from our featured collections for your silhouette with the links below.
Download Your Free Sewing Pattern
Submit your name and email in the form below to receive the download link for the Adagio Wrap Cardigan free sewing pattern directly in your inbox. Mood Sewciety Patterns will send your free download link via email with the subject line: ‘Your Free Download from Mood Sewciety – The Adagio Wrap Cardigan’ (in PDF format for A4 and letter-size printing).
© MoodFabrics.com / MoodSewciety.com – Mass production, resale, or distribution of this pattern in any form is strictly prohibited.
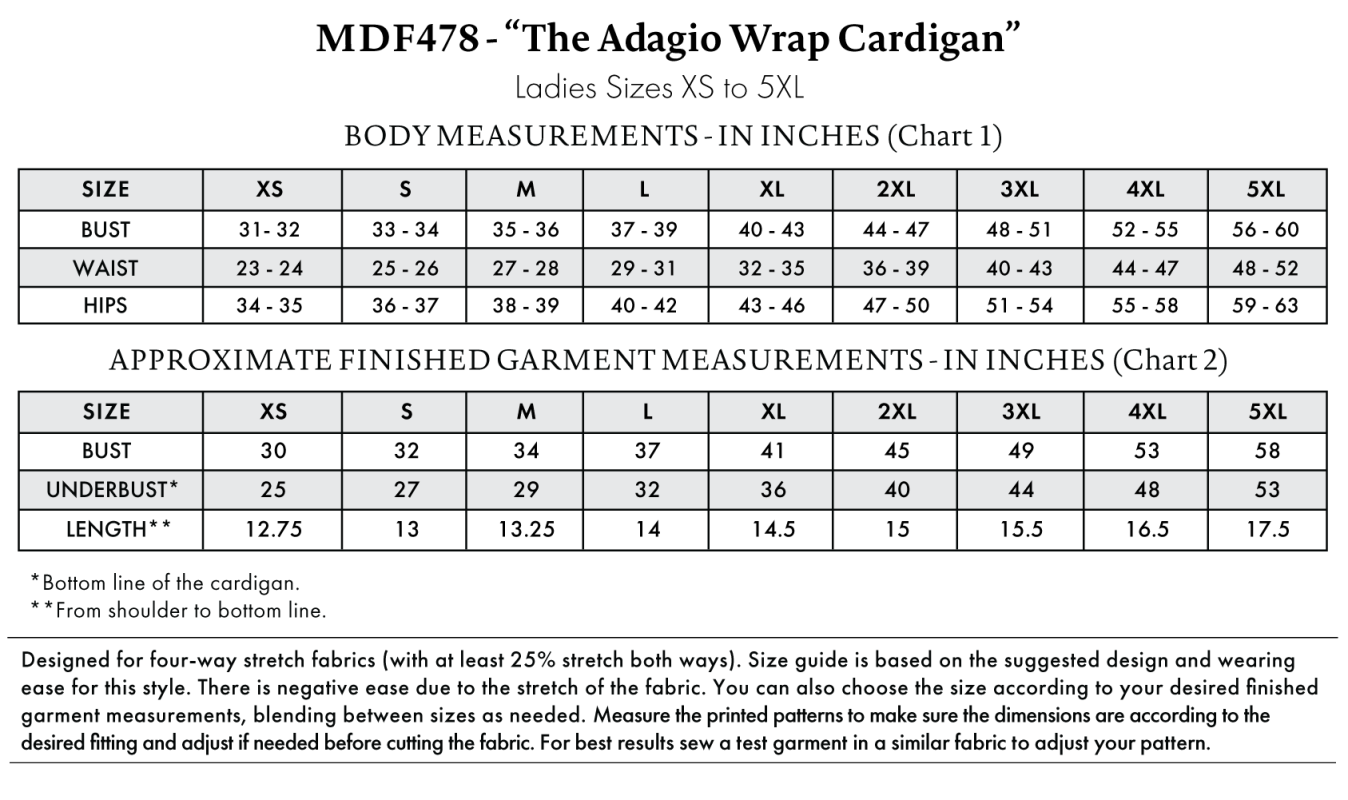
Find Your Perfect Fit
The Adagio Wrap Cardigan Sizing Guide is based on the suggested design & wearing ease for this style. You can also choose the size according to your desired finished garment measurements, blending between sizes as needed. Measure the printed patterns to make sure the dimensions are according to the desired fitting and adjust if needed before cutting the fabric. For best results, sew a test garment in a similar fabric to adjust your pattern.
*Designed for four-way stretch fabrics (with at least 25% stretch both ways). Size guide is based on the suggested design and wearing ease for this style. There is negative ease due to the stretch of the fabric. You can also choose the size according to your desired finished garment measurements, blending between sizes as needed. Measure the printed patterns to make sure the dimensions are according to the desired fitting and adjust if needed before cutting the fabric. For best results sew a test garment in a similar fabric to adjust your pattern.
Measurements may vary after adjustments. If using non-stretch fabrics, reference the approximate finished garment measurements chart to choose your size.
Note: Always read all the instructions before cutting the fabric!
How to Sew The Adagio Wrap Cardigan
The instructions provided below are designed to guide you through sewing the Adagio Wrap Cardigan from start to finish.
3 Tips for Sewing with Spandex
⇒ You have a few options to choose from in terms of stitches when constructing a spandex garment. You can use a straight stitch with a super short stitch length (like 1.5 millimeters) and slightly stretch the fabric as you sew, you can use a zigzag stitch, or you can use a straight stretch stitch which is available on most home sewing machines (it’s the one that looks like three straight stitches in columns next to each other).
⇒ Use a lot of pins when sewing spandex because it tends to shift around and stretch under the presser foot.
⇒ Use a stretch or ballpoint needle to prevent skipped stitches or snags.
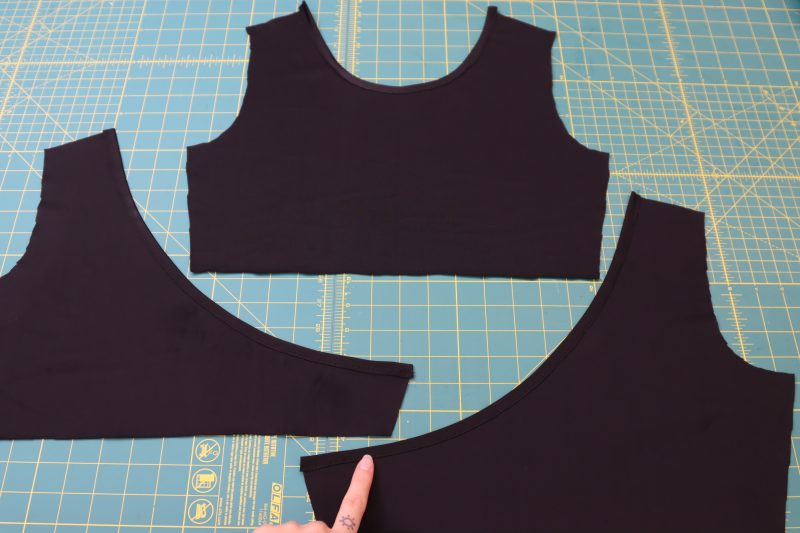
Pattern Pieces & Fabric Cuts Needed
- (A) BACK
- FABRIC – CUT 1 ON FOLD
- (B) FRONT
- FABRIC – CUT 2 MIRRORED
- (C) SLEEVES
- FABRIC – CUT 2 MIRRORED
- (D) WRAP TIES
- FABRIC – CUT 4 ON FOLD

Sew with a 1/2″ seam allowance for all seams unless otherwise specified.
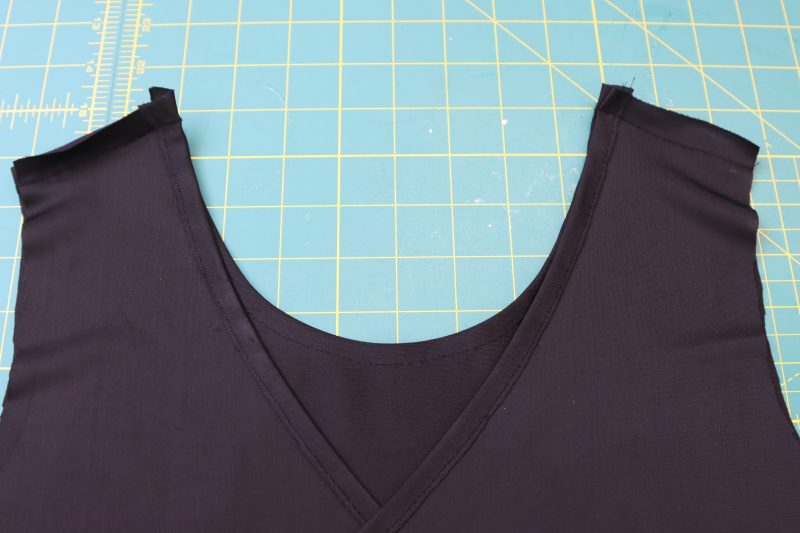
Step 1
HEM NECKLINES
- Fold and iron a ½ inch hem around the curved necklines on both the front and back pattern pieces.
- Sew the neckline hem with ⅜ inch seam allowance, slightly stretching the fabric as you sew so that the neckline doesn’t warp.
Step 2
SHOULDERS
- Place the top front pieces on top of the top back pieces with the shoulders lined up.
- Pin and sew the front and back pieces together at the shoulder seams.
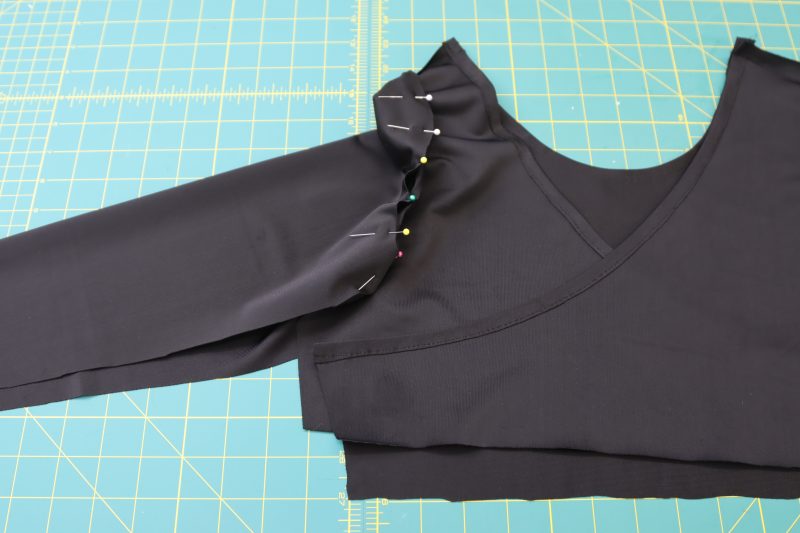
Step 3
SLEEVES
- Pin the right sleeve cap to the right armscye and repeat with the left side.
- Sew across the armscye to connect the tops of the sleeves.
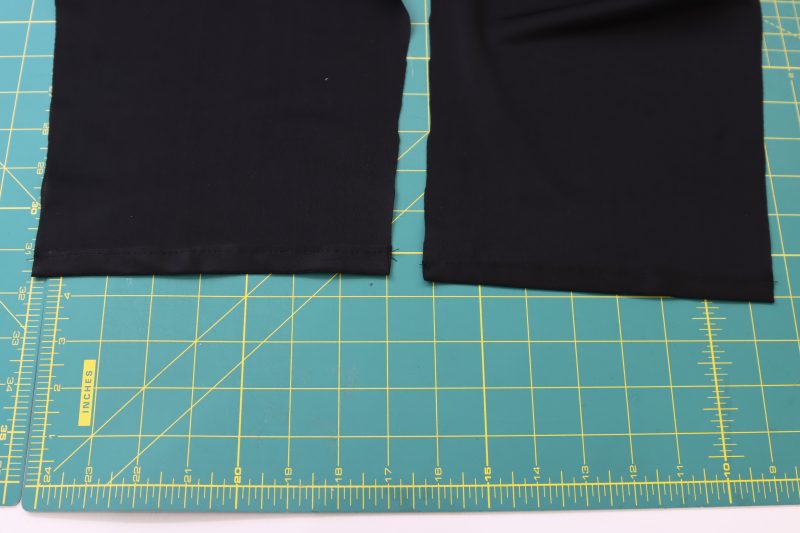
- Fold and iron ½ inch hem on the wrist opening of each sleeve.
- Sew the hem with ⅜ inch seam allowance.
Step 4
SIDE SEAMS
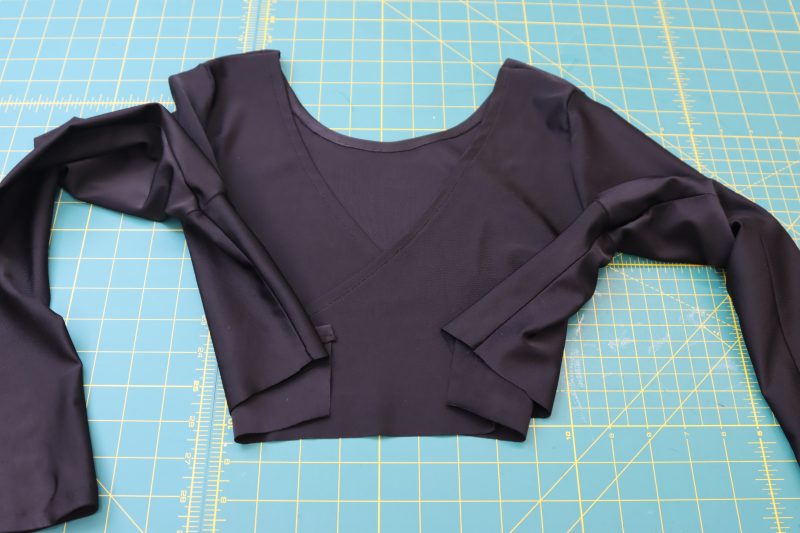
- Fold the top in half right sides together at the shoulder seams so that the sleeves are folded and the side seams of the front and back pieces are lined up.
- Pin and sew the sleeve seam and side seam in one stitch, making sure that the front and back of the armscye are matched up in the armpit.
Step 5
BOTTOM HEM
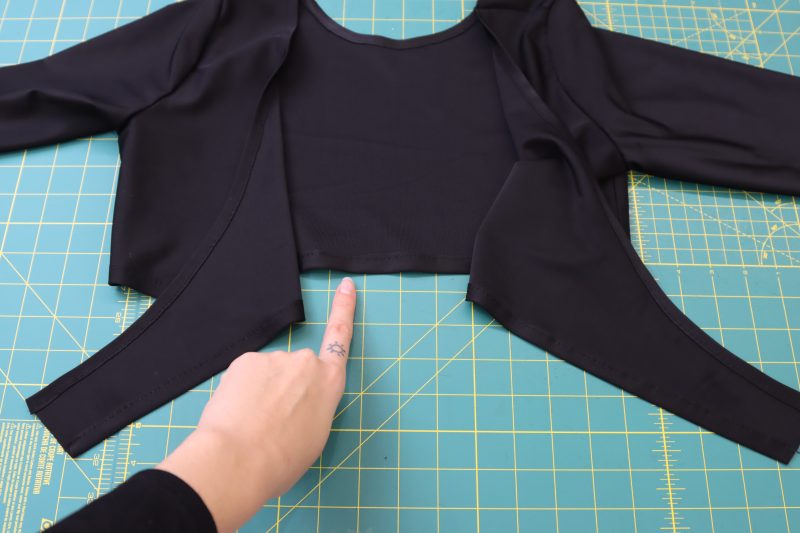
- Fold and iron a ½ inch hem around the bottom edge of the top.
- Sew the bottom hem with ⅜ inch seam allowance, slightly stretching the fabric as you sew so that the stitches can stretch a little bit with the fabric.
Step 6
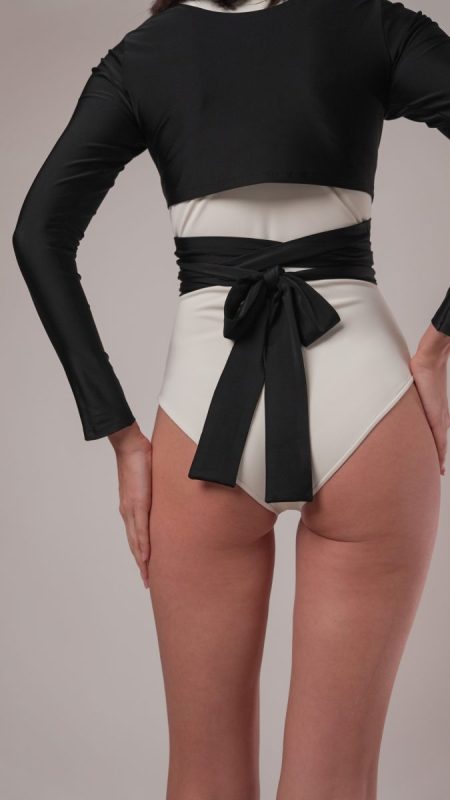
WRAPS
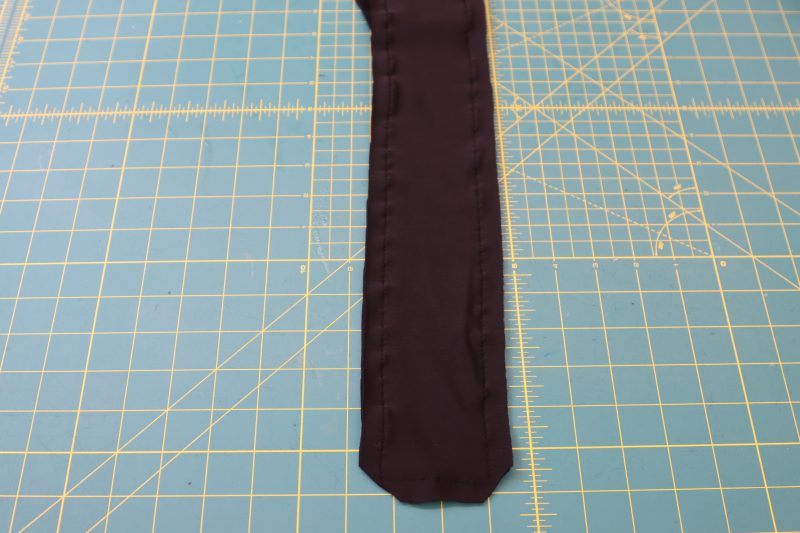
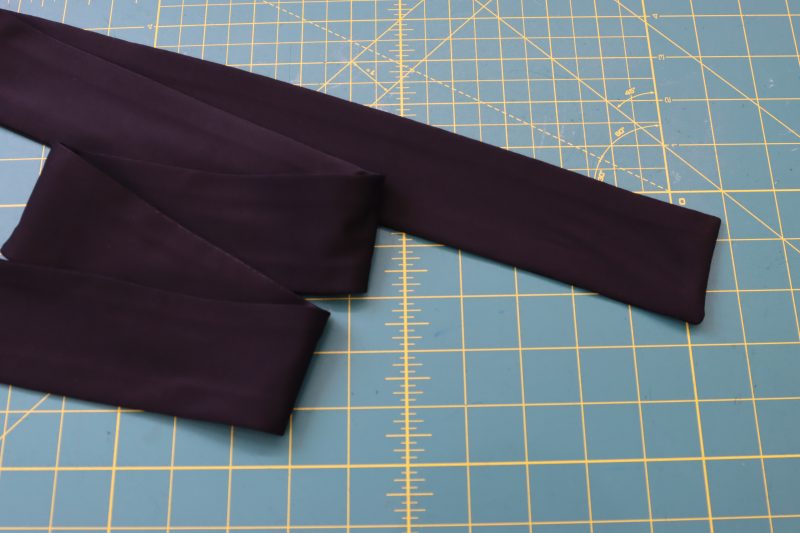
- Place the two rectangular ties right sides together.
- Pin and sew around 3 sides of the strap, leaving one of the short ends open so that it can be flipped right sides out.
- Trim the pointy corners where the end of the tie was sewn so that they can be poked out cleanly.
- Flip the tie right sides out and poke out the corners.
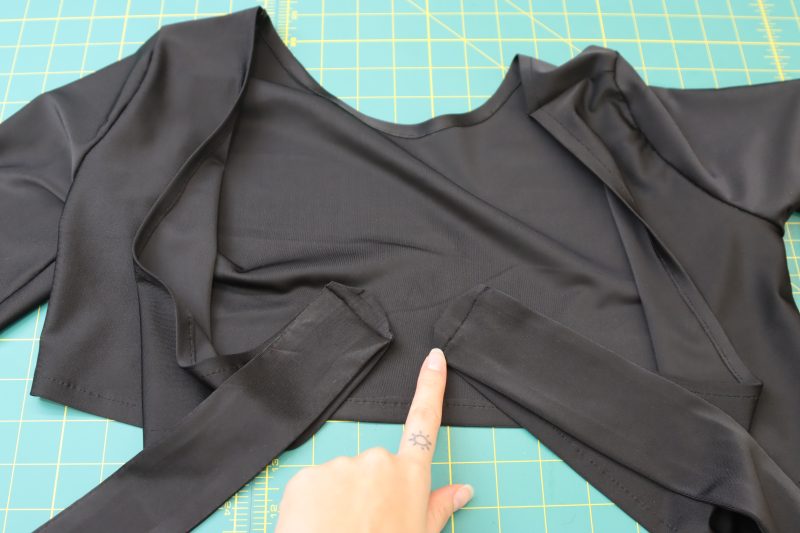
- Connect the raw edge of the tie piece to the only raw edge left on the top. Repeat for the left and right sides of the top so that the ties can be wrapped around the body and tied together.
Sewing Success: The Finished Adagio Wrap Cardigan
Share this post with a friend (or two!), download the Adagio Wrap Cardigan free sewing pattern, and show us which fabrics and colors you choose, using the hashtags #MoodAdagioPattern & #MadeWithMood—and don’t forget to tag us @MoodFabrics, too.


Free Sewing Pattern Inspiration for Your Next Project
With 470+ free sewing patterns and counting, your opportunities for sewing with Mood are endless!
We hope you had as much fun sewing this wrap cardigan pattern as we did! As always, we want to hear from you—share your thoughts and comments below and let us know where you’ll be wearing the Adagio Wrap Cardigan free sewing pattern!
not to be greedy, but instructions on how to do a full bust adjustment on this would be wonderful
I recommend making both the front top pieces and back top pieces longer by a few inches by just extending the bottom hems of them. This will give you more cup space so you don’t accidentally spill out the bottom. This would also require that you make the ties a little bit wider, unless you blend the diagonal front opening of the top with the new hem on the bottom. Let me know if you end up trying it!
The wrap ties are marked to be placed on a fold parallel to the grain, but that would require the fabric to be at least 68″ in width for the L size, which isn’t a common width. I’m wondering if it should be perpendicular to the grain, instead?
Hi Yana! Yes, you can cut it perpendicular to the grain. The straps are long enough that they don’t necessarily need to follow the stretch direction of the fabric.
Hi,
I had a fabric in mind for this but it only has a two way stretch. Would it still be possible to make this with some adjustments?
Two way stretch is fine! Just make sure that when you’re cutting out your pattern, the stretch is oriented horizontally on the body.
Just finished making this. Such an easy and straight forward tutorial, especially if want to try a project with stretch fabric. Thank you!
Am i supposed to stretch the armscye to fit to the sleevecap or is there supposed to be fabric left over from the sleeve? I can’t match up the edges of the pieces, I’ve dubble checked that i cut the right sizes but they are correct.
When I made it, the armscye and sleeve cap were roughly the same size, but I know that sometimes the fabric is wonky and isn’t a perfect fit. You can just stretch it to fit the sleeve cap, as long as every piece individually fits your body before sewing it all together.
🙂