

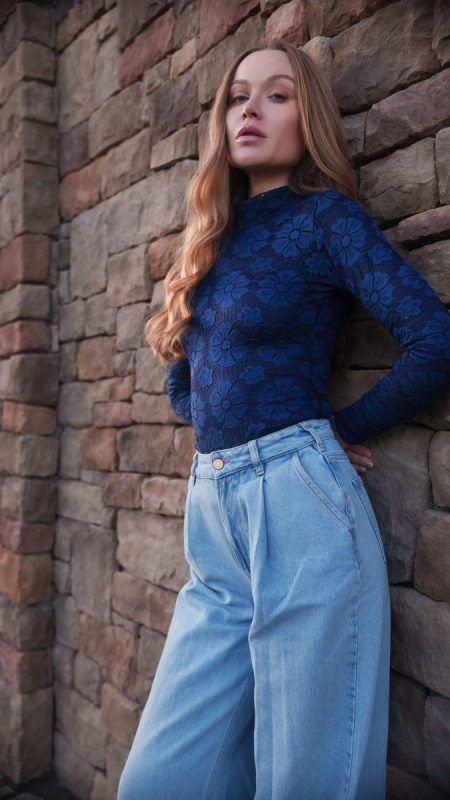
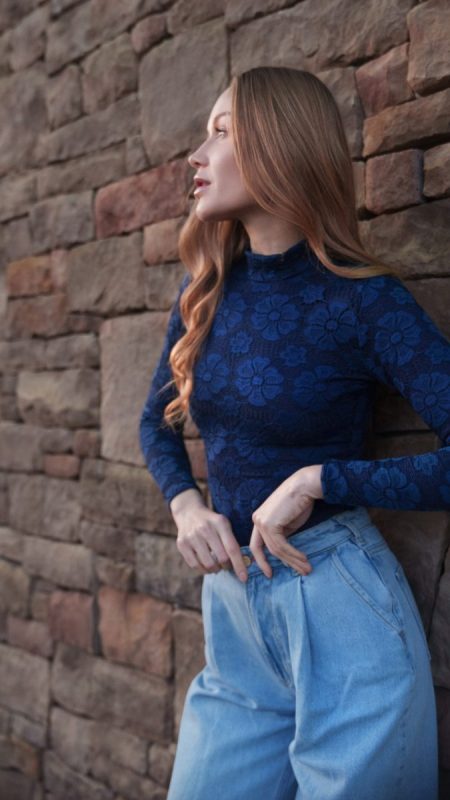
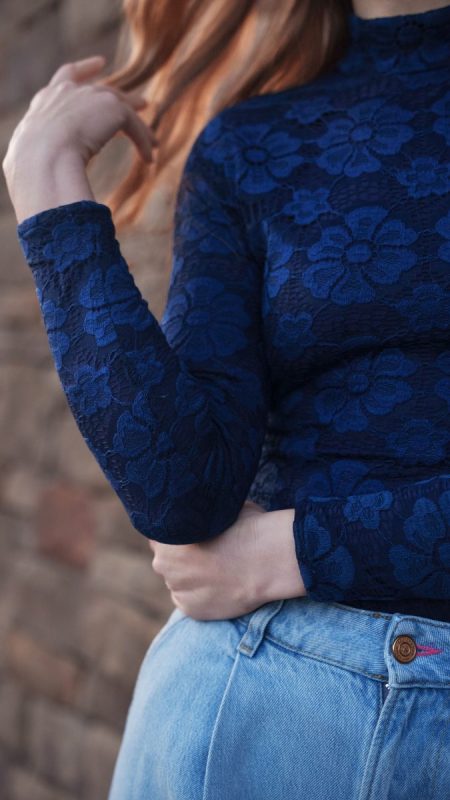
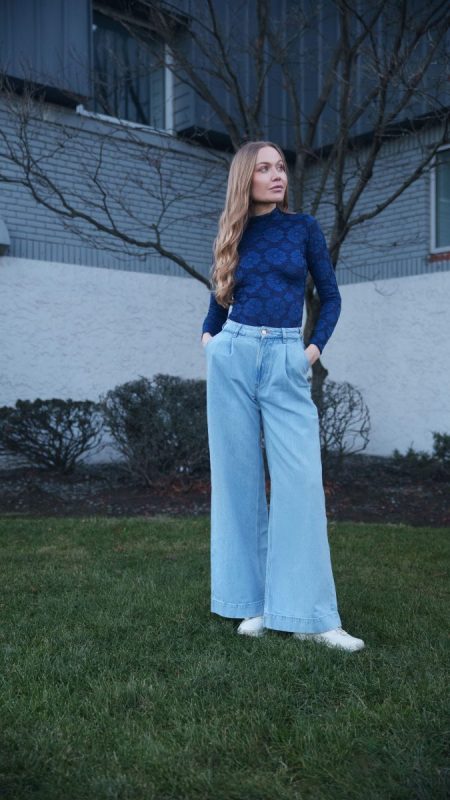
The Altena Blouse is the perfect answer to “how do I wear delicate fabrics when it’s cold outside?” Designed to let sheer, lace, and lightweight textiles shine year-round, the Altena Blouse pairs a beautiful stretch crochet lace outer layer with a soft bamboo jersey lining for warmth and coverage. Choose a lining in a matching shade for a seamless look or get creative with a contrast lining for a subtle pop that suits your style!
The Altena Blouse is made for layering. Wear it on its own as a statement top, slip it under a cardigan or blazer, or style it over a cami for transitional seasons. It moves easily between casual and dressed-up looks, making it a true wardrobe workhorse.
Best of all, Altena is beginner-friendly and quick to sew, with straightforward construction and forgiving stretch fabrics. It’s the kind of pattern you’ll want to make over and over again and easy enough for a first lace project. Cozy, elegant, and wearable all winter, the Altena Blouse proves that delicate fabrics aren’t just for summer after all.
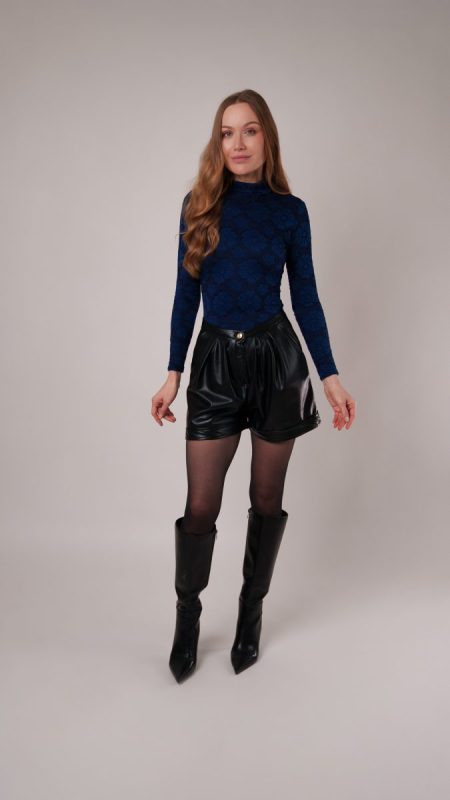
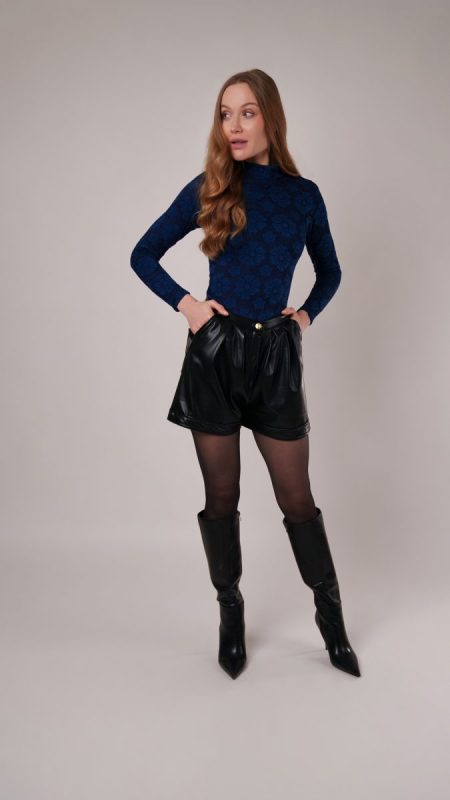
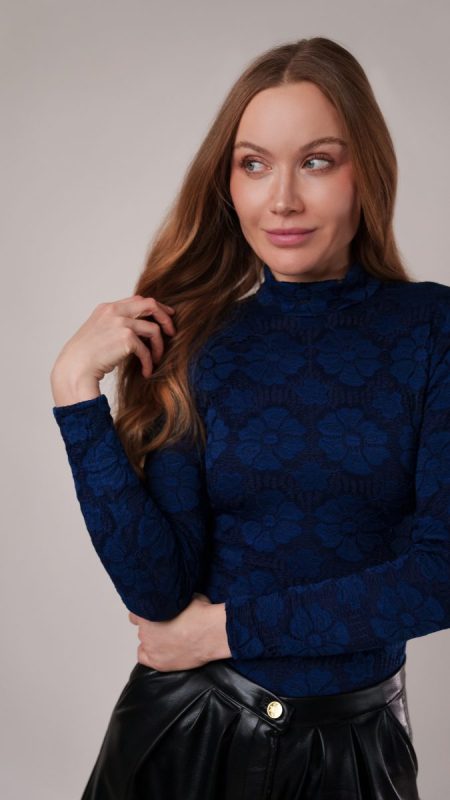
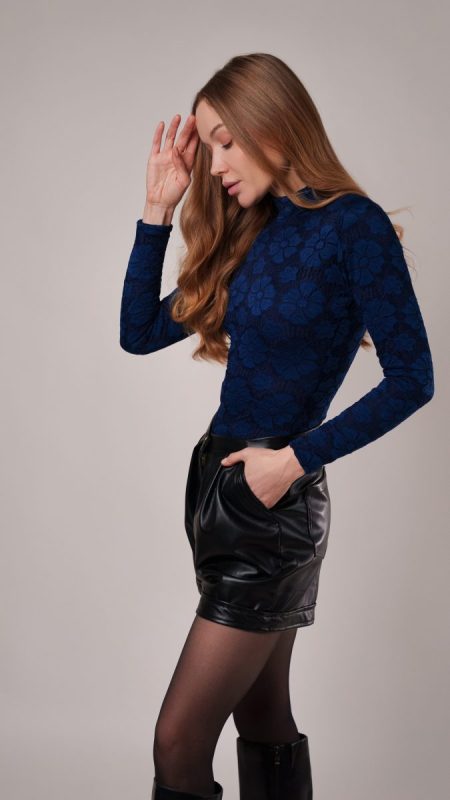
Essential Materials & Sizing Guide for the Altena Blouse
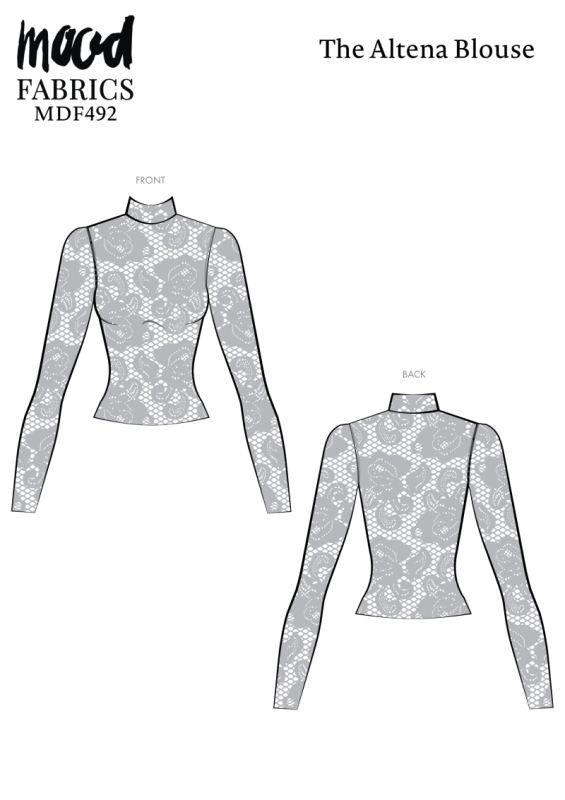
Continue reading for a breakdown of what knowledge and materials you need for creating your very own blouse! We’ve got you covered with the recommended materials we used—if you want to follow along exactly—as well as a curated list of alternative fabric type recommendations if you want to customize your own version. The Altena Blouse free sewing pattern download includes technical drawings for seam and blouse visibility, plus a size chart to help you find your perfect fit!
Purchase Products Used Below:
Quantities indicated are for sewing a size small blouse.* Toggle the ‘SHOP THIS LOOK’ box to find quantity estimates for other sizes.
- 1.5 yards of Stretch Crochet Lace – Navy Floral
- 1.5 yards of Stretch Bamboo Jersey – Blue – Willow Collection
- 1 each of Gutermann Sew All Thread 250m – 272 Navy
- MDF492 – Altena Blouse Sewing Pattern (Free download below!)
*Quick Tip! The ‘SHOP THIS LOOK’ box defaults to full-yard quantities. To order an exact half-yard quantity for any fabric, simply use the decrease quantity button (-) to subtract by the half yard. Then click “ADD TO CART” to add all materials to your cart.
(Our system can only display full-yard quantities initially.)
Alternative Fabric Type Recommendations:
The Altena Blouse sewing pattern is best suited for lightweight knit fashion fabrics. Explore other fabric types or colors from our featured collections for your blouse with the links below.
Download Your Free Sewing Pattern
Submit your name and email in the form below to receive the download link for the Altena Blouse free sewing pattern directly in your inbox. Mood Sewciety Patterns will send your free download link via email with the subject line: ‘Your Free Download from Mood Sewciety – The Altena Blouse’ (in PDF format for A4 and letter-size printing).
© MoodFabrics.com / MoodSewciety.com – Mass production, resale, or distribution of this pattern in any form is strictly prohibited.
Find Your Perfect Fit
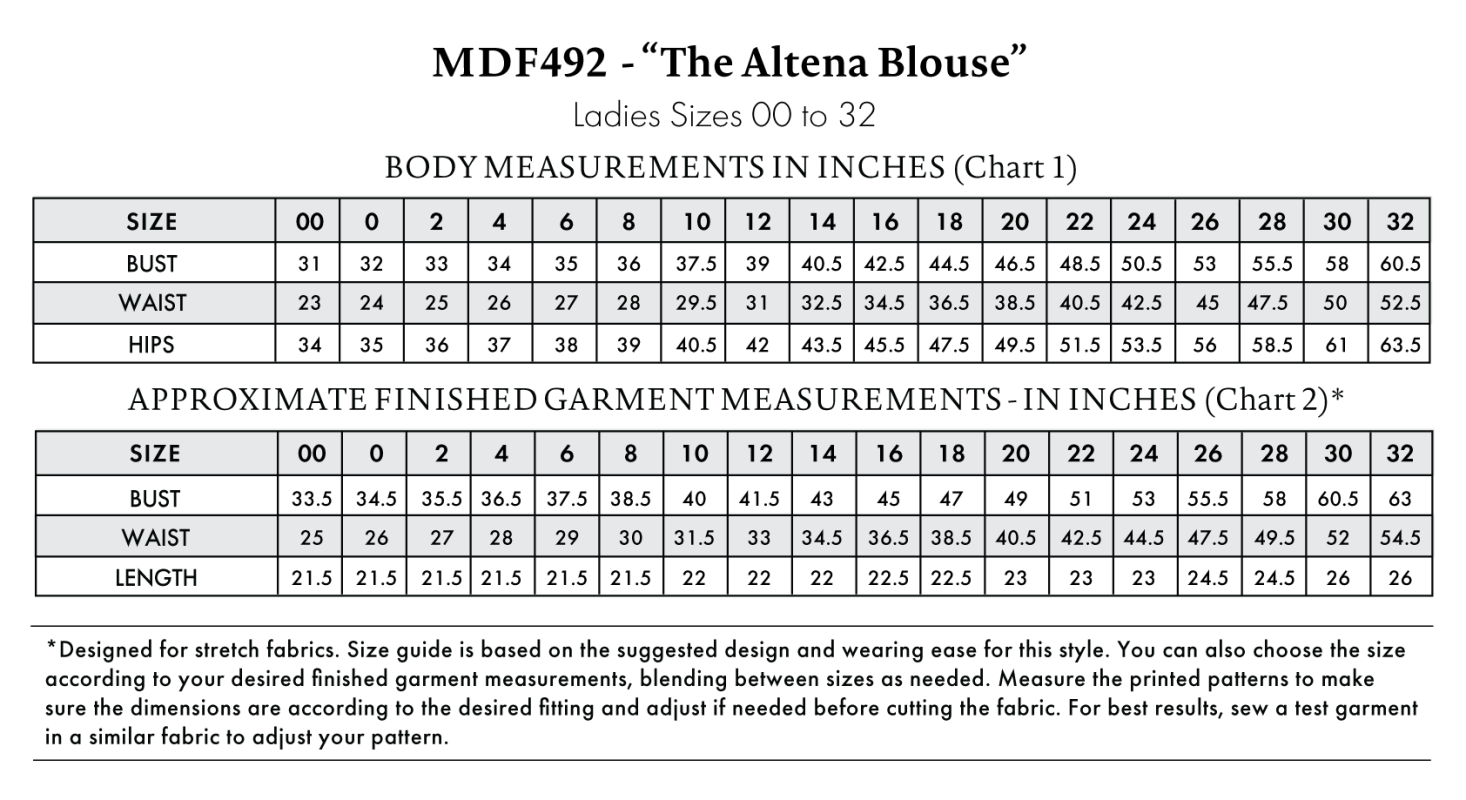
The Altena Blouse Sizing Guide is based on the suggested design & wearing ease for this style. You can also choose the size according to your desired finished garment measurements, blending between sizes as needed. Measure the printed patterns to make sure the dimensions are according to the desired fitting and adjust if needed before cutting the fabric. For best results, sew a test garment in a similar fabric to adjust your pattern.
Note: Measurements may vary after adjustments. If using non-stretch fabrics, reference the approximate finished garment measurements chart to choose your size.
Note: Always read all the instructions before cutting the fabric!
How to Sew The Altena Blouse
The instructions provided below are designed to guide you through sewing the Altena Blouse from start to finish.
2 Tips for Sewing with Lace
⇒ Use a super sharp microtex needle to prevent snagging.
⇒ Shorten your stitch length on your machine to around 1.5 millimeters. This will help you sew both the lace and the jersey.
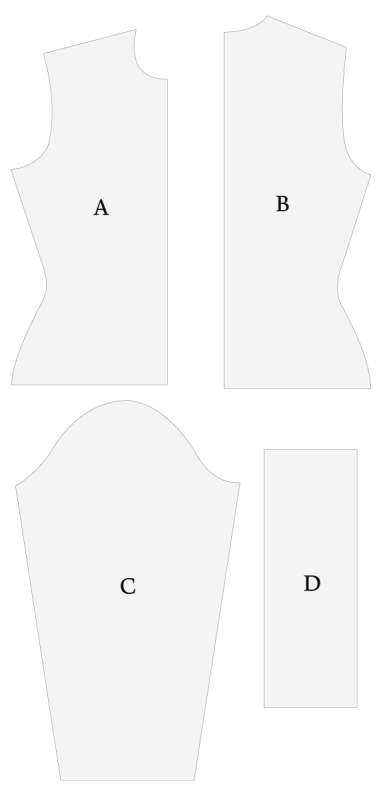
Pattern Pieces & Fabric Cuts Needed
- (A) FRONT
- FABRIC – CUT 1 ON FOLD
- LINING – CUT 1 ON FOLD
- (B) BACK
- FABRIC – CUT 1 ON FOLD
- LINING – CUT 1 ON FOLD
- (C) SLEEVES
- FABRIC – CUT 2 MIRRORED
- LINING CUT 2 MIRRORED
- (D) COLLAR
- FABRIC – CUT 1
- LINING – CUT 1 (OPTIONAL)
Sew with a 1/2″ seam allowance for all seams unless otherwise specified.
Step 1
SHOULDERS
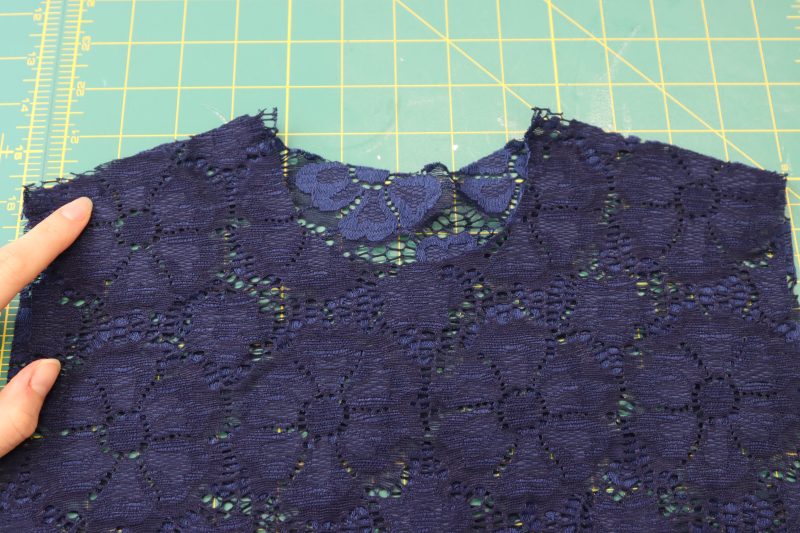
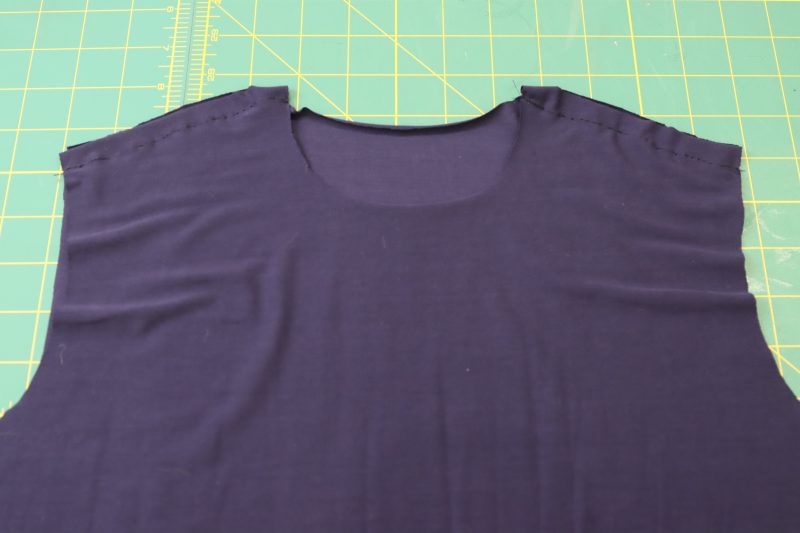
- Place the front and back top pieces right sides together with the shoulders lined up.
- Pin and sew the front and back top pieces together at the shoulder seam.
- Repeat this step for both the lining and the lace.
Step 2
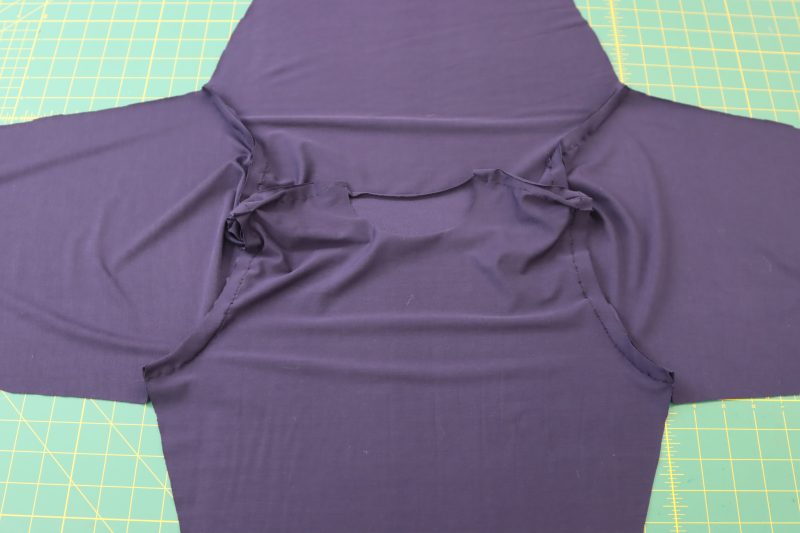
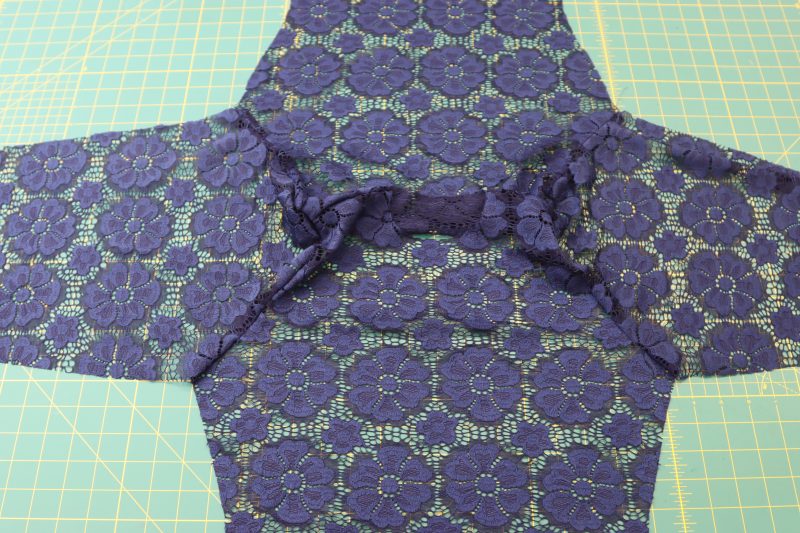
ARMSCYES
- Open up the top at the shoulder seams and lay it wrong sides down.
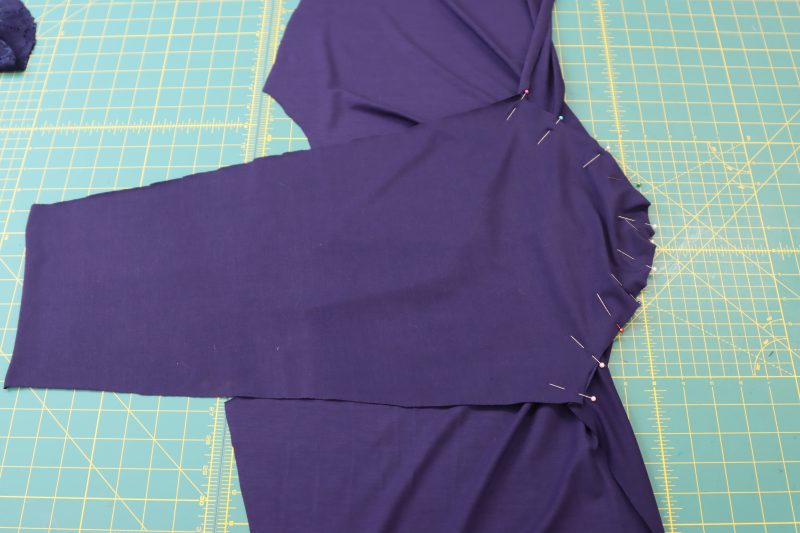
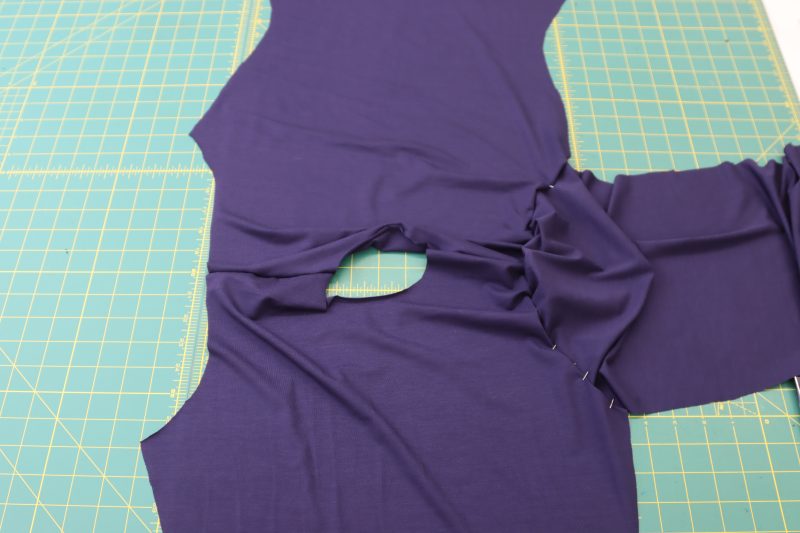
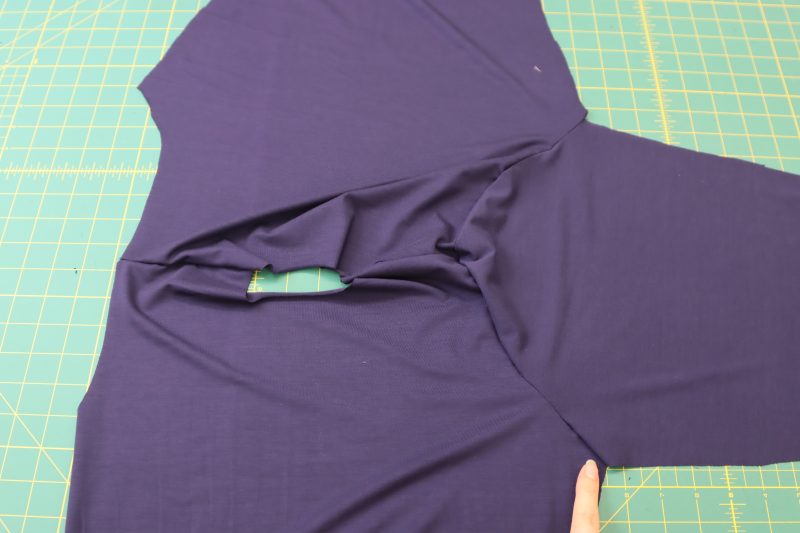
- Pin the left sleeve cap to the left armscye right sides together with the front sleeve lined up with the front of the top.
- Pin and sew the left sleeve cap to the left armscye.
- Repeat for the right sleeve.
- Repeat for both the lining fabric and the lace shirt.
Step 3
SIDE SEAMS
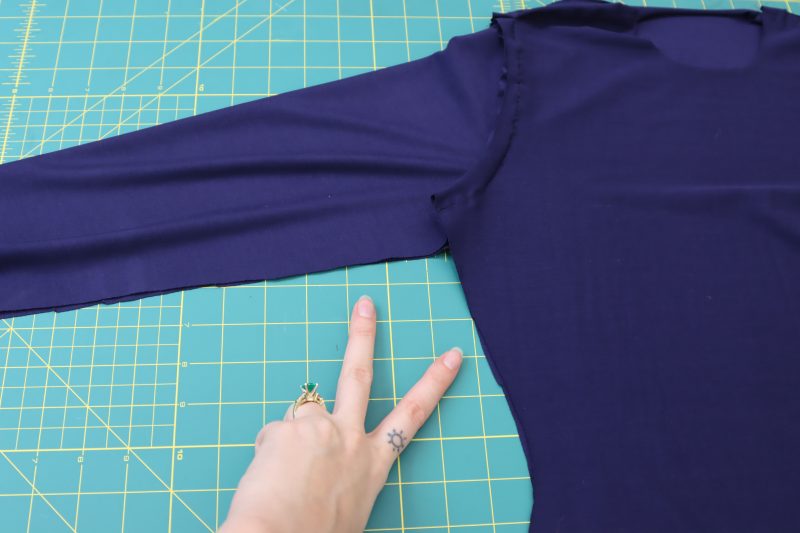
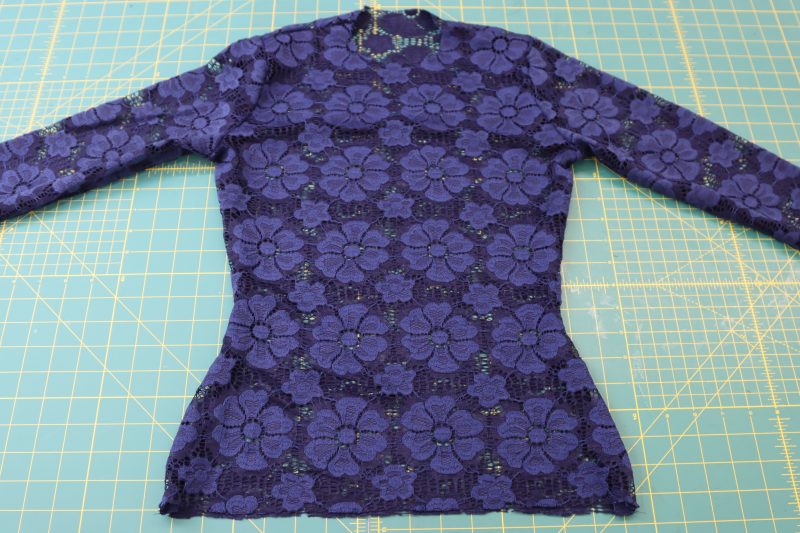
- Fold the shirt in half at the shoulders, right sides together, and line up the front and back of the top at the side seams (including the sleeve).
- Pin and sew the side seams and sleeve inseams on the top with one continuous stitch from the wrist to the armpit to the shirt hem.
- Repeat for both the lining shirt and the lace.
Step 4
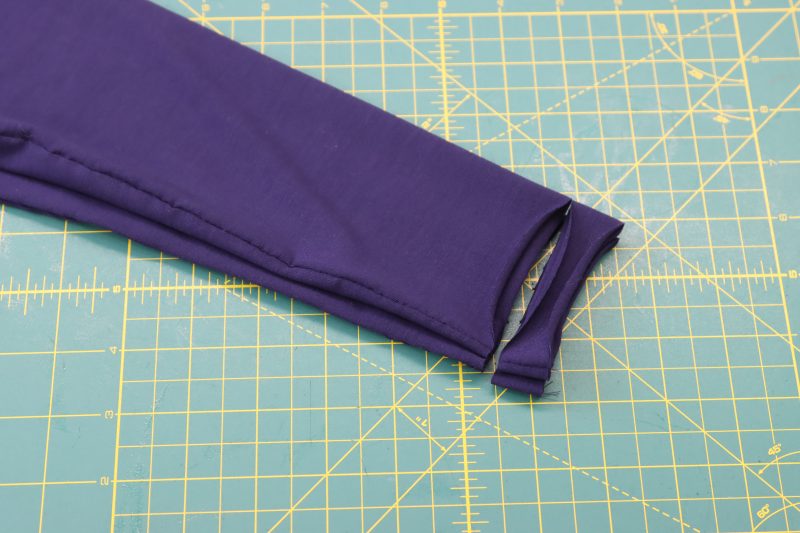
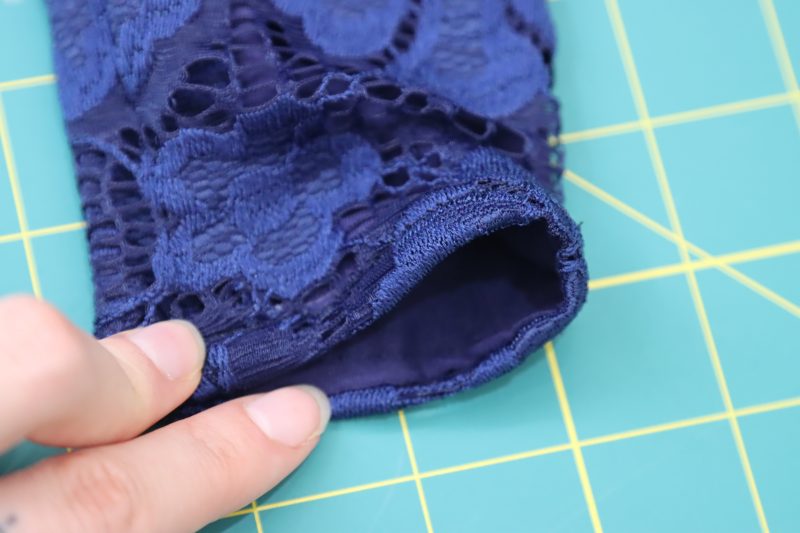
TRIM SLEEVE LINING
- Line up the ends of the sleeves of just the lining shirt.
- Trim about 1 inch off the bottoms of the sleeves on the lining shirt (we’re doing this because we want the lining to be fully hidden inside of the lace at the sleeve hems).
Step 5
SLEEVE HEMS
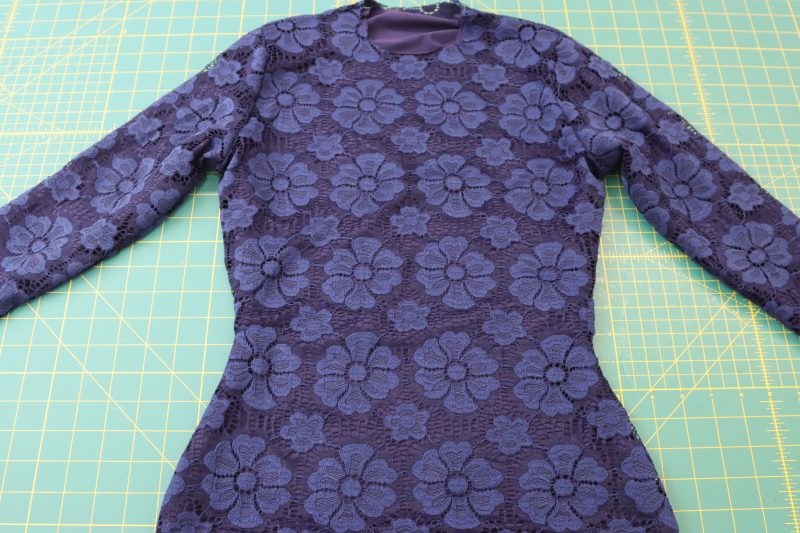
- Place the lining shirt inside of the lace shirt with both pieces facing right sides out (right side of the lining against the wrong side of the lace).
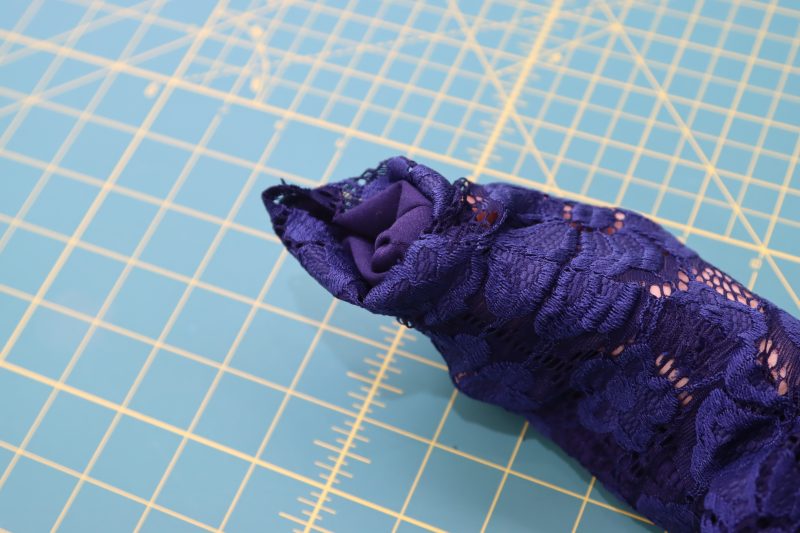
- Reach through the bottom hem of the shirt, between the lining and the lace, into one of the sleeves on the shirt.
- Grab the ends of the sleeves when you reach all the way through the sleeve.
- Pinch the ends of the sleeves so that the right side of the lace is touching the wrong side of the lining in between your fingers.
- Pull the sleeves through the bottom hem of the shirt and place a pin in the fabric where you were pinching.
- Pin all the way around the sleeves, maintaining the orientation of the fabric you were pinching.
- Sew around the sleeve opening.
- Pull the sleeve back through the arm hole.
- Topstitch around the end of the sleeve opening to secure the lining, preventing it from sticking out of the lace.
- Repeat for both sleeves.
Step 6
COLLAR
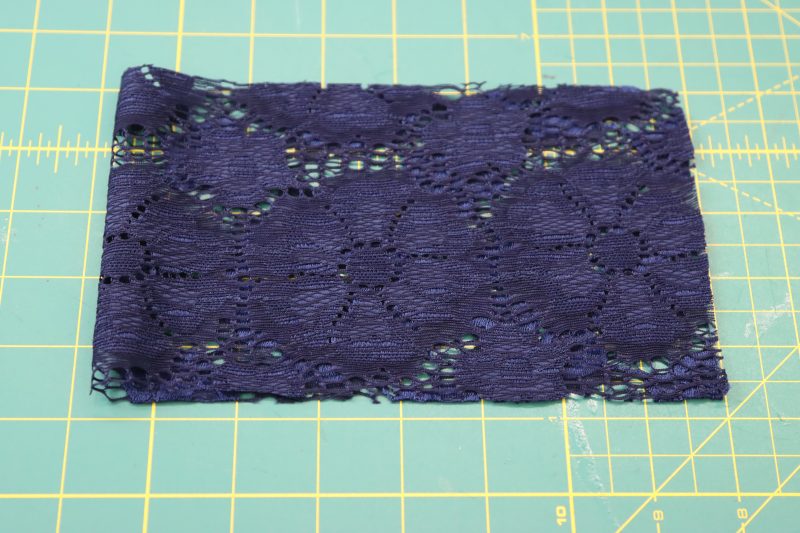
- Fold the collar right sides together, short end to short end (note: for the collar, I only used lace because I found that it was opaque enough without a lining since it is a double layered collar. You can add the lining if you want, though).
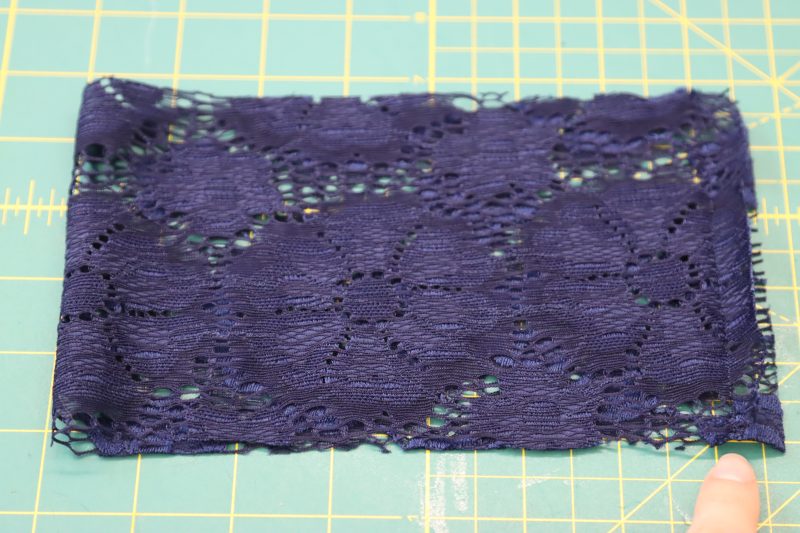
- Sew along the short ends of the collar to create a closed loop.
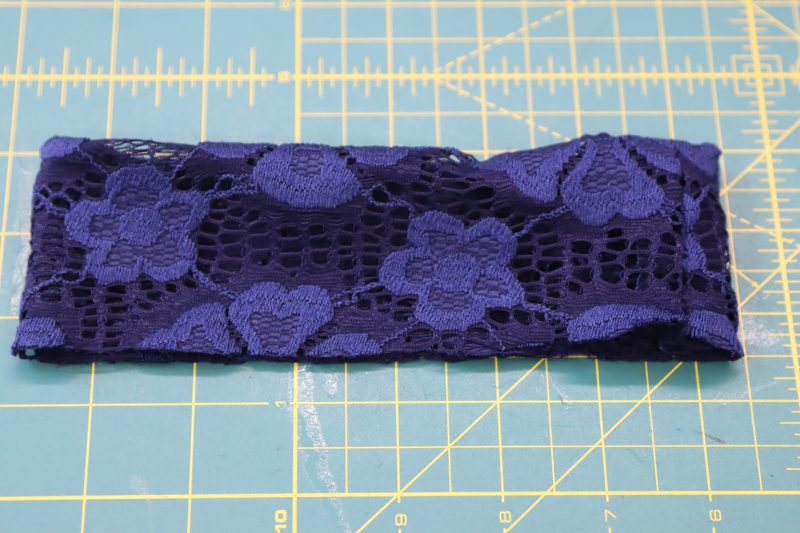
- Fold the closed loop wrong sides together with the seam allowance hidden on the inside of the collar.
Step 7
ATTACH COLLAR
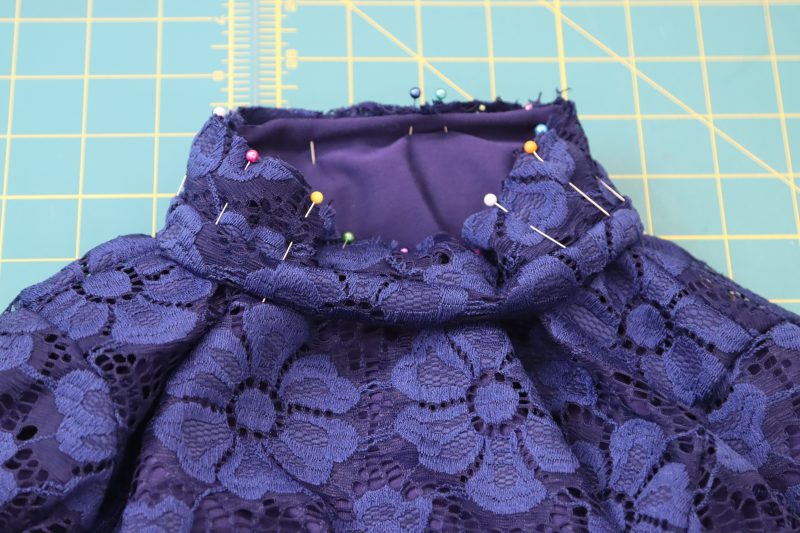
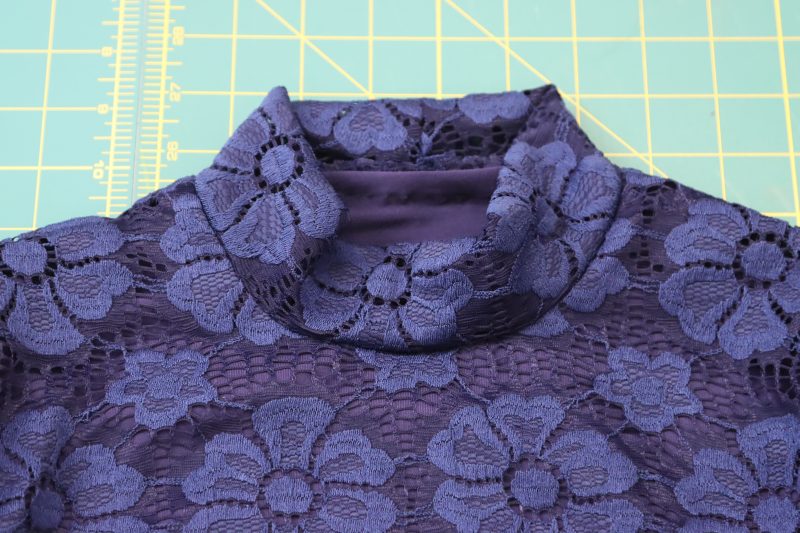
- Pin the raw edges of the collar to the neckline of both the lace and lining shirts.
- Sew the collar to the shirt necklines.
- Flip the collar up to hide the seam allowance.
Step 8
SHIRT HEM
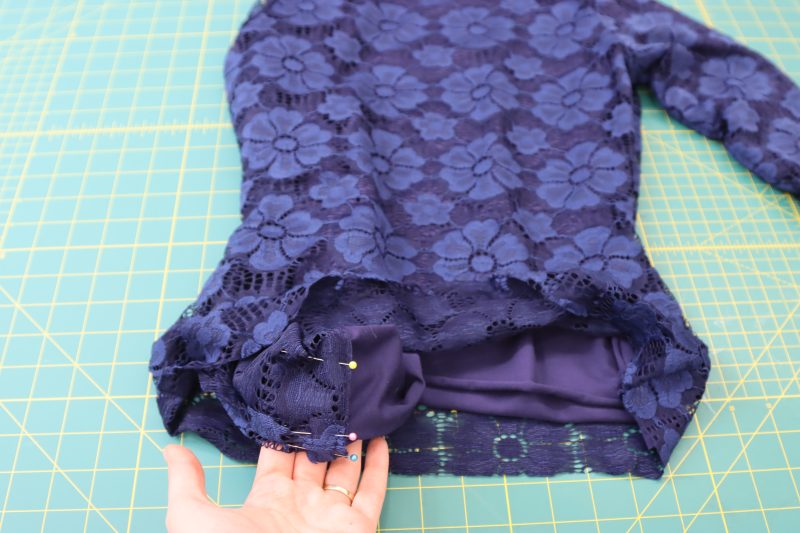
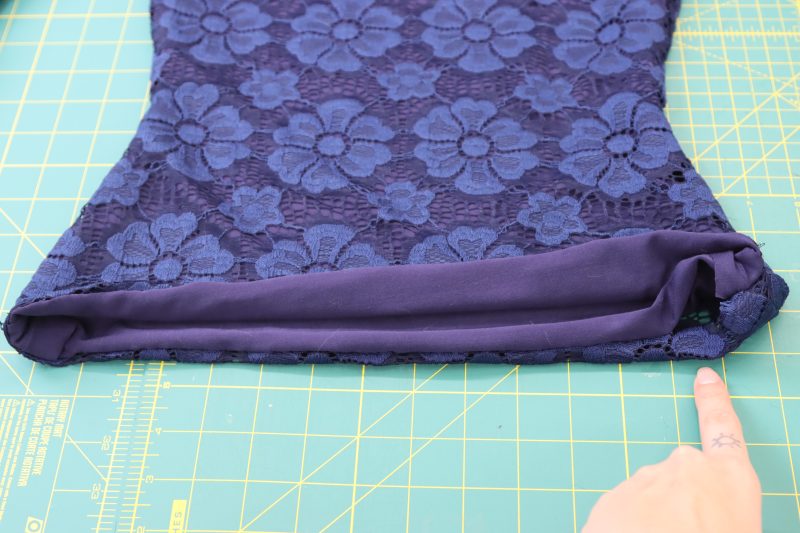
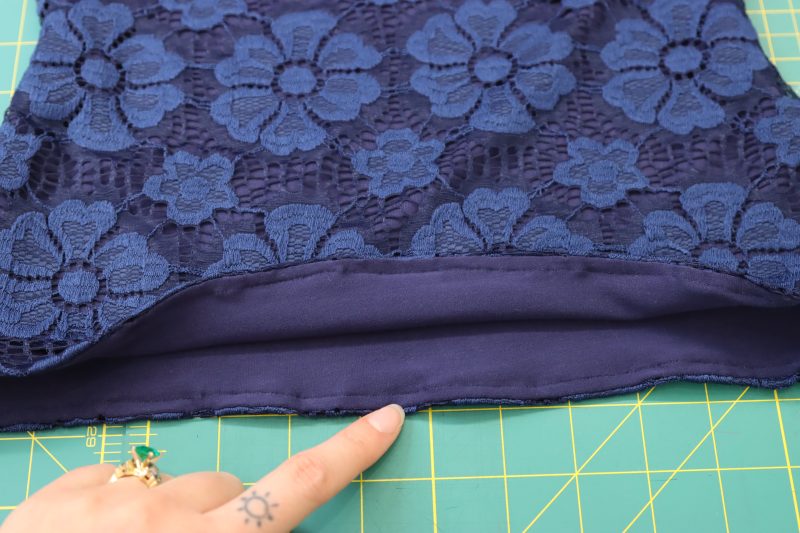
- In this step, we’re finishing the bottom hem of the shirt the same way that we finished the sleeve openings.
- Separate the lace shirt from the lining at the bottom hem.
- Flip the shirts so that the right side of the lace is touching the wrong side of the lining (hint: you won’t be able to just nicely lay the shirt flat when you do this. You have to manipulate the fabric).
- Pin the right side of the lace to the wrong side of the lining, starting at the side seams, going all the way around the hem opening.
- Leave a small hole that is unpinned at the hem so that the shirt can be flipped right side out.
- Sew all the way around the pins, leaving the hole open.
- Flip the shirt right side out through the hole.
- Topstitch around the bottom hem of the shirt to close the hole and secure the lining inside of the lace shirt.
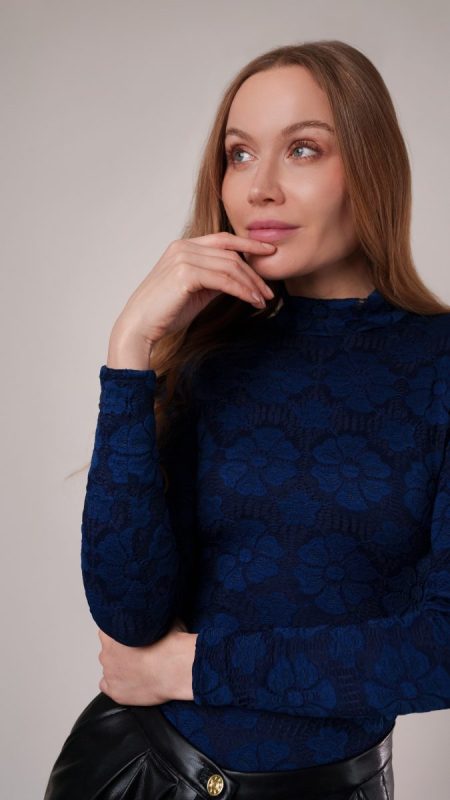
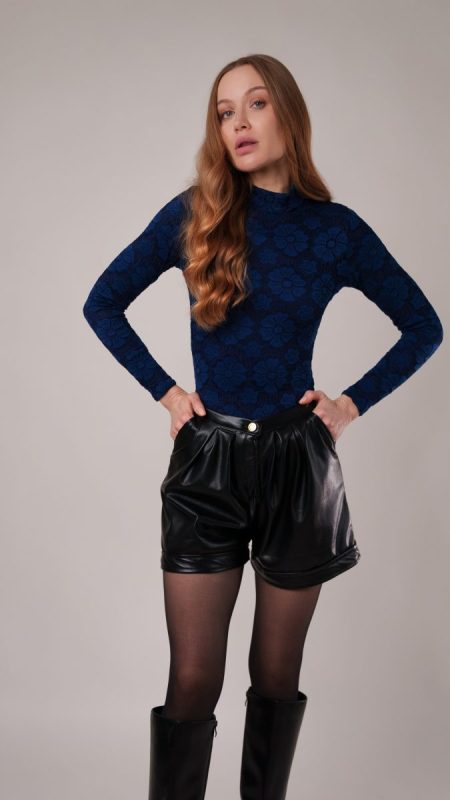
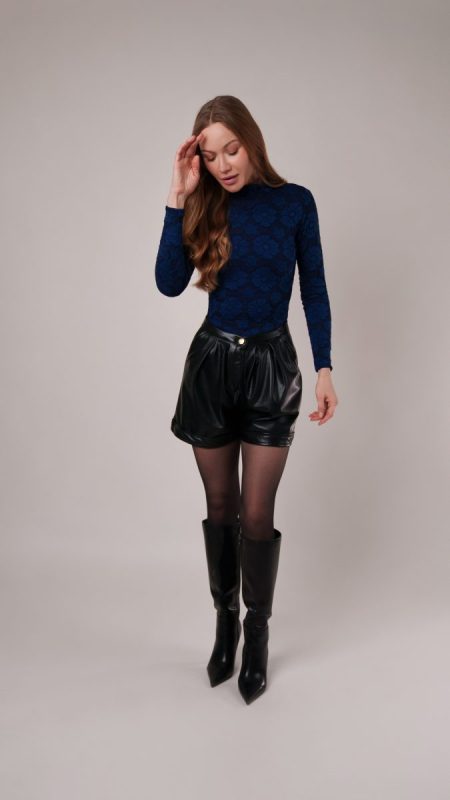
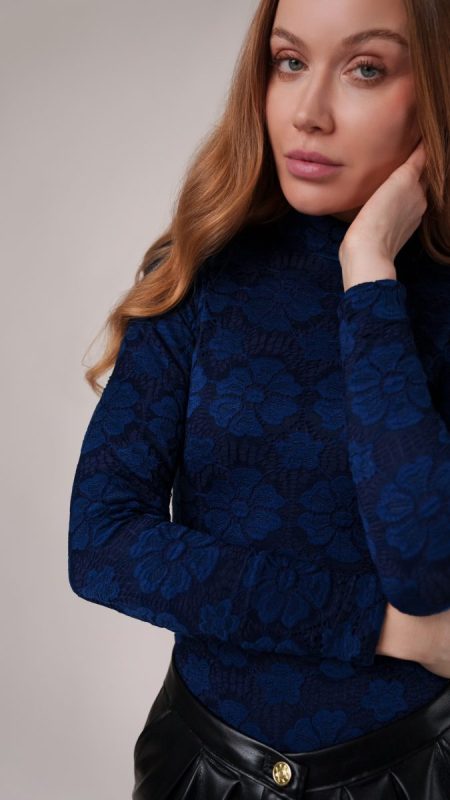
Sewing Success: The Finished Altena Blouse
Share this post with a friend (or two!), download the Altena Blouse free sewing pattern, and show us which fabrics and colors you choose, using the hashtags #MoodAltenaPattern & #MadeWithMood—and don’t forget to tag us @MoodFabrics, too.

Free Sewing Pattern Inspiration for Your Next Project
With 490+ free sewing patterns and counting, your opportunities for sewing with Mood are endless!
We hope you had as much fun sewing this blouse pattern as we did! As always, we want to hear from you—share your thoughts and comments below and let us know where you’ll be wearing the Altena Blouse free sewing pattern!

On the Shop This Look for the Small, why is there 3 yds for the blue jersey and 2 yds for the lace. You cut the same pieces of each? Should be the same, no?
Yes, it should be 2 yards of each.
Nice … Thank you
thanks
Hi! How much stretch percentage in a fabric is this pattern designed for?
All the best,
Yvonne
Hey Yvonne, the fabric in this post has about 50% stretch, but you could use something that has slightly more or less stretch because the pattern was only made with 2-3 inches of negative ease. You can also always check the finished garment measurements in the size chart to make sure the top won’t have to stretch too much to be able to fit over your head.
The lining jersey is much stretchier than the lace fabric suggested here. I recommend cutting the lace layer with a larger seam allowance — I ended up adding an extra inch on each side, both front and back.
Thanks for this tip Anna! I was able to sew it without changing the dimensions of the lining fabric, but if your lining is stretchier than your lace, this is a good tip.
I’m working on this pattern now, and on the Collar piece, there’s a very large gap between size 00 and the other sizes. In my mock-up (size 14), the collar was much larger than it should be and sits almost like a cowl neck. I’m sizing this piece down now to sit more like a turtleneck, which is what I think it’s meant to be (hard to tell since the lighting on the model is really dark).
Hi Melanie
Thank you very much for your comment. The size 00 collar pattern piece became misaligned at the base with the other sizes, but the size itself is correct. If you look at page F4, you will see two lines: the bottom line corresponds to size 00, and the line above it is where the other sizes begin.
Regarding the neckline–collar measurement, for the size 4 worn by the model, we added 2.75″ of ease to achieve the fit shown. We added the same amount of ease to all other sizes, including size 14, so the fit should be the same.
However, we work with standard sizing, so it is normal that you may sometimes need to make adjustments for the garment to better match your personal measurements. I recommend measuring your neck circumference, adding the amount of ease you prefer, and then selecting the collar size that is closest to that measurement. Please also use the neckline from the same size.
Keep in mind that our patterns include a 1/2″ seam allowance, so please subtract that when choosing your collar size.
I’m trying to determine a size, but the size chart is saying there’s added ease in the finished garment sizes. I saw in a previous comment that the the pattern is made with 2-3 inches of negative ease, so what are the actual final garment measurements?
Hi Chloe
Thank you for your comment. The garment measurements are as shown in the chart. Since this top is lined, we added ease during grading to provide a bit of extra room. However, depending on your fabric choice, you may size down if you prefer to work with negative ease.
If you are adding a lining, I recommend no more than 1–2 inches of negative ease, and only for fabrics with at least 50% stretch in both directions.