
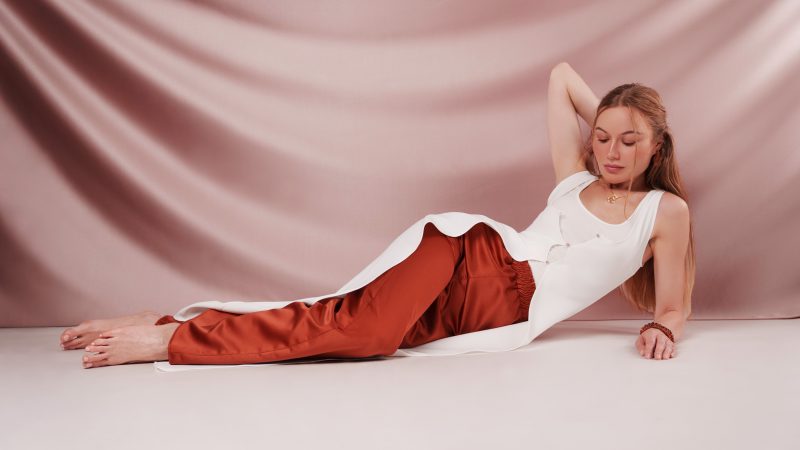
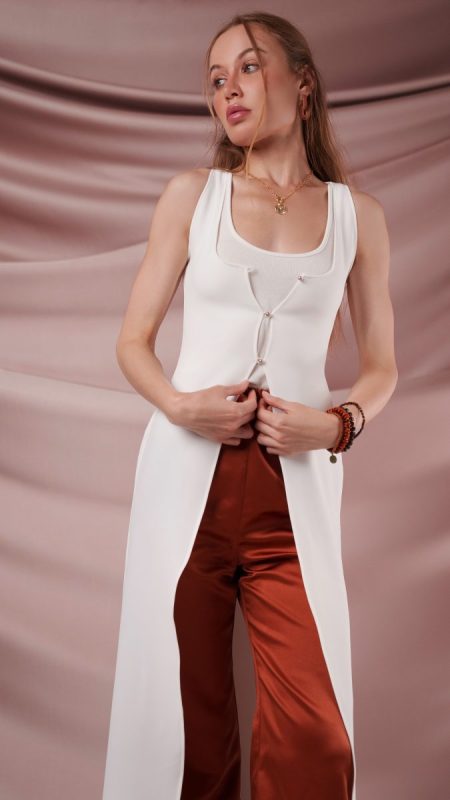
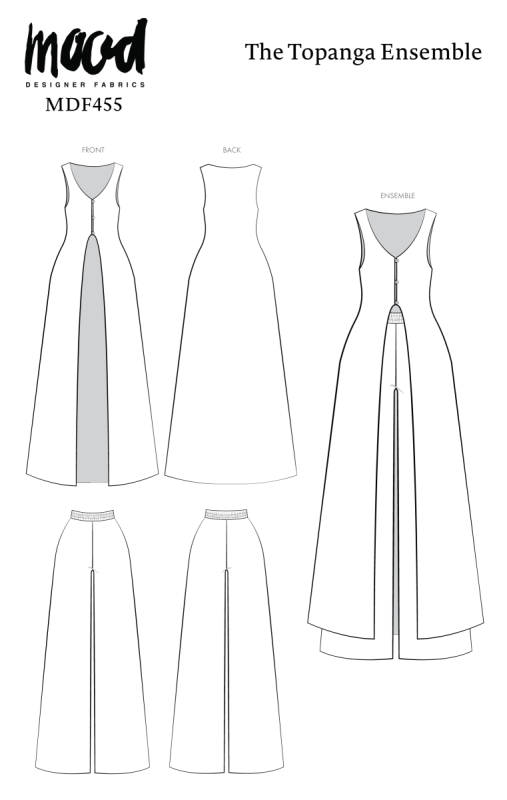
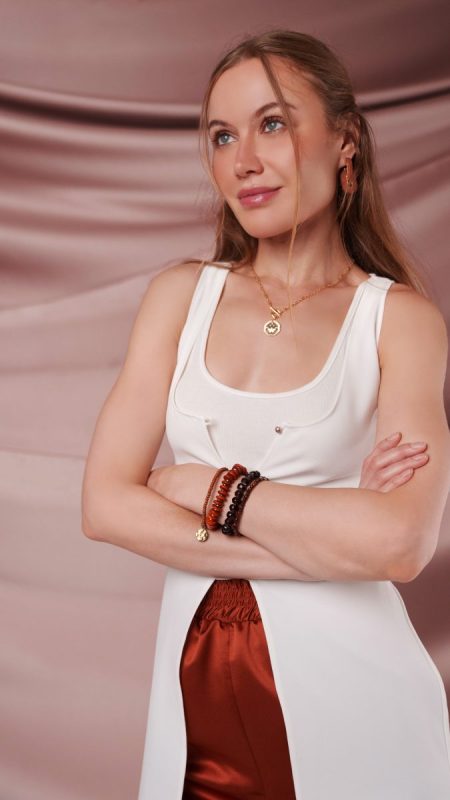
Introducing the Topanga Ensemble, a free sewing pattern designed to be your go-to outfit for late-summer adventures. Featuring a comfortable stretch crepe vest top that fastens with three buttons and a pair of chic, wide-leg silk satin pants with an elastic waistband, we’ve paired our sample in a striking bright white and sienna color combination to evoke a relaxed, bohemian vibe perfect for sun-drenched days.
From hanging out poolside to meeting friends for lunch, the Topanga Ensemble is the perfect combination of casual comfort and effortless style! It’s also travel friendly and easy to pack in your carry-on for your next trip and/or relaxing vacation. Whether you wear it together, layer it or even mix and match it with other pieces from your wardrobe, the outfit combinations are infinite. Choose to sew it in a multitude of colors or other fabric type choices, too, to maximize this relaxed, yet put-together style for anywhere from dressed down to semi-formal occasions.
Beginner friendly, our newest ensemble is a great sewing project for various skill levels, with its versatility lending well to all season-long wear and transitioning between seasons. When it begins to get chilly out, layer the vest top with long-sleeved tops and opt for a pair of boots! As an added bonus, style it with our Spirea tote—like we did!—for another layer of your #MeMade look!
Ready to make your own? We can’t wait to see your unique take on this beautiful ensemble. Download the free Topanga Ensemble pattern today and get started. Where will you wear yours? Be sure to tag us and share your creations in the comments!
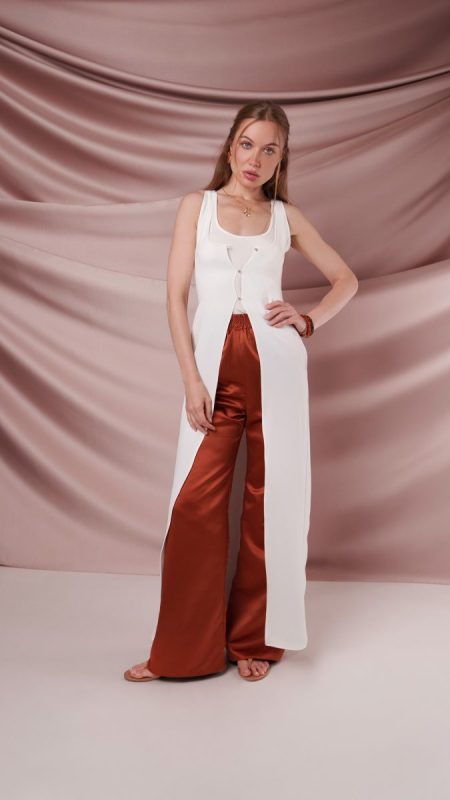
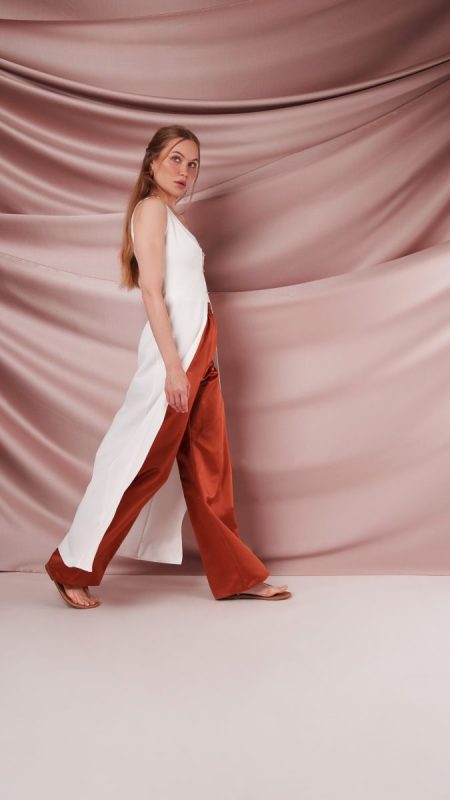
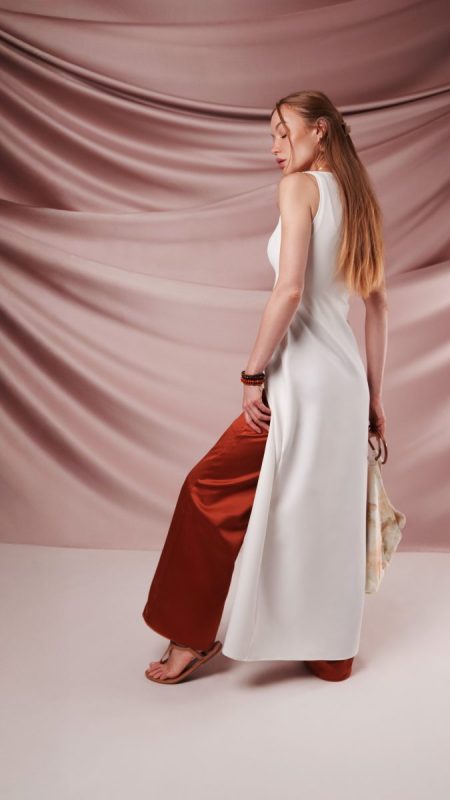
Essential Materials & Sizing Guide for the Topanga Ensemble
Continue reading for a breakdown of what knowledge and materials you need for creating your very own elongated vest top and wide-leg pants ensemble! We’ve got you covered with the recommended materials we used—if you want to follow along exactly—as well as a curated list of alternative fabric type recommendations if you want to customize your own version. The Topanga Ensemble free sewing pattern download includes technical drawings for seam and silhouette visibility, plus a size chart to help you find your perfect fit!
Purchase Products Used Below:
Quantities indicated are for sewing a size small vest top and pants ensemble. Toggle the ‘SHOP THIS LOOK’ box to find quantity estimates for other sizes.
- 2.5 yards of White Stretch Polyester 4-Ply Crepe
- 2.5 yards of Polyester Satin – Sienna
- 1 yard of White Elastic Trimming – 2”
- 1 each of Gutermann Sew All Thread 250m – 554 Rust
- 1 each of DMC Embroidery Floss #3865 Winter White
- 1 each of Dritz Embroidery Hand Needles – Size 7 – 16 ct
- 3 each of Pearlized Glamour Gold Shiny Dome-Shaped Shank Back Buttons 12L/11.5mm
- MDF455 – Topanga Ensemble Sewing Pattern (Free download below!)
Additional Products Used:
- 1 each of Dritz Tailor’s Chalk
Alternative Fabric Type Recommendations:
The Topanga Ensemble sewing pattern is best suited for lightweight to medium weight fashion fabrics. Explore other fabric types or colors from our featured collections for your ensemble with the links below.
Fabric Collections Used in this Post:
Download Your Free Sewing Pattern
Submit your name and email in the form below to receive the download link for the Topanga Ensemble free sewing pattern directly in your inbox. Mood Sewciety Patterns will send your free download link via email with the subject line: ‘Your Free Download from Mood Sewciety – The Topanga Ensemble’ (in PDF format for A4 and letter-size printing).
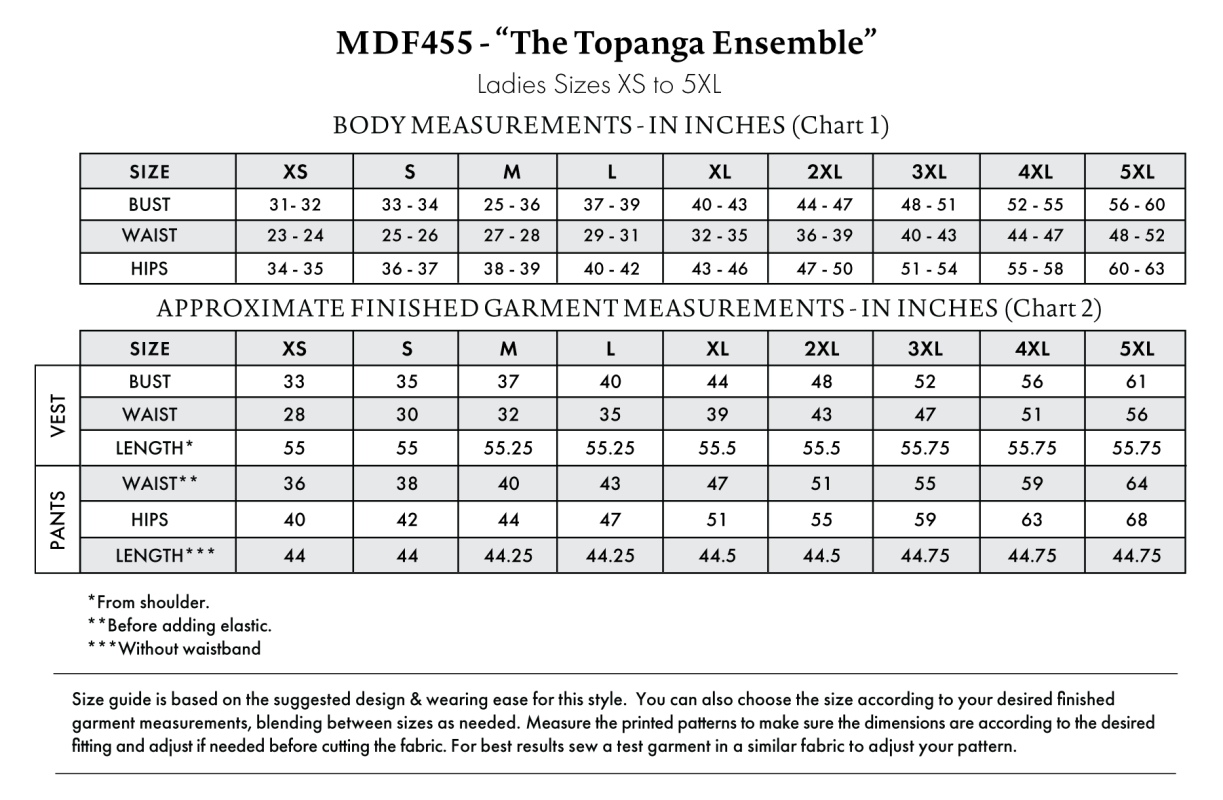
Find Your Perfect Fit
The Topanga Ensemble Sizing Guide is based on the suggested design & wearing ease for this style. You can also choose the size according to your desired finished garment measurements, blending between sizes as needed. Measure the printed patterns to make sure the dimensions are according to the desired fitting and adjust if needed before cutting the fabric. For best results, sew a test garment in a similar fabric to adjust your pattern.
Note: Measurements may vary after adjustments. If using non-stretch fabrics, reference the approximate finished garment measurements chart to choose your size.
How to Sew The Topanga Ensemble
The instructions provided below are designed to guide you through sewing the Topanga Ensemble from start to finish.
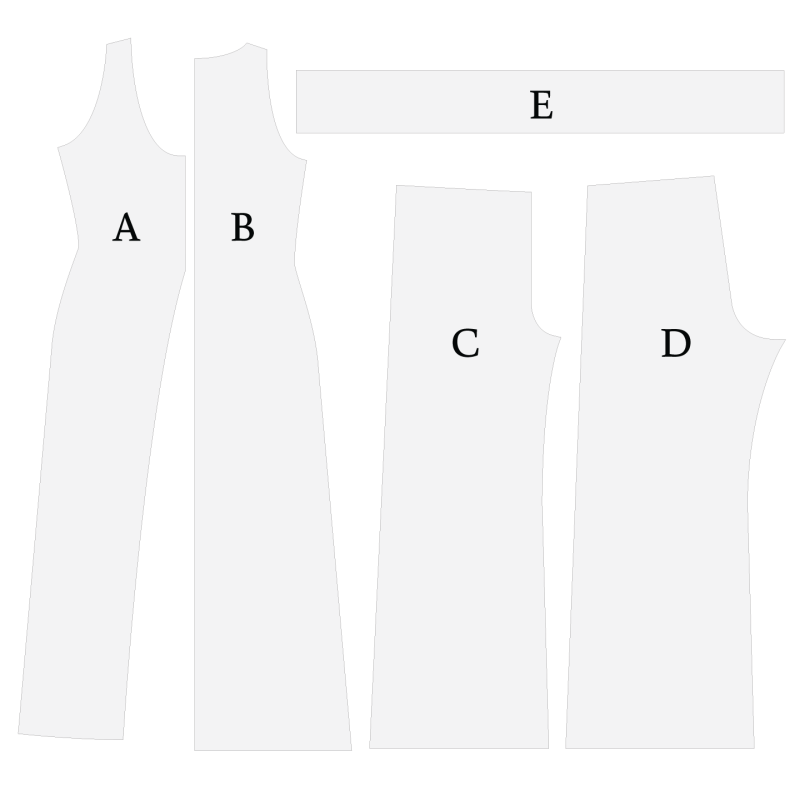
Pattern Pieces & Fabric Cuts Needed
- (A) VEST FRONT
- Fabric – Cut 2 Mirrored
- (B) VEST BACK
- Fabric — Cut 1 on Fold
- (C) PANTS FRONT
- Fabric – Cut 2 Mirrored
- (D) PANTS BACK
- Fabric – Cut 2 Mirrored
- (E) PANTS WAISTBAND
- Cut 1
Tips for Sewing the Topanga Ensemble Pattern
⇒ Place a long (clean) piece of pattern paper underneath a delicate/thin fabric. While you cut out the pattern, make sure to cut through the paper underneath as well. This will ensure a cleaner and smoother cut on the actual fabric.
⇒ Be careful to not stretch center front while sewing. Since it’s on a bias, stretching center front while sewing might displace the length of final garment.
Sew with a 1/2″ seam allowance for all seams unless otherwise specified.
Step 1
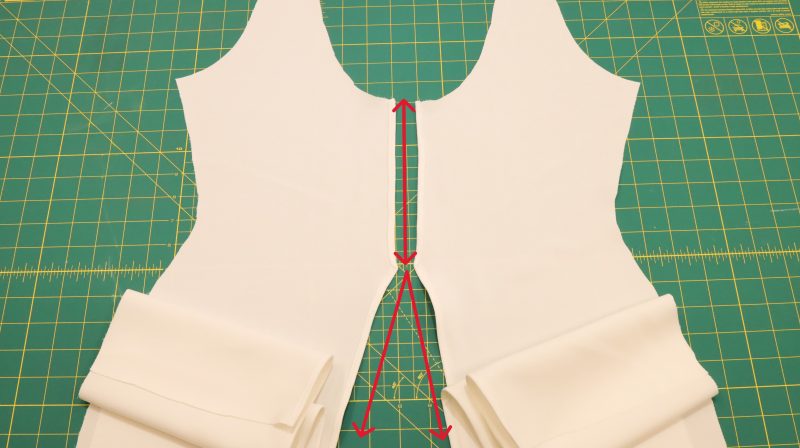
CENTER FRONT OPENING
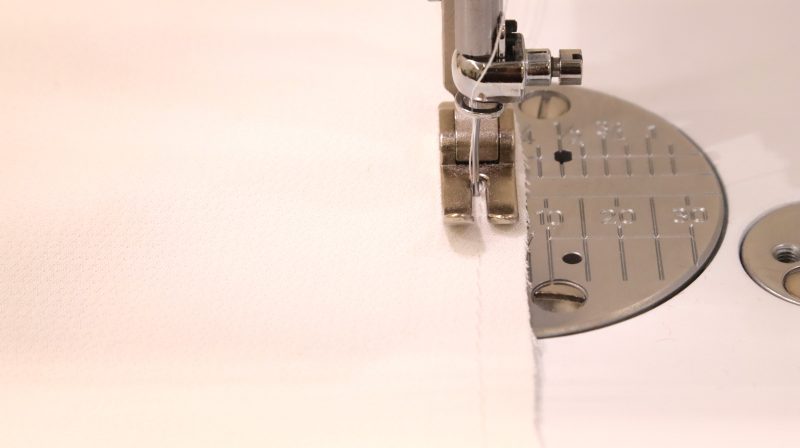
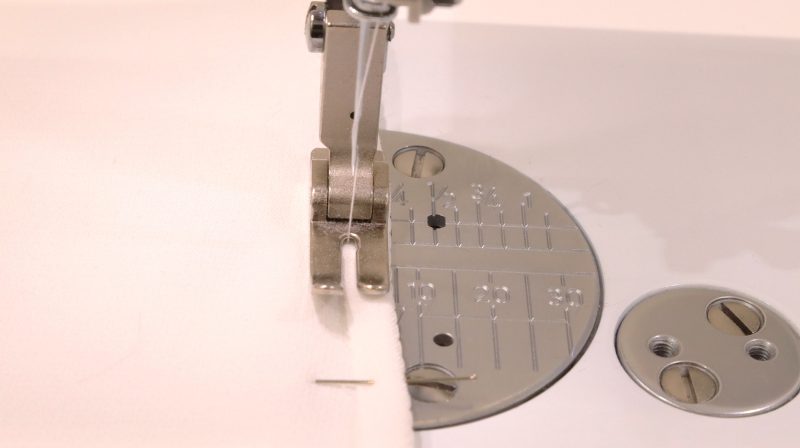
- Starting from the bottom neckline down to the hem, baste a ¼” away from the center front edge using a 3.5mm stitch length.
- Fold the ¼” to the wrong side using the baste stitch as a guide. Top stitch the fold with a 3.5mm basting stitch.
- Fold the ¼” again and top stitch using a 2.5mm stitch length.
- Pull the previous 3.5mm (basting) stitches out, leaving only the final 2.5mm top stitch.
Step 2
FRENCH SEAMS
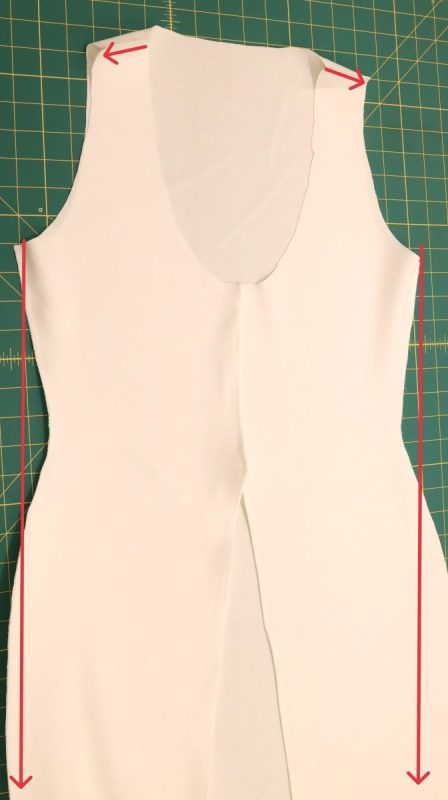
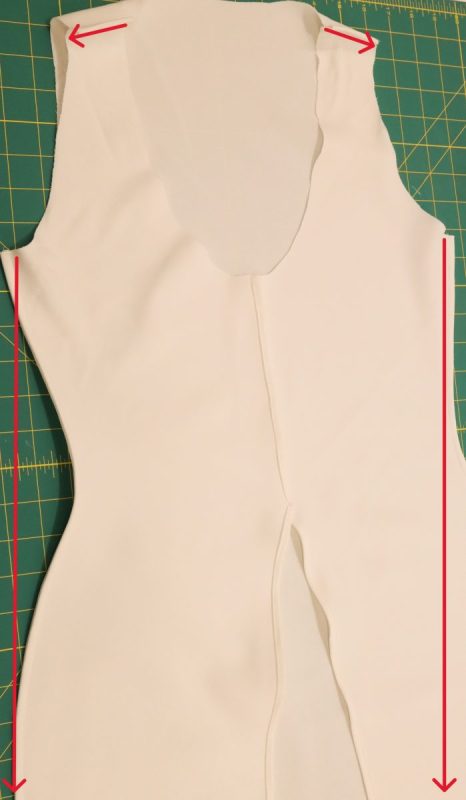
- Take your back piece and pin it to the front pieces facing wrong side to wrong side. Sew the shoulders and side seams together using a ¼” seam allowance.
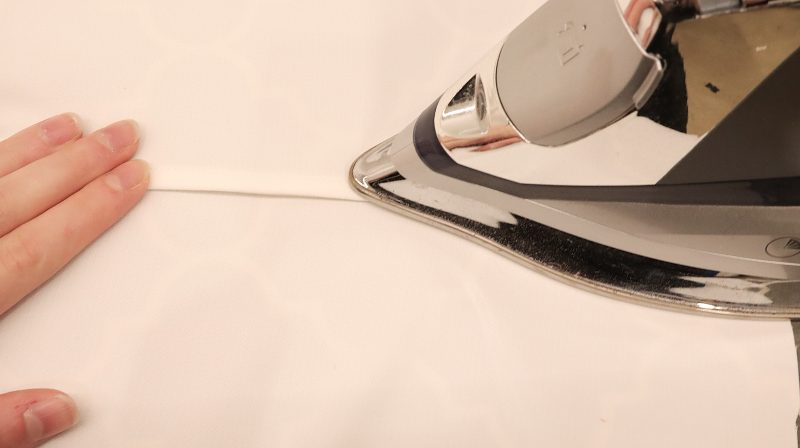
- Press seam allowance to the back and cut out an ⅛” of the edge.
- Flip the shirt so the back and front pieces will face right side to right side. Pin the side seam and shoulders, making sure the seam is folded correctly.
- Stitch the ¼” seam allowance again. Press the seams toward the back.
Step 3
FINISH HEM, NECKLINE & ARMHOLES
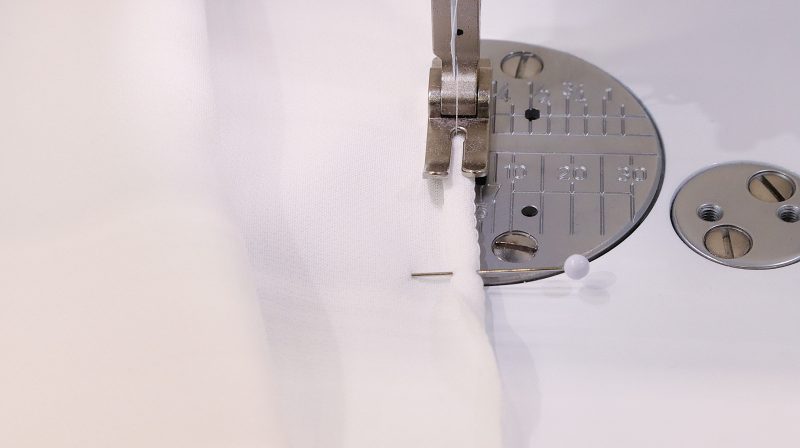
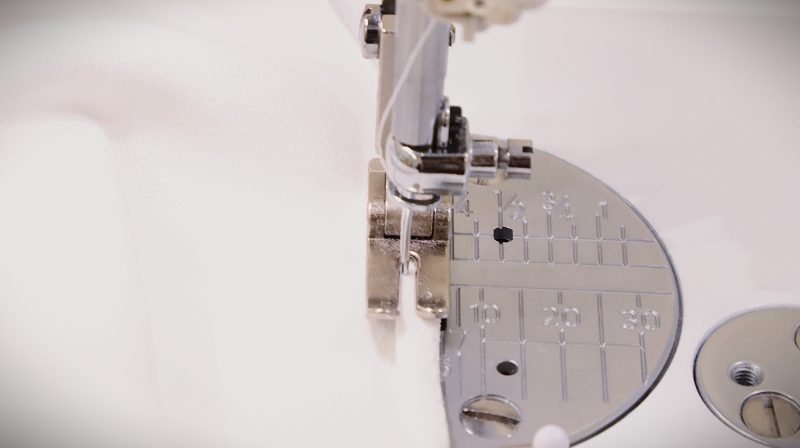
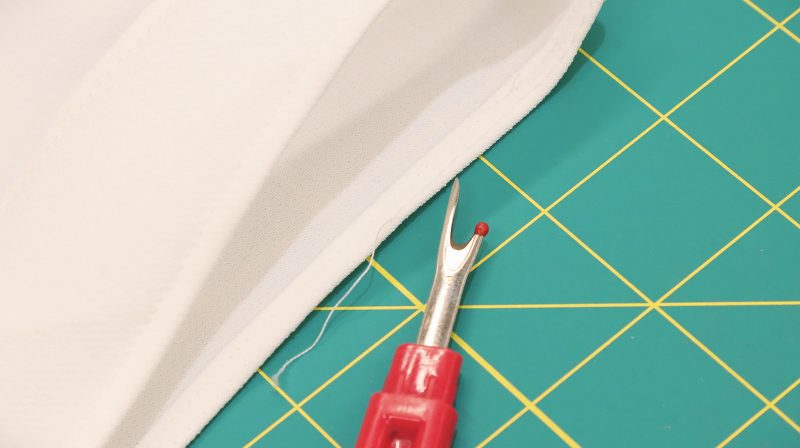
- Just like in step one: your hem, armholes and neckline should be basted a ¼” away from the center front edge using a 3.5mm stitch length.
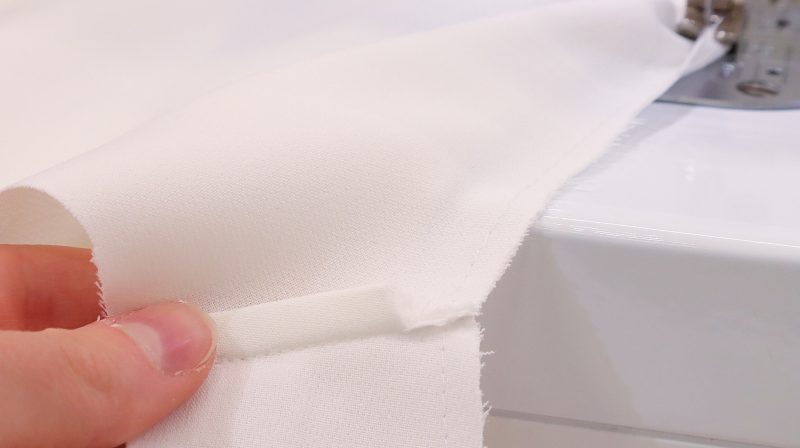
- Fold ¼” to the wrong side using the baste stitch as a guide. Top stitch the fold with a 3.5mm basting stitch length. Trim ⅜” of the french seams away from hem/edge.
- Fold a ¼” again and top stitch using a 2.5mm stitch length.
- Pull the previous 3.5mm stitches out, leaving only the final 2.5mm top stitch.
Step 4
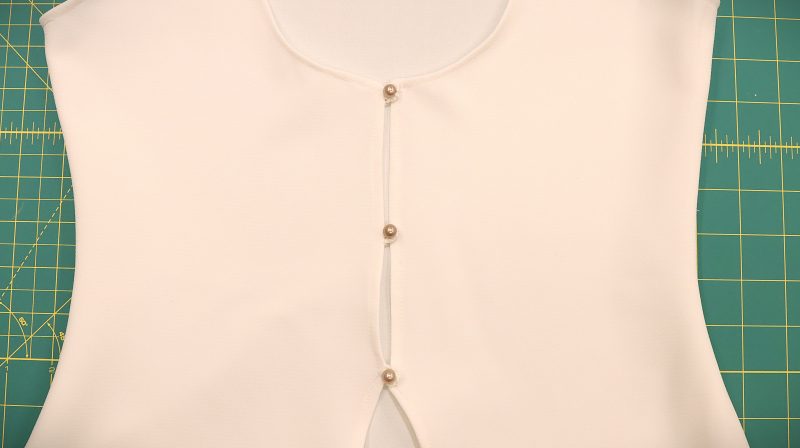
BUTTONS
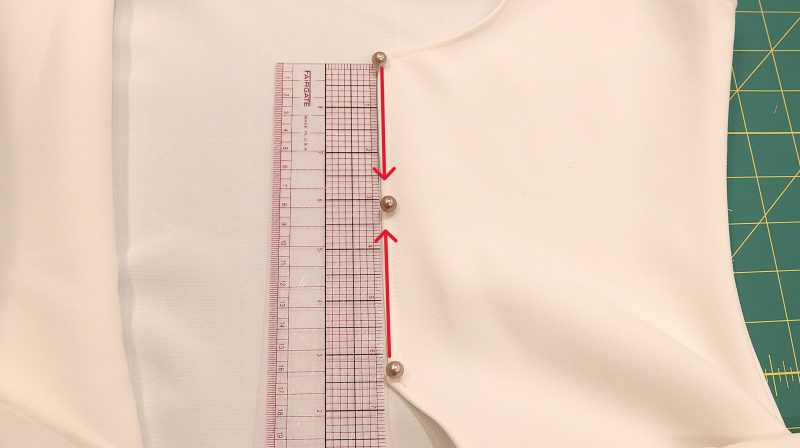
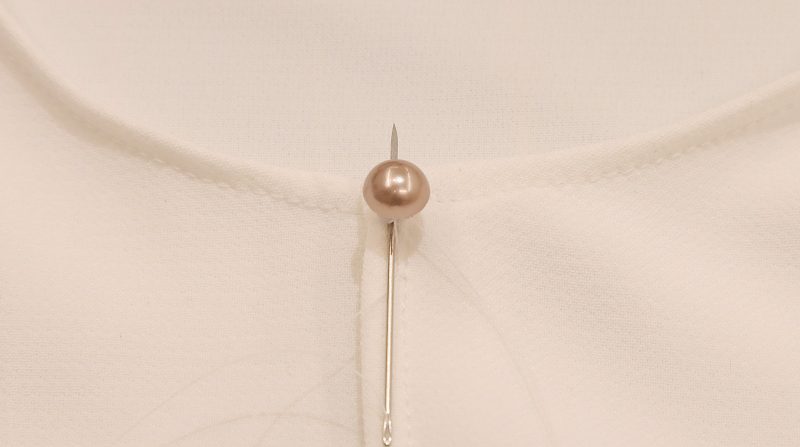
- Mark your button placement with chalk. The top and bottom buttons are placed a ¼” away from the edge. The center button is determined by dividing the distance between the top and bottom buttons in half.
- Cut about 24” of Gutermann polyester thread. Put it through the needle. Double it for strength, then knot the end.
- Push the needle up from the back of the fabric to the front, right where you want the button.
- Thread the needle through the shank. Push the needle back down into the fabric, right next to the first hole. Repeat this step 5 times and secure it with a knot.
Step 5
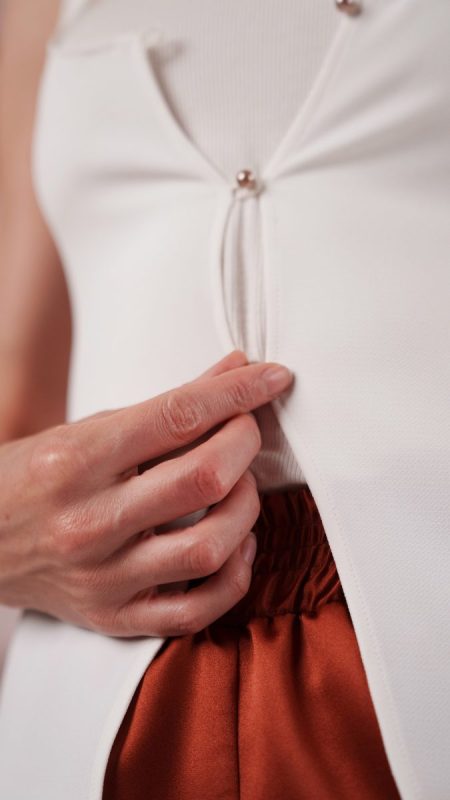
BUTTON LOOPS
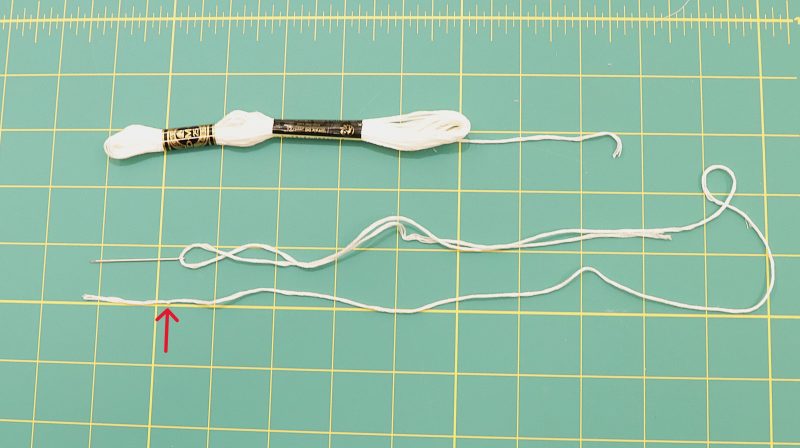
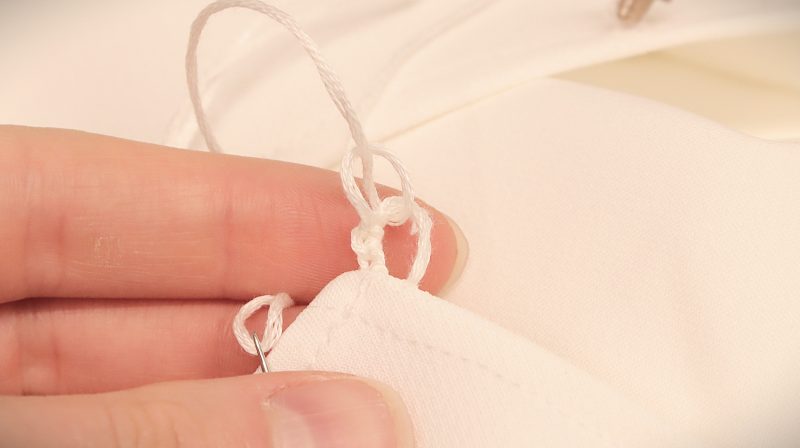
- Cut a 24” piece of DMC embroidery floss and tie a knot at one of the ends. Pull it through the embroidery needle, leaving the other end unknotted. Do not double up the thread, use only a single thread for this technique.
- Align and mark your buttonhole loops placement corresponding to the buttons’ placements.
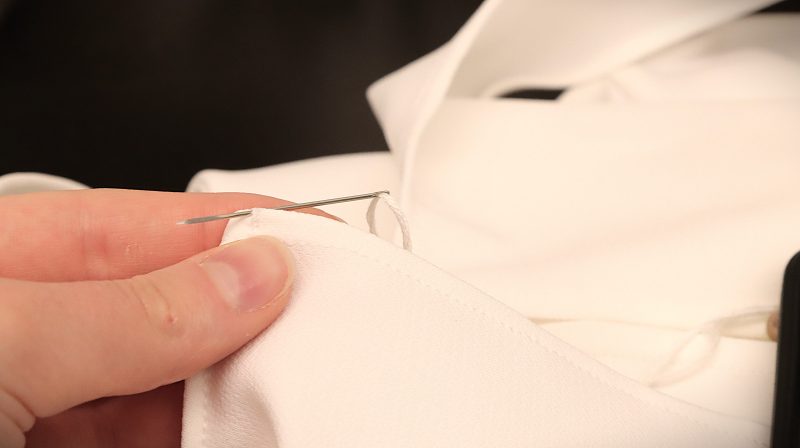
- Bring the needle up from the underside of the fabric at one end of your marked arc. Make a few tiny anchoring stitches to secure the thread.
- Stitch across from the starting point to the other side of the arc. Make sure your loop can get through your button. Leave the thread loose in an arc shape and secure it on the opposite side with a small stitch.
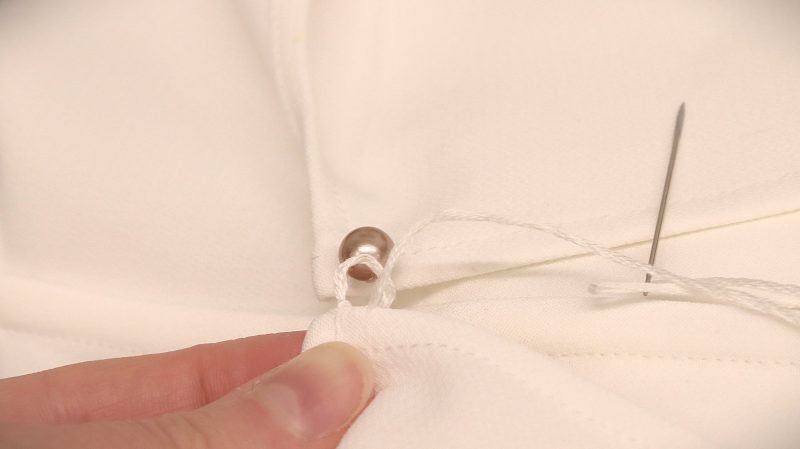
- Bring the needle to the starting putting and create a double arc/loop. Make sure they are the same size.
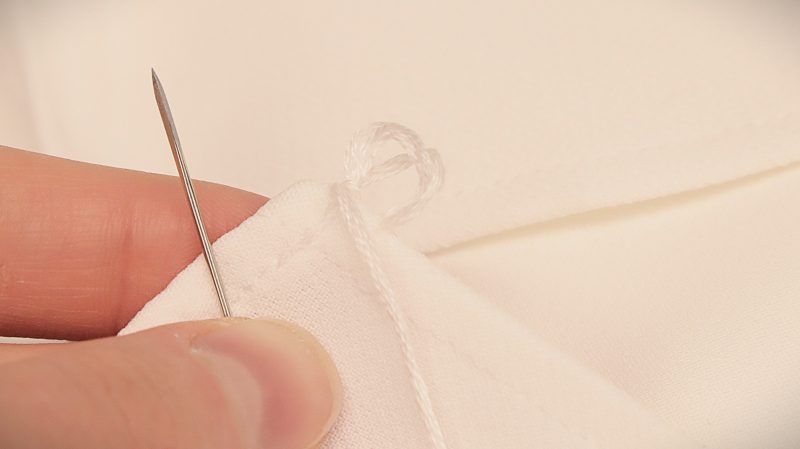
- Bring the needle down the loop from the front of the fabric. Pull the thread through, and as you do, pass the needle through the loop of thread before tightening. Keep each stitch snug and evenly spaced. Continue along the arc until the entire loop is covered in buttonhole stitches.
- When you reach the end of the loop, take a few small stitches at the base to secure it. Double knot the thread on the underside and trim.
Step 6
FRENCH SEAM
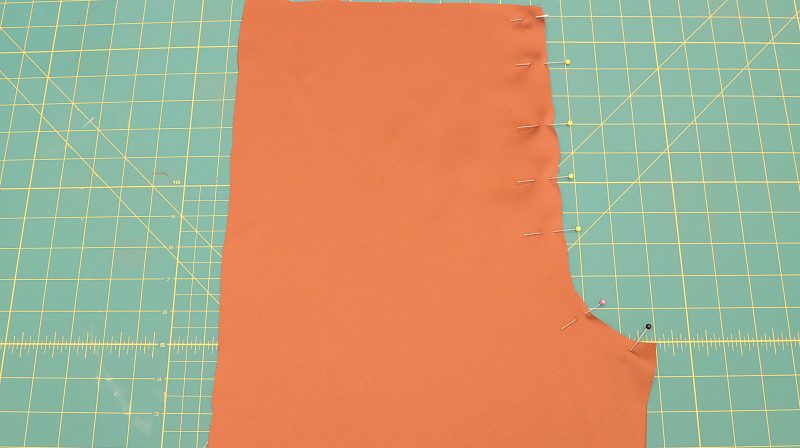
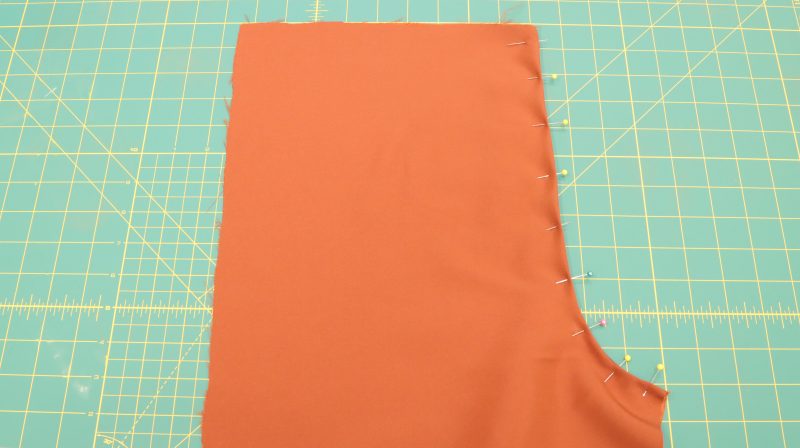
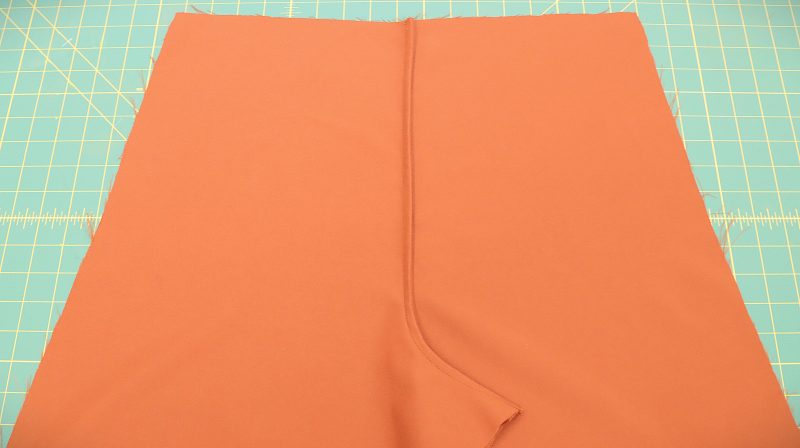
- With the wrong side facing the wrong side, pin the crotch line along the front pieces.
- Sew using a ¼” seam allowance along the crotch line.
- Trim excess threads and fraying edges.
- Press seam allowance to one side and flip the front pant piece to the wrong side.
- Pin the right side facing right side and sew using a ⅜” seam allowance.
- Repeat the same step on the back pieces.
- Press the front seam to the right and the back seam to the left side.
Step 7
FRENCH SEAMS
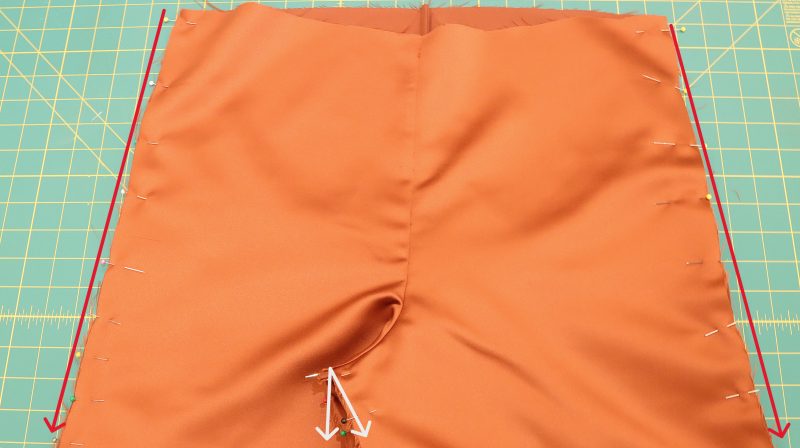
- With the wrong side of the front piece facing the wrong side of the back piece, pin side seams and inner seams, making sure to align the crotch lines first.
- Sew side seams closed using a ¼” of seams allowance.
- Cut unnecessary fraying fibers from the seam allowance.
- Flip the pants to the wrong side.
- Pin along the outer and inner seams, and sew together using a ⅜” seam allowance.
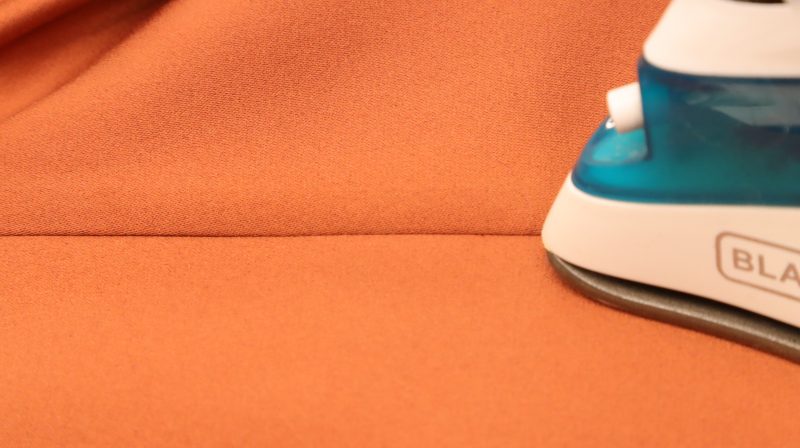
- Press seam allowance to the back.
Step 8
WAISTBAND
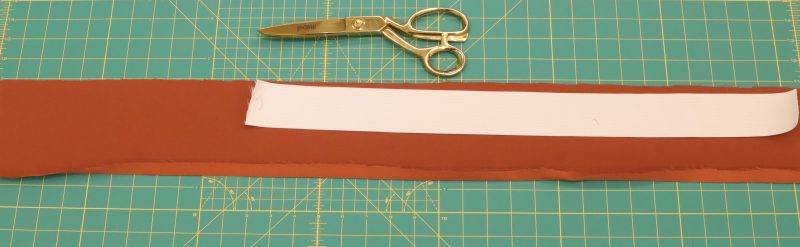
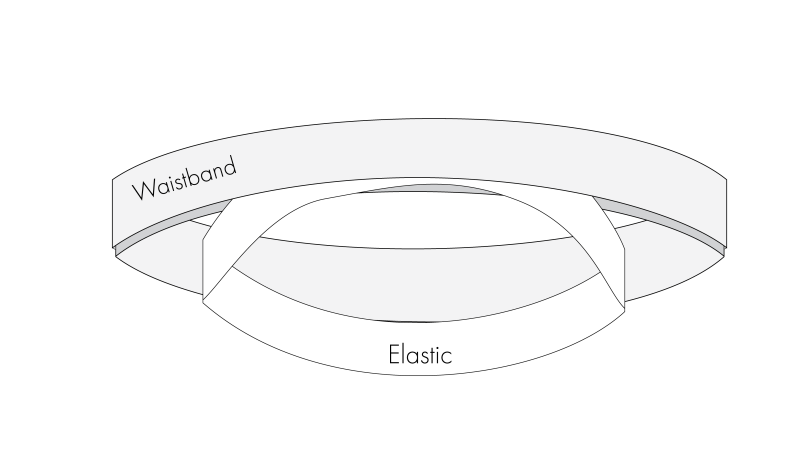
- Cut your elastic band smaller than *your actual waist measurement* by 2”. Example: size 4 has 26” waist measurement. So 26”- 2”= 24” elastic.
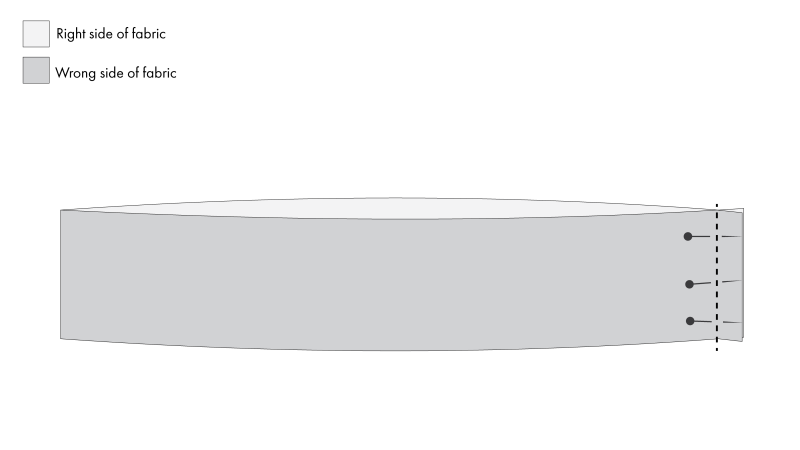
- Pin the side seam of the waistband together. Sew using a ½” seam allowance to form a loop.
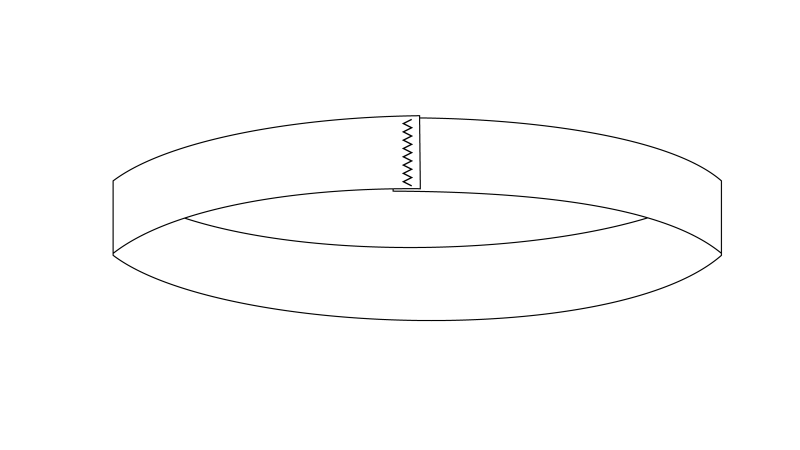
- Overlap the ends of the elastic by about ¼” and sew them together to form a loop, using a zigzag stitch for extra strength.
- With chalk, mark your ½” seam allowance on the bottom edge of the waistband.
- Fold the waistband in half lengthwise, press, and place a portion of the elastic in between the 2 layers of the waistband.
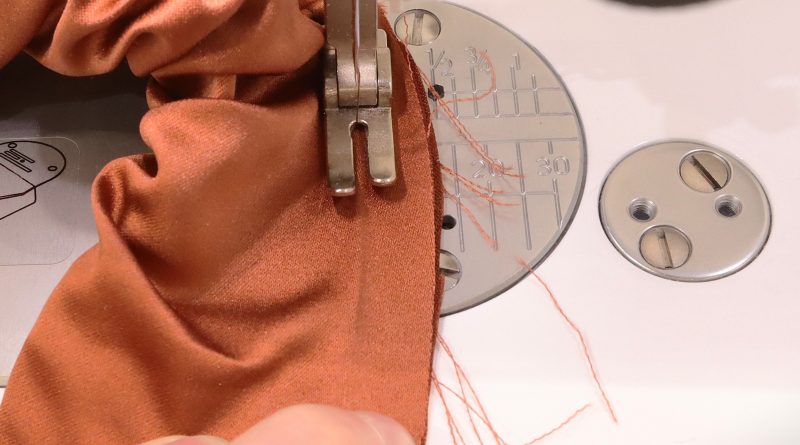
- Match and sew the raw edges of the waistband, keeping the elastic enclosed. Use a ½” seam allowance, stitching only through the waistband fabric so the elastic remains free. If needed, stretch the elastic as you sew.
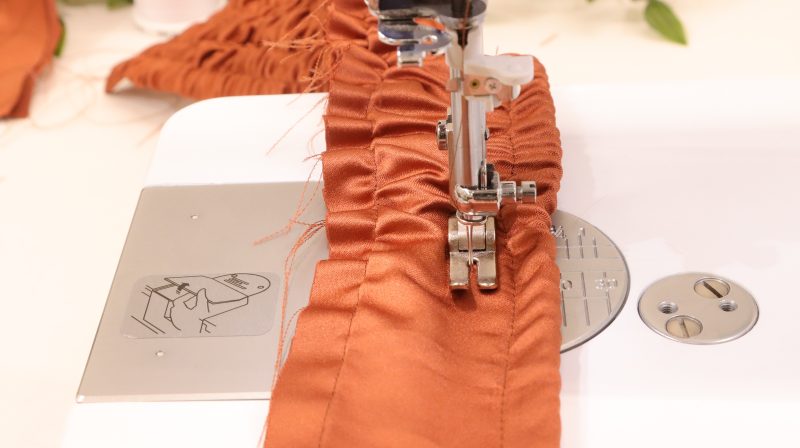
- Stretch the waistband to ensure the elastic is evenly distributed inside. Make 3 rows of stitch lines on the waistband. Note, each row is about a ½” away from the last. Fully stretch the waistband as you sew.
Step 9
ATTACH WAISTBAND
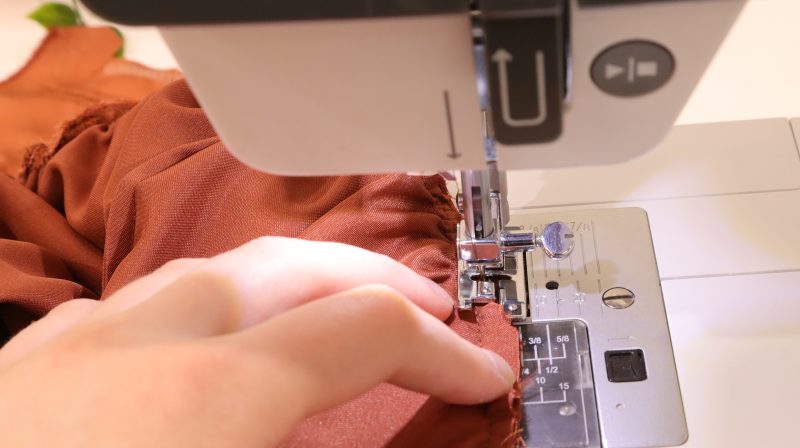
- Match the back seam of the pants to the back seam of the waistband facing right side to right side.
- Pin the waistband all around the waist line. Sew using a ½” of seam allowance.
- To finish the rough edge, you can serge or overcast with your domestic machine.
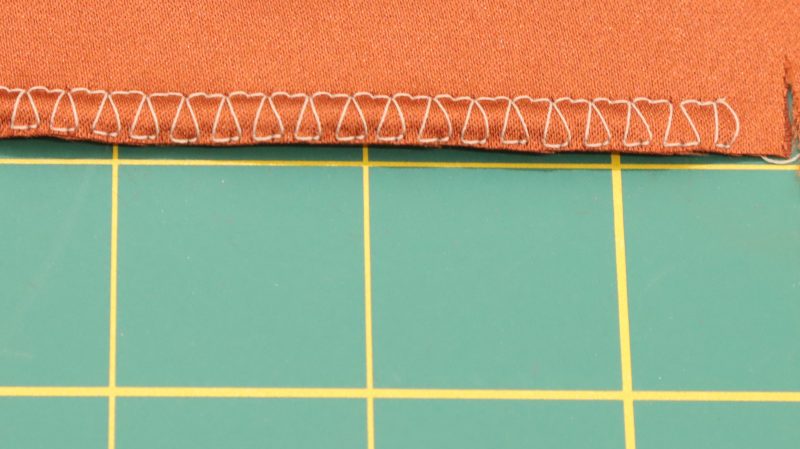
Step 10
PANTS HEM
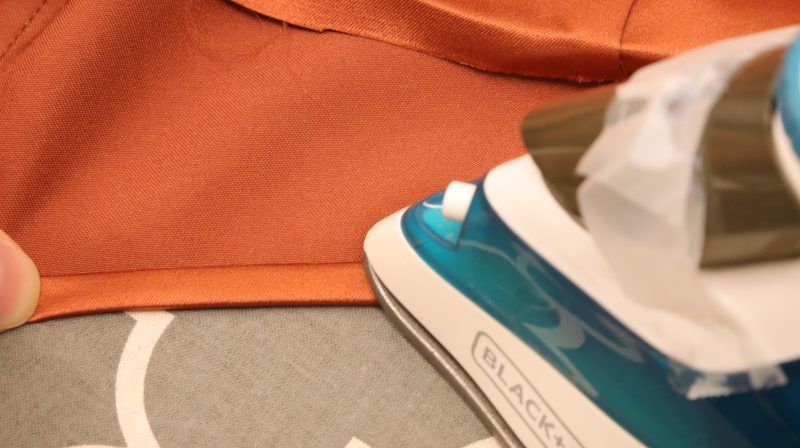
- Fold up a ¼” of the raw edge to the wrong side of the fabric. Press it well with an iron.
- Repeat the same step again, encasing the raw edge completely.
- Top stitch along the inner folded edge. Press the hem flat after sewing.
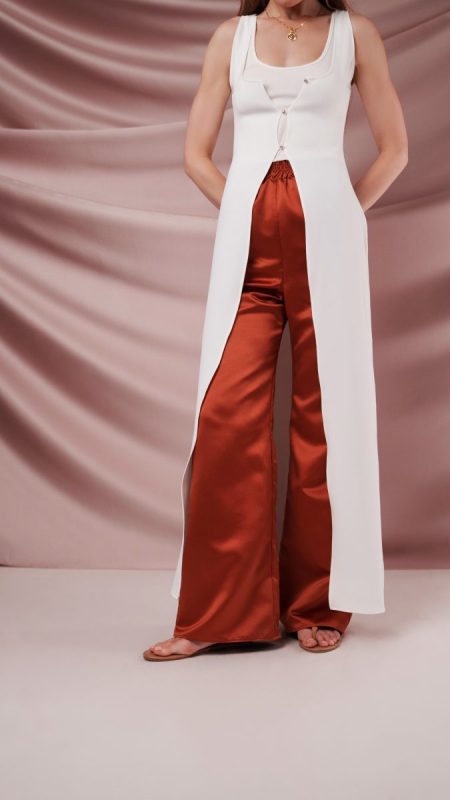
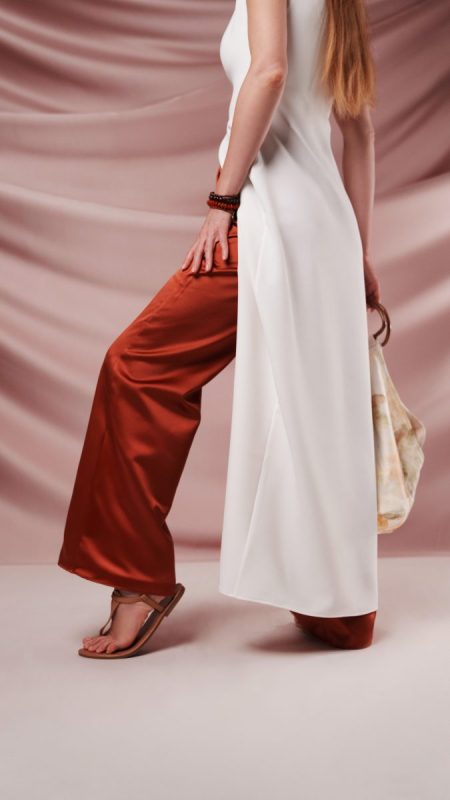
Sewing Success: The Finished Topanga Ensemble
Share this post with a friend (or two!), download the Topanga Ensemble free sewing pattern, and show us which fabrics and colors you choose, using the hashtags #MoodTopangaPattern & #MadeWithMood—and don’t forget to tag us @MoodFabrics, too.
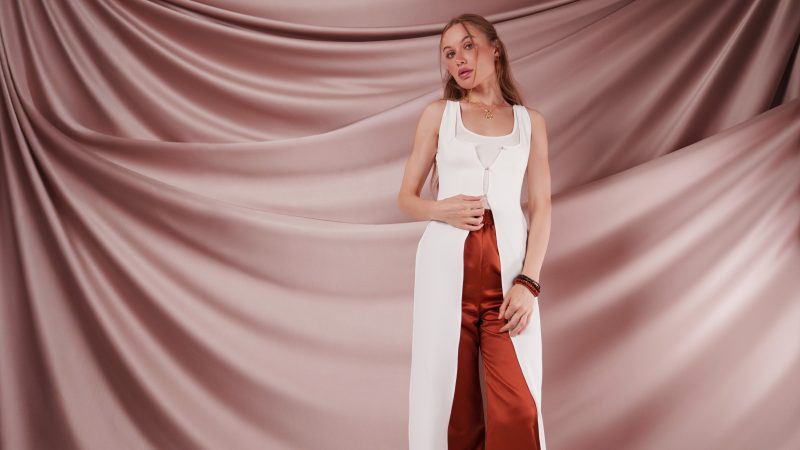
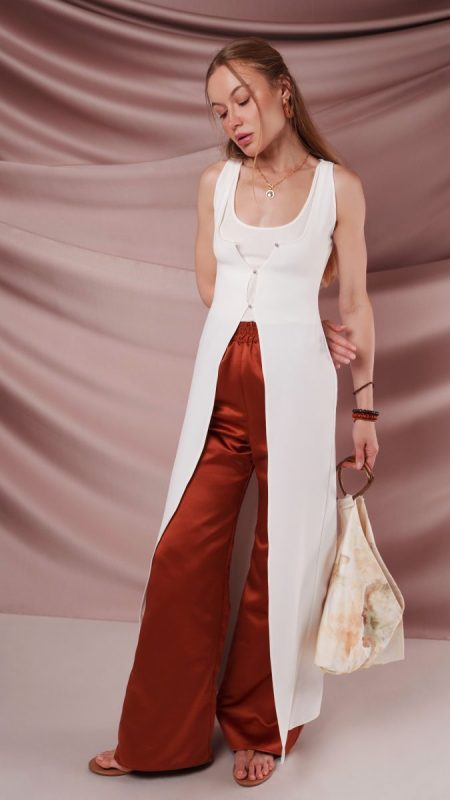
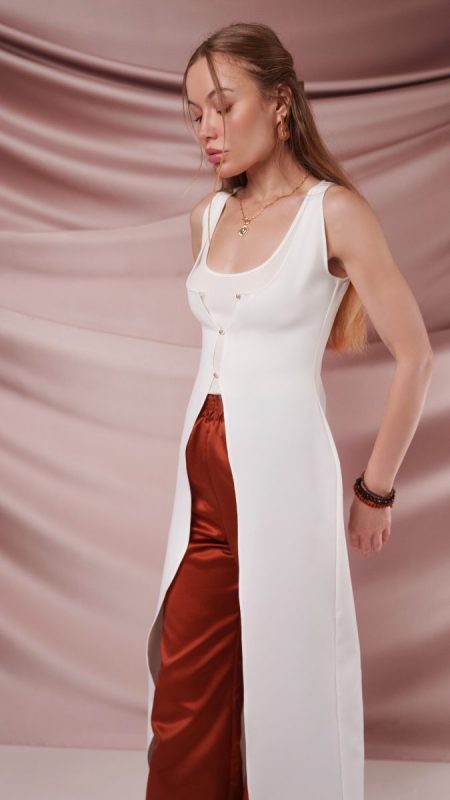
Free Sewing Pattern Inspiration for Your Next Project
With 450+ free sewing patterns and counting, your opportunities for sewing with Mood are endless!
We hope you had as much fun sewing this vest top and pants pattern as we did! As always, we want to hear from you—share your thoughts and comments below and let us know where you’ll be wearing the Topanga Ensemble free sewing pattern!

I’m immediately in love!!!!! Question about fabric choice. I’m interested in using a gauze or linen for the ensemble (I live in a super hot environment), would that still work for the vest since it’s cut on the bias? Or would I need to stick with a stretch fabric. Also I appreciate the clear instructions for French seams. They’ve always seemed so complicated but this tutorial makes me feel like I can make it happen. Thanks in advance!
This sounds like it would work! I would definitely cut it on the bias like you said.
Hola,estuve mirando que sus patrones son en pulgadas,en mi país usamos las tallas europeas se podrá agregar las tallas en cm? Sería de mucha ayuda 🙂
Hola Patri
Claro que si! Ya estamos trabajando en ello, quédate pendiente del blog para que te enteres cuando subamos esa información 🙂
Hello thank you so much for sharing this beautiful pattern! I was wondering if you have it available for large format printing?
Unfortunately we only offer the pattern in 8.5×11 size print options, but please stay tuned for future updates!
This is exactly what I’ve been looking for, thank you so much Mood! It’;; be perfect in balk crepe. Bit another brainwave I had was to create the top in chiffon to go over other pieces but most of your suggestions are stretch, do you think it would be ok? Would you recommend sizing up for chiffon? Thanks!
Hi Chele, If you want to make the top out of something sheer that still has some stretch, try looking into buying a mesh fabric!
I have a question about fabric… could I make the vest/top out of cotton, linen or a light-medium weight non stretchy fabric. I’m making this for a music festival, I have the perfect fabric for my vision but it is a cotton quilting fabric.
Hey Sadie! This pattern was made for stretch fabric, but you can till use a woven fabric as long as you cut out the size that has the finished garment measurements that match your body. That way, it doesn’t need to stretch to fit you.
hi! What size is the model wearing?
The model is wearing a size 4.