

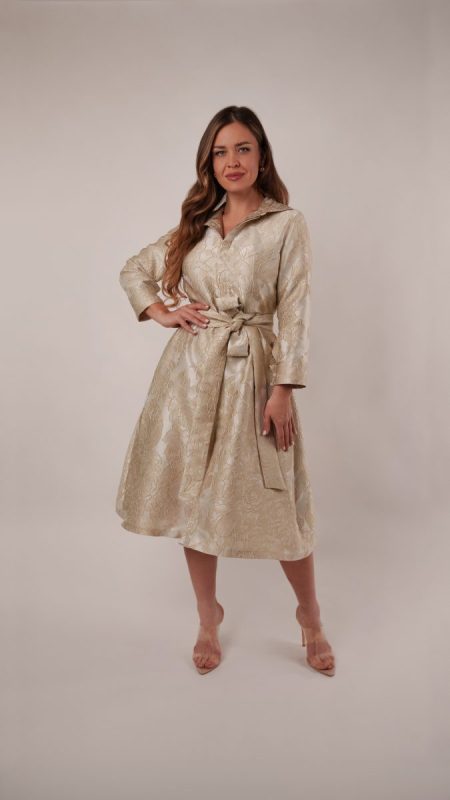
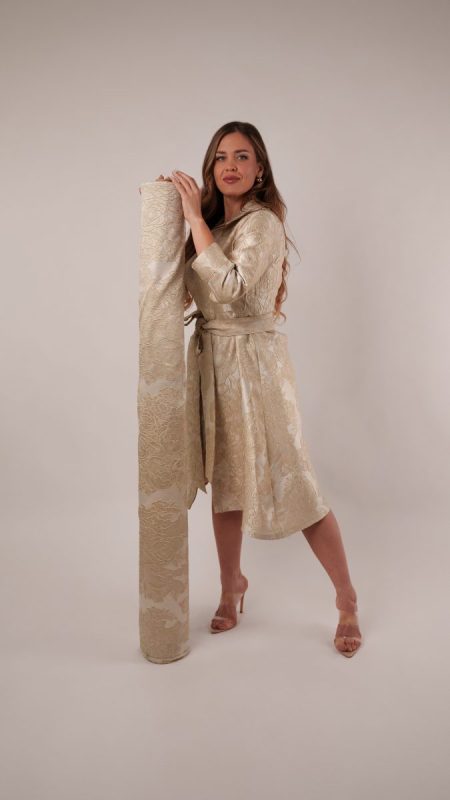
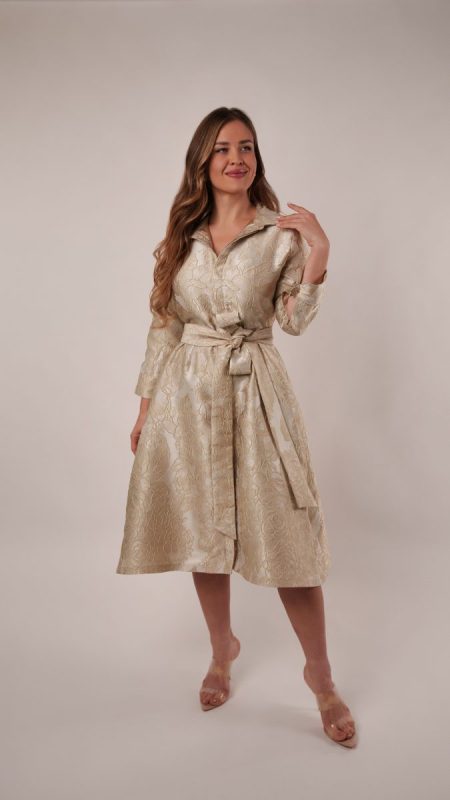
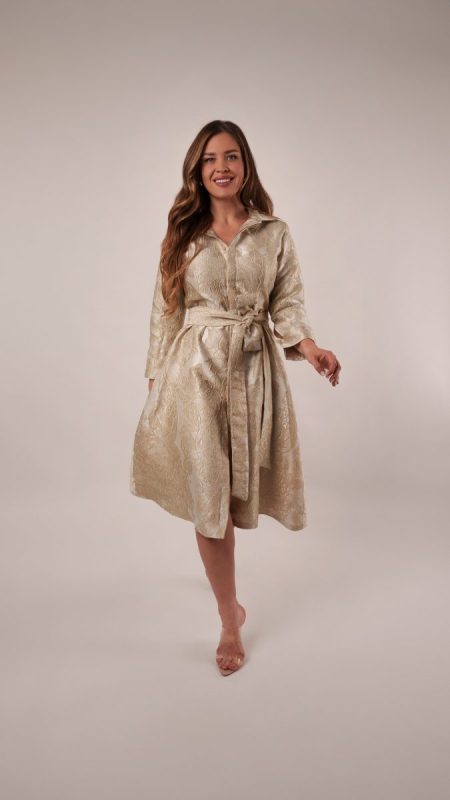
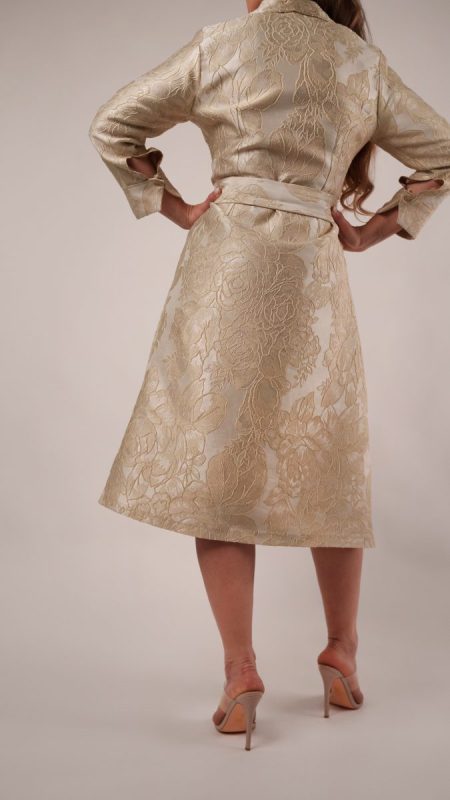
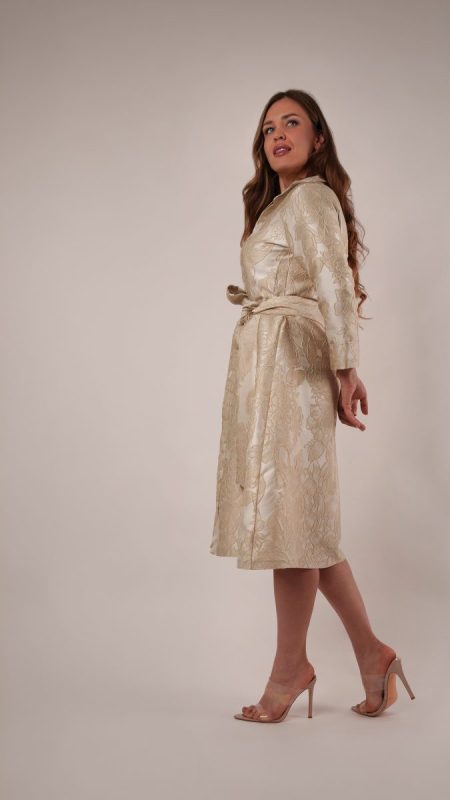
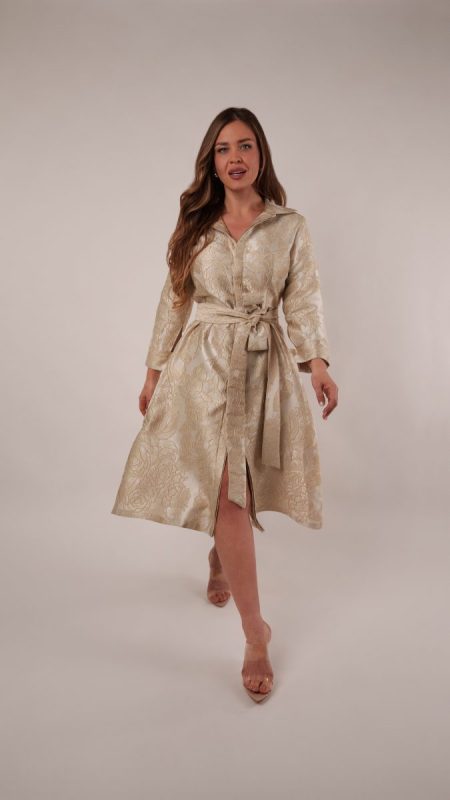
The Estoril Collared A-Line Dress is here and it’s calling your name! Made here in a rose printed gold brocade with a soft shimmer and subtle texture, it holds its shape beautifully while still catching the light in all the right ways.
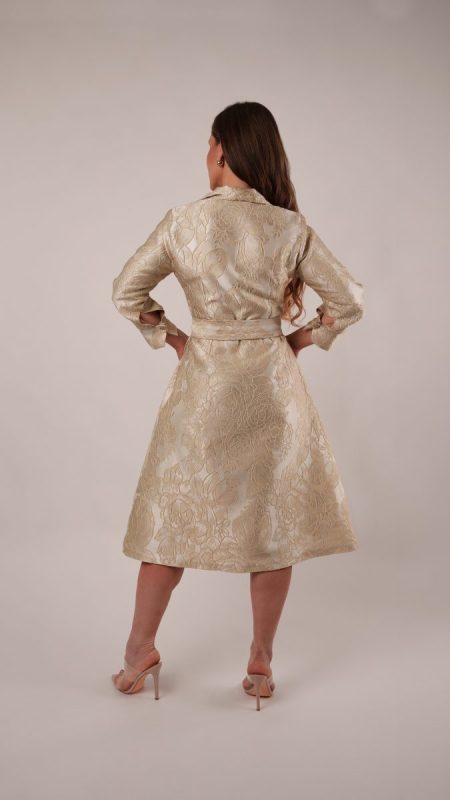
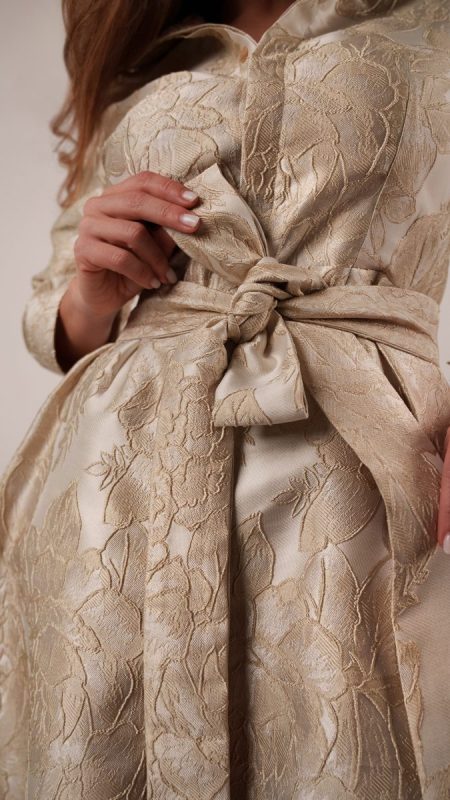
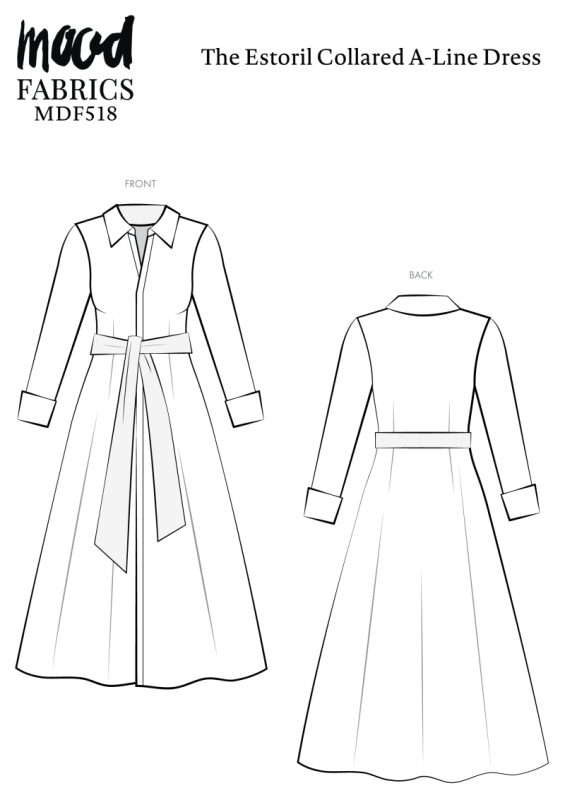
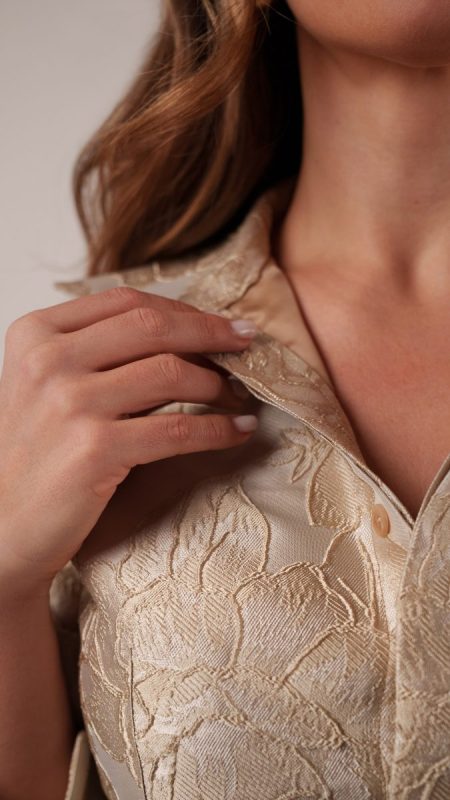
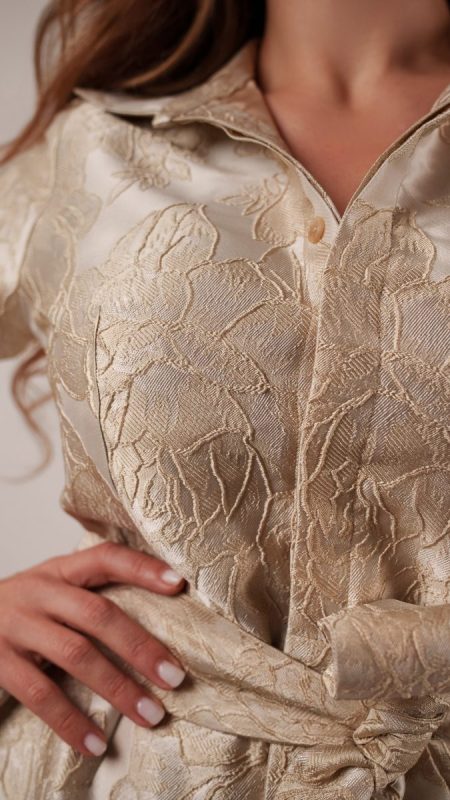
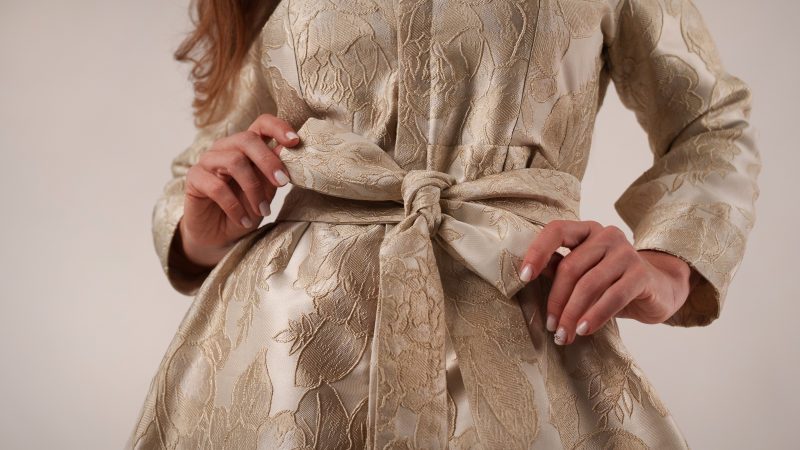
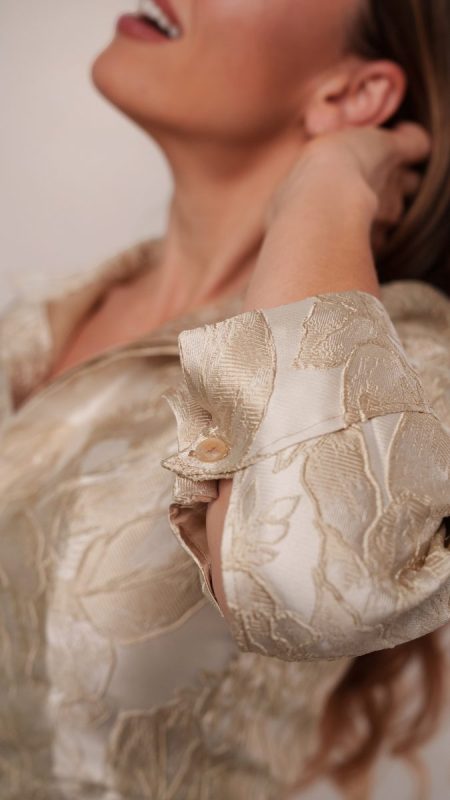
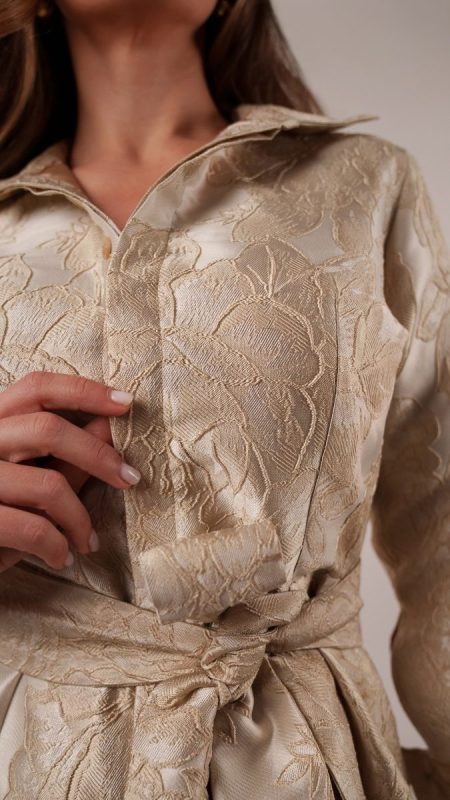
The structure is what really makes this pattern stand out. A clean collar, button front closure, and buttoned cuffs give it that tailored feel, while the tie belt pulls everything in at the waist for a flattering, defined silhouette. It’s polished without feeling too formal, which makes it easy to style in different directions.
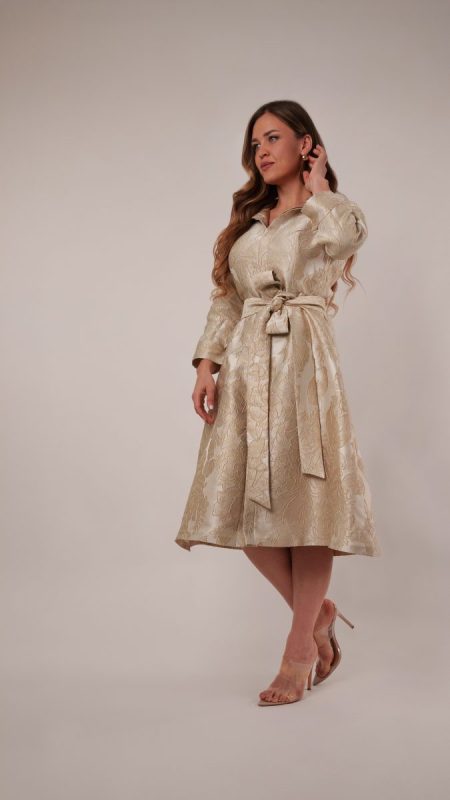
Fabric choice completely changes the mood of this dress. In something like cotton shirting or woven linen, it leans more everyday and wearable. In satin or brocade, it instantly becomes occasion-ready. Think weddings, dinners, galas, ballets, or a play in a hundred year old theatre.
You can also play with the length to suit your style. Keep it short for a fresh spring mini, or extend it into a longer, more dramatic version. However you make it, the Estoril is one of those patterns that does a lot with relatively simple, thoughtful details.
Essential Materials & Sizing Guide for the Estoril Collared A-Line Dress
Continue reading for a breakdown of what knowledge and materials you need for creating your very own collared A-line dress! We’ve got you covered with the recommended materials we used—if you want to follow along exactly—as well as a curated list of alternative fabric type recommendations if you want to customize your own version. The Estoril Collared A-Line Dress free sewing pattern download includes technical drawings for seam and silhouette visibility, plus a size chart to help you find your perfect fit!
Purchase Products Used Below:
Quantities indicated are for sewing a size small* collared A-line dress. Toggle the ‘SHOP THIS LOOK’ box to find quantity estimates for other sizes.
- 4 yards of Polyester Brocade – Beige Cabbage Roses
- 4 yards of Bemberg Lining – Warm Sand – Lucidum Collection
- 0.5 yards of Super White Hot Rolling Nonwoven Fusible Interfacing
- 16 each of Plastic 2-Hole Button – 20L/12.5mm – Shimmering Cream
- 1 each of Gutermann Sew All Thread 250m – 509 Beige
- MDF518 – Estoril Collared A-Line Dress Sewing Pattern (Free download below!)
Additional Products Used:
*Quick Tip! The ‘SHOP THIS LOOK’ box defaults to full-yard quantities. To order an exact half-yard quantity for any fabric, simply use the decrease quantity button (-) to subtract by the half yard. Then click “ADD TO CART” to add all materials to your cart. (Our system can only display full-yard quantities initially.)
Alternative Fabric Type Recommendations:
The Estoril Collared A-Line Dress sewing pattern is best suited for medium to heavyweight fashion fabrics. Explore other fabric types or colors from our featured collections for your collared A-line dress with the links below.
Fabric Collections Used in this Post:
Download Your Free Sewing Pattern
Submit your name and email in the form below to receive the download link for the Estoril Collared A-Line Dress free sewing pattern directly in your inbox. Mood Sewciety Patterns will send your free download link via email with the subject line: ‘Your Free Download from Mood Sewciety – The Estoril Collared A-Line Dress’ (in PDF format for A4 and letter-size printing).
© MoodFabrics.com / MoodSewciety.com – Mass production, resale, or distribution of this pattern in any form is strictly prohibited.
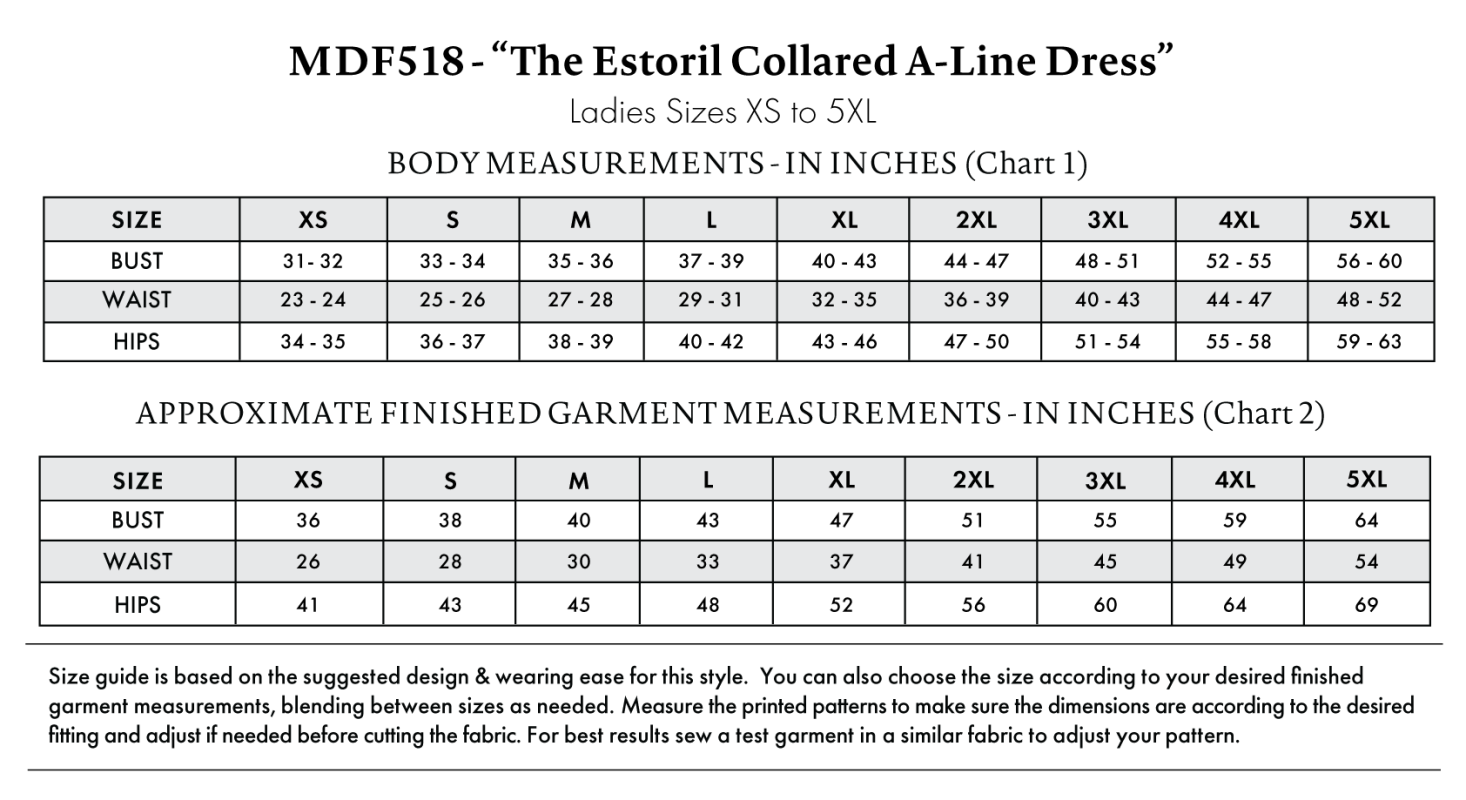
Find Your Perfect Fit
The Estoril Collared A-Line Dress Sizing Guide is based on the suggested design & wearing ease for this style. You can also choose the size according to your desired finished garment measurements, blending between sizes as needed. Measure the printed patterns to make sure the dimensions are according to the desired fitting and adjust if needed before cutting the fabric. For best results, sew a test garment in a similar fabric to adjust your pattern.
Note: Always read all the instructions before cutting the fabric!
How to Sew The Estoril Collared A-Line Dress
The instructions provided below are designed to guide you through sewing the Estoril Collared A-Line Dress from start to finish.
3 Tips for Sewing with Brocade
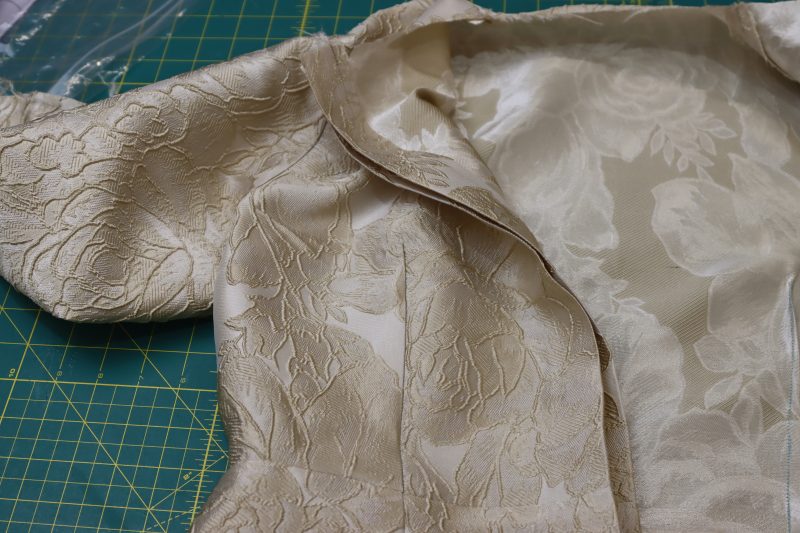
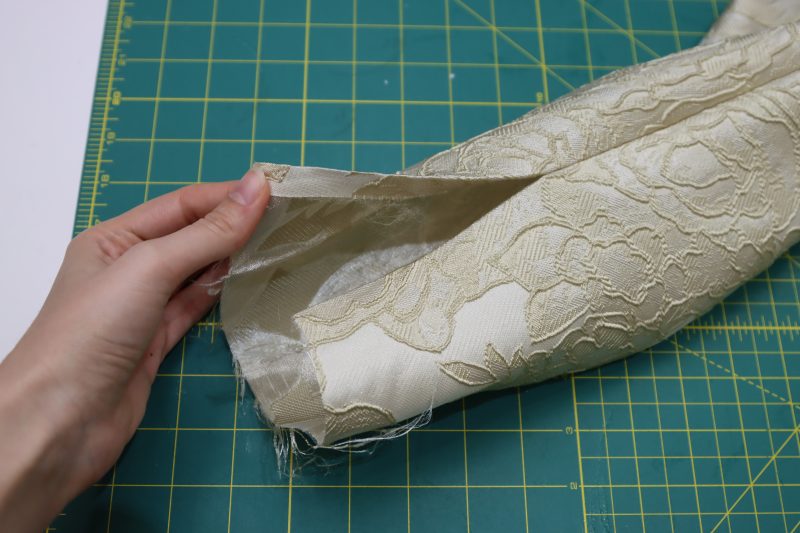
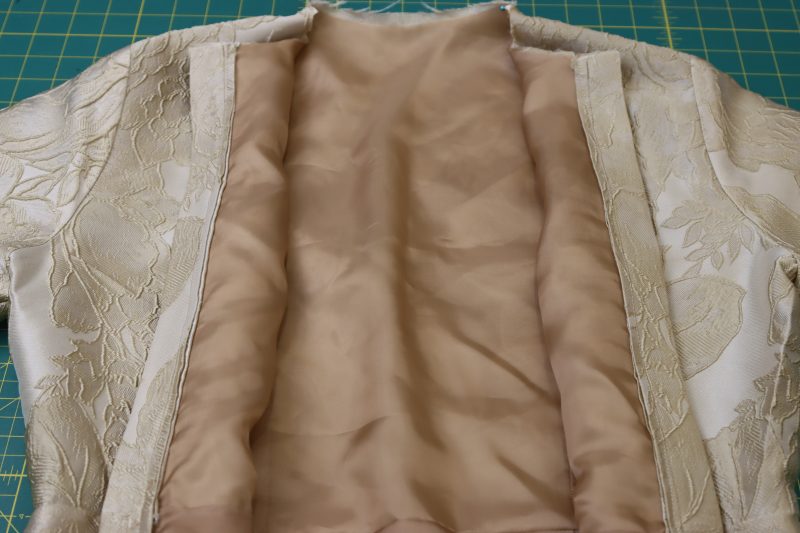
⇒ Don’t skip the lining. Brocade can be rough against the skin and this dress will be super uncomfortable if you have brocade rubbing directly on your skin.
⇒ If the raw edges of your seam allowances don’t end up folded or tucked into the dress somehow, serge or zigzag stitch them so that the brocade doesn’t keep fraying forever.
⇒ Iron it on medium heat, not high. I accidentally melted one of my pattern pieces and had to recut it. Don’t be like me.
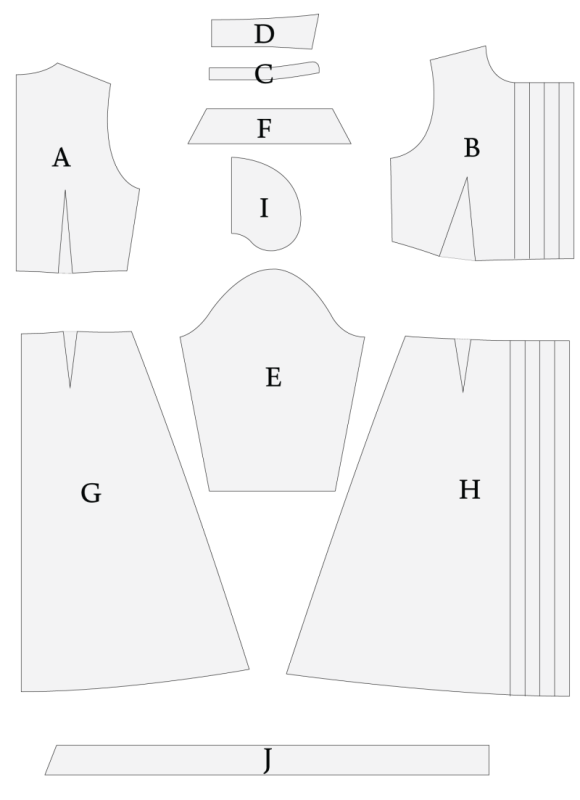
Pattern Pieces & Fabric Cuts Needed
- (A) TOP BACK
- Fabric – Cut 1 on Fold
- Lining – Cut 1 on Fold
- (B) TOP FRONT
- Fabric – Cut 2 Mirrored
- Lining – Cut 2 Mirrored
- (C) COLLAR STAND
- Fabric – Cut 2 on Fold
- (D) COLLAR
- Fabric – Cut 2 on Fold
- (E) SLEEVES
- Fabric – Cut 2 Mirrored
- Lining – Cut 2 Mirrored
- (F) CUFFS
- Fabric – Cut 4
- (G) SKIRT BACK
- Fabric – Cut 1 on Fold
- Lining – Cut 1 on Fold
- (H) SKIRT FRONT
- Fabric – Cut 2 Mirrored
- Lining – Cut 2 Mirrored
- (I) POCKETS*
- Lining – Cut 2 Mirrored Sets
- (J) BELT
- Fabric – Cut 2 on Fold
*Optional
Sew with a 1/2″ seam allowance for all seams unless otherwise specified.
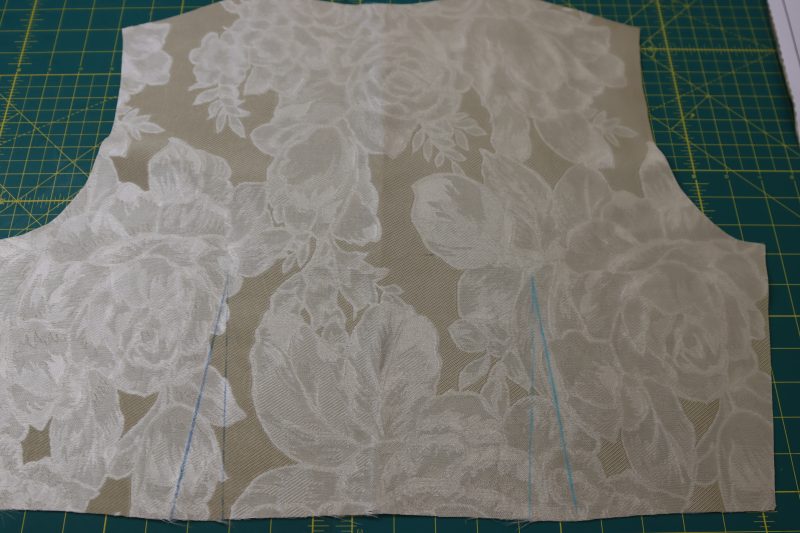
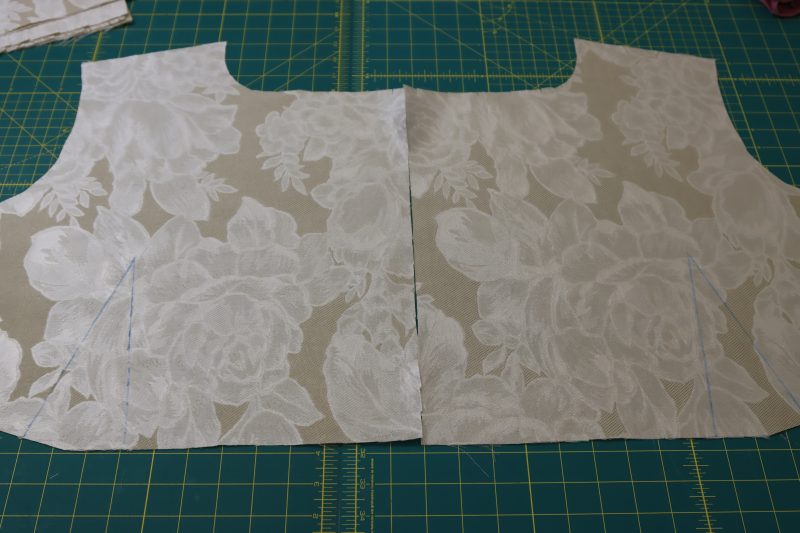
Step 1
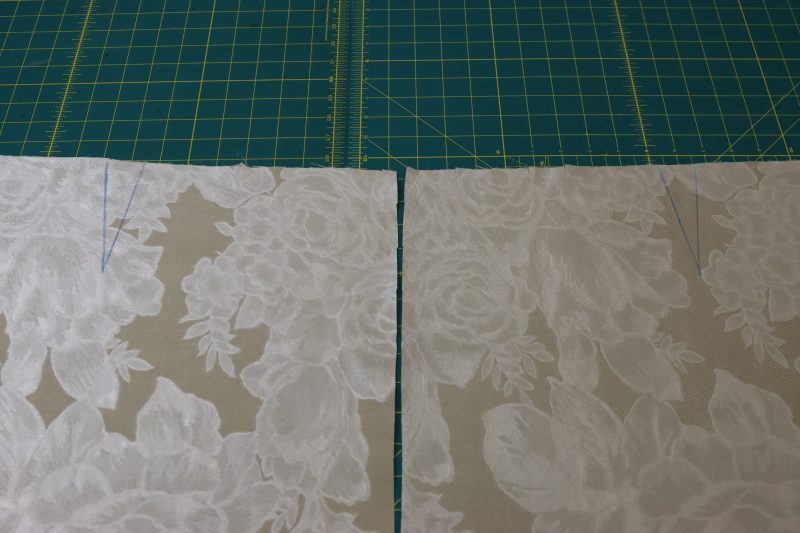
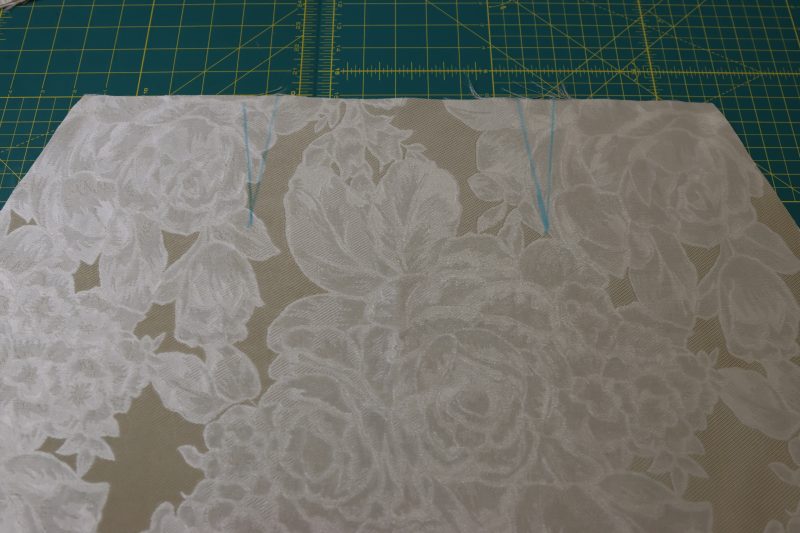
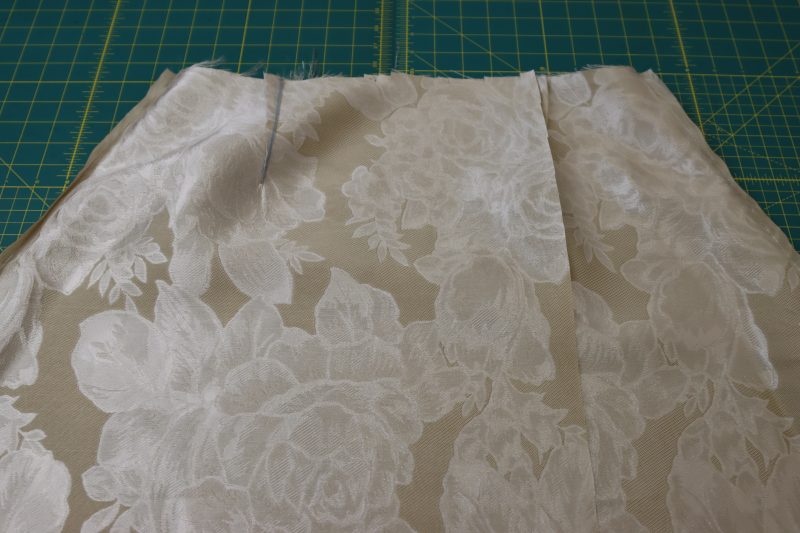
BODICE DARTS
- Transfer the dart markings from the paper pattern to the front and back bodice pieces using tailor’s chalk or a water soluble fabric marker.
- Fold the fabric right sides together centered over each dart.
- Pin the dart markings.
- Sew over the dart lines.
- Press the darts flat and towards the side seams for both the front and back bodice pieces.

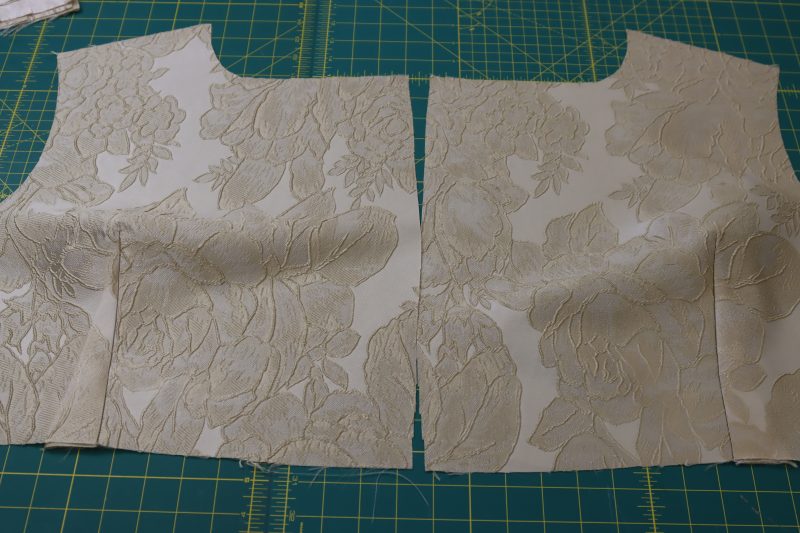
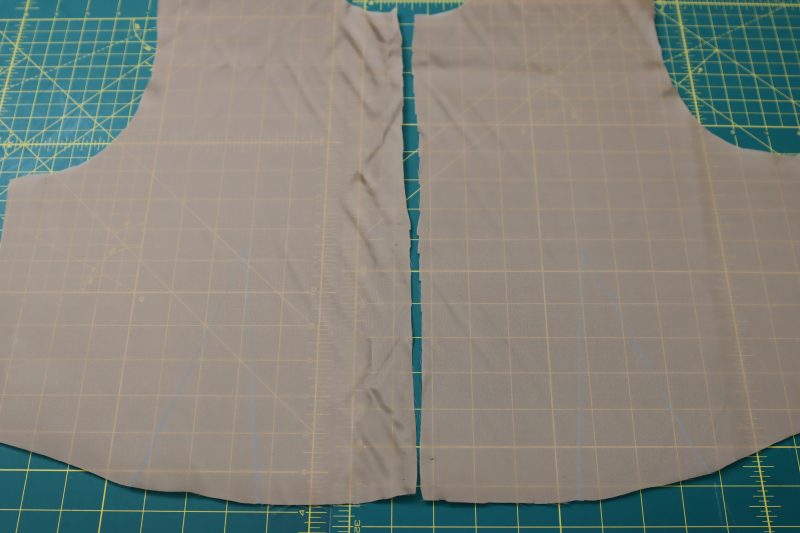
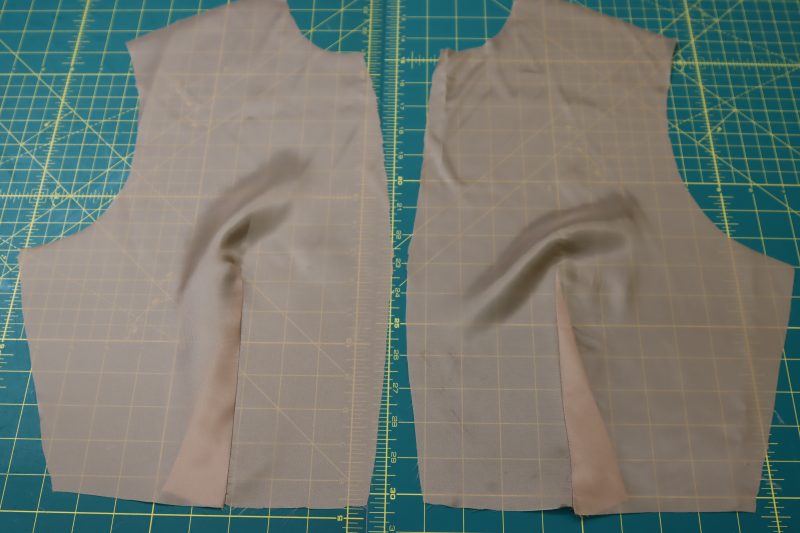
Step 2
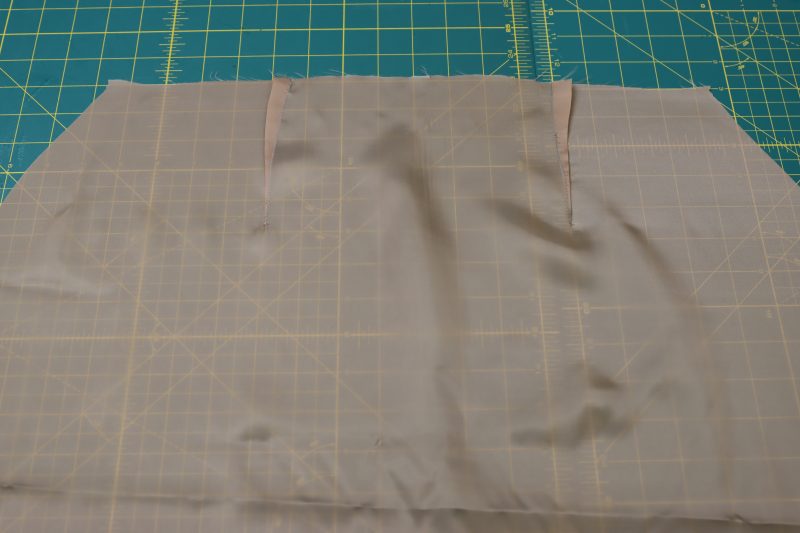
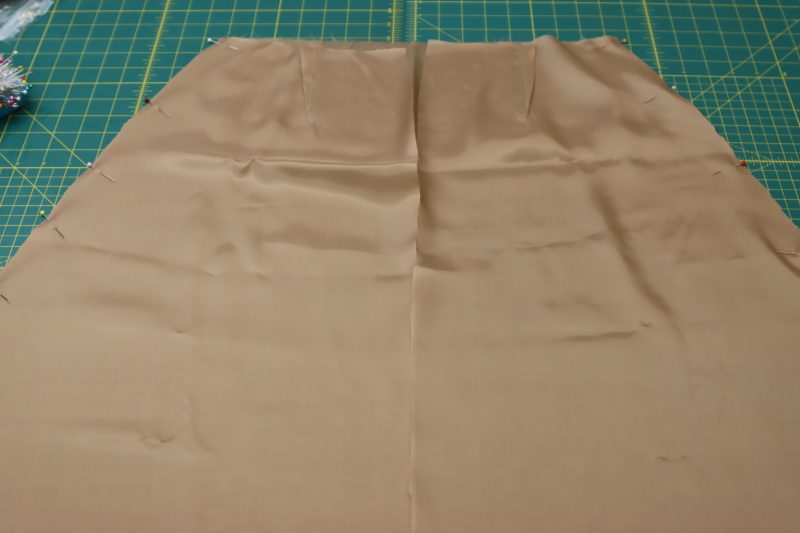
BODICE LINING DARTS
- Repeat the same process from step 1 for the front and back bodice lining pieces.


Step 3
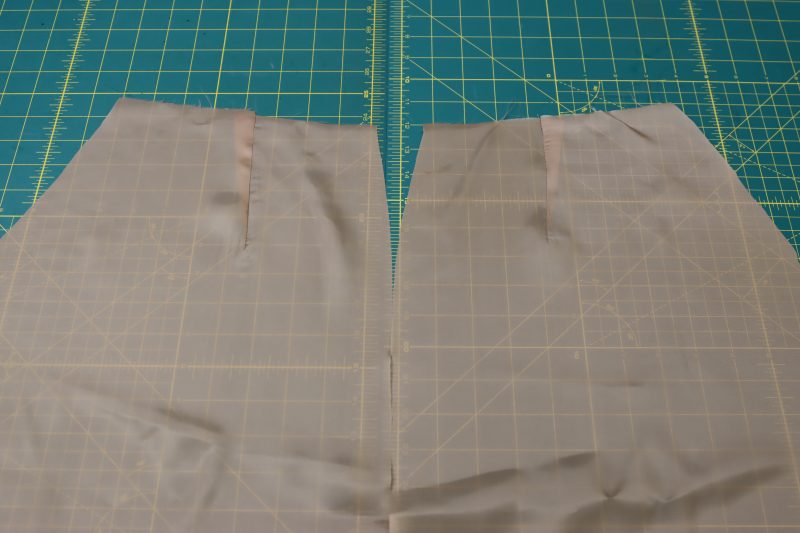
SKIRT DARTS
- Repeat the process from the previous 2 steps but for the front and back skirt pieces.


Step 4
SKIRT LINING DARTS
- Repeat the process from the previous 3 steps for the darts in the skirt lining pieces.


Step 5
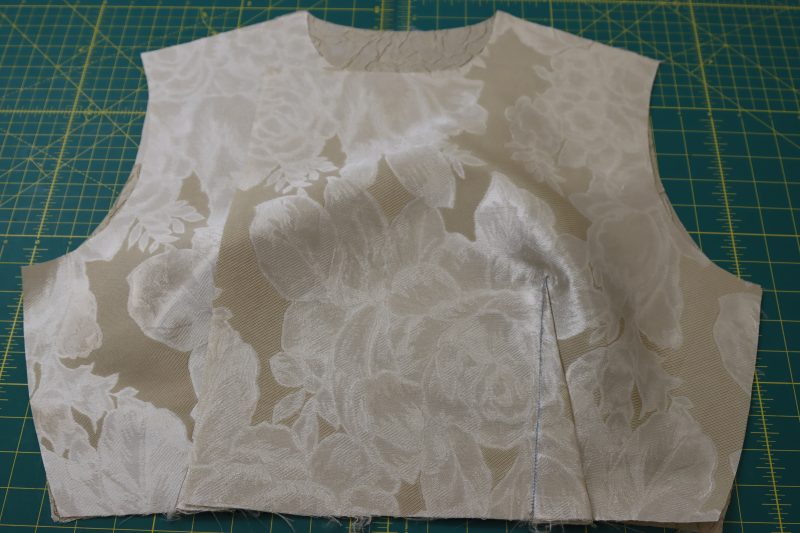
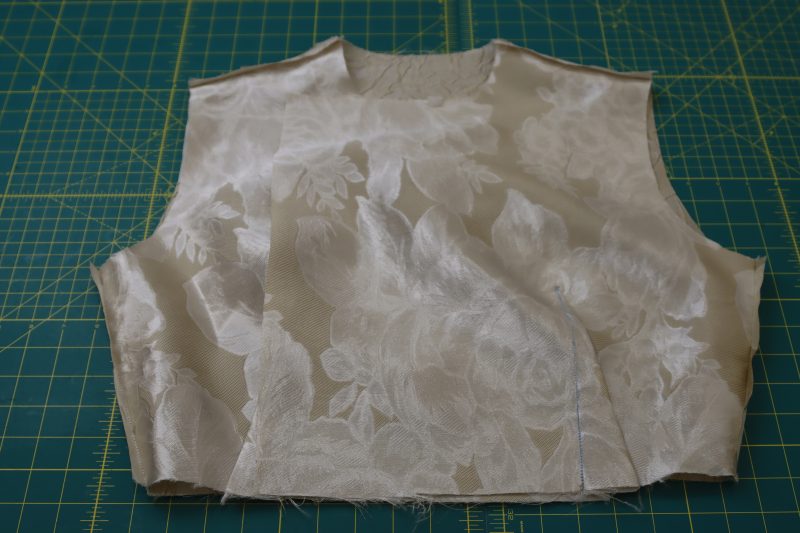
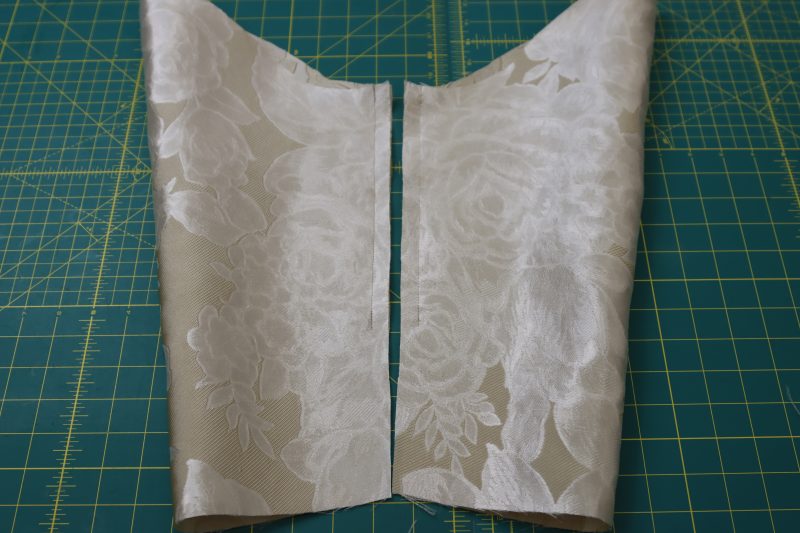
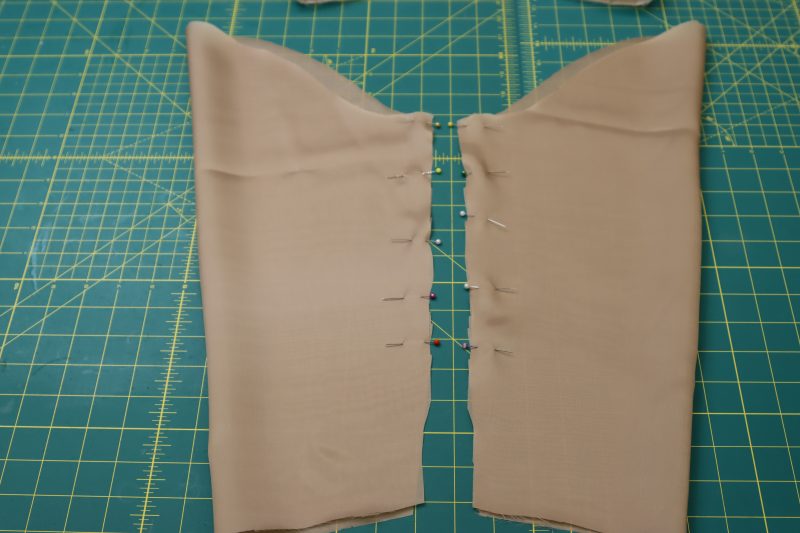
SIDE SEAMS & SHOULDER SEAMS
- Place the front bodice pieces right sides together on top of the back bodice piece with the shoulder and sides lined up.
- Pin and sew the shoulder and side seams together.
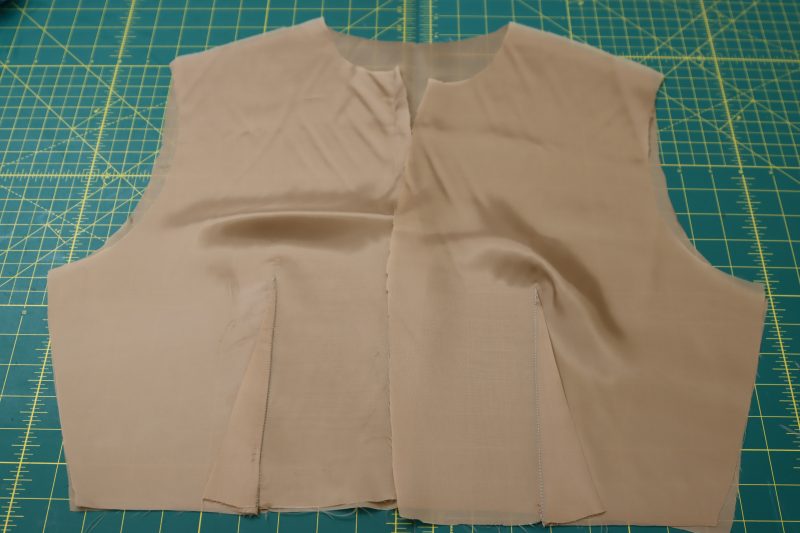
- Repeat for the bodice lining.
- NOTE: It is at this exact step where you’ll want to add the pockets to the side seams before sewing them shut. For instructions on how to add side seam pockets to a skirt, check out step 5 in the Venice V-Waist Dress Sewing Pattern!
- Place the front skirt pieces right sides together on top of the back skirt piece.
- Pin and sew the skirt side seams.
- Repeat for the skirt lining.
Step 6
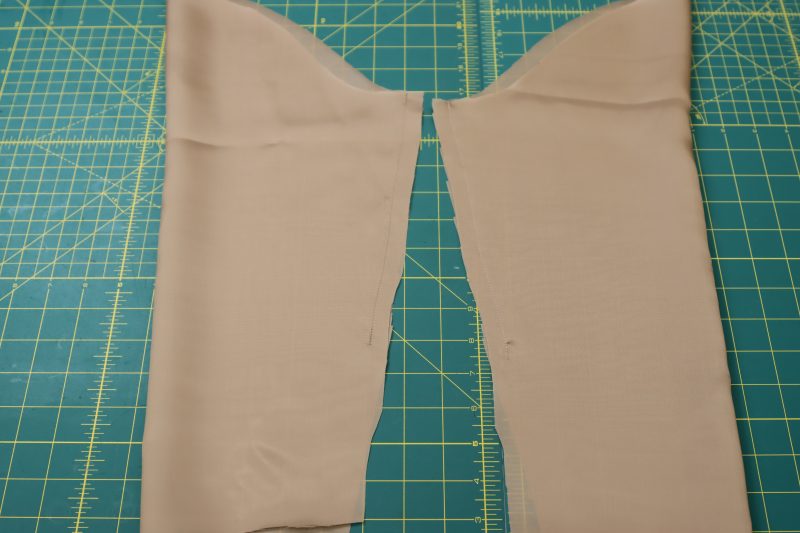
SLEEVE INSEAMS
- Fold the sleeves right sides together so that the inseams are lined up.
- Pin the sleeve inseams except for the bottom 5 inches of the sleeves.
- Sew the sleeve inseams, then press the seam open and flat.
- Repeat step 6 with the lining sleeves.

Step 7
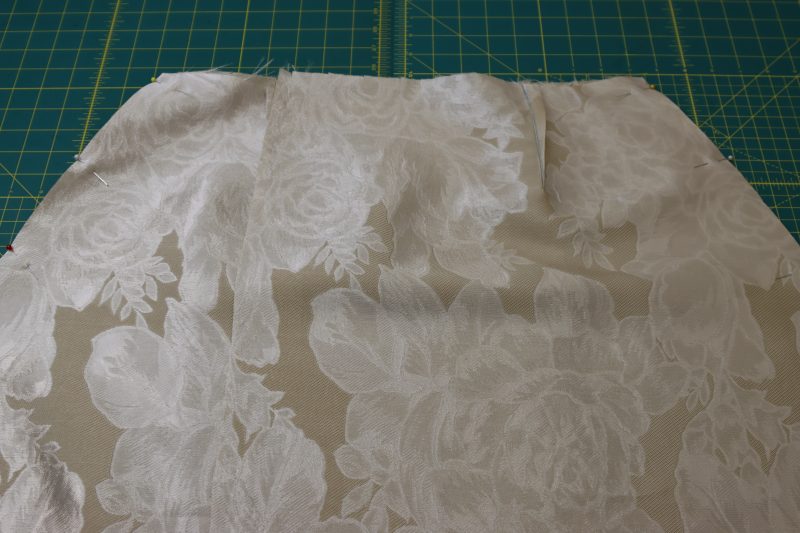
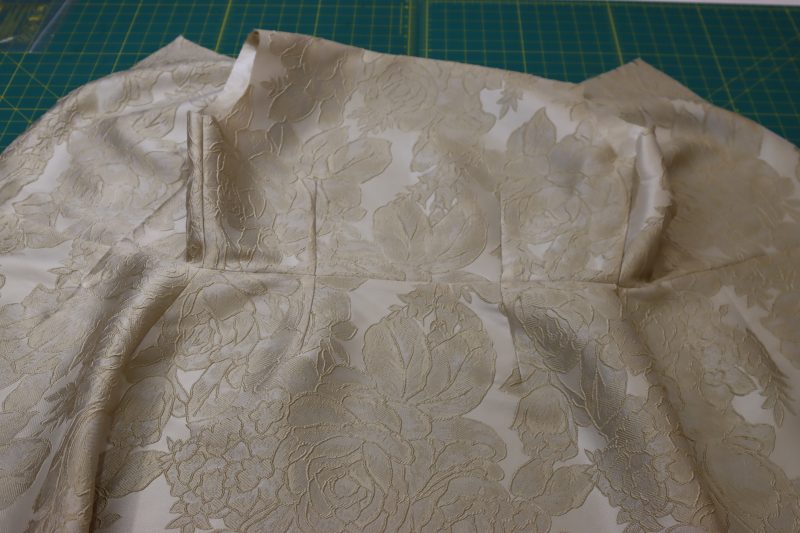
WAISTLINE
- Place the waistline of the bodice right sides together with the waistline of the skirt.
- Pin the bodice to the skirt, making sure all the darts and the side seams line up.
- Sew the skirt to the bodice.
- Repeat step 7 for the lining.
Step 8
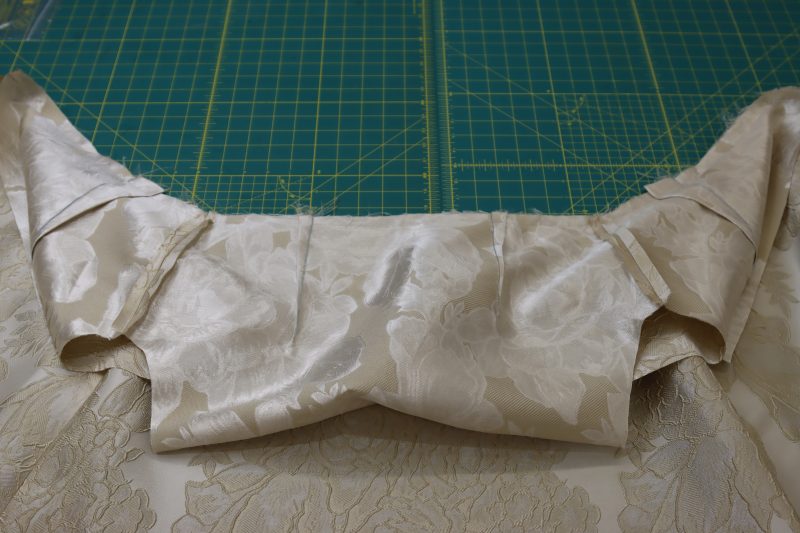
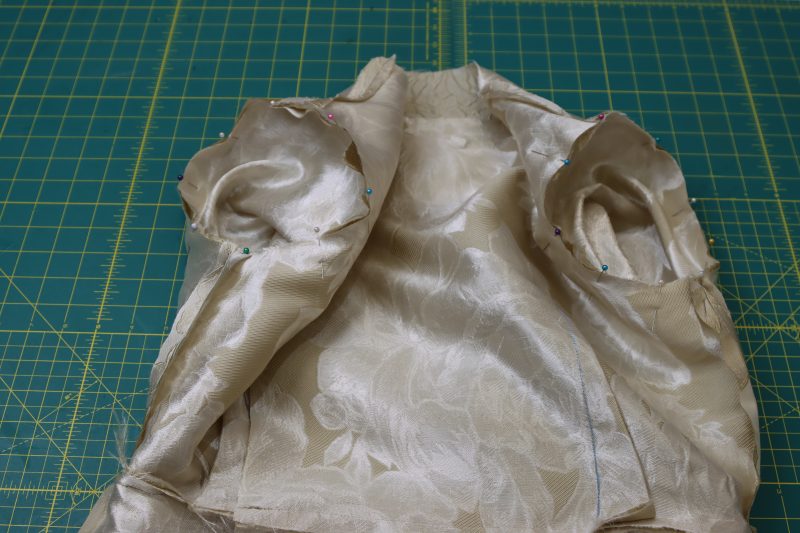
INSERT SLEEVES
- Insert the sleeves into the dress right sides together.
- Pin the sleeve caps into the armscyes, making sure each sleeve is on the correct side (make sure fronts of the sleeves are facing the front and backs of the sleeves are facing the back).
- Sew the sleeves into the armscyes.
- Repeat step 8 for the lining sleeves.
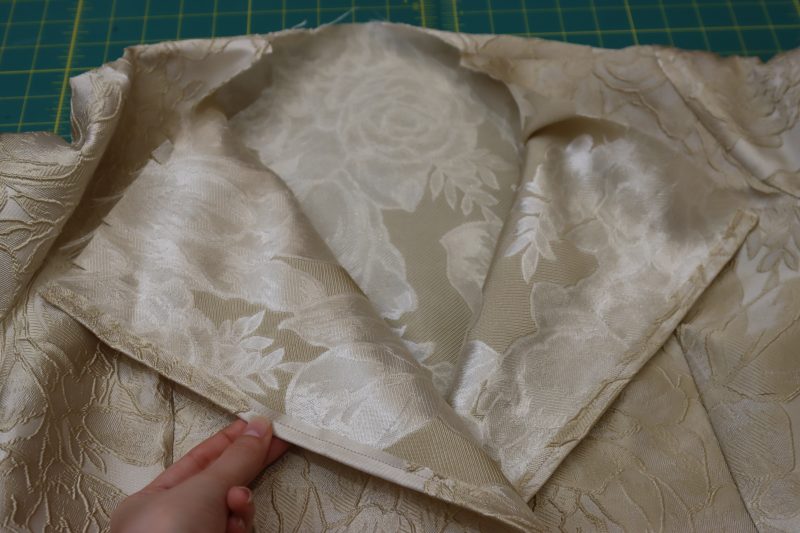
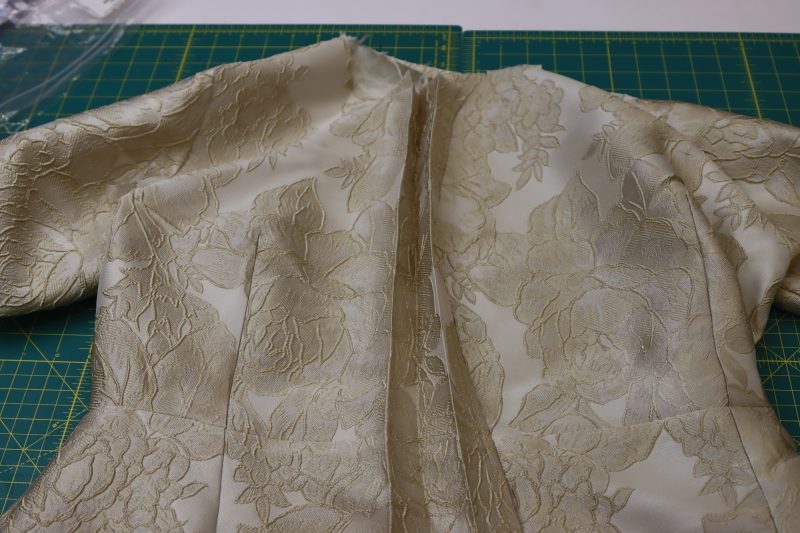
Step 9
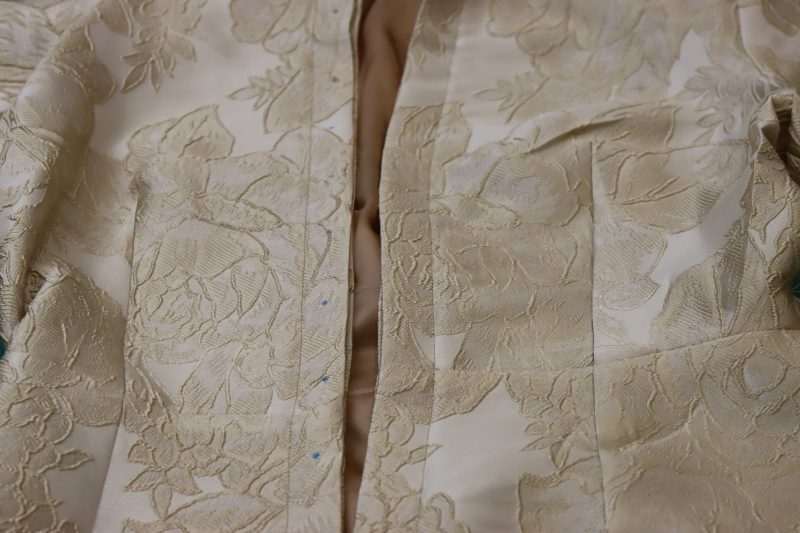
FOLD BUTTON PLACKETS
- Make sure before executing this step that you marked the fold lines for the button placket by cutting notches into the neckline and/or hem.
- Fold the ½ inch seam allowance at the center front opening and press.
- Topstitch over the seam allowance.
- Fold the fabric towards the inside of the dress along the next line. Press the fold.
- Fold the fabric towards the outside of the dress along the next line, creating an accordion style fold in the front of the dress. Press the next fold.
- Fold the fabric towards the inside of the dress along the last line. Press the fold.
- After pressing your folds, stack them on top of each other to make sure all the folds are lined up at the center front.
Step 10
SLEEVE SLIT
- Make sure the raw edges of the sleeve slits are pressed towards the wrong side of the sleeves with ½ inch seam allowance.
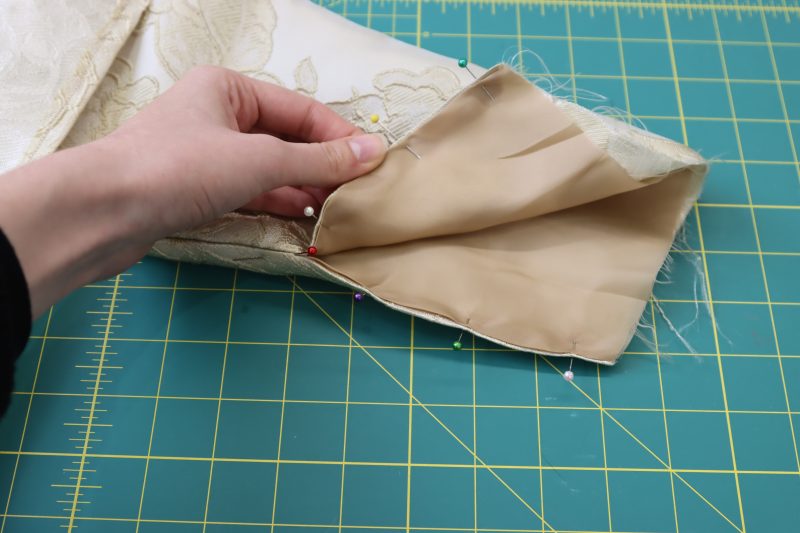
- Insert the lining dress into the main fabric dress WRONG SIDES TOGETHER.
- Line up the lining and main fabric sleeve slits and pin them together.
- Topstitch around the sleeve slit to connect the lining to the main fabric.
- Repeat for both sleeves.

Step 11
HEMS
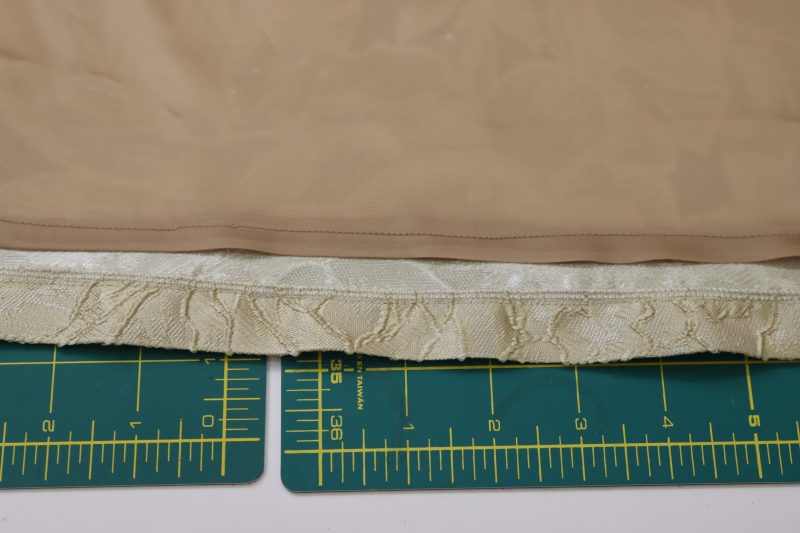
- Hem the lining skirt with a double rolled ½ inch seam allowance.
- Hem the main skirt with either a straight stitch or by pressing fusible hem tape into the fold of the hem.
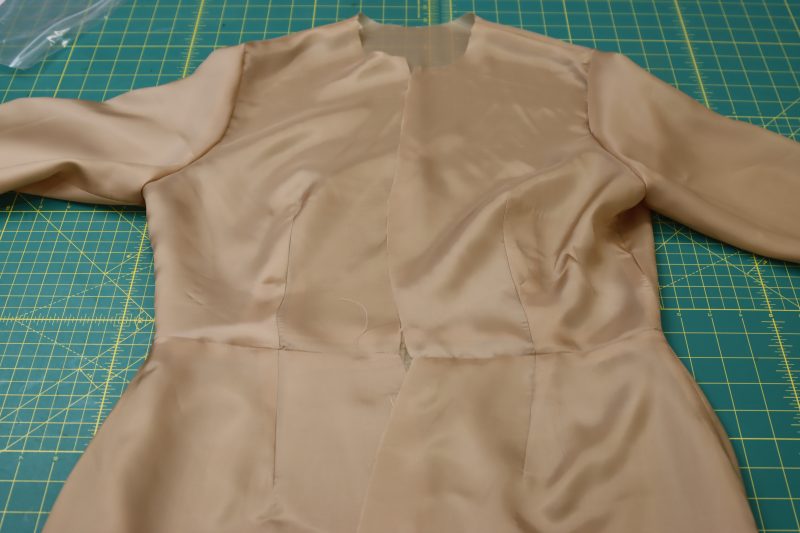
Step 12
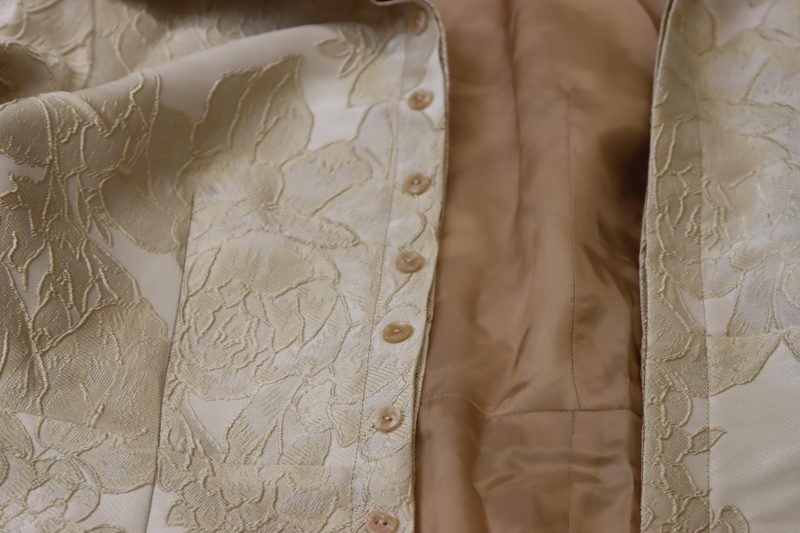
FRONT CLOSURE
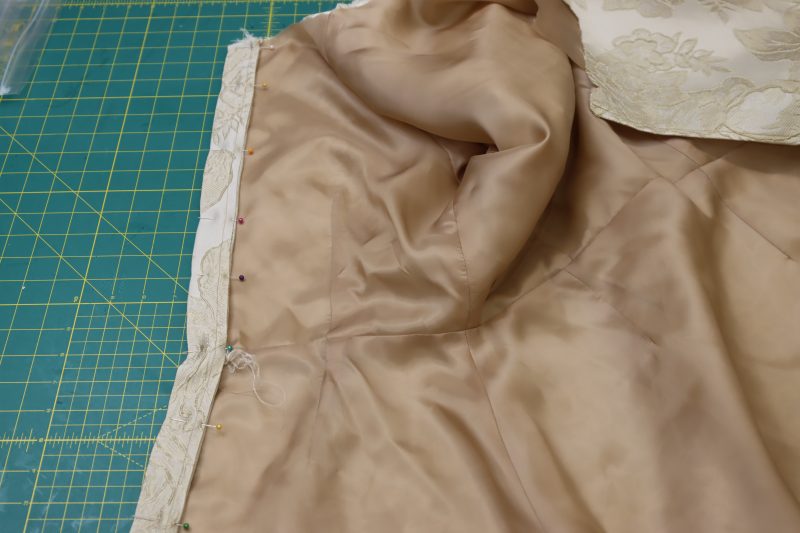
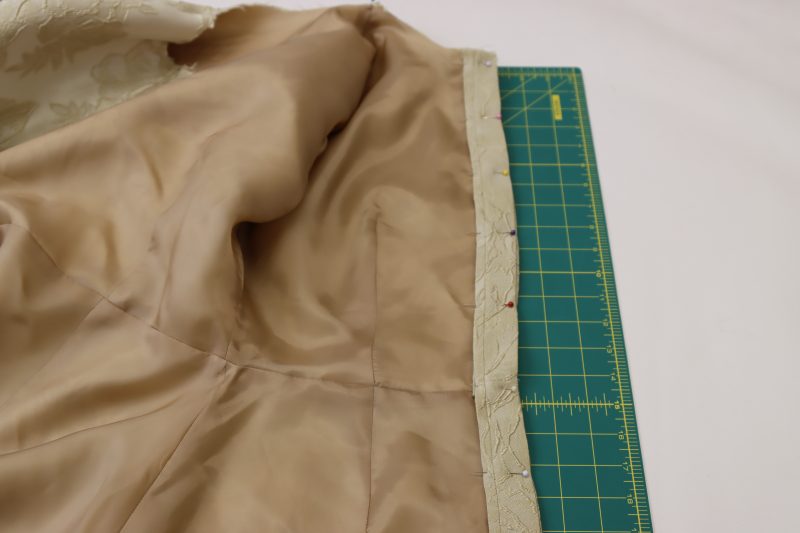
- Sandwich the center front raw edge of the lining under the button placket.
- Pin the lining in place under the button placket at the front opening of the dress.
- Sew a straight stitch along the edge of the button placket to sew the lining in place.
- Repeat on both sides of the center front.
Step 13
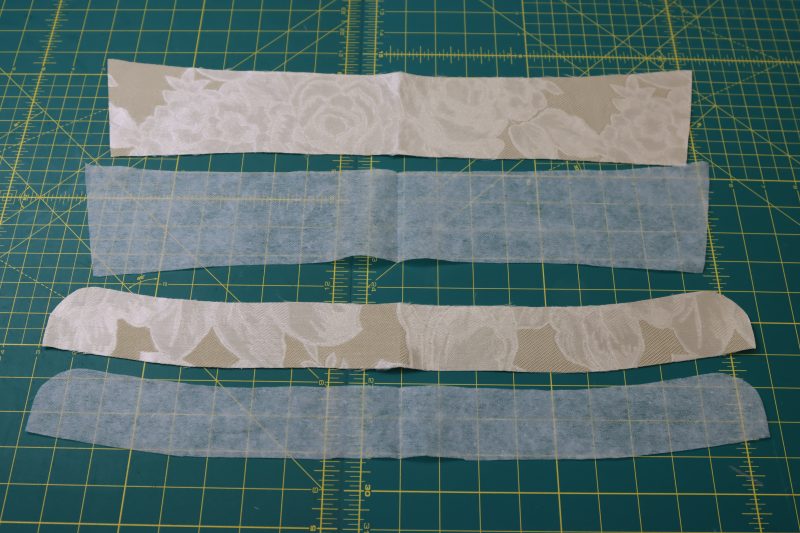
PREPARE COLLAR
- Cut out 1 interfacing piece for the collar and one interfacing piece for the collar stand.
- Lay the interfacing pieces on the wrong sides of the collar and collar stand pieces.
- Press the interfacing to the collar and collar stand.
- Pin the rounded edge of the collar stand to the shorter side of the collar right sides together.
- Sew the collars to the collar stands and press the seam open.
- Pin the interfaced collar and the non-interfaced collar right sides together.
- Sew around the perimeter of the collar and collar stand except for the very bottom opening.
- Clip the corners of the collar.
- Flip the collar right sides out.


Step 14
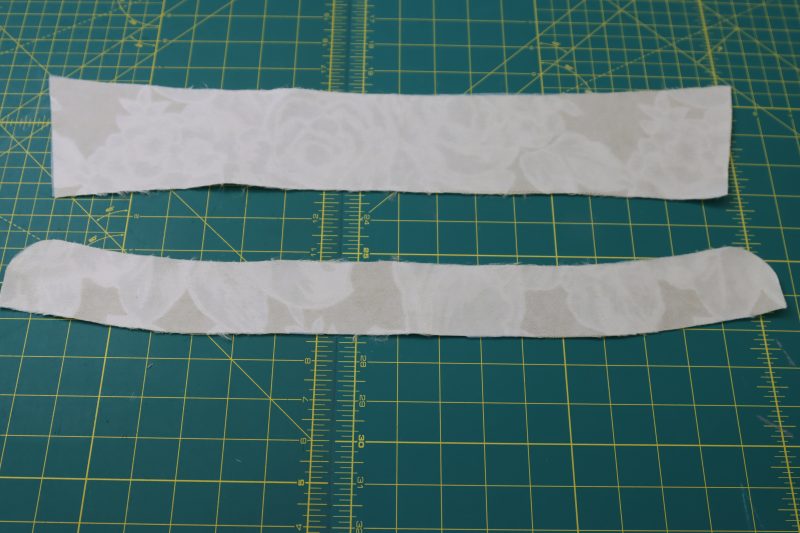
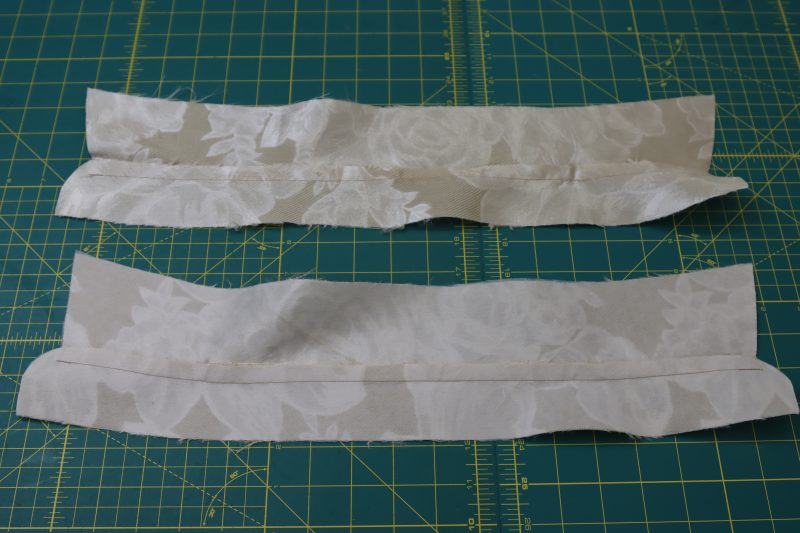
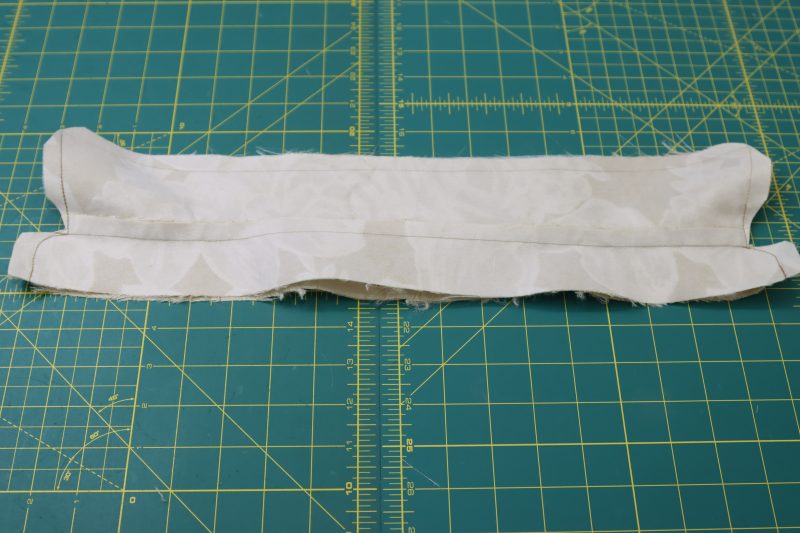
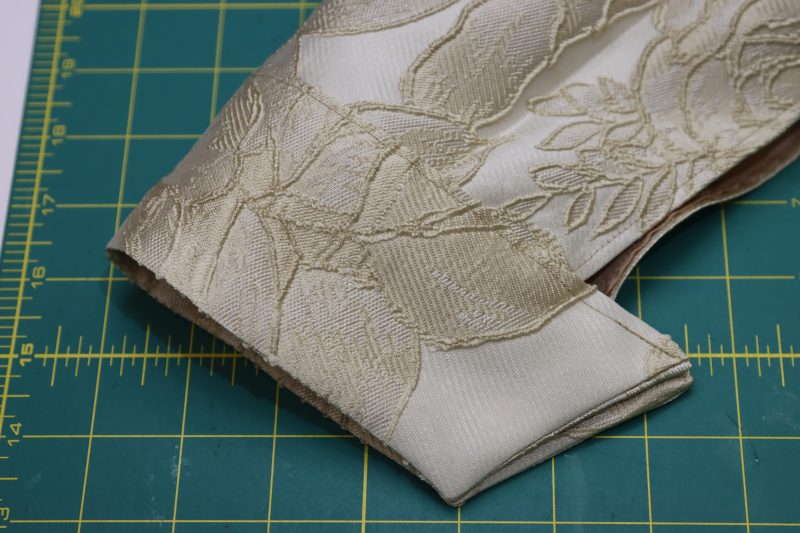
PREPARE CUFFS
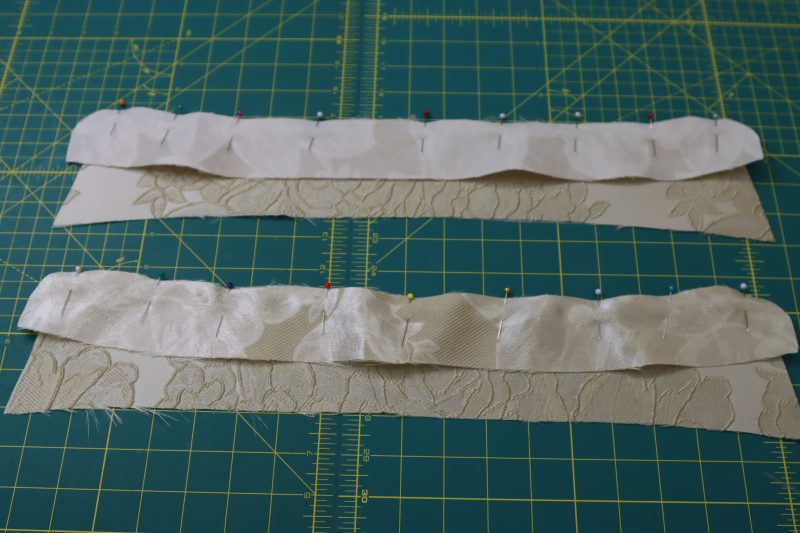
- Make two piles of the cuff pieces where each pile had two pieces facing right sides together.
- Pin and sew the three shortest edges.
- Clip all the corners.
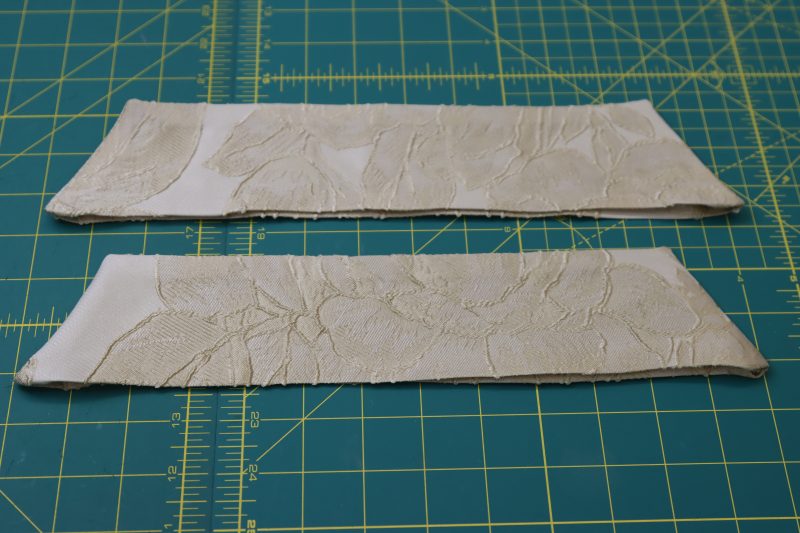
- Flip the cuffs right sides out.
- Press a ½ inch fold into the raw edges of the cuffs to make them hidden on the inside of the cuffs.


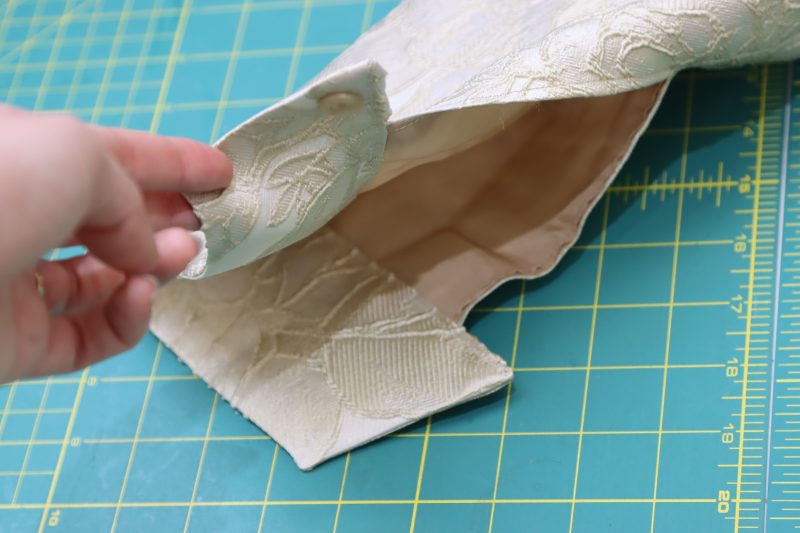
Step 15
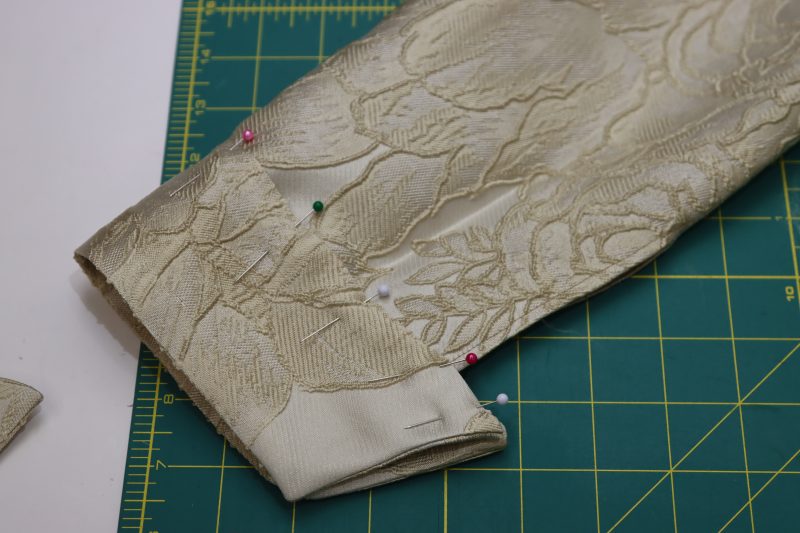
ATTACH CUFFS
- Sandwich the raw edge of the sleeve into the inside of the cuff.
- Pin the sleeve into the cuff.
- Topstitch over the pins to connect the cuff to the sleeve.
- Repeat for both sleeves.
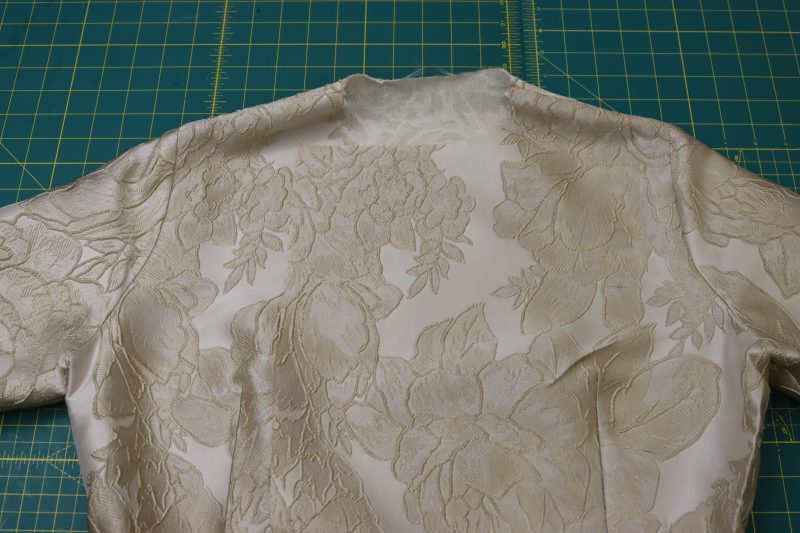
Step 16
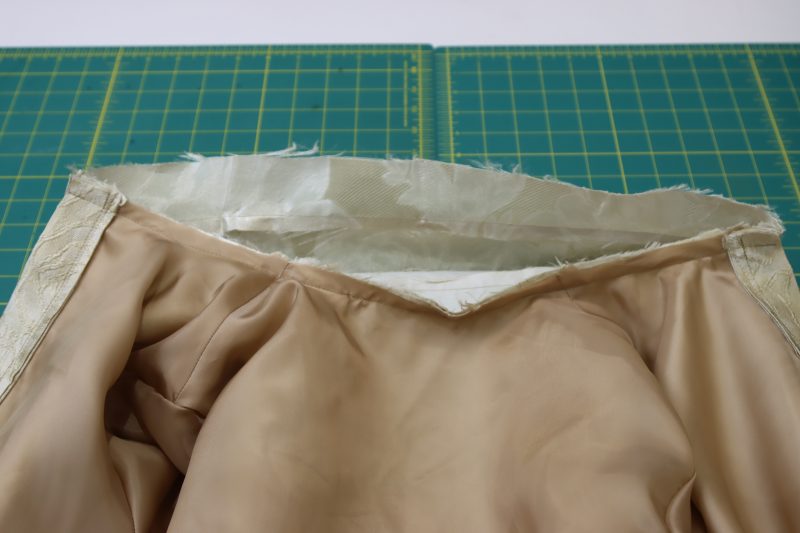
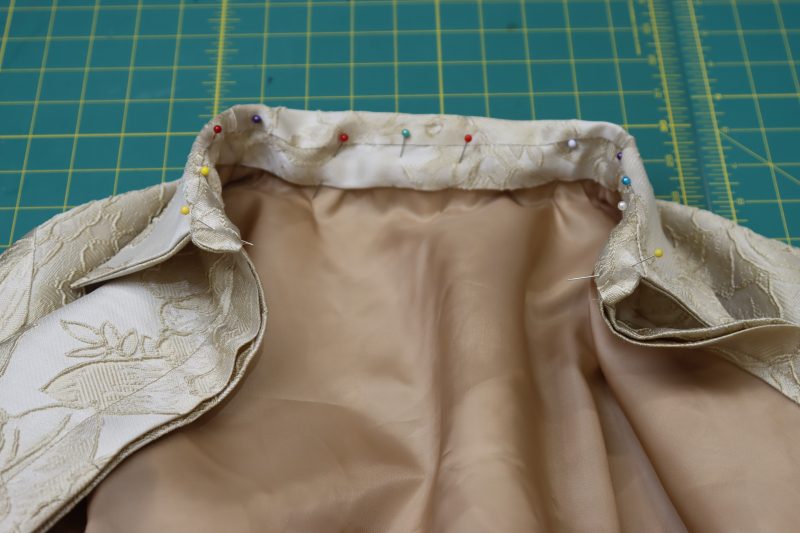
ATTACH COLLAR
- Pin the interfaced layer of the collar stand to both layers of the neckline.
- Sew the collar stand to the neckline.
- Press a ½ inch fold into the raw edge of the collar stand without the interfacing.
- Pin the folded edge of the collar stand directly on top of the neckline seam you just sewed. Make sure the fold is extending past the seam just slightly.
- Sew a stitch in the ditch from the right side of the dress, making sure to catch the folded collar stand on the inside of the dress.

Step 17
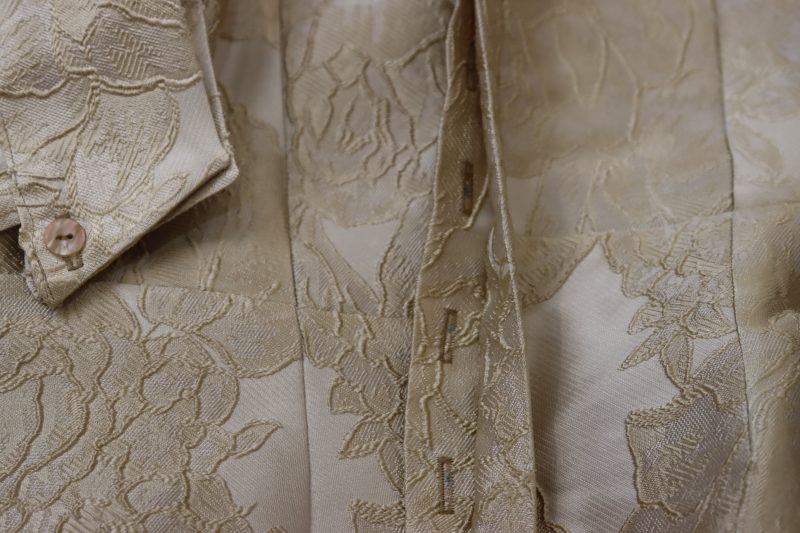
FRONT CLOSURE
- On the wearer’s front right side of the dress, make evenly spaced chalk marks directly onto the outer layer of the button placket (mine were 2 inches apart, but in hindsight, I wish I had made them 3 inches apart, but it’s totally up to you).
- On the wearer’s front left side of the dress, lift the outermost layer of the button placket out of the way and make the same chalk markings mirrored on the opposite side of the front opening of the dress (the reason we’re marking UNDER the button placket flap is because this flap is going to cover the buttons and button holes).
- Hand sew buttons to the wearer’s front right side of the dress opening.
- Use the button hole foot attachment on your sewing machine to sew buttonholes onto the opposite side of the center front opening, under the flap.
Step 18
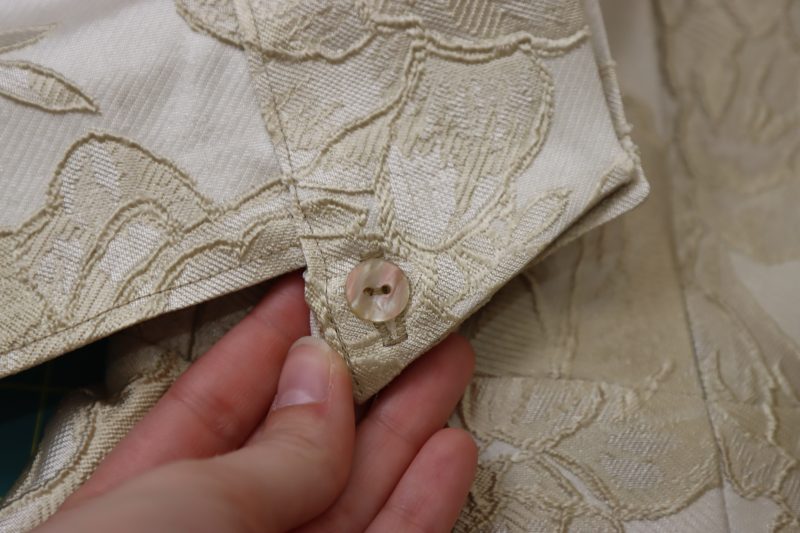
CUFF CLOSURE
- Hand sew a button to the inside corner of the sleeve cuffs (we’re sewing it to the inside so that it sticks out of the buttonhole from the outside of the dress).
- Sew a buttonhole on the opposite corner of the cuff.
Step 19
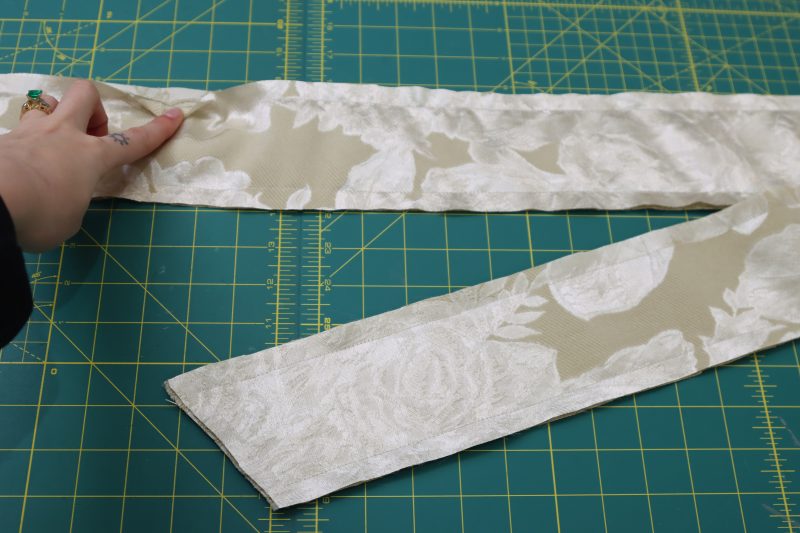
MAKE BELT
- Place the belt pieces right sides together and pin around all 4 edges.
- Mark a spot somewhere along the perimeter of the belt where you will be leaving a hole through which we can flip the belt right sides out.
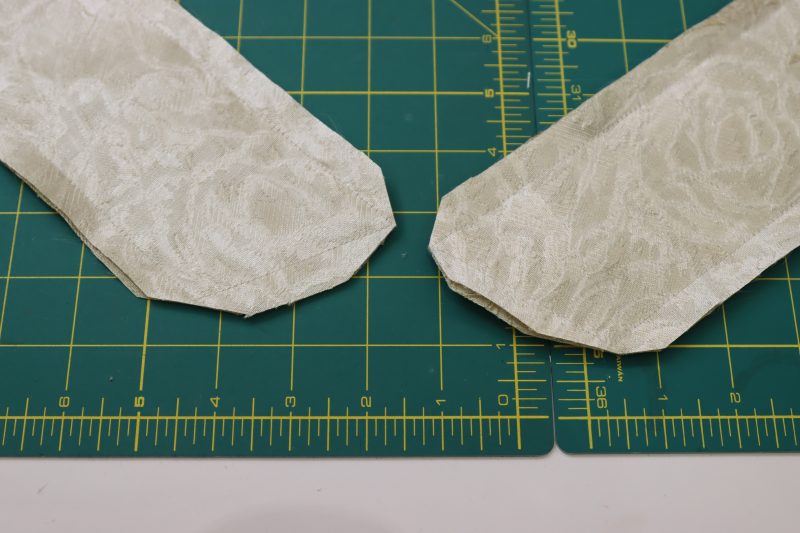
- Sew around the entire perimeter of the belt except for the hole you marked.
- Clip the corners of the belt.
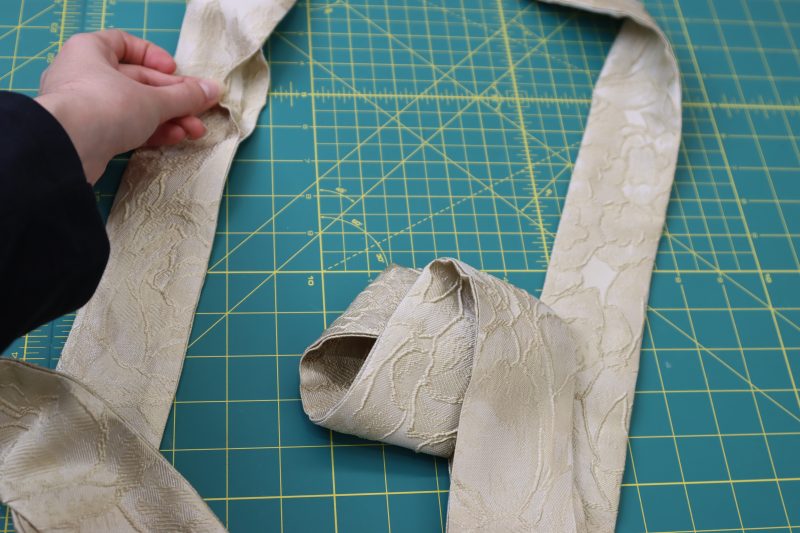
- Flip the belt right sides out through the hole.
- Press the seams flat and close the hole with a ladder stitch or with fusible hem tape.
Sewing Success: The Completed Estoril Collared A-Line Dress
Share this post with a friend (or two!), download the Estoril Collared A-Line Dress free sewing pattern, and show us which fabrics and colors you choose, using the hashtags #MoodEstorilPattern & #MadeWithMood—and don’t forget to tag us @MoodFabrics, too.
Free Sewing Pattern Inspiration for Your Next Project
With 500+ free sewing patterns and counting, your opportunities for sewing with Mood are endless!
We hope you had as much fun sewing this collared A-line dress pattern as we did! As always, we want to hear from you—share your thoughts and comments below and let us know where you’ll be wearing the Estoril Collared A-Line Dress free sewing pattern!
Can’t get enough sewing with Mood? Browse your next make with our latest free sewing patterns.
Upcoming bridal or wedding events? Sew our beginner-friendly Lunette Cocktail Dress free sewing pattern, pairing it with our Cassis Tiered Sleeve Blouse free sewing pattern for even more style and coverage! Bride to be? Check out our Selenite V-Waist Ballgown free sewing pattern that also doubles as a fun gala ballgown, too!
♥️
I can NOT wait to make this!! I would modify the sleeve to have it full length and make it an elegant coat over my favorite LBD.
Lovely
Beautiful and love it.