

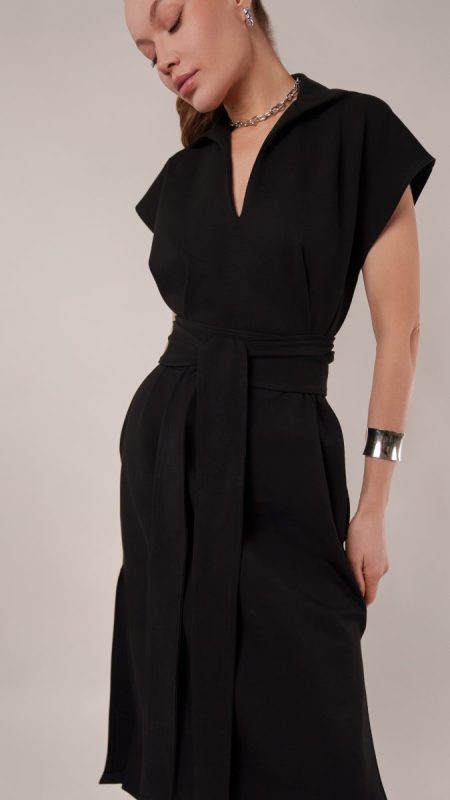
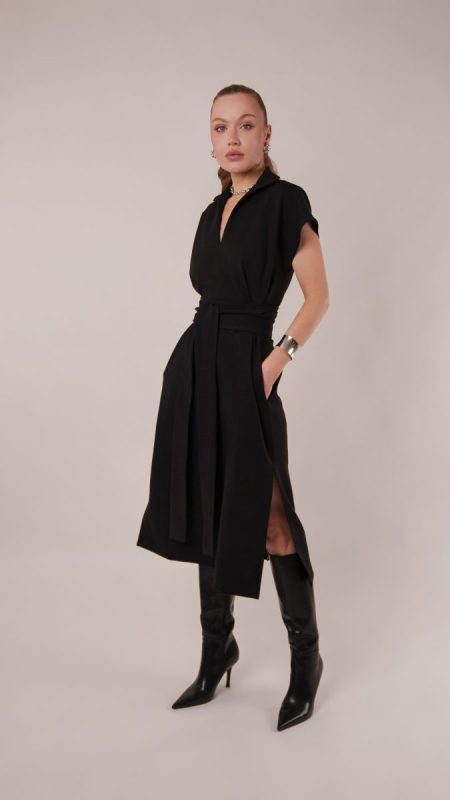
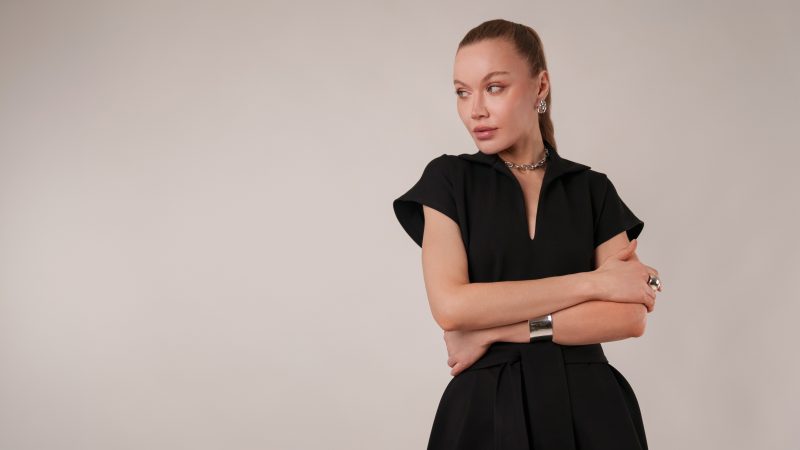
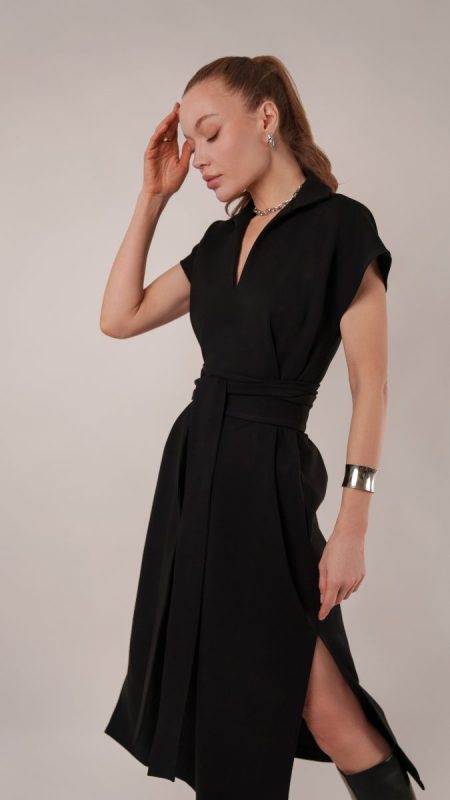
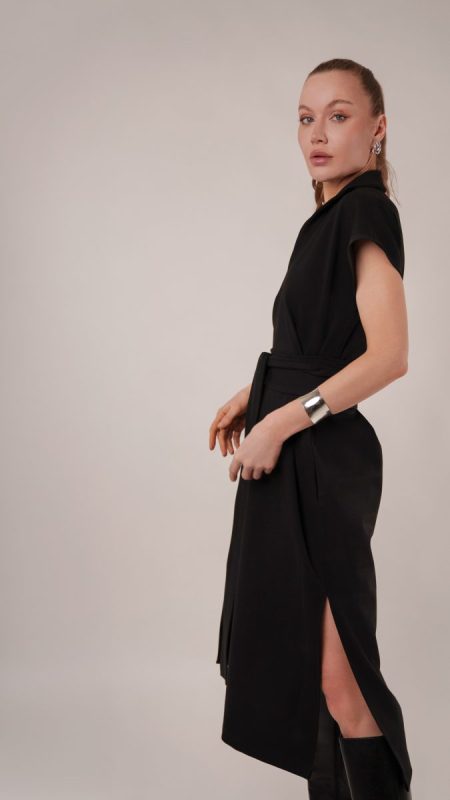
Meet the Raven Shirt Dress, your new go to for polished comfort and effortless confidence.
Designed with cozy, forgiving ponte knit in mind, the Raven Shirt Dress drapes beautifully while offering structure where it counts. Thanks to its relaxed, easy silhouette, it is just as stunning in non stretch woven fabrics, giving you endless possibilities to suit your style and your stash.
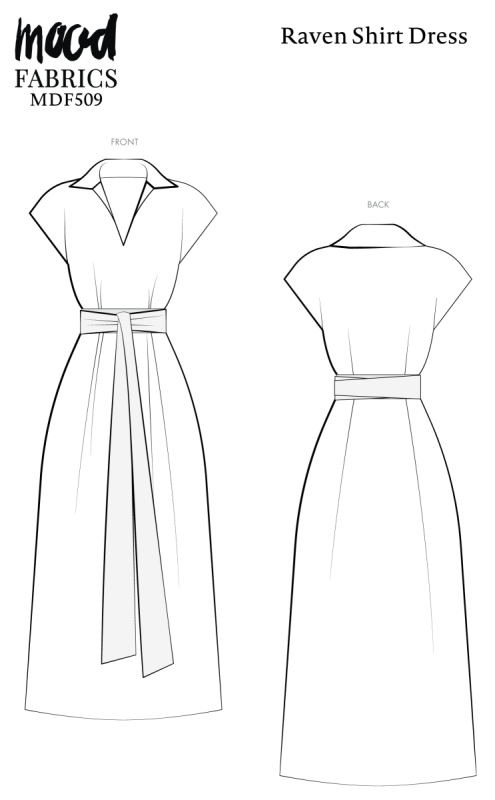
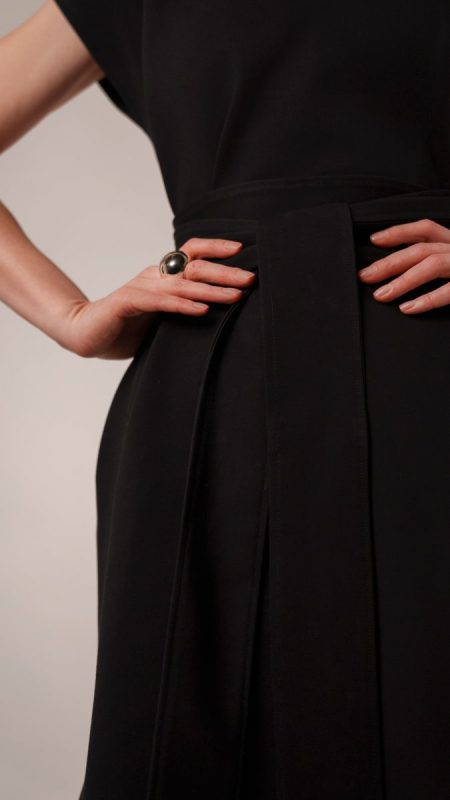
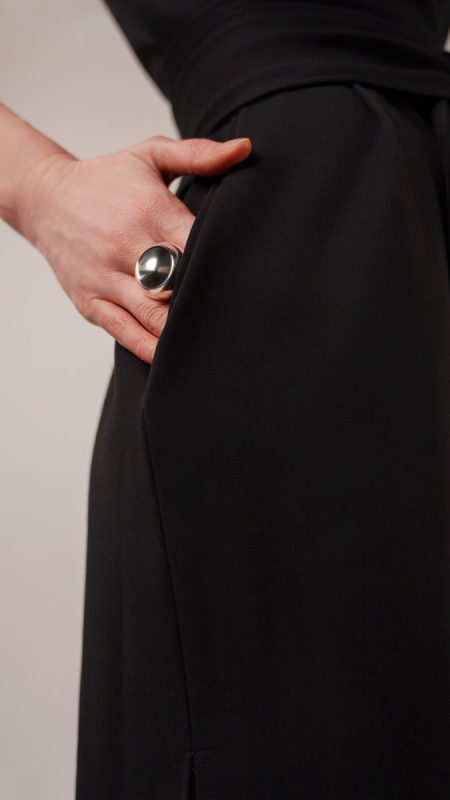
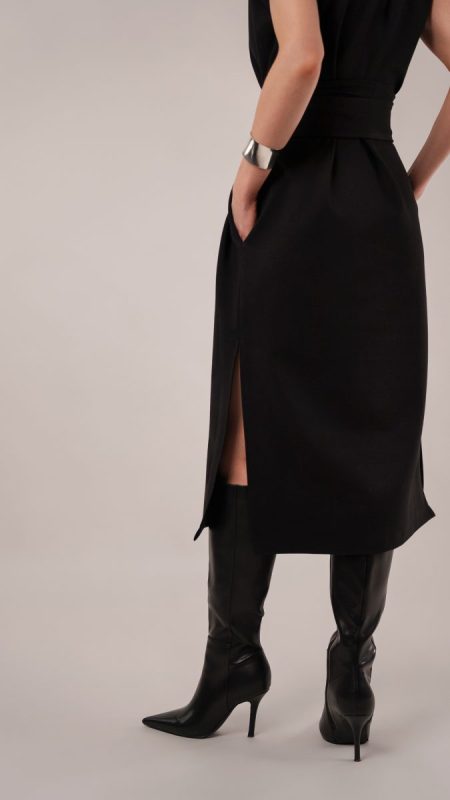
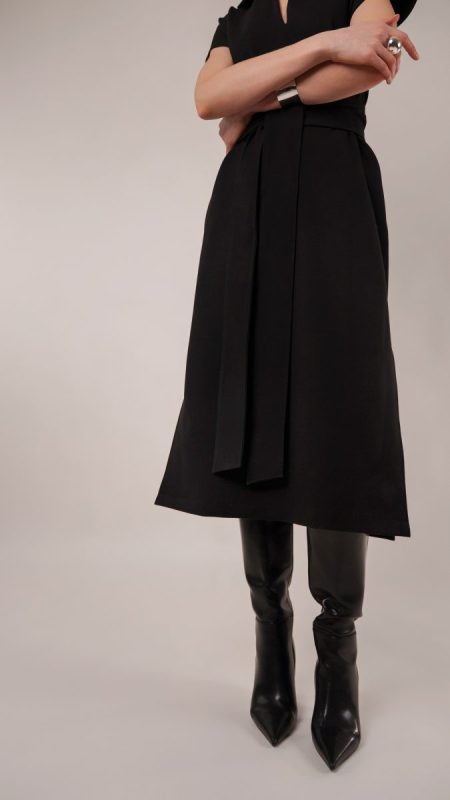
The Raven Shirt Dress has everything you want in a snow day sewing project. Roomy side seam pockets for cold hands. No fussy zippers to slow you down. An extra long belt designed to cinch your waist exactly how you like it. The sleeves are blissfully simple, while the crisp, structured collar adds a sharp finishing touch that elevates the entire look.
Picture yourself commanding the room during a big presentation, feeling confident and pulled together. Hours later you are raising a glass in celebration, still just as comfortable as you were that morning. Cozy meets professional in the most wearable way.
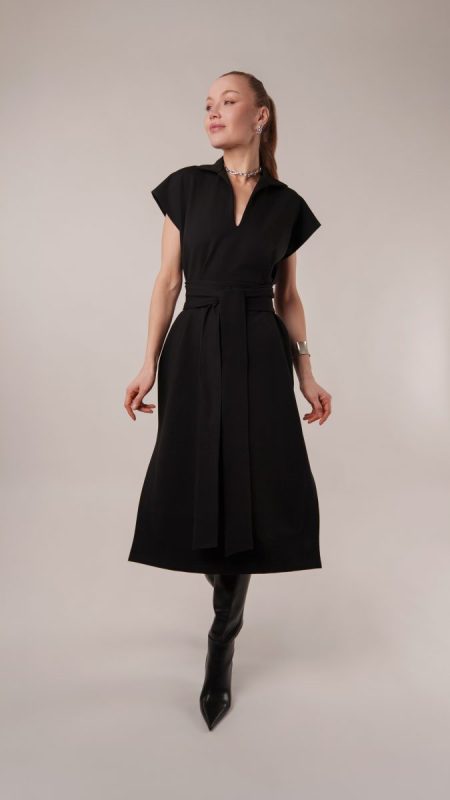
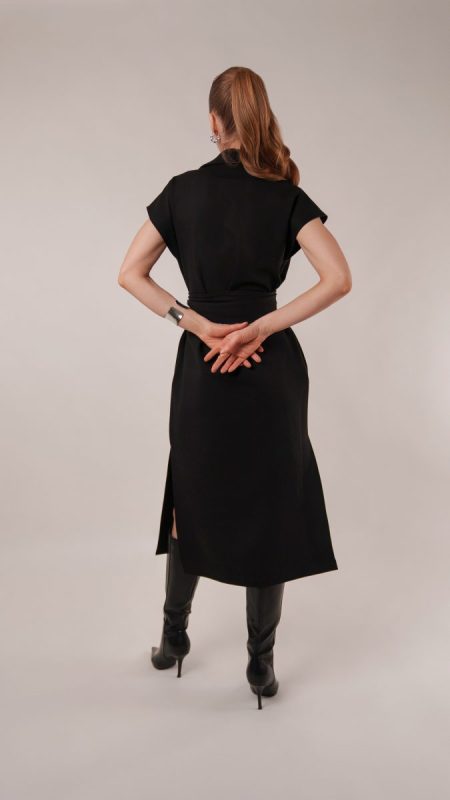
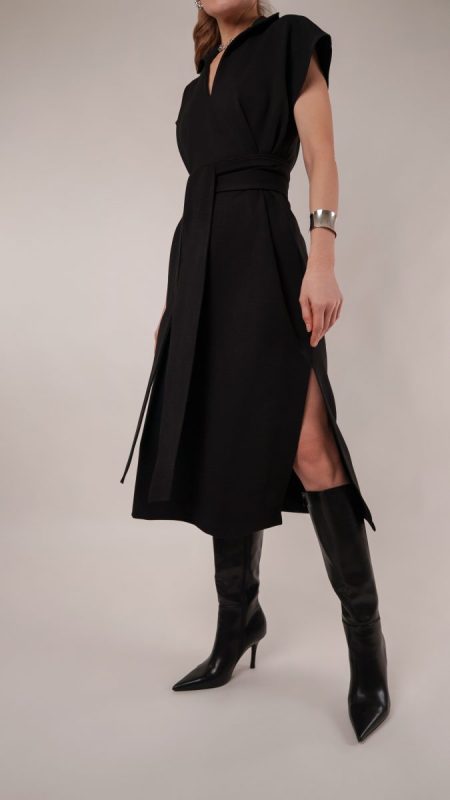
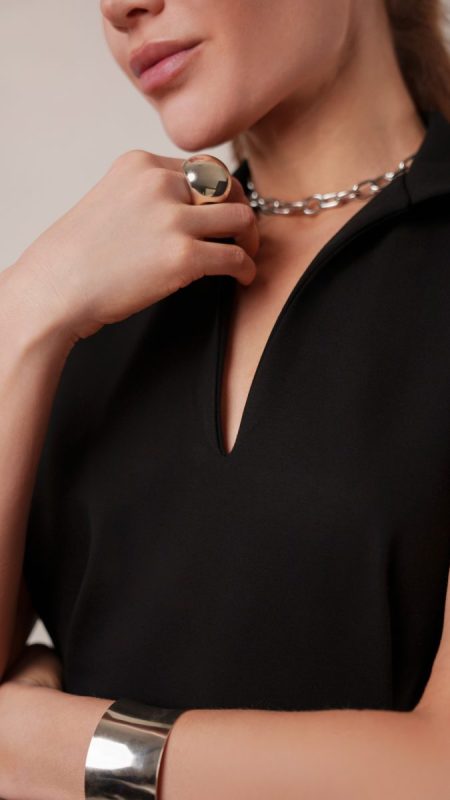
Essential Materials & Sizing Guide for the Raven Shirt Dress
Continue reading for a breakdown of what knowledge and materials you need for creating your very own shirt dress! We’ve got you covered with the recommended materials we used—if you want to follow along exactly—as well as a curated list of alternative fabric type recommendations if you want to customize your own version. The Raven Shirt Dress free sewing pattern download includes technical drawings for seam and shirt dress visibility, plus a size chart to help you find your perfect fit!
Purchase Products Used Below:
Quantities indicated are for sewing a size small shirt dress.* Toggle the ‘SHOP THIS LOOK’ box to find quantity estimates for other sizes.
- 2 yards of Stretch Ponte Knit – Black – Papilio Collection
- 0.5 yards of Medium Weight Knit Fusible Interlining, Single Sided – Black
- 1 each of Gutermann Sew All Thread 250m – 10 Black
- MDF509 – Raven Shirt Dress Sewing Pattern (Free download below!)
*Quick Tip! The ‘SHOP THIS LOOK’ box defaults to full-yard quantities. To order an exact half-yard quantity for any fabric, simply use the decrease quantity button (-) to subtract by the half yard. Then click “ADD TO CART” to add all materials to your cart.
(Our system can only display full-yard quantities initially.)
Alternative Fabric Type Recommendations:
The Raven Shirt Dress sewing pattern is best suited for medium weight fashion fabrics. Explore other fabric types or colors from our featured collections for your shirt dress with the links below.
Fabric Collections Used in this Post:
Download Your Free Sewing Pattern
Submit your name and email in the form below to receive the download link for the Raven Shirt Dress free sewing pattern directly in your inbox. Mood Sewciety Patterns will send your free download link via email with the subject line: ‘Your Free Download from Mood Sewciety – The Raven Shirt Dress’ (in PDF format for A4 and letter-size printing).
© MoodFabrics.com / MoodSewciety.com – Mass production, resale, or distribution of this pattern in any form is strictly prohibited.
Find Your Perfect Fit
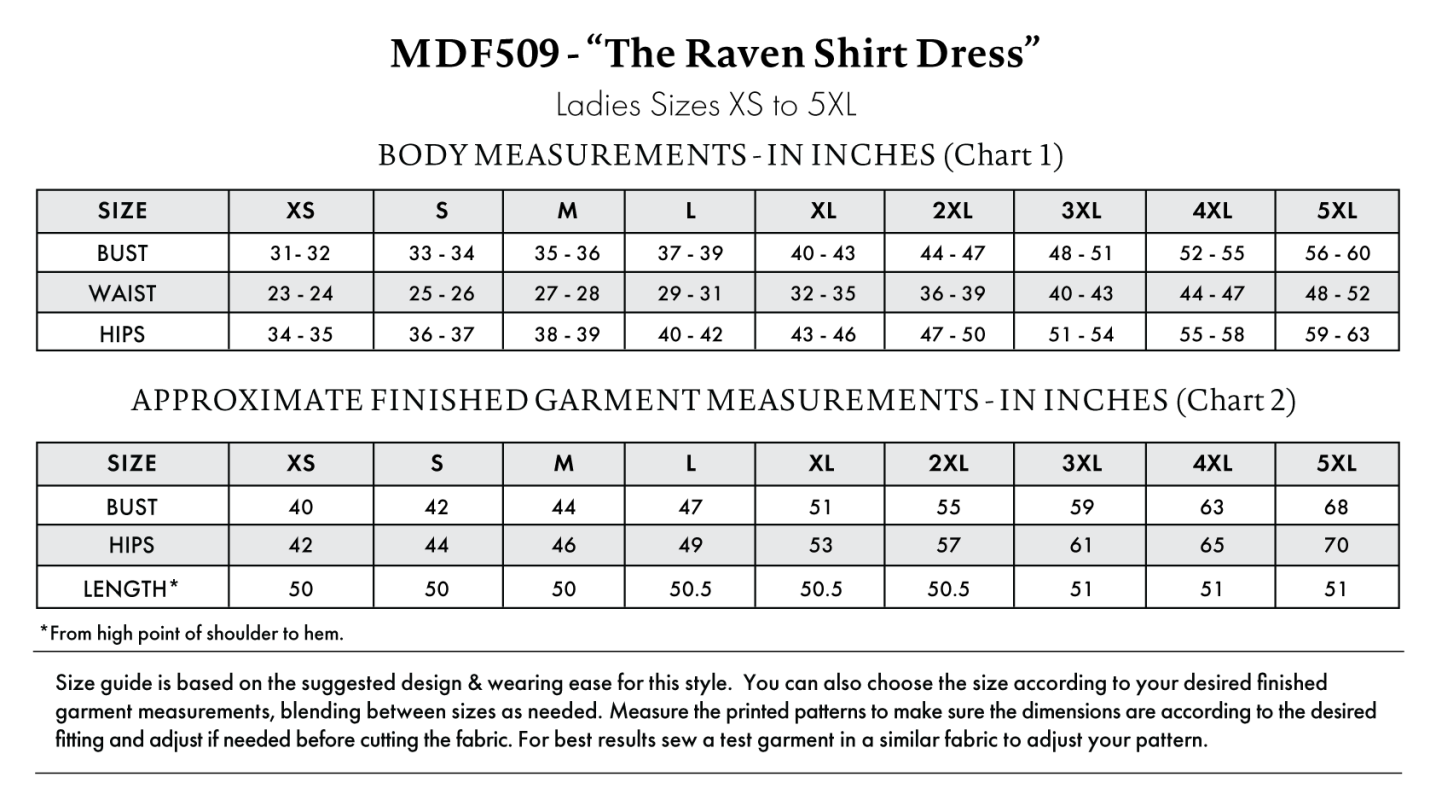
The Raven Shirt Dress Sizing Guide is based on the suggested design & wearing ease for this style. You can also choose the size according to your desired finished garment measurements, blending between sizes as needed. Measure the printed patterns to make sure the dimensions are according to the desired fitting and adjust if needed before cutting the fabric. For best results, sew a test garment in a similar fabric to adjust your pattern.
Measurements may vary after adjustments. If using non-stretch fabrics, reference the approximate finished garment measurements chart to choose your size.
Note: Always read all the instructions before cutting the fabric!
How to Sew The Raven Shirt Dress
The instructions provided below are designed to guide you through sewing the Raven Shirt Dress from start to finish.
3 Tips for Sewing with Ponte
⇒ Use a stretch stitch or a very short (1.5 millimeter) straight stitch to attach all the pieces together. This will allow the ponte to retain its stretch.
⇒ Use a ballpoint or stretch needle to avoid pulls and skipped stitches.
⇒ Press all your seams open and flat as you go, but keep your iron on medium heat, not high.
Pattern Pieces & Fabric Cuts Needed
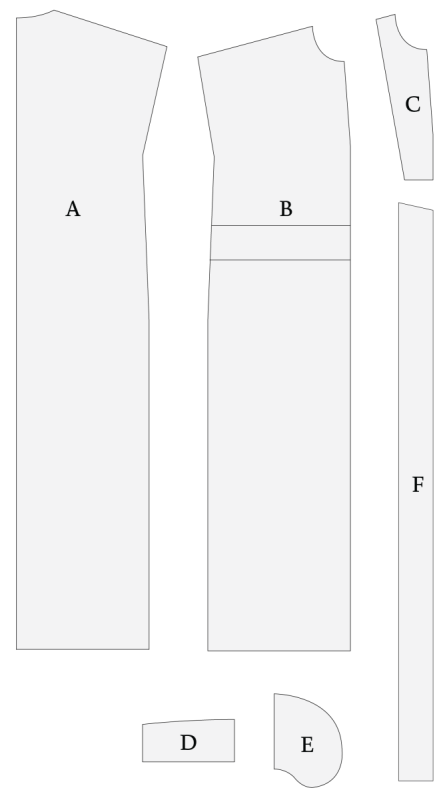
- (A) BACK
- Fabric – Cut 1 on Fold
- (B) FRONT
- Fabric – Cut 1 on Fold
- (C) FRONT NECKLINE FACING
- Fabric – Cut 1 on Fold
- (D) COLLAR
- Fabric – Cut 2 on Fold
- (E) POCKETS
- Fabric – Cut 2 Mirrored Sets
- (F) BELT
- Fabric – Cut 2 on Fold
Sew with a 1/2″ seam allowance for all seams unless otherwise specified.
Step 1
BELT
- Place the two belt pieces right sides together.
- Pin and sew around all 4 edges of the belt pieces, being sure to leave a small gap on one of the sides so the belt can be turned right sides out.
- Clip the corners of the belt to eliminate bulk.
- Turn the belt right sides out.
- Press the seams flat.
- Topstitch around all 4 edges to close the hole.


Step 2
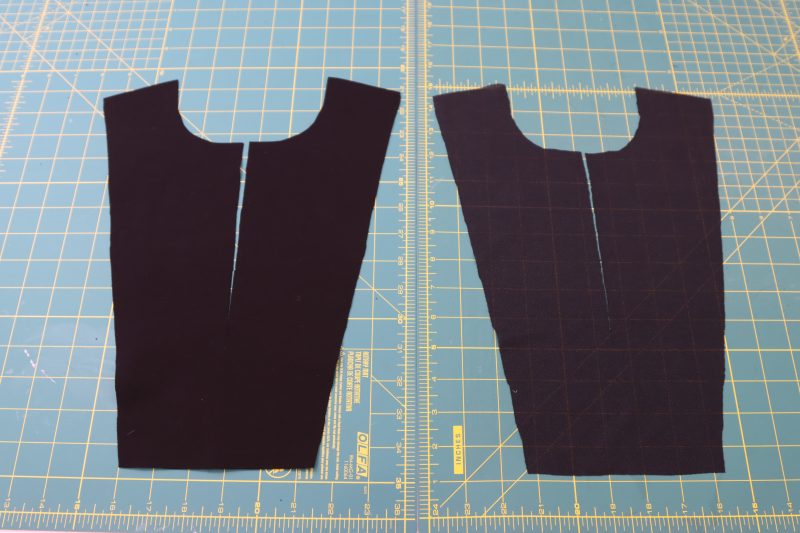
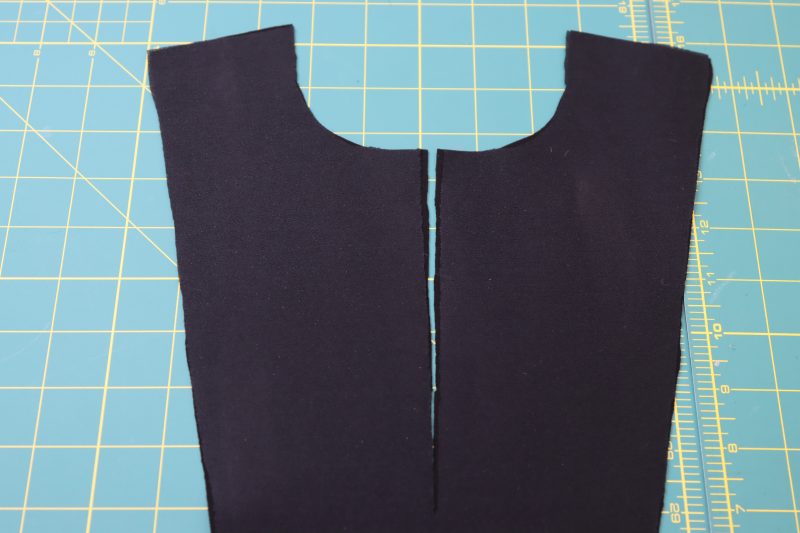
NECKLINE FACING
- Cut out an interfacing piece with the front neckline facing pattern piece.
- Place the interfacing on the wrong side of the neckline facing.
- Iron the fusible interfacing to the neckline facing.
Step 3
POCKETS
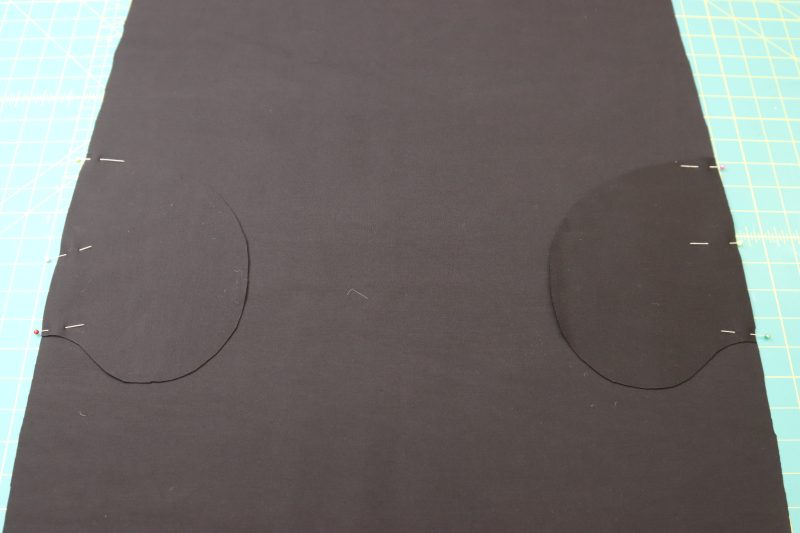
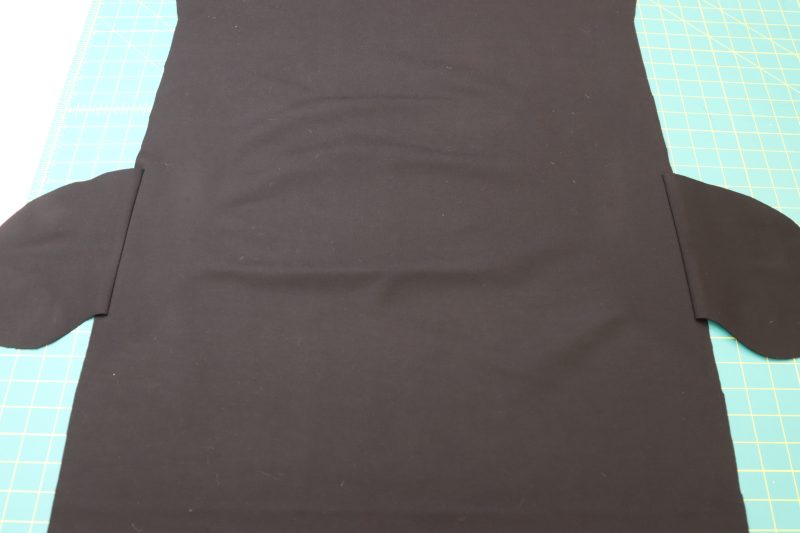
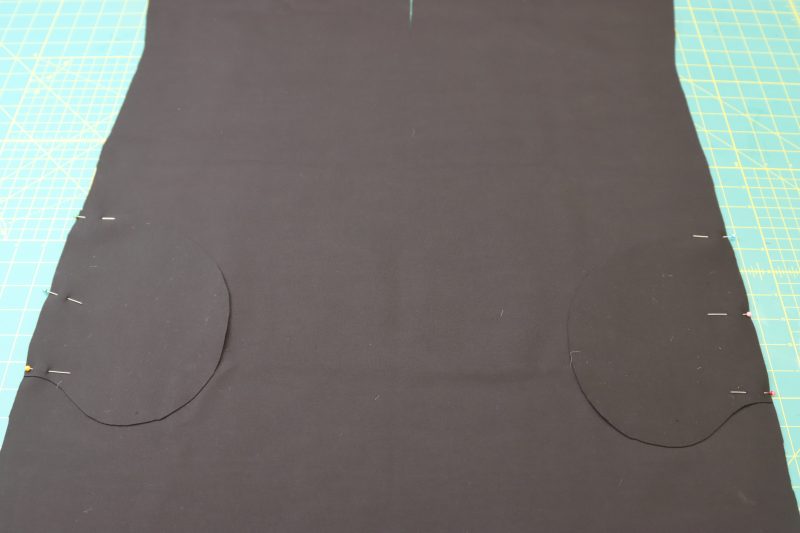
- Place the pocket pieces right sides together with the back of the dress.
- Pin the pockets to the sides of the back dress pieces between the notches.
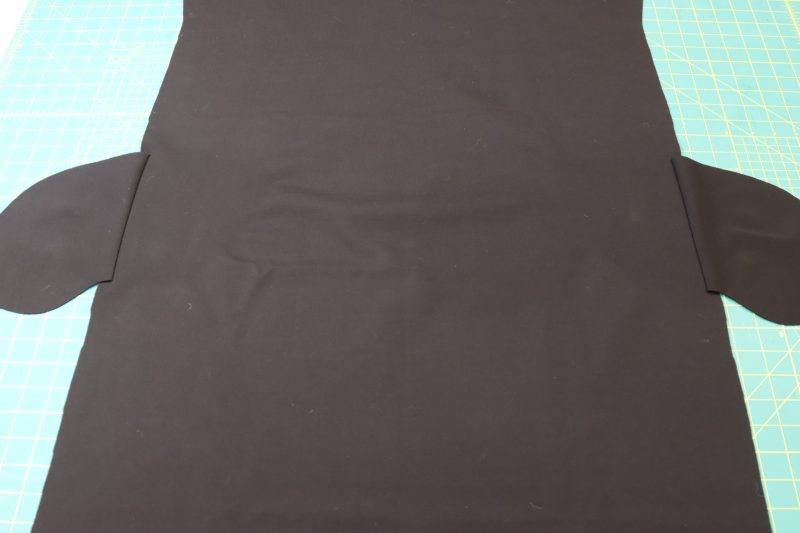
- Sew the pockets to the back dress piece.
- Unfold the seam you just sewed and press it flat.
- Repeat the same process with the pockets on the front dress piece.
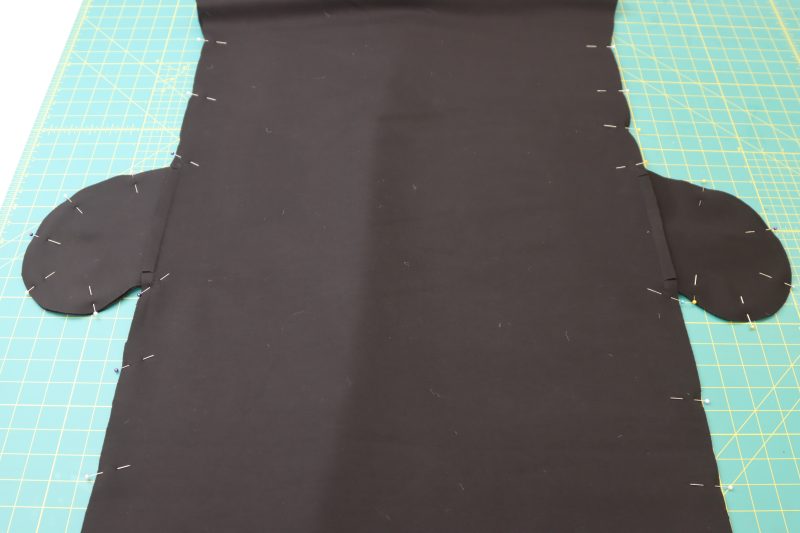
- Once the front of the dress has the pockets on it, place the front pattern piece right sides together with the back pattern piece.
- Pin from the armpit to 18 inches from the bottom hem, being sure to pin around the pockets, not through them (we’re not sewing all the way down to the hem because we’re leaving slits on the bottoms of the side seams of the dress that we will topstitch to finish later).
- Sew where you placed your pins, stopping at the top of the slits on each side seam.
Step 4
SHOULDERS
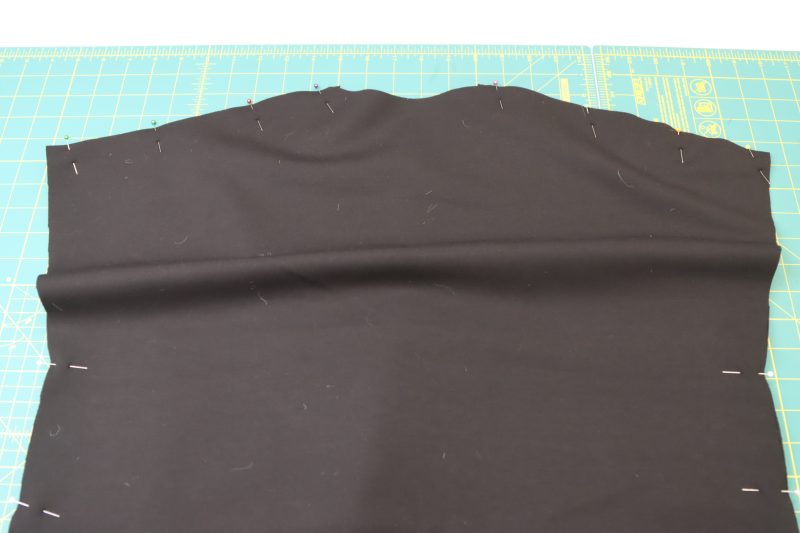
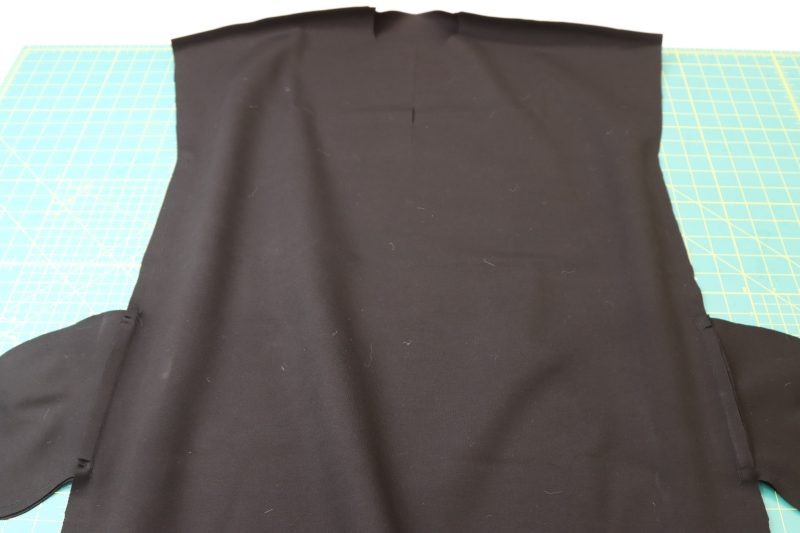
- Pin the front and back shoulders of the dress right sides together.
- Sew the front and back of the dress together at the shoulder seams.
Step 5
SLEEVES
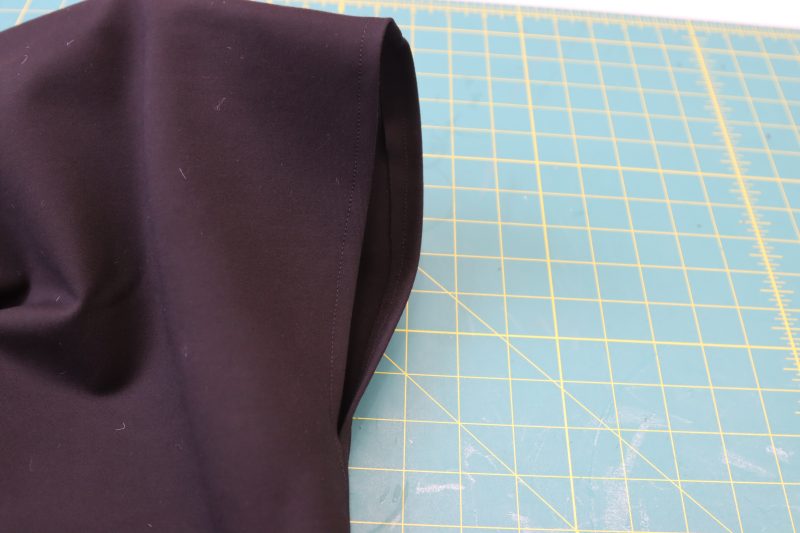
- Press a ½ inch fold into the raw edges of the arm hole.
- Sew over the fold with ⅜ inch seam allowance.
Step 6
COLLAR
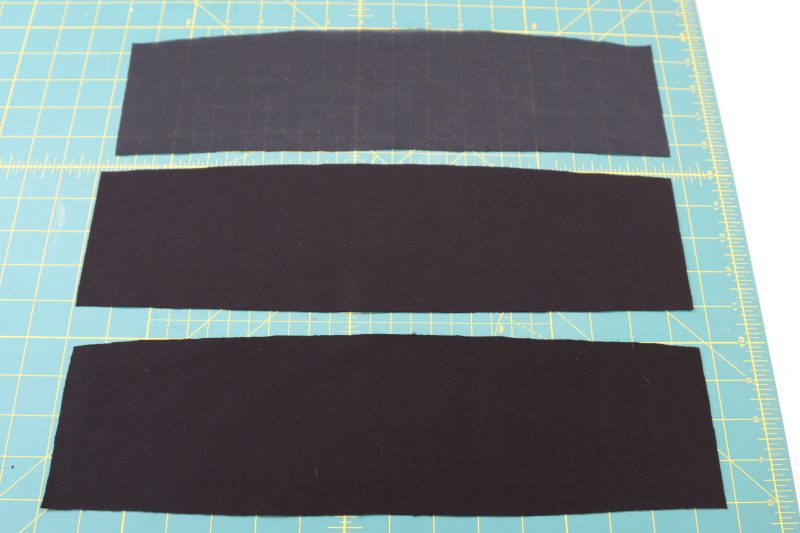
- Cut out a piece of fusible interfacing in the same shape as the collar pattern piece.
- Iron the fusible interfacing to the wrong side of one of the collar pieces.
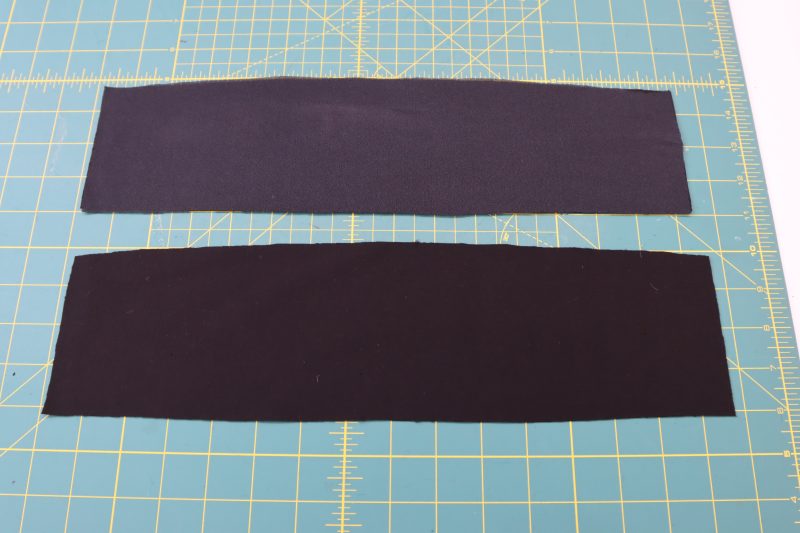
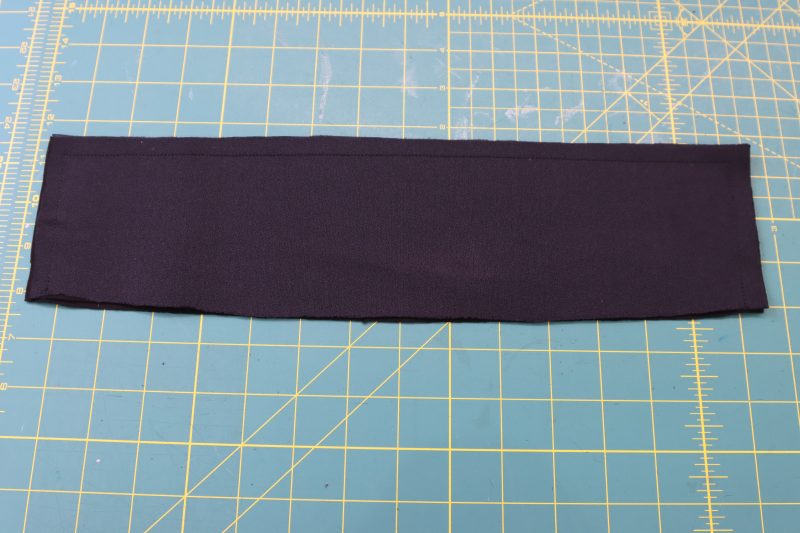
- Pin and sew the two collar pieces right sides together on both of the shorter edges and the straighter long edge (the curved edge is getting sewn to the neckline, you don’t need to sew it now).
- Clip the corners of the collar.
- Flip the collar right sides out.
- Press the seams flat.
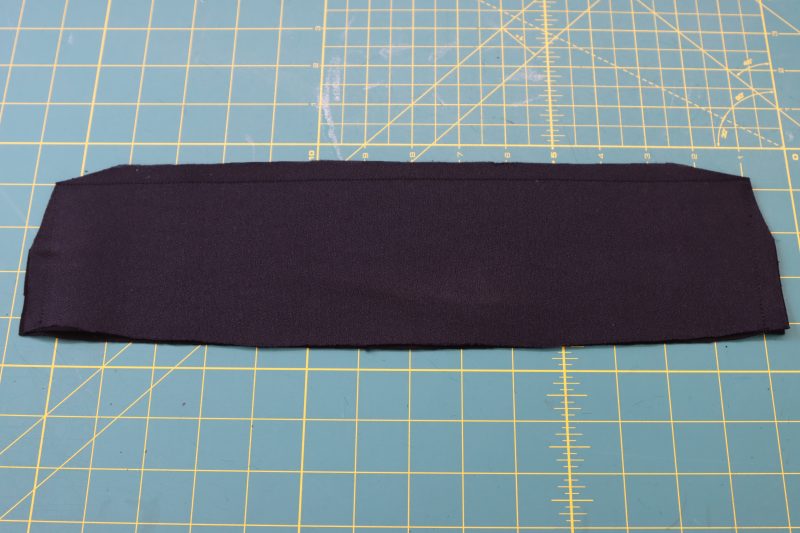
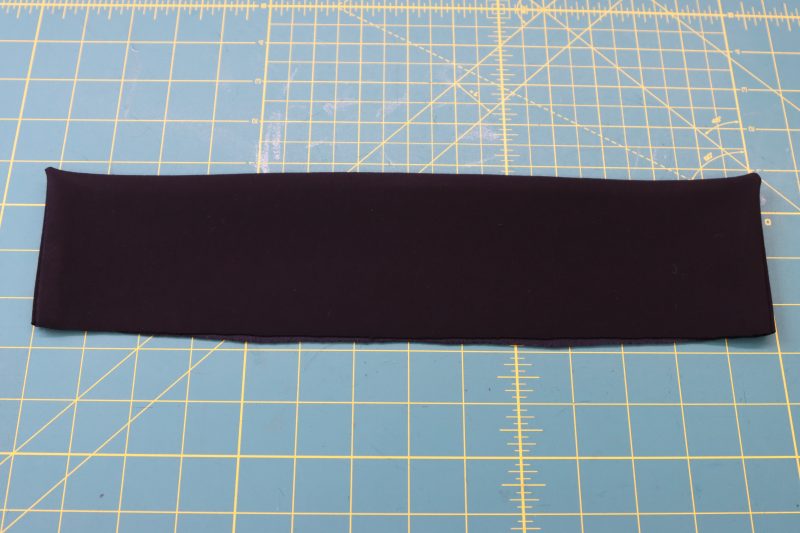
Step 7
NECKLINE
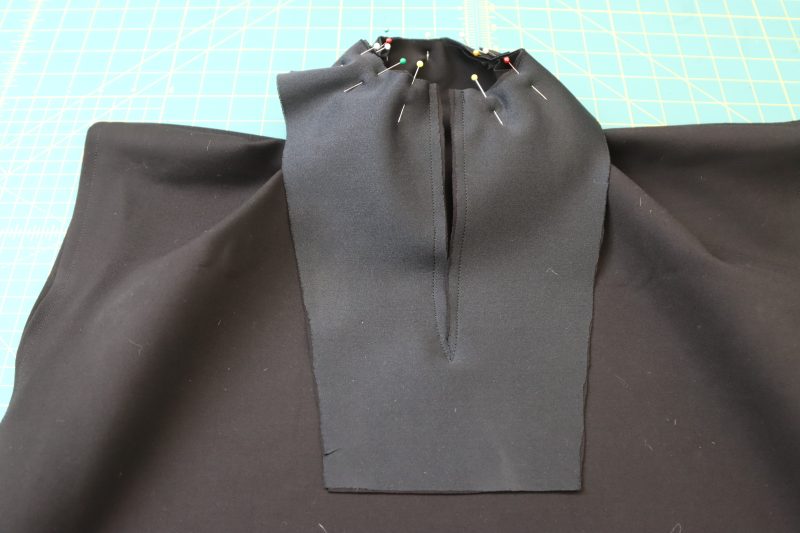
- Pin the neckline facing ONLY to the center front opening of the dress. Do not pin it around the neckline yet.
- Sew the facing to the center front opening.
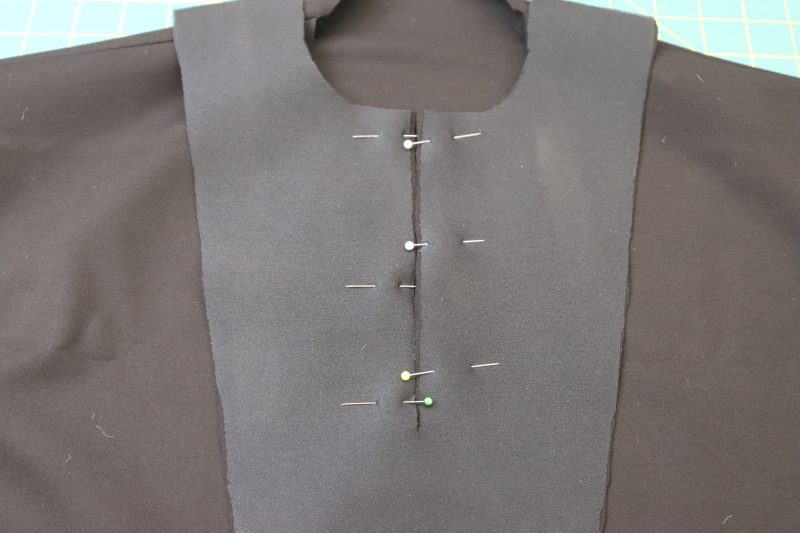
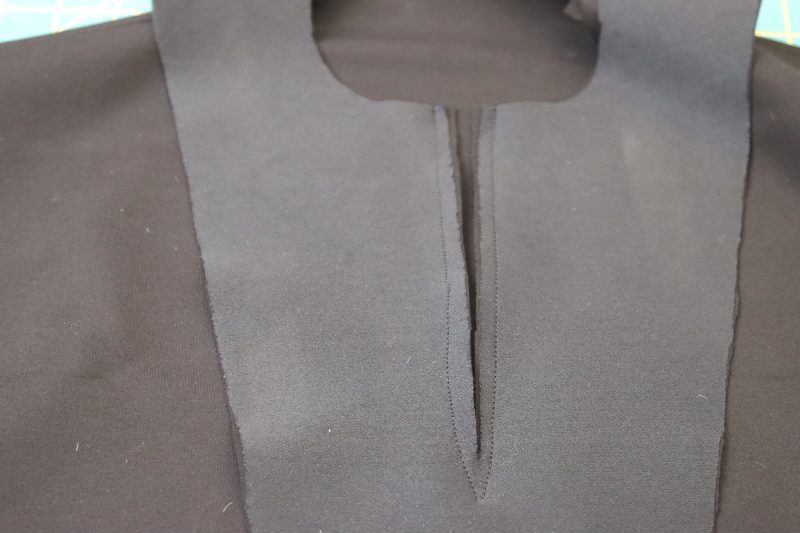
Step 8
ATTACH COLLAR
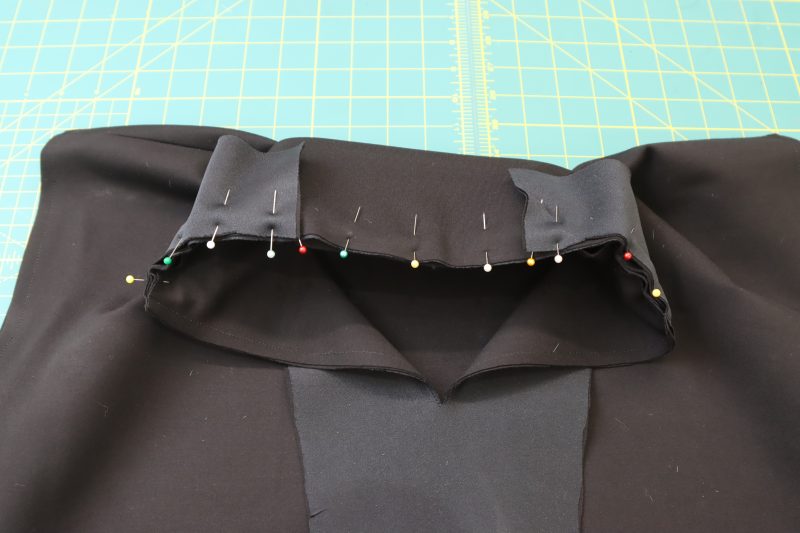
- Sandwich the raw edge of the collar between the neckline of the dress and the neckline facing, as shown in the first photo below.
- Pin and sew the collar to the neckline, making sure it stays between the facing and the neckline at the center front of the dress.
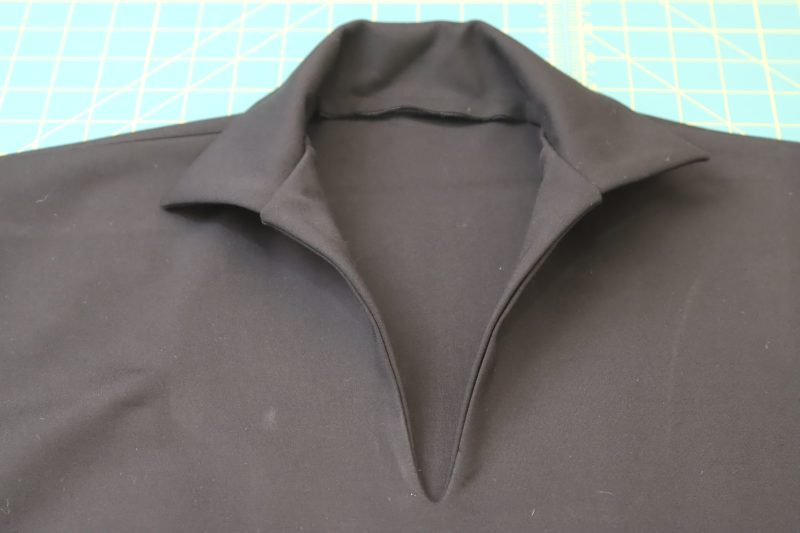
- Flip the collar up and the facing towards the inside of the dress.
- Press the center front neckline to keep the facing hidden inside of the dress.
Step 9
TOPSTITCH BELT
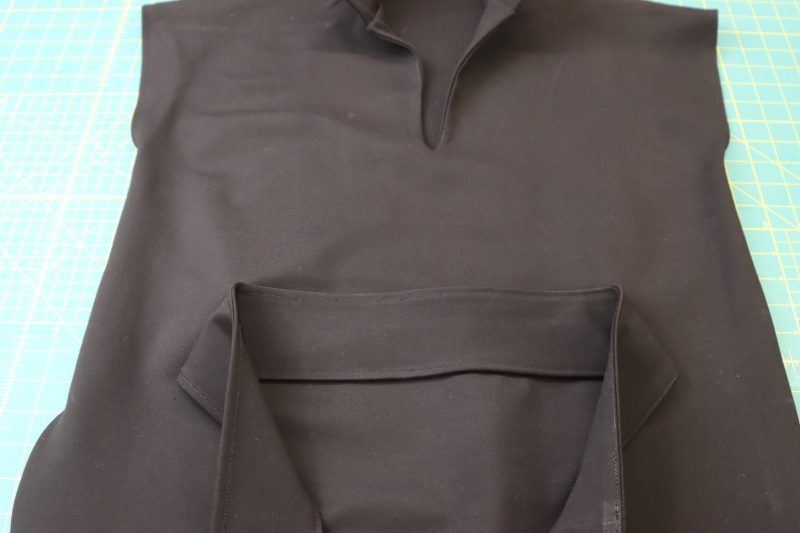
- Pin the belt to the front of the dress as indicated in the paper pattern.
- Topstitch the top and bottom of the belt to the front of the dress.

Step 10
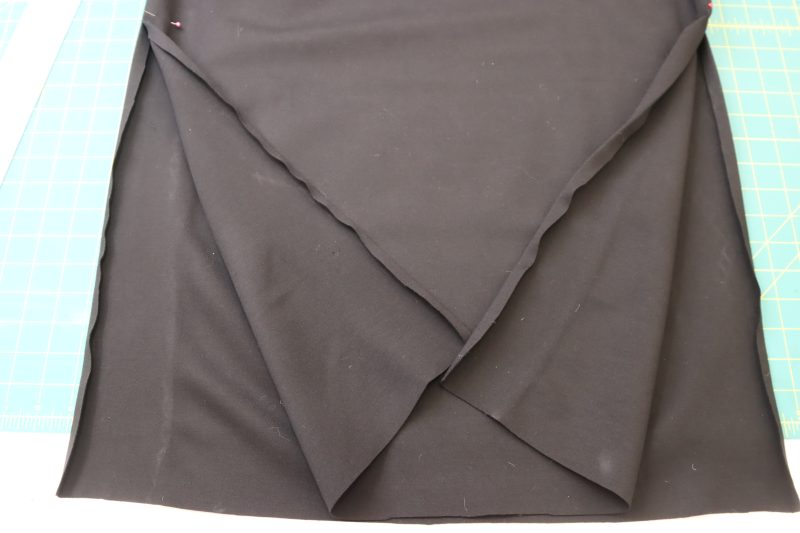
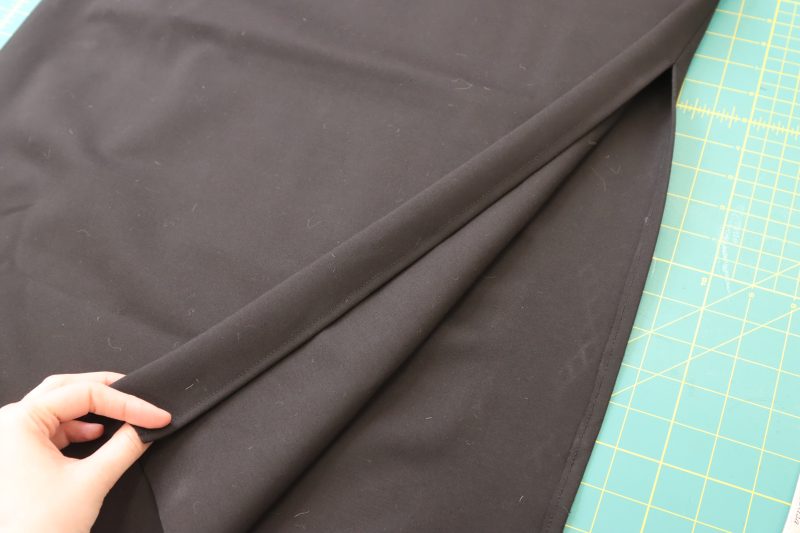
FINISH SLITS
- Press the raw edges of the slits into a ½ inch fold.
- Sew the folded slit down with ⅜ inch seam allowance.
Step 11
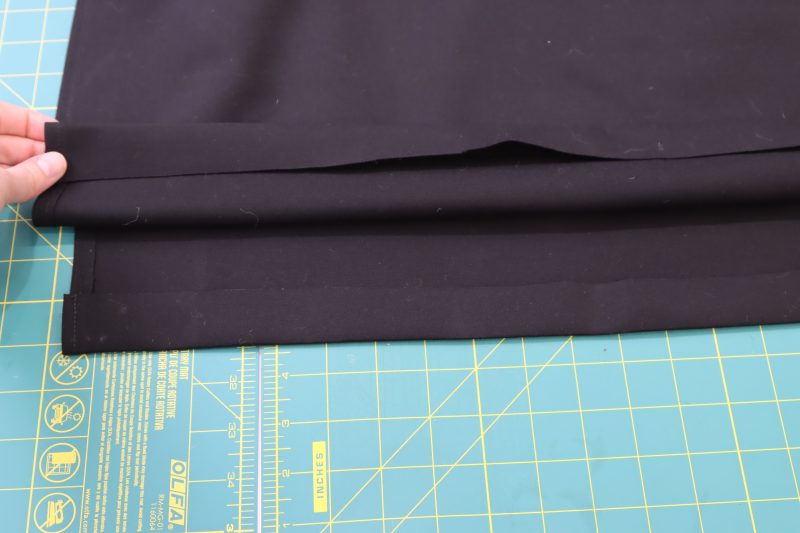
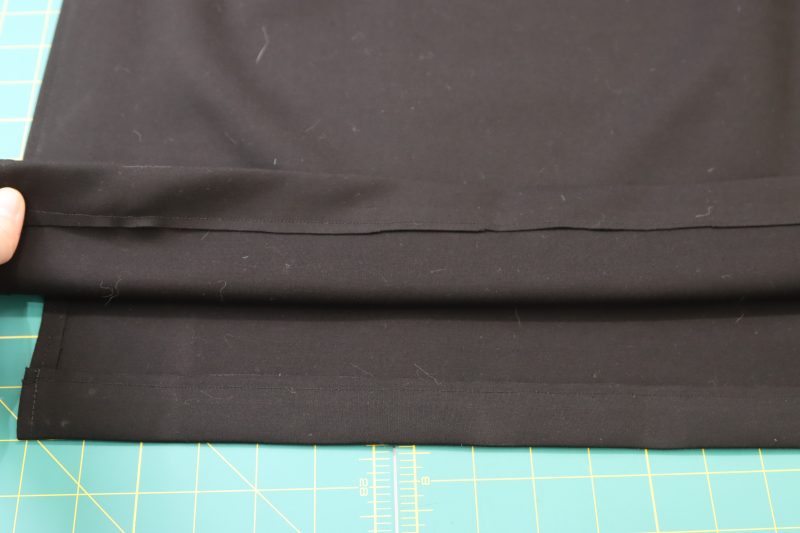
HEM
- Iron a 1 inch fold into the bottom hem of the dress.
- Sew the hem with a ⅞ inch seam allowance.
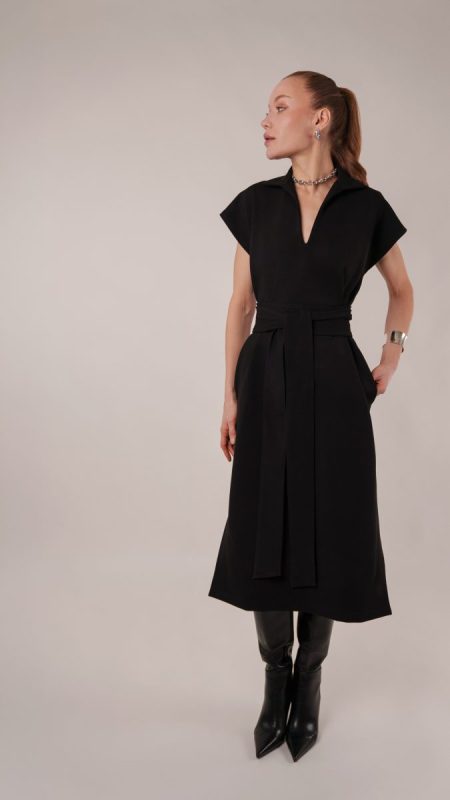
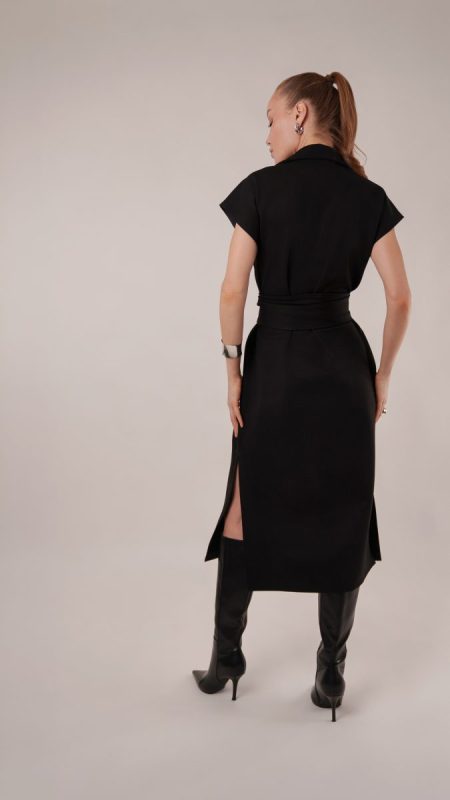
Sewing Success: The Finished Raven Shirt Dress
Share this post with a friend (or two!), download the Raven Shirt Dress free sewing pattern, and show us which fabrics and colors you choose, using the hashtags #MoodRavenPattern & #MadeWithMood—and don’t forget to tag us @MoodFabrics, too.
Free Sewing Pattern Inspiration for Your Next Project
With 500+ free sewing patterns and counting, your opportunities for sewing with Mood are endless!
We hope you had as much fun sewing this shirt dress pattern as we did! As always, we want to hear from you—share your thoughts and comments below and let us know where you’ll be wearing the Raven Shirt Dress free sewing pattern!
Can’t get enough sewing with Mood? Browse your next make with our latest free sewing patterns.

Going to make this top and a tunic length. I’m short so I would have to cut off most of the length anyway. When I first saw it I knew I wanted to make this for myself.
Hola, me encantaría que pusieran las medidas de los talles en cm algún día, en mi país no usamos pulgadas sino cm para medir, o podrán hacer algún tutorial? Me encantan sus patrones son muy exactos y fáciles para principiantes como yo
Hola Patri
¡Muchas gracias por tu comentario! Ya estamos trabajando en ofrecer nuestras tablas de tallas en cm y en diferentes sistemas de tallas, las tendremos disponibles tan pronto como sea posible. No dejes de visitar nuestro blog para que no te pierdas la información cuando esté lista.
so nice, exactly what i needed
I like the way it looks nice and easy to do.
This is cute!
Thanks !
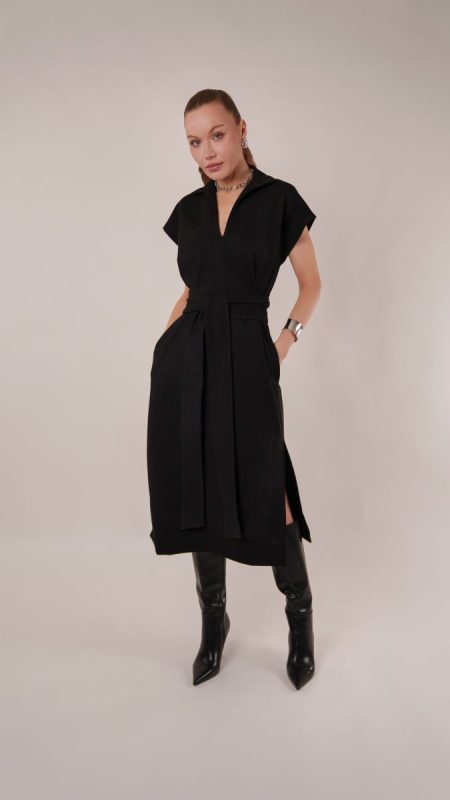
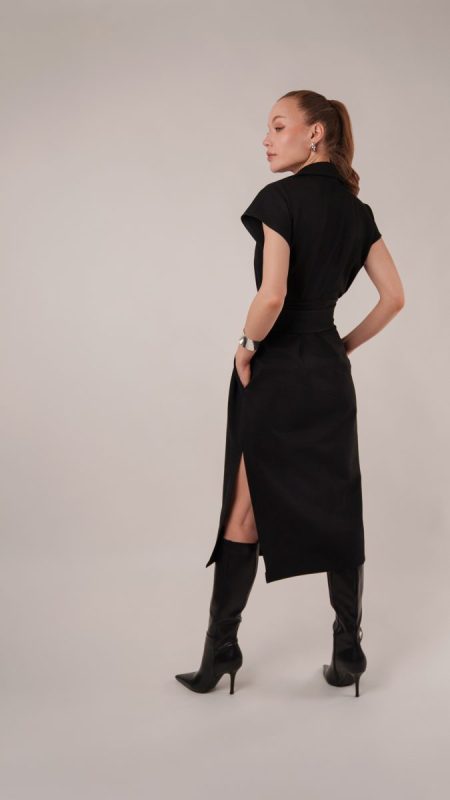
I haven’t had my machine out in years. This looks perfect to get me back to sewing! It would be very helpful if the model dress was not solid black. It is very difficult to discern details in the picture.
Hey Mimi, thanks for the feedback, we’re choosing different colors or using contrasting thread going forward because other people have brought up this concern as well.
Would love to make this
Awesome sew
Thank you for this pattern, pretty dress!
Suvh a nice dress!! LOVE IT!
I love this look! It’s vintage meets modern! The drape is perfect for my tall frame and my love for wearing dresses!
Can you provide a required fabric yardage chart for various fabric widths?
Hi 🙂
Due to our current workload, it may take us a little time, but I’ll be happy to help you. Please email me with the size you plan to make and the width of your fabric (or the fabrics you’re considering), and I’ll send you the required yardage. sandy@moodfabrics.com
Hello
Thank you very much for the pattern!
I have a question; the waistband needs to be cut on the fold of the fabric, parallel to the grainline, but it’s 50’ long!
the fabric needs to be aprox 120’ wide to fit
my fabric is 60’, so do you suggest I only cut strips until I reach the length??
thank you very much for your help!
Greetings from Mexico City
Hola Ale!
Thank you so much, Im happy you like our pattern 🙂
The waistband can also be cut parallel to the length of your fabric, no problem. That way, you can make it in one single piece.
If you don’t mind having a seam in the waistband, you can also cut it in two pieces and sew them together. However, I definitely recommend cutting it as one piece along the length of the fabric for a cleaner and more polished finish.
Thank you for your comment!
Happy sewing <3
I’ve several projects to finish first but I’m going to make this in a couple of different colors/prints in linen for summer.
Thank you for this shirt dress.
J’adore cette robe
Can this be made in a lightweight cotton or linen? What would I have to watch for? If not can you create a pattern for a non stretch fabric
Yes, you can make this in a non-stretch fabric. It’s meant to be a bit oversized and loose fitting. Just make sure that you check that the final garment measurements will fit your body before cutting out your fabric in a specific size.
Beautiful
Thank you
Hi I have some muslin fabric and medium weight linen. Would either work for this pattern?
Either would work! I think a medium weight linen would have a great drape for this pattern.
What is the pattern change needed as this pattern is for a stretch fabric?
Hey Dee, this pattern was drafted with the intention for stretch fabric to be used. You don’t need to change anything about it unless you want your dress to be more fitted/skin tight.
I feel in love with your Trina Turk stretch rayon chevron fabric and wondered if you would say this pattern could be made with that fabric.
Hey Aubrey! I think the rayon knit you’re talking about would be great for this pattern. Just make sure not to skip the interfacing at the collar and neckline.
Hello! I can’t wait to make this dress, but I’ve run into a problem. When tracing the pattern, I found a line on the front and back pieces that goes from the shoulder seam straight down, parallel to the fold. I see it on the XS, L, 2XL and 4XL sizes only, but I don’t understand its purpose as it abruptly stops couple inches below the armpit. Could you help me? Thanks in advance!
Hi Zsófi
I just checked my PDF, the one downloaded from our blog, and the source file, and I don’t see the lines you’re referring to. Please check if you can see them in your PDF file and look specifically at pages A2 and B2. If they only appear in the printed pattern, then it’s likely a printer issue. If you can also see the lines in the PDF on your screen, try downloading the file again.
Let me know if that works for you. If it doesn’t, you can just ignore those lines—they are not part of the pattern. If you’d like, I can also send you an image with your size highlighted so you know which lines are not part of the pattern in your print.
Love this pattern & the modern take on a ’70’s vibe. I have a kimono that will be refashioned into this dress. Would you suggest going up one or two sized to compensate for the lack of stretch in the kimono silk?
Hey Danika, honestly I don’t even think you would need to size up because this dress is so loose fitting already. But check the finished garment measurements just in case to make sure that the largest measurement on your body (usually bust or hips) will fit into the final piece.
Trop heureuse de recevoir ce patron
Love, love this pattern. I did my dress in a knit leopard print. I will be parring it with chunky gold accessories and gold sandals. Soooo cute !!
Thank you
Always cool
Making this pattern was really fun! For reference, I used 3 yards of quilting cotton (I didn’t re-measure after pre-washing it, so it was likely a bit shorter) for the 2XL pattern, and I had enough fabric for everything but the pockets. I finished the seams with a french seam and finished the facing with bias binding. This was my first time putting in pockets and facing into a garment. I know this pattern used a knit fabric, so the seams didn’t need to be finished, but it would be great to have a tutorial for how to finish the seams on a facing piece like this dress had, as my attempt to use a french seam on it made the fabric bunch up.
Thank you for sharing details about your sewing experience Willow! We really appreciate feedback like this.
What an adorable pattern! I can’t wait to sew it up. I will say this is my first Mood pattern I’ve dug in to and I’m really surprised for such a high end looking garment in the photos the lack of finishing included in the instructions. I.e understitching in pockets, topstitching on collar and interfacing, hem corner turn for the slit. I will be adding those things in my construction, but just found it curious and wonder if it would truly look as polished as the model pic by following the instructions as written
Hi Lauren! I usually don’t include finishing instructions on the insides of garments because I know people often have their own way of finishing seams. Some people might opt for French or flat felled seams, which some people might have sergers. A lot of patterns on this blog are also fully lined so its not always necessary to finish your seams. I tend to include topstitching and understitching, but those are also totally optional finishing techniques. We do edit our final photos before posting them on the blog, but only usually removing blemishes or wrinkles in the fabric. Many of the patterns I’ve made from the blog I’ve worn and laundered over an over again. I implore you to do the same with your own finishing techniques!
Nice dress
I just completed my first Raven shirt dress. I say first because I will be definitely using it again. You instructions are very basic- definitely doable but easier if you’ve had some garment sewing experience. I completed this dress exactly as instructions indicate and will make a few changes on the next one. It looks fine and will be a great basic. I did not sew the belt to the dress – I found the ponte to be a little to structured to have all that bulk sewn on. The “grainline” on the belt pattern was confusing as the fabric was not wide enough but I saw here that you suggested disregarding the suggested grainline. I’ll probably topstitch the collar next time and finish the facing at shoulders differently. Thank you for a fun and quick sew,
Jody this brought me so much joy when I read it! I’m so glad you loved the pattern so much!
Just found you! Very excited to try free dress pattern!
Stunning silhouette and very easy to sew in general! Collar and facing was a challenge for me but it turned out (and felt) great! I made a mock dress from a scrap fabric first and adjusted the pattern for my height. After realizing i didn’t have enough fabric for a dress, I made the original design shorter (an without pockets) as a shirt! Looks very chic and so comfortable at the same time. I will be wearing this to the office in summer!
I left out the pockets… and used cotton sateen fabric it came out great…easy to put together. I love the dress thank you
Hi! I’m not seeing the pattern marker for the leg side slit placement, can you provide some guidance? thank you!!
Hey Karie, I just checked the pattern and you’re right. There are notches for the pockets but not for the slit. When making this pattern in a size small for our model, I placed the beginning of the slit 15 inches from the hem of the dress, which made it about fingertip length for our model. It will be different on everyone for each size, but try starting at around 15 inches and see if that’s a good location for the slit on your dress!
I just finished this dress. I love it! It was easy and quick. I decided not to sew the belt on permanently. Also, when I ordered the material I must have added it to my cart twice because I have enough to make another dress LOL. Which is good because I really love it. I made it in pink, not black. There wasn’t a marker for the slit but I figured it out putting the pattern pieces next to my body. The slit is just above my knee.