
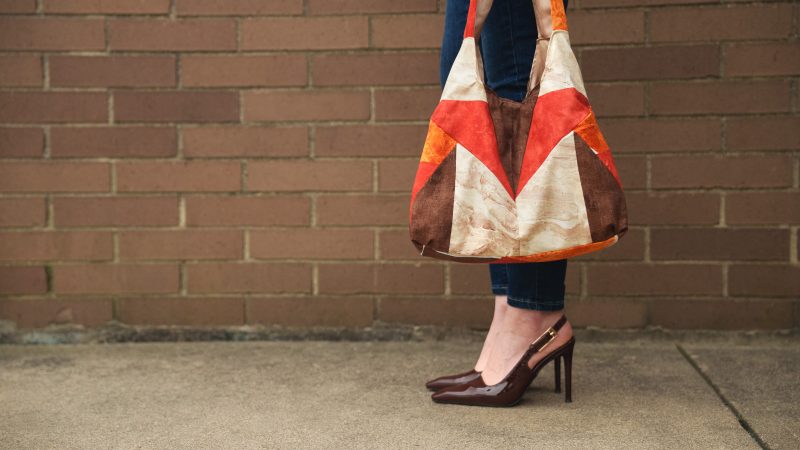
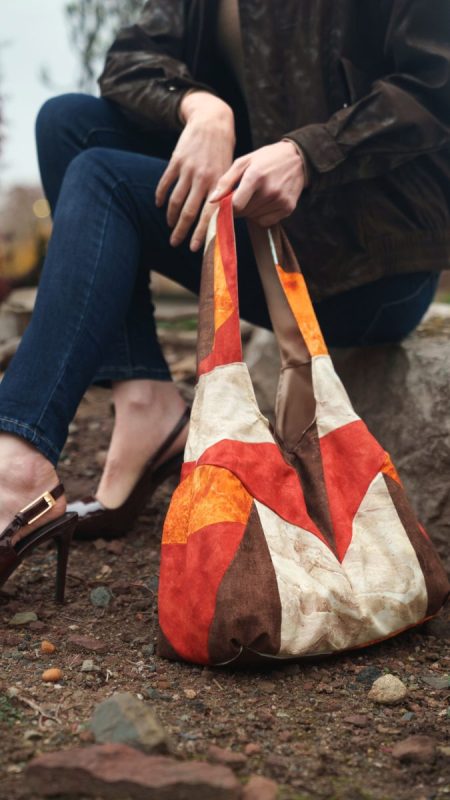
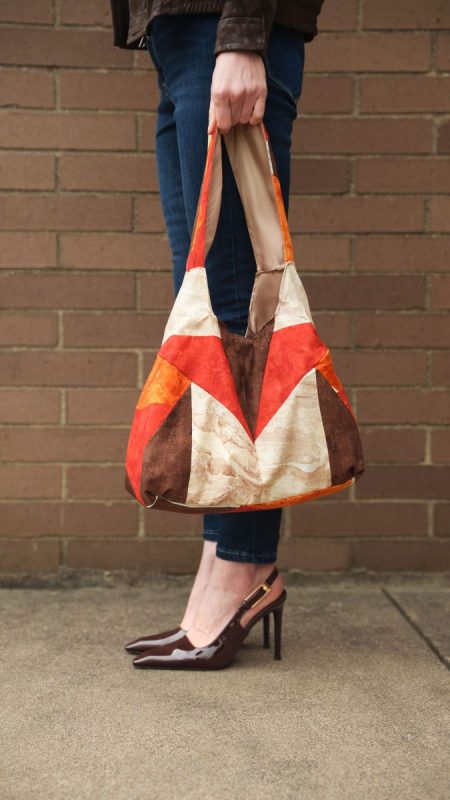
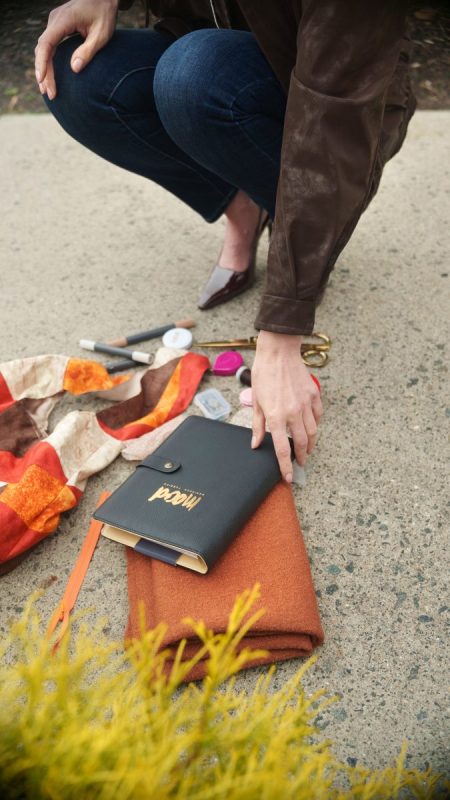
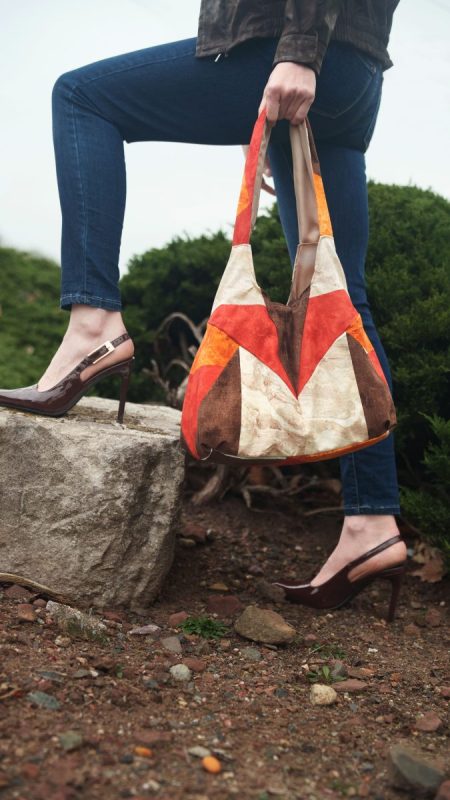
The Pecan Patchwork Bag is a pattern designed to bring some fun to your Fall Fashion closet. Sewn in easy-to-sew quilting fabrics, this bag serves the purpose of an easy Thanksgiving gift or a simple statement piece for any outing. The construction and shape of this bag are trendy and versatile. Its patchwork design can provide you with infinite options to sew with just about any kind of fabric.
Variety is what one can take from this bag as it serves many purposes. The Pecan Patchwork Bag could be taken for a fun day at the park, a quick errands trip, or a chatty brunch with your girls. Not only does this patchwork bag test your skills with textile manipulation, but it also encourages upcycling fashion. Throughout the busy holiday season, it’s important to put functional pieces to use. This patchwork bag is perfect for your busy holiday planning and looking chic while doing it all.
Essential Materials & Sizing Guide for the Pecan Patchwork Bag
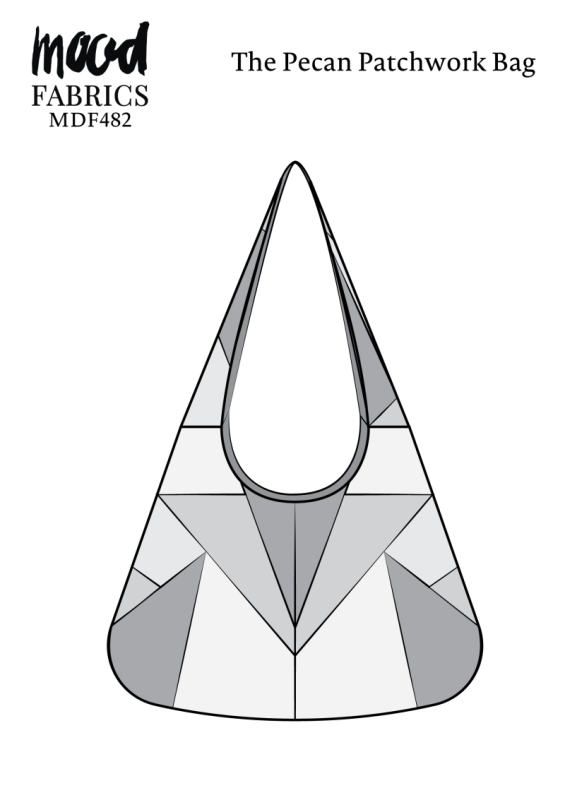
Continue reading for a breakdown of what knowledge and materials you need for creating your very own patchwork Bag! We’ve got you covered with the recommended materials we used—if you want to follow along exactly—as well as a curated list of alternative fabric type recommendations if you want to customize your own version. The Pecan Patchwork Bag free sewing pattern download includes technical drawings for the bag construction, plus a size chart to help you find your perfect fit!
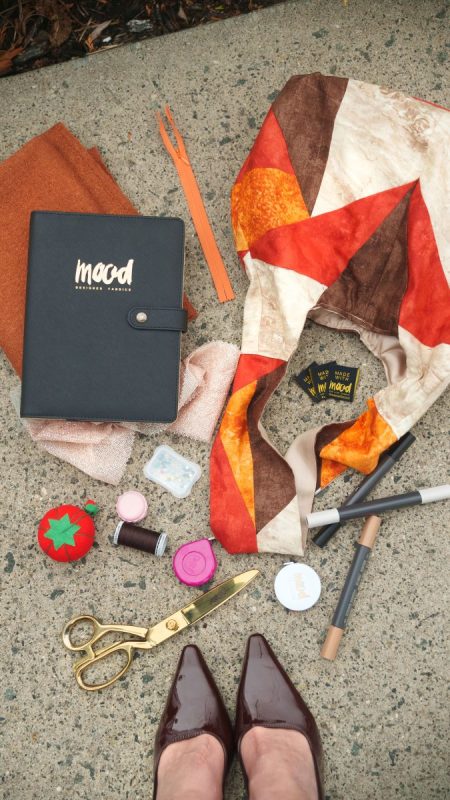
Purchase Products Used Below:
Quantities indicated are for sewing one patchwork bag.*
- 0.5 yards of Printed Quilting Cotton- Wicker Jazzy Painted Texture
- 0.5 yards of Printed Quilting Cotton – Scarlet Billows Jazzy Painted Texture
- 0.5 yards of Printed Quilting Cotton- Tiger Lily Jazzy Painted Texture
- 0.5 yards of Printed Quilting Cotton- Swiss Chocolate Painterly Texture
- 1.5 each of Acetate Twill Lining – Dark Sand
- 1 each of Gutermann Sew All Thread 250m – 500 Ecru
- 1 each of Dritz ¾ Gold Magnetic Snaps
- MDF482 – The Pecan Patchwork Bag Pattern (Free download below!)
*Quick Tip! The ‘SHOP THIS LOOK’ box defaults to full-yard quantities. To order an exact half-yard quantity for any fabric, simply use the decrease quantity button (-) to subtract by the half yard. Then click “ADD TO CART” to add all materials to your cart.
(Our system can only display full-yard quantities initially.)
Alternative Fabric Type Recommendations:
The Pecan Patchwork Bag sewing pattern is best suited for lightweight fashion fabrics and quilting fabrics. Explore other fabric types or colors from our featured collections for your Pecan Patchwork Bag with the links below.
Download Your Free Sewing Pattern
Submit your name and email in the form below to receive the download link for The Pecan Patchwork Bag free sewing pattern directly in your inbox. Mood Sewciety Patterns will send your free download link via email with the subject line: ‘Your Free Download from Mood Sewciety – The Pecan Patchwork Bag’ (in PDF format for A4 and letter-size printing).
© MoodFabrics.com / MoodSewciety.com – Mass production, resale, or distribution of this pattern in any form is strictly prohibited.
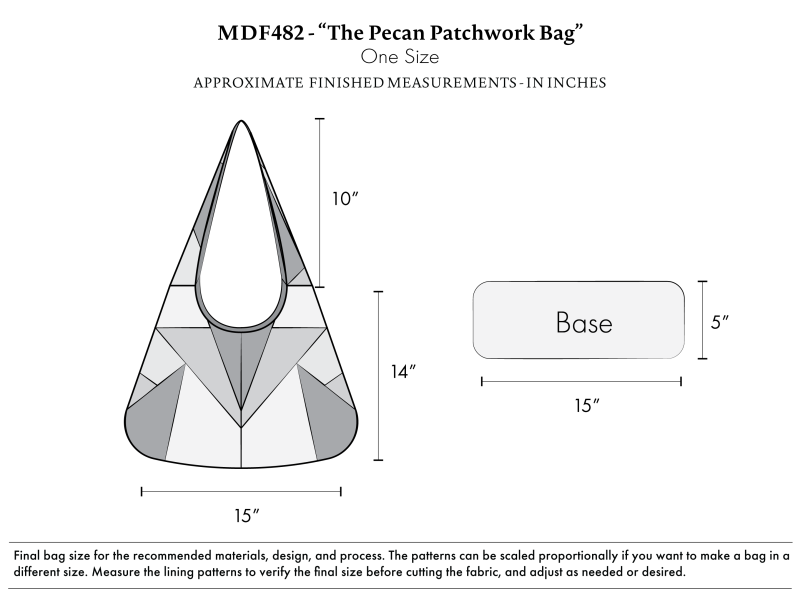
Final Patchwork Bag Size & Adjustments
The patterns can be scaled proportionally if you want to make a patchwork bag in a different size. Measure the lining patterns to verify the final size before cutting the fabric, and adjust as needed or desired.
Note: Always read all the instructions before cutting the fabric!
How to Sew The Pecan Patchwork Bag
The instructions provided below are designed to guide you through sewing the Pecan Patchwork Bag from start to finish.
3 Tips for Sewing with Quilting Cotton
⇒ Pressing your seams is key for the perfect finish with patchwork!
⇒ Marking your notches is essential to keep track of all your patchwork pieces.
⇒ Using sturdy fabrics like denim are best to have a smooth construction process throughout this project.
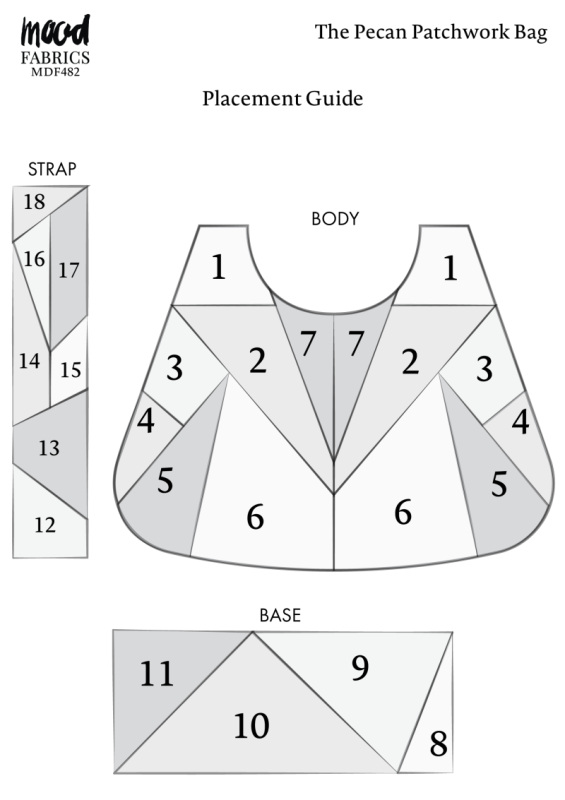
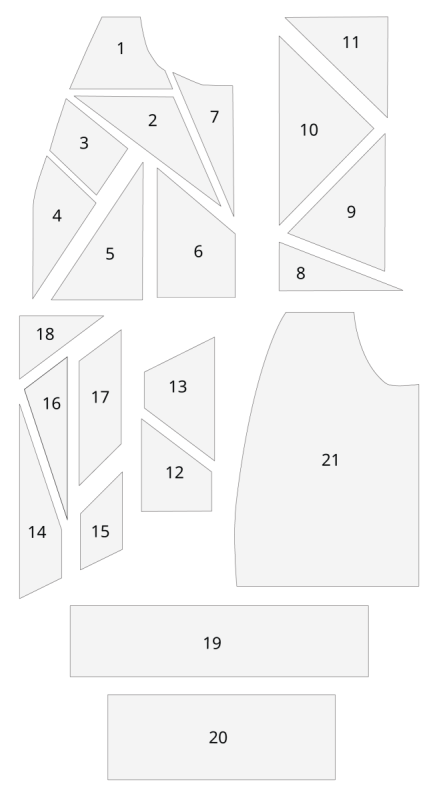
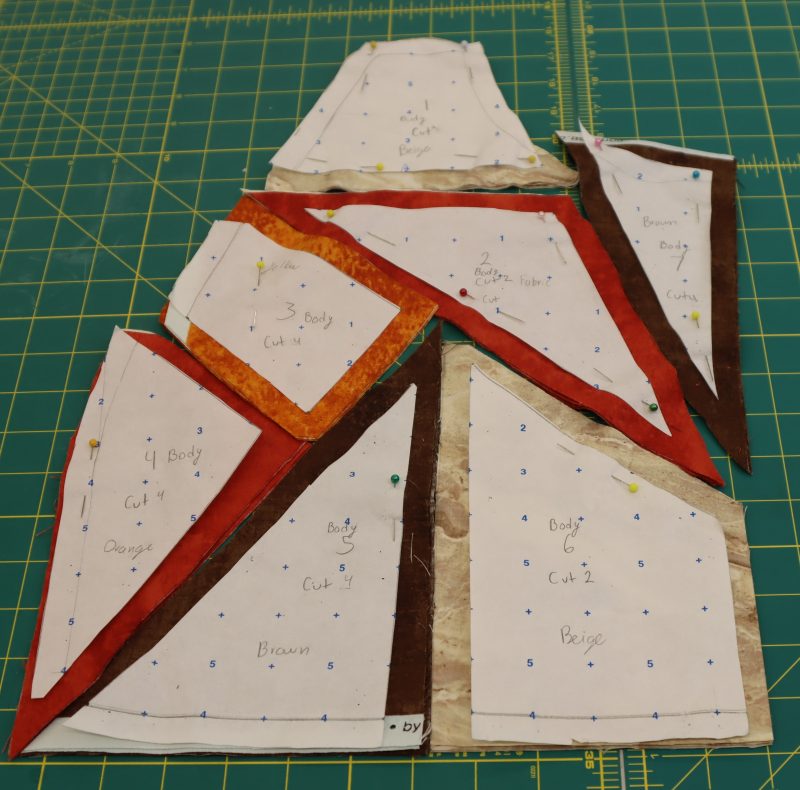
Pattern Pieces & Fabric Cuts Needed
- (1) BODY TOP CORNER
- Fabric – Cut 4 (2 mirrored sets)
- (2) BODY CENTER
- Fabric – Cut 4 (2 mirrored sets)
- (3) BODY SIDE
- Fabric – Cut 4 (2 mirrored sets)
- (4) BODY SIDE
- Fabric – Cut 4 (2 mirrored sets)
- (5) BODY LOWER CENTER
- Fabric – Cut 4 (2 mirrored sets)
- (6) BODY LOWER CENTER
- Fabric – Cut 4 (2 mirrored sets)
- (7) BODY SIDE CENTER
- Fabric – Cut 4 (2 mirrored sets)
- (8) BASE
- Fabric – Cut 1
- (9) BASE
- Fabric – Cut 1
- (10) BASE
- Fabric – Cut 1
- (11) BASE
- Fabric – Cut 1
- (12) STRAP
- Fabric – Cut 1
- (13) STRAP
- Fabric – Cut 1
- (14) STRAP
- Fabric – Cut 1
- (15) STRAP
- Fabric – Cut 1
- (16) STRAP
- Fabric – Cut 1
- (17) STRAP
- Fabric – Cut 1
- (18) STRAP
- Fabric – Cut 1
- (19) STRAP LINING
- Lining – Cut 1
- (20) BASE LINING
- Lining – Cut 1
- (21) BODY LINING
- Lining – Cut 1 on Fold
Sew with a 1/2″ seam allowance for all seams unless otherwise specified.
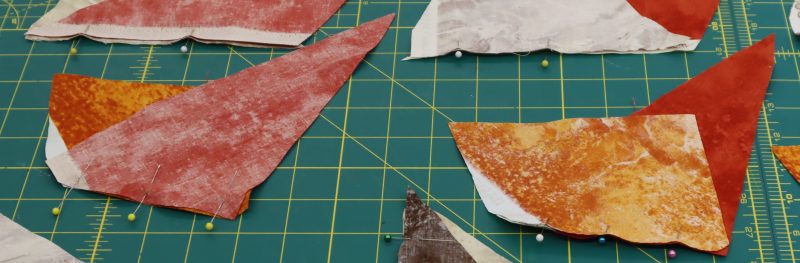
Step 1
PATCHWORK PREPARATION
- Before you start cutting your pieces, it is recommended to cut out notches, and number each piece if it is your first time doing patchwork (this is to keep track of the pieces that may look similar while sewing).
Step 2
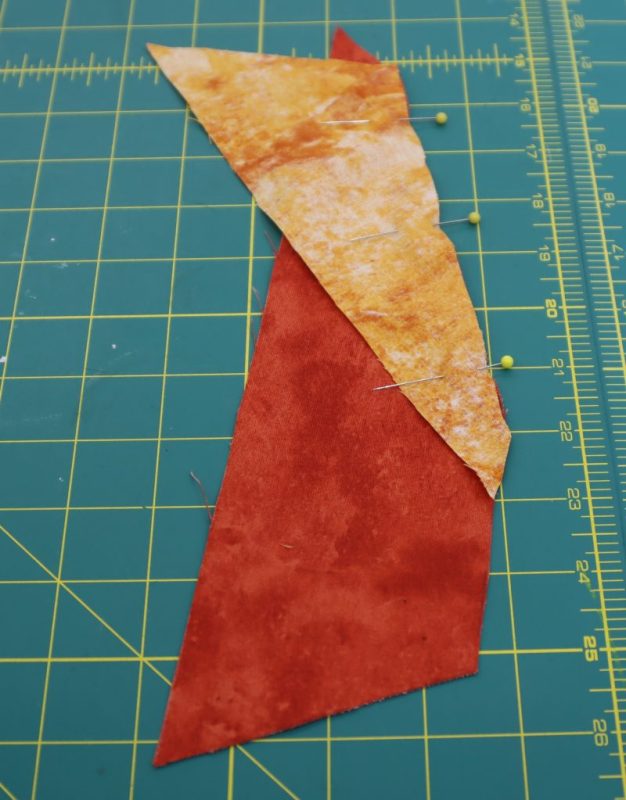
BODY PATCHWORK SEQUENCE
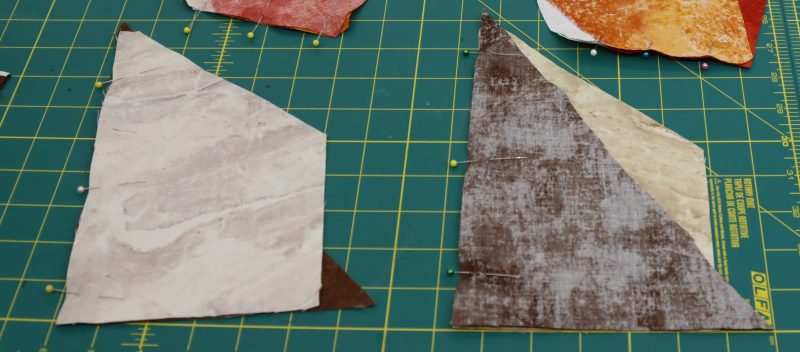
- First, attach pieces 5 and 6 of the body together. This will be sewn four times since we cut out four of each body piece (for the front and back to be identical).
- Press the seams open!
Step 3
BODY PATCHWORK SEQUENCE
- Sew Body pieces 3 and 4 together (four times).
- Press the seams open!
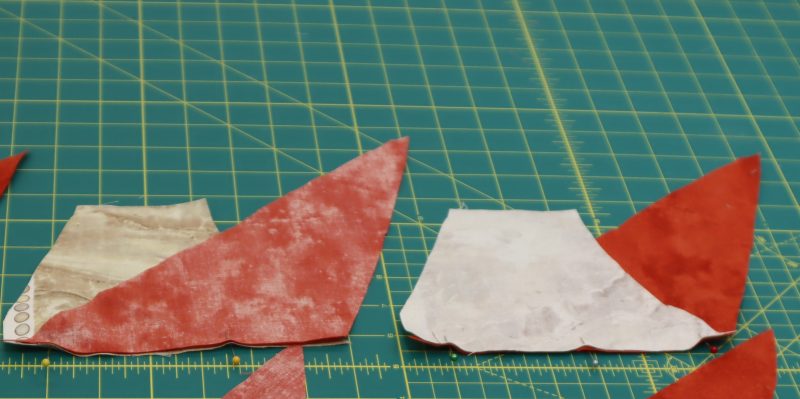
Step 4
BODY PATCHWORK SEQUENCE
- Just like the first two steps, sew the body pieces 1 and 2 together in four sets.
- Press the seams open!
Step 5
BODY PATCHWORK SEQUENCE
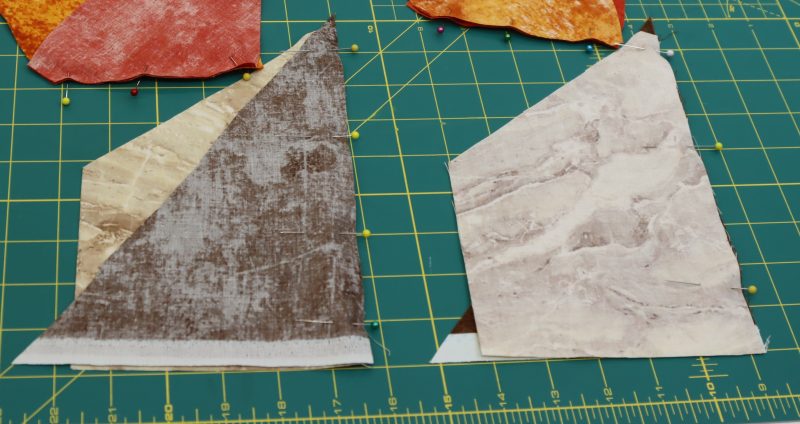
- To begin joining these pieces, sew body pieces 5 and 6 to 3 and 4 (for four sets).
- Press the seams open!
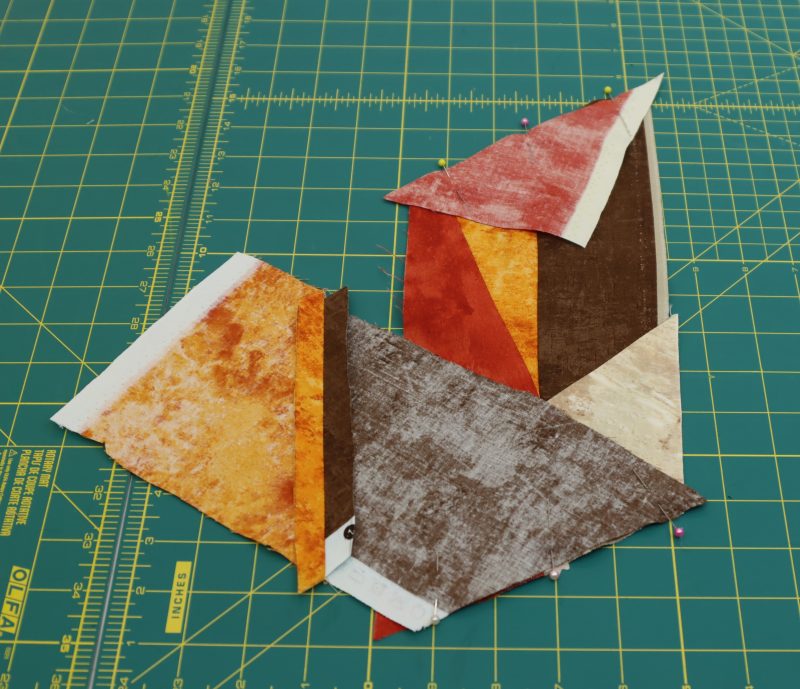
Step 6
BODY PATCHWORK SEQUENCE
- Continue joining the pieces by sewing body pieces 3-6 to 1&2 (for four sets).
- Press the seams open!
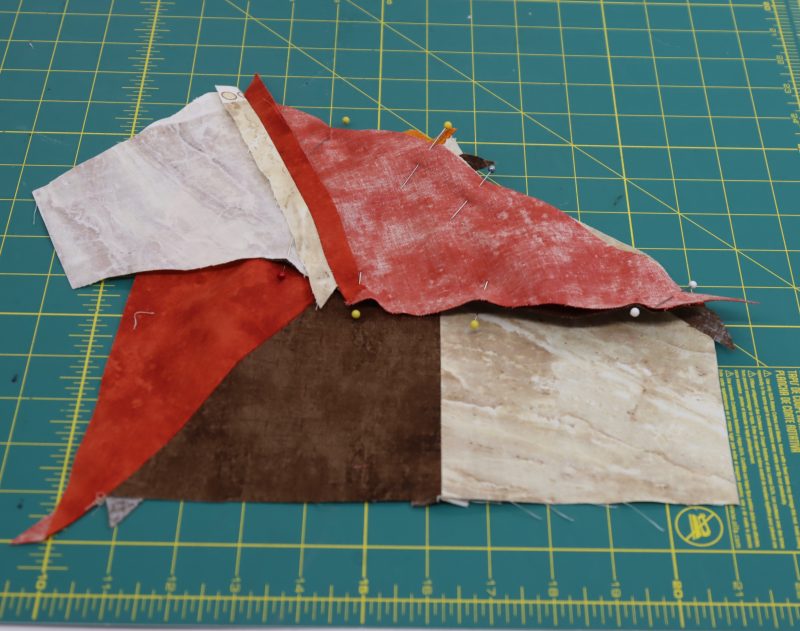
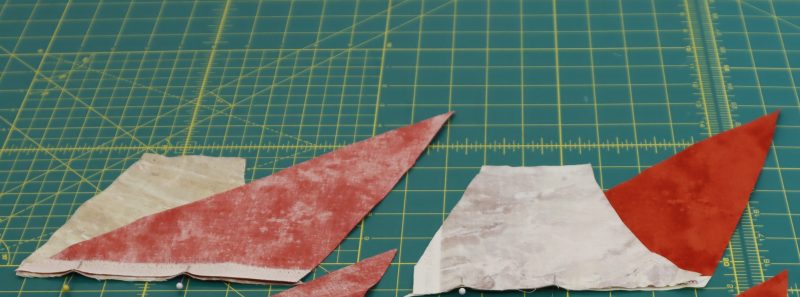
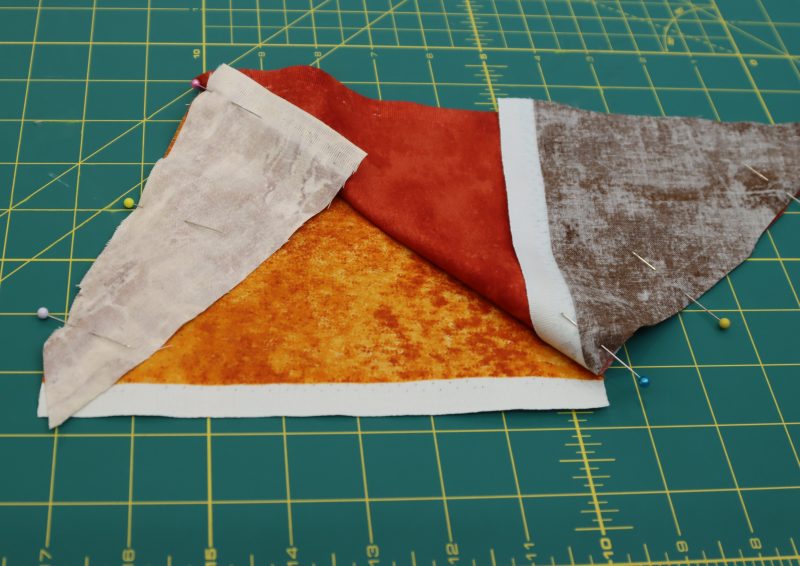
Step 7
BODY PATCHWORK SEQUENCE
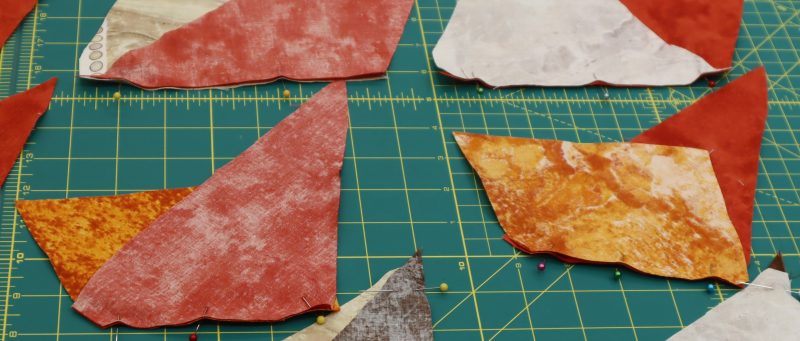
- Continue joining the pieces by sewing body pieces 1-6 to piece 7 (for four sets).
- Press the seams open!
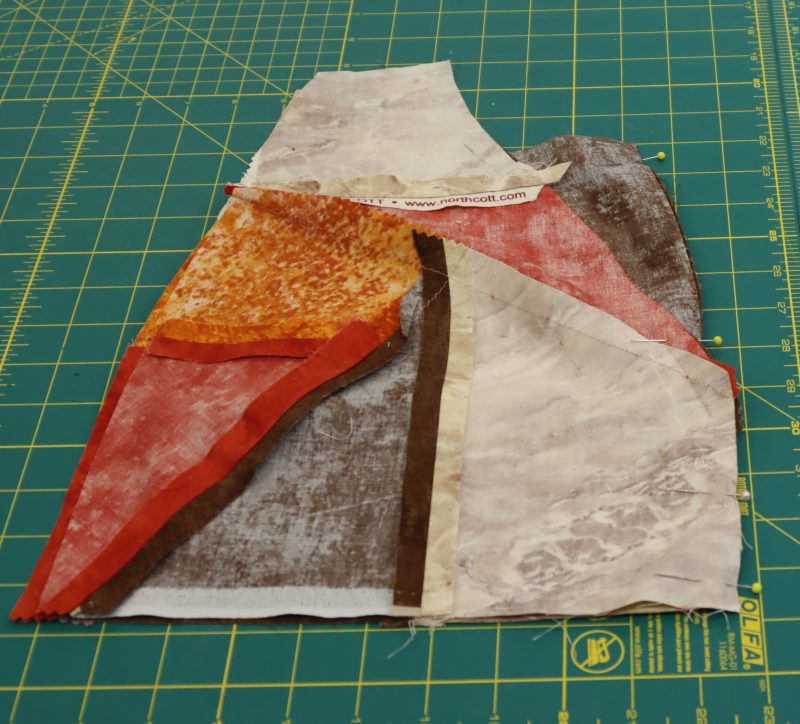
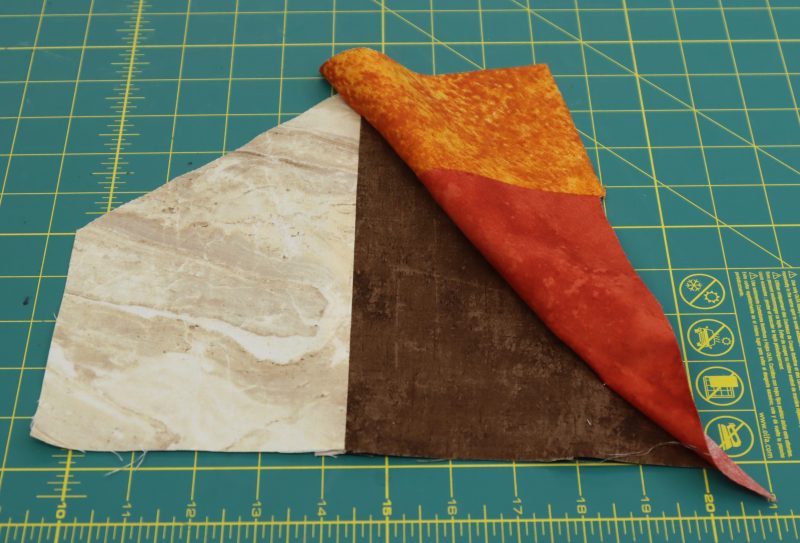
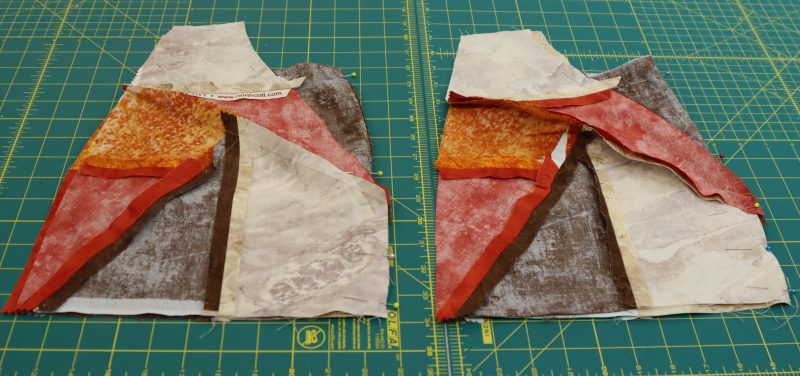
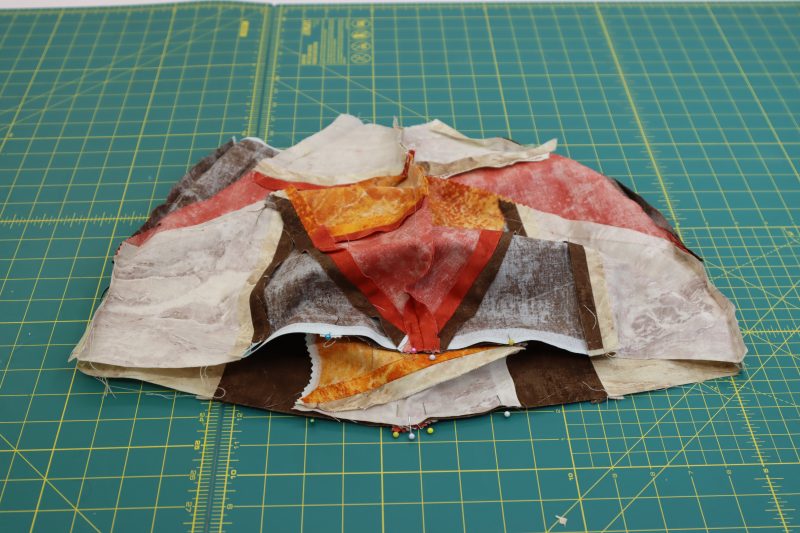
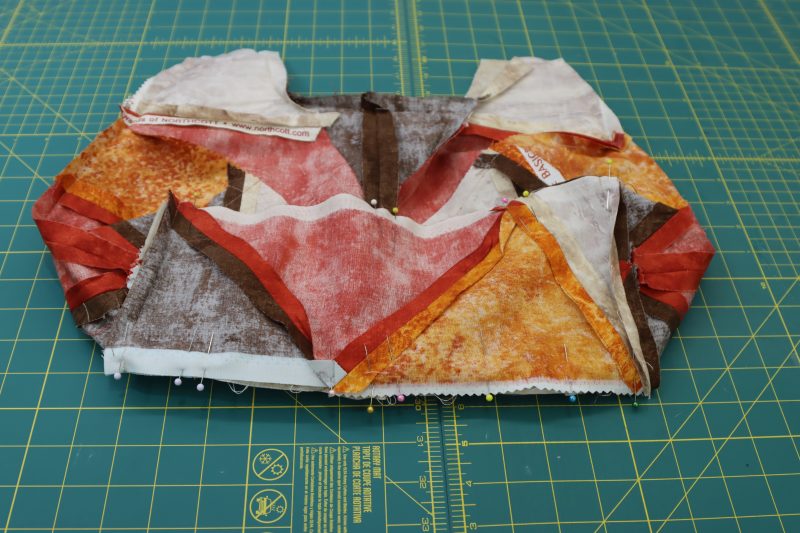
Step 8
BODY SIDES
- Joining pieces 7,2, and 6 at their side to their mirrored set should leave you with front and back body pieces.
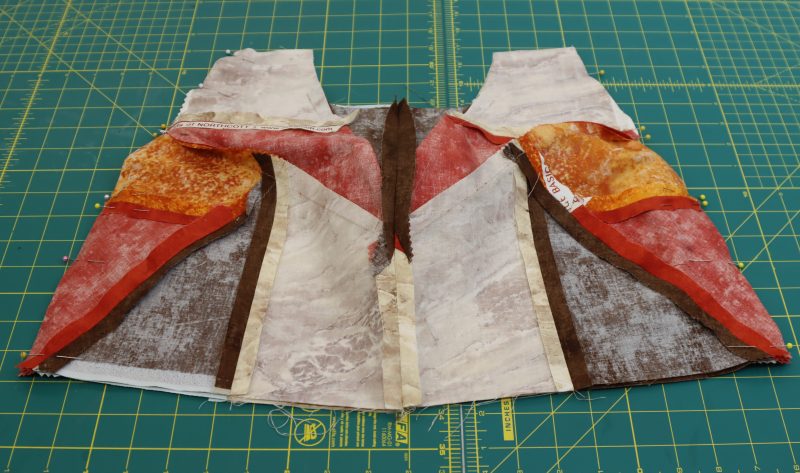
- Continue to sew the Front and Back pieces together using the rounded sides (the sides with pieces 1, 3, and 4).
- Press your seams open.
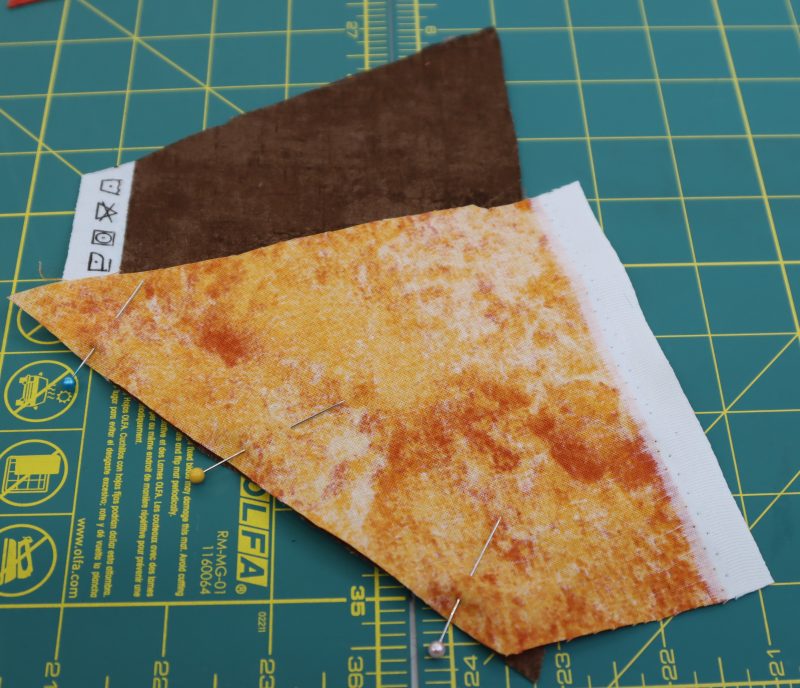
Step 9
BASE PATCHWORK
- Sew pieces, 8-9 to 10, and 8-10 to 11.
- Press your four seams open!

Step 10
BASE AND BODY
- Sew the body of the bag to the base piece by first sewing the sides of the bag to the shorter base length.
- Then sew the long sides of the base to the length of the body front and back. This will create a sturdy base for your bag.
- Press these seams flat.
Step 11
BAG STRAP PATCHWORK
- Sew Strap pieces 12 to 13, 14 to 16, and pieces 15 to 17.
- Join 14 &16 to the set 15 & 17.
- Join 12-13 to 14-17.
- Finally, sew 12-17 to piece 18.
- Press all your seams open!


Step 12
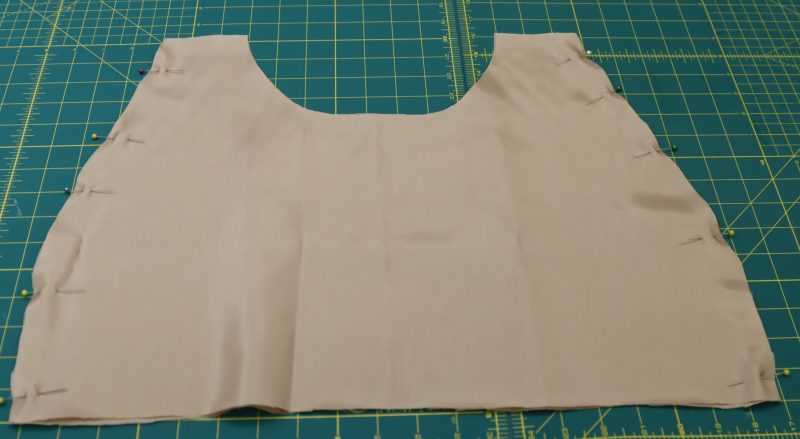
LINING
- Sew the front and back pieces of the body lining together at the sides.
Step 13
LINING BASE AND BODY
- Sew the body of the lining to the base piece by first sewing the sides of the bag to the shorter base length.
- Then sew the long sides of the base to the length of the body front and back. This will create a sturdy base for your bag.
- Press these seams flat.
Step 14
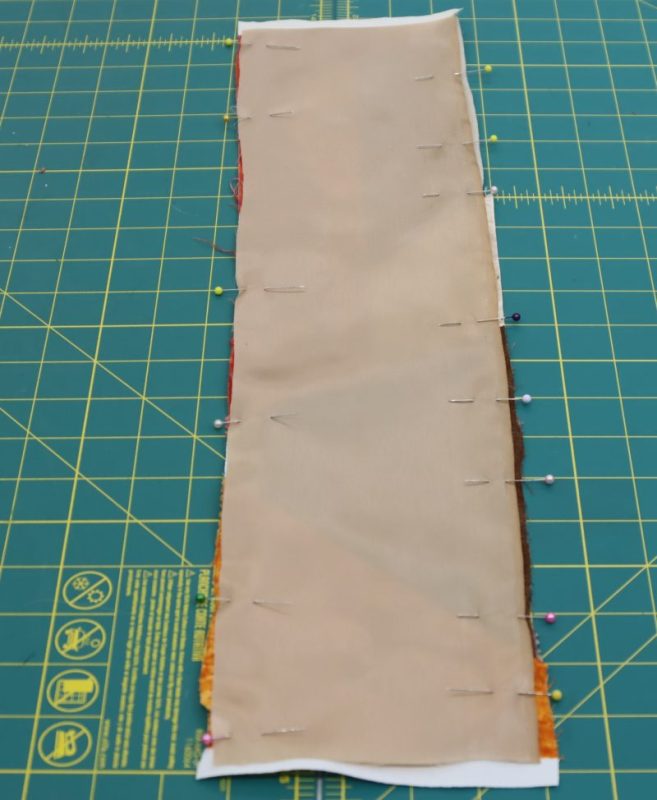
STRAP LINING
- Sew long sides of strap fabric to your lining piece and flip it inside out.
- Press your strap piece flat.

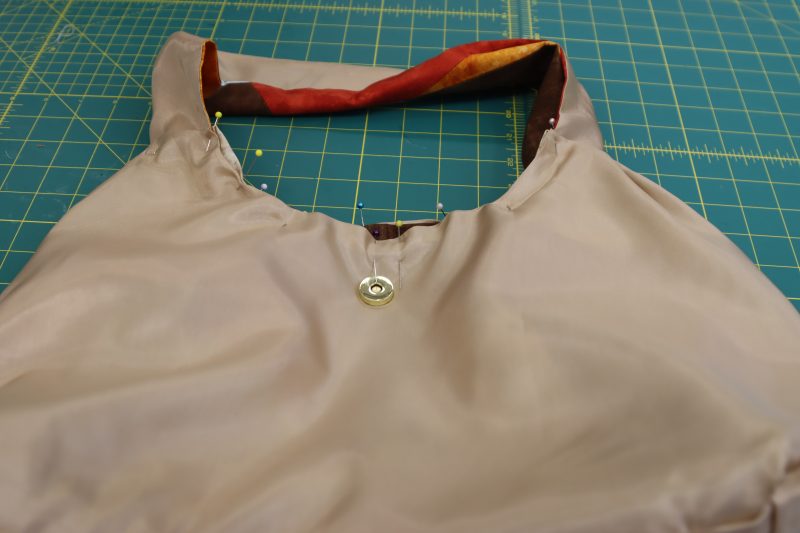
Step 15
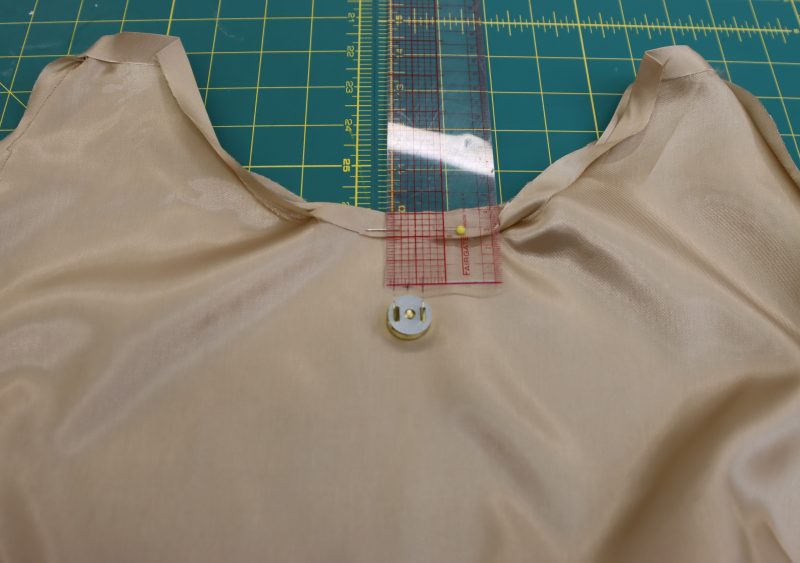
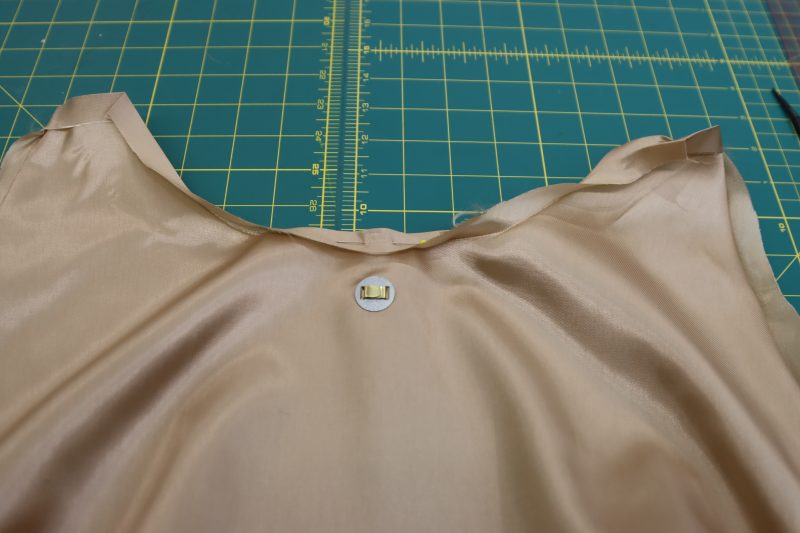
CLOSURE
- Mark the placement of your magnetic snap about 2 inches from the raw edge of your lining pieces.
- Insert your magnetic snaps accordingly and make sure it is in the correct placement.
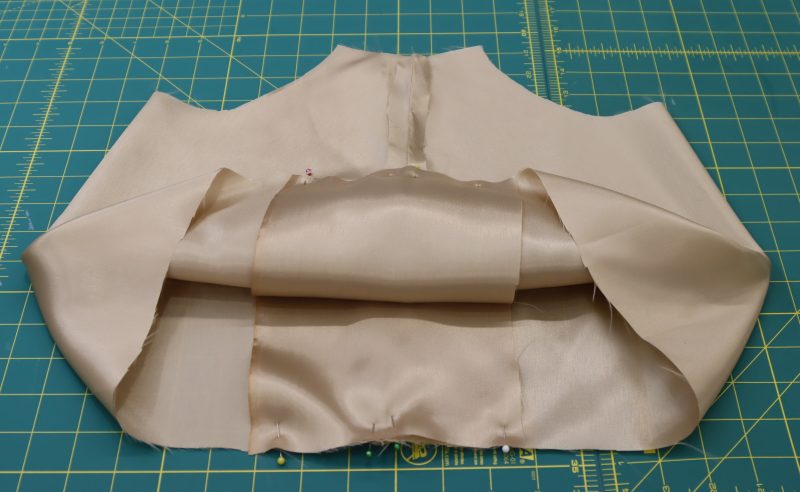
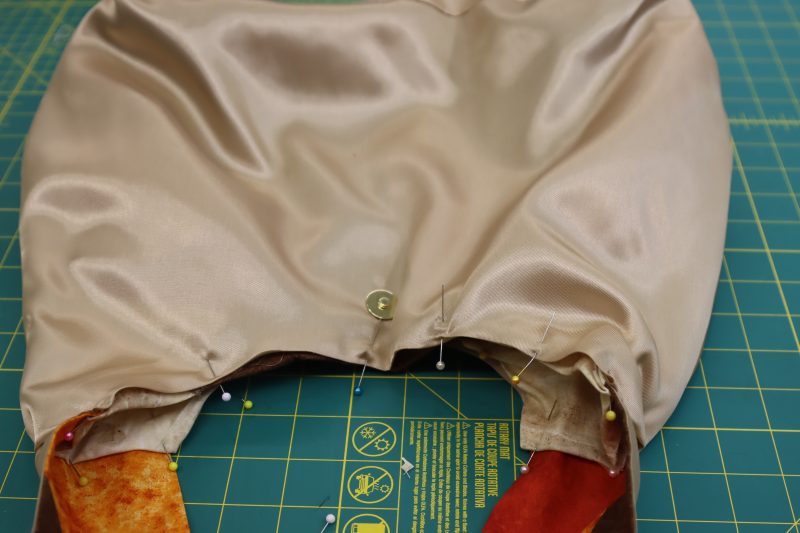
Step 16
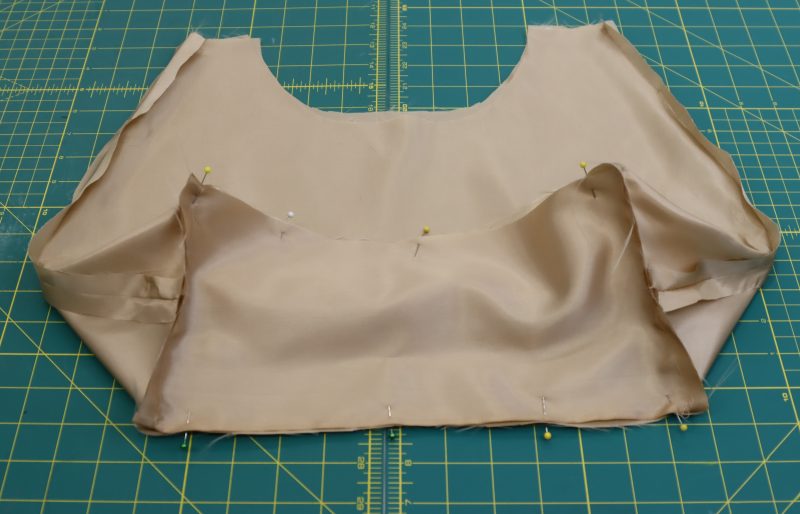
JOINING LINING AND FABRIC
- After making sure your pieces are neatly pressed, fit your lining into the actual fabric of your bag.
- Place the strap in between your lining and actual fabric and pin.
- Pin your lining, patchwork fabric, and straps along the top of your bag to stitch all of them together.
- Press the topstitch and enjoy your new quilted fabric bag!
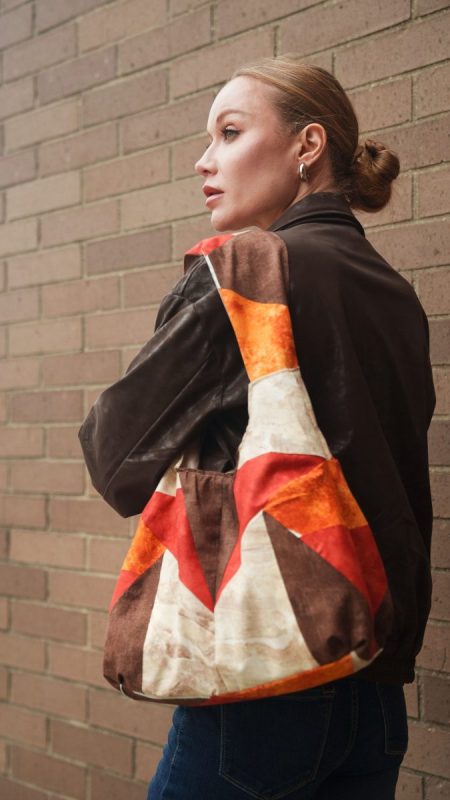
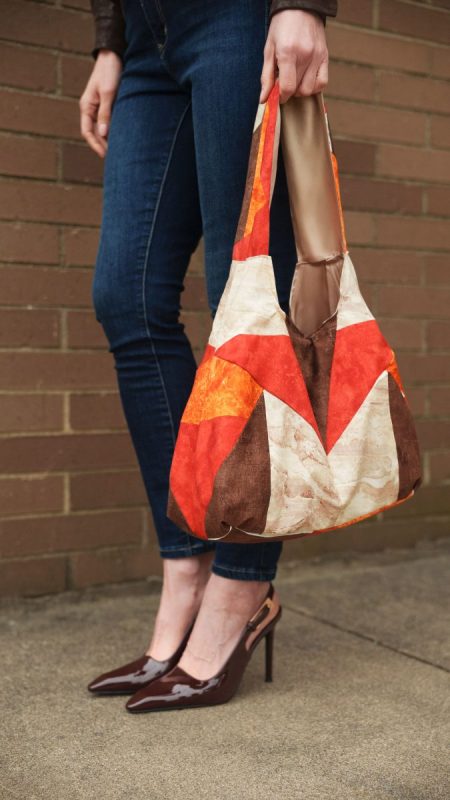
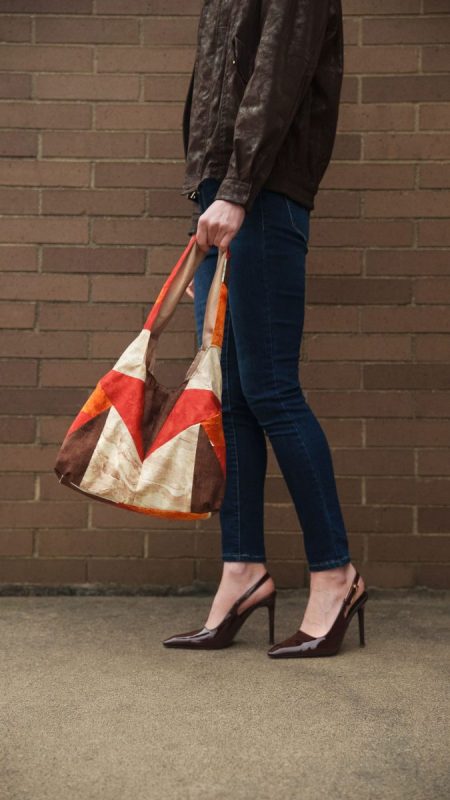
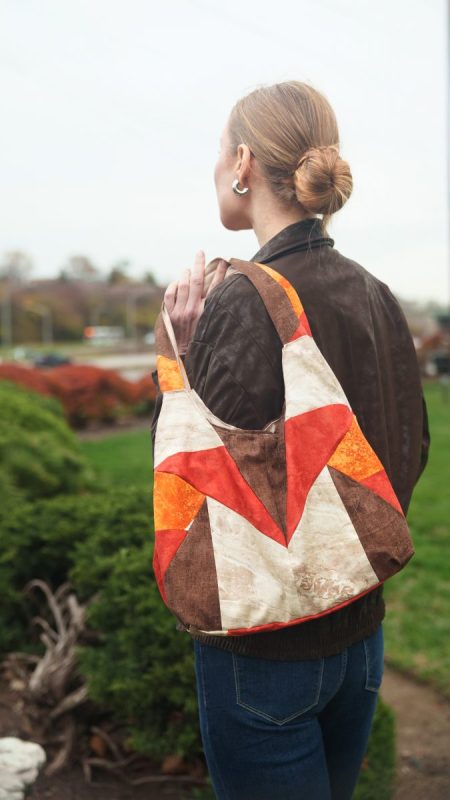
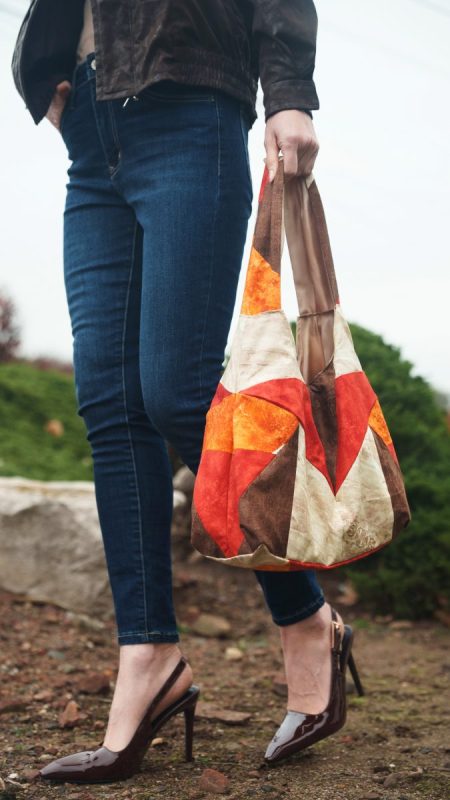
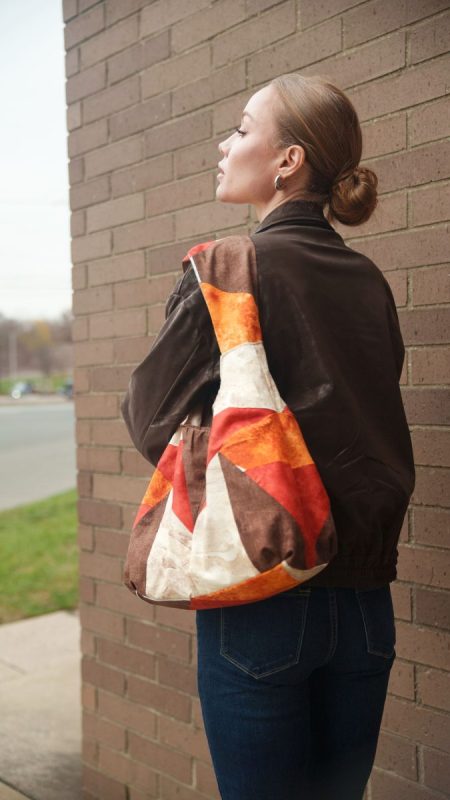
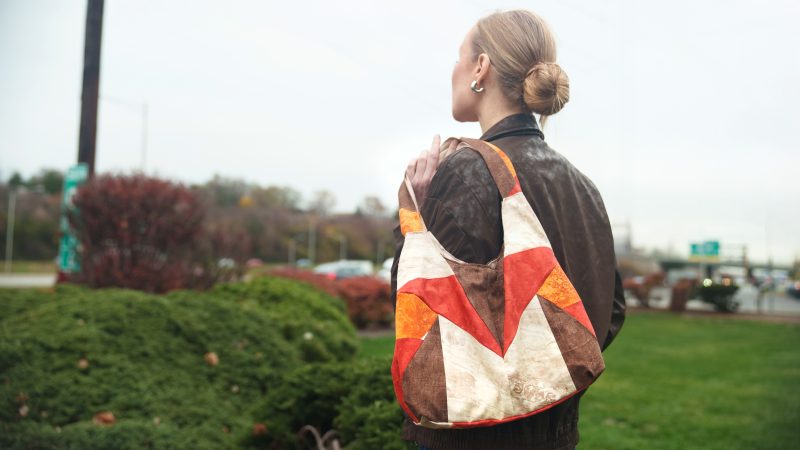
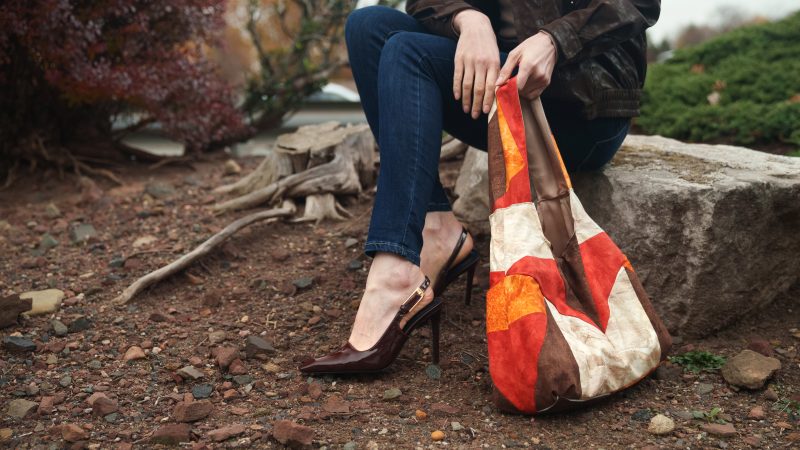
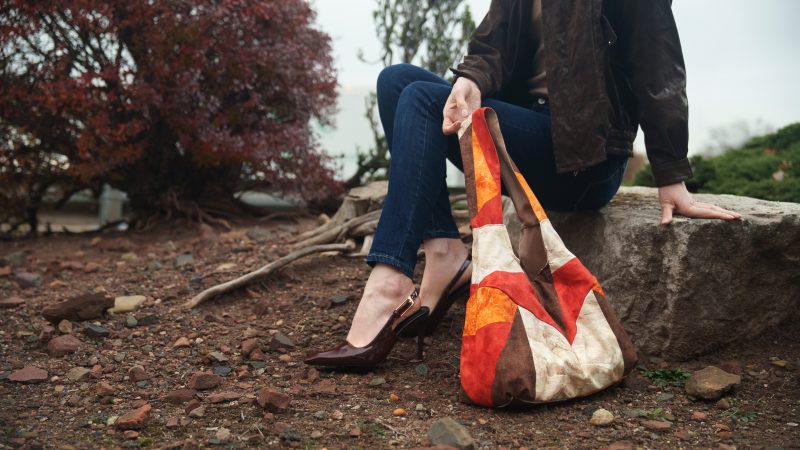
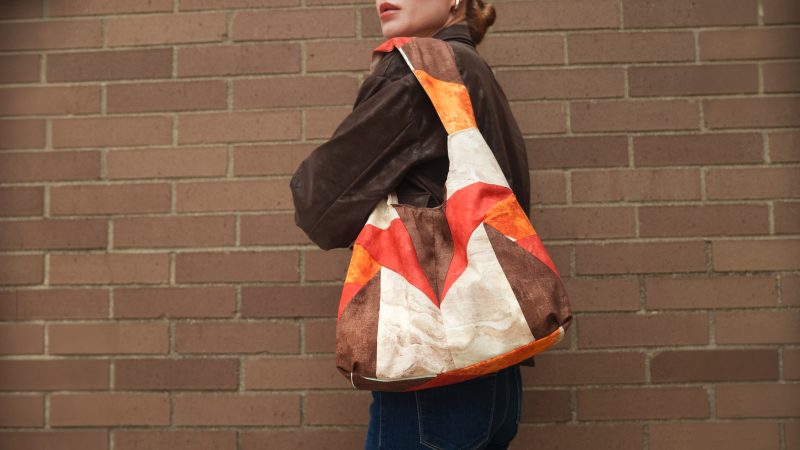
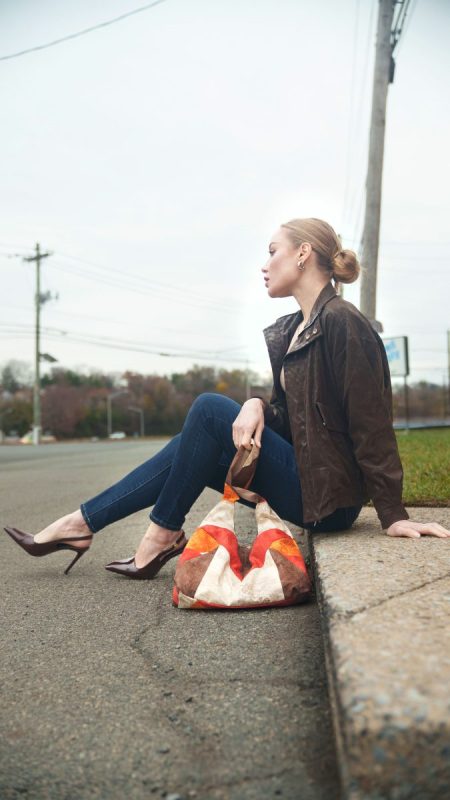
Sewing Success: The Finished Pecan Patchwork Bag
Share this post with a friend (or two!), download The Pecan Patchwork Bag free sewing pattern, and show us which fabrics and colors you choose, using the hashtags #MoodPecanPattern & #MadeWithMood—and don’t forget to tag us @MoodFabrics, too.
Free Sewing Pattern Inspiration for Your Next Project
With 470+ free sewing patterns and counting, your opportunities for sewing with Mood are endless!
We hope you had as much fun sewing this patchwork bag pattern as we did! As always, we want to hear from you—share your thoughts and comments below and let us know where you’ll be wearing The Pecan Patchwork Bag free sewing pattern!
What are the finished dimensions of the Pecan Patchwork Bag&. It looks great!
Hi Renee! I just realized we made a size chart with the dimensions but forgot to post it. It’s in the blog post now under “Find Your Perfect Fit”.
I love this bag pattern. I’d definitely appreciate more bag patterns! Thank you!
Thank you so much, friend! This is a project we enjoyed making, for sure. We love that you love this, too!
This is lovely! I love it so fashionable.. I also need her shoes and her jacket lol
Thank you, Donna! We love that you love it and appreciate your comment!
What a beautiful shape and pattern for a bag! Well done!
Thank you so much, friend! Please show us if you make one as well so we can celebrate your creation!
Thanks for this beatiful bag
We’re so happy you love this, friend! If you make one, please post it and tag our social media so we can cheer you on!
Wouldn’t this be fun done up in beach colors for summer? Or in shades of green for spring? Or shades of white for winter? Or any one color but with different textures for each patch? Or in jewel tones? Oh, my mind is all sorts of busy!
I was literally thinking the same thing. I want to make one with different shades of recycled denim so that it’s nice and sturdy.
Those are such amazing ideas, Sandy! Yes, let your creativity flow and please tag us when you make a bag of your own to show us! Thank you!
Dziękuję za ten wzór. Jestem chętna na więcej pomysłów na torby
Hello! I cannot see if the closure is attached only to the lining or also to the outsider body of the bag. Thank you!
It is only attached to the lining so it doesn’t show from the outside of the bag. Thanks for asking!
Bello
Gracias, Erica!
This is lovely! Thank you for the pattern and inspiration. Would it be possible with a zip?
Yeah you could totally do a zipper instead of the snap button on top. I would use a chunky metal zipper.
I love this bag. I want to make it with patterned liberty fabrics. Should I make the pattern on the two number 6 pieces line up perfectly so that it looks continuous despite being two separate pieces? If so, how do I do that?? Also, I need to cut two of the number 21 piece, right? The pattern only says to cut one. Thank you so much.
Hey Em, i think matching the prints on the bag so that it’s symmetrical on each side would be super cute. I’m positive that there are youtube videos on how to line up prints at seams so that it looks seamless, but I will try to explain it in this comment. You have to be strategic about where you cut out your pattern pieces on the print. The first piece you cut out doesn’t matter so much, but what you will have to do is fold and press the seam allowances into that first piece so that you know what part of the print needs to match up with the seam. Move that pattern piece around the fabric until you find the spot where it perfectly lines up with the print. That is where you’ll cut the second piece, making sure to leave seam allowance on the second piece, too. I hope that helps, but sometimes I think watching a video can be more useful than reading a paragraph.
Yes this totally helps! Thank you so much!
This bag was so fun to make and turned out adorable! It’s perfect for gifting! I noticed that the pattern does say to cut one of the lining pieces on the fold, but you actually need two to complete the lining. Otherwise, the pattern was super easy to follow. I loved that I could use up coordinating scraps from past projects.
Thank you for pointing this out Kelly! We appreciate the feedback. Also, we would love to see your finished bag if you want to tag us on social media with #MadeWithMood and #MoodPecanPattern!
I love this design! Will be a great challenge for me but I’m up for it.
Just finished the outside and this bag is so cool!! I used colored scrap denim to make it and it gives a really nice structured look. Thank you for putting this one out I’m excited to finish it!
Hello I’m about to cut out this pattern but need to check first— are the seam allowance’s already included in this pattern?. One of the posted pictures looks like they were added to the pattern.
1/2 inch seam allowances are always added to the pattern already.
Silly question from a total beginner: Seam allowance included means I put the paper on the fabric and I cut flush with the paper? Or did it mean I pin the paper on the fabric and cut the fabric so it comes out of the paper on all sides by 0.5cm?
Hi Sol
No, actually a very good question. Seam allowance included means you place the patterns on the paper and cut along the edge of the patterns (flush with it), no need to add anything. Then sew using a 1/2 inch (1.3 cm) seam allowance.