
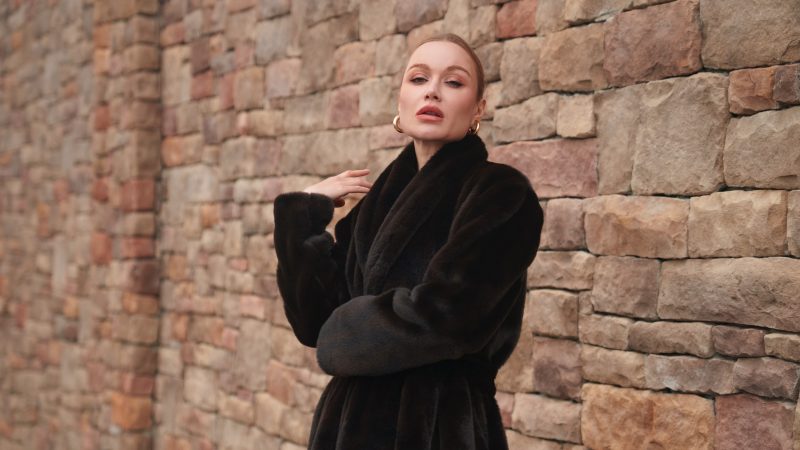
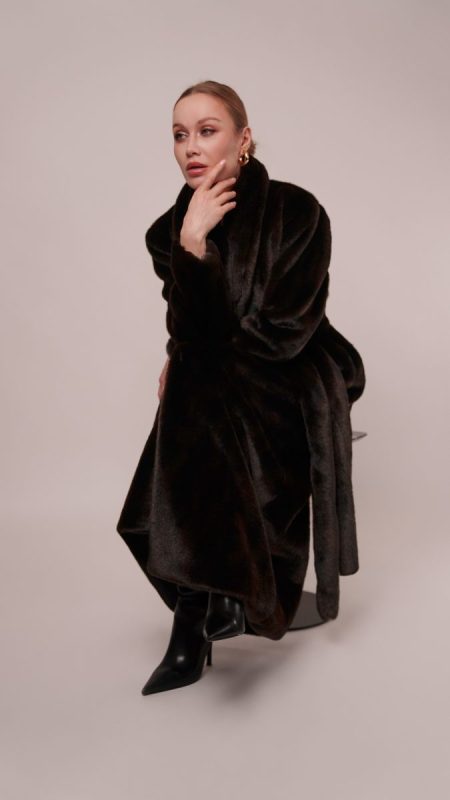
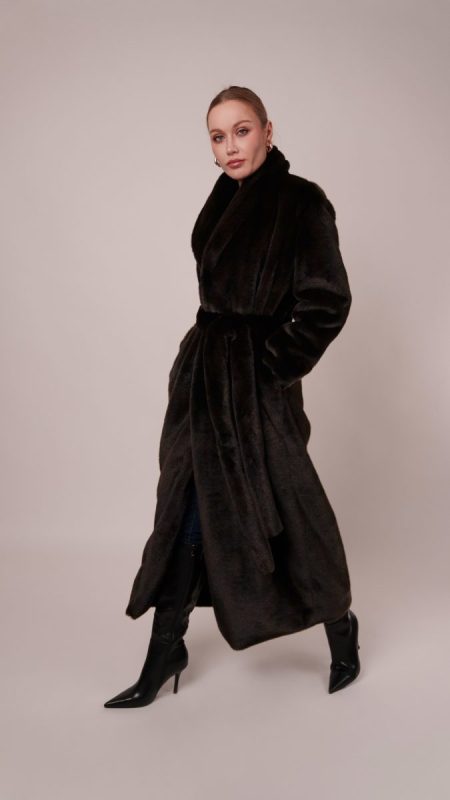
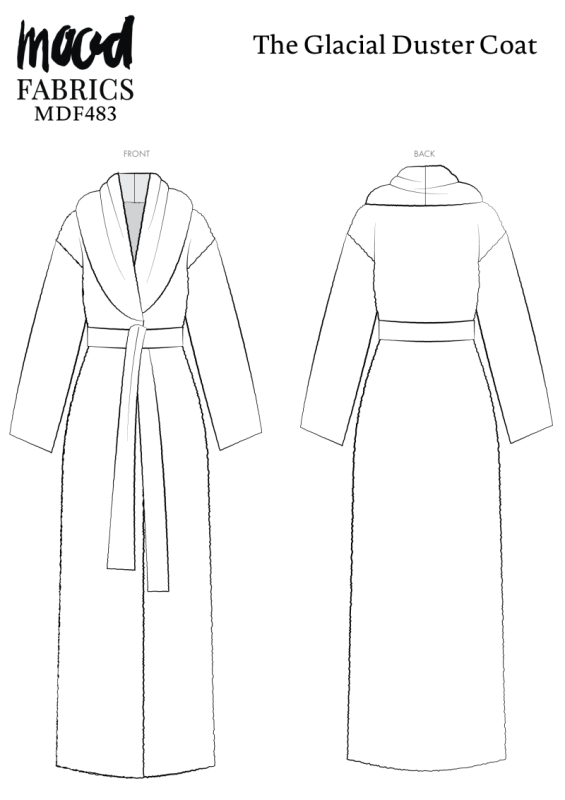
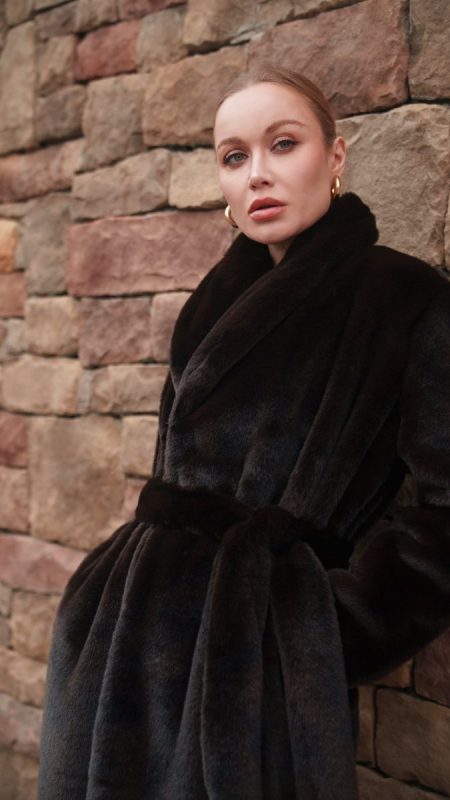
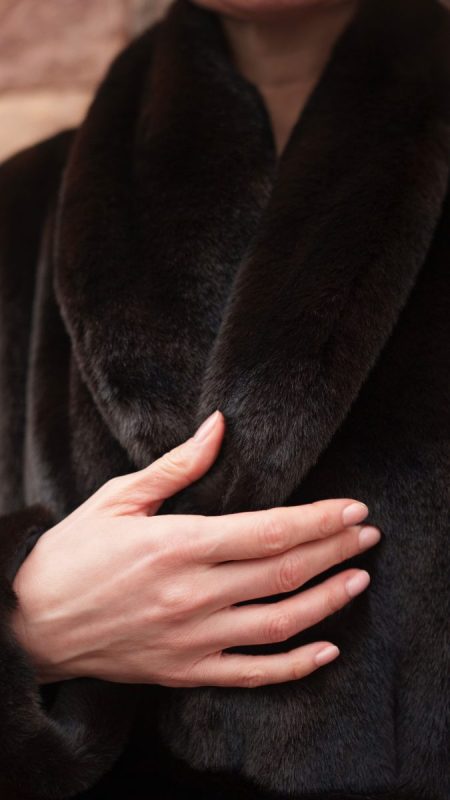
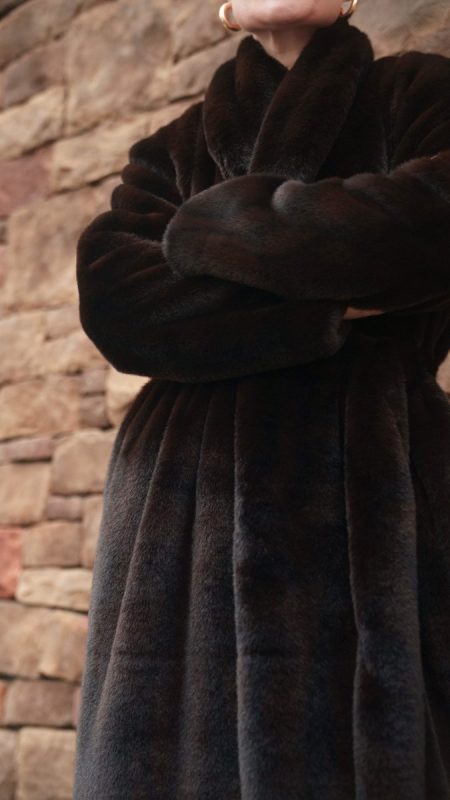
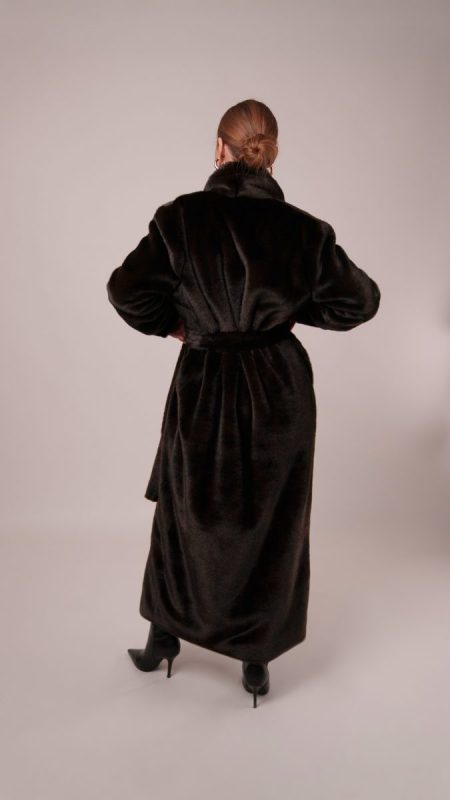
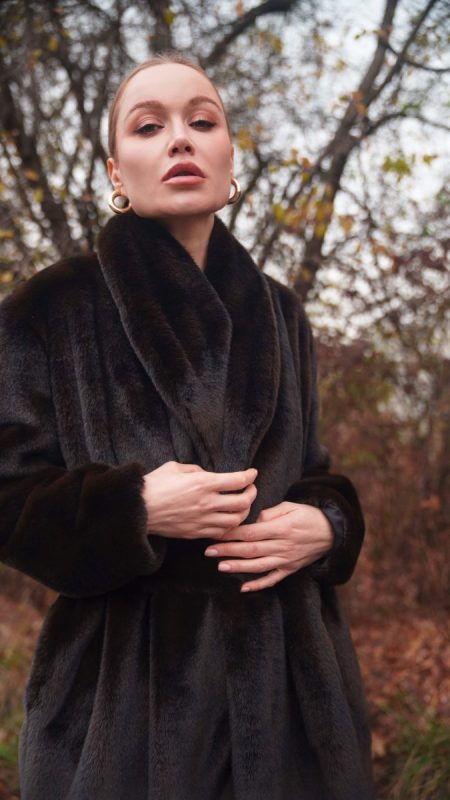
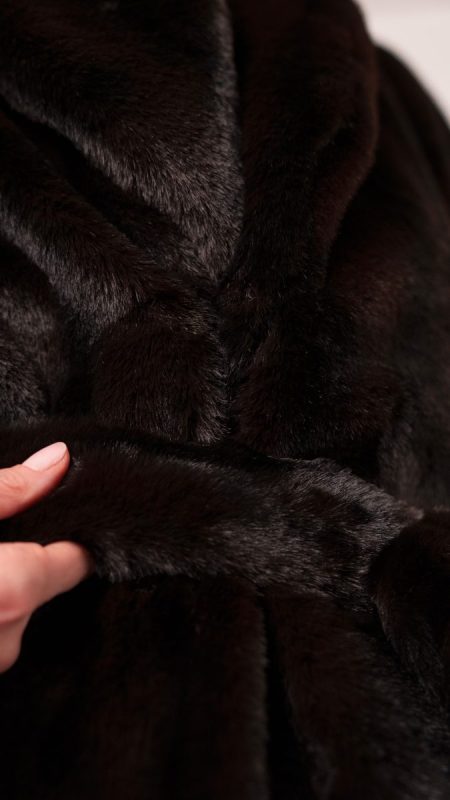
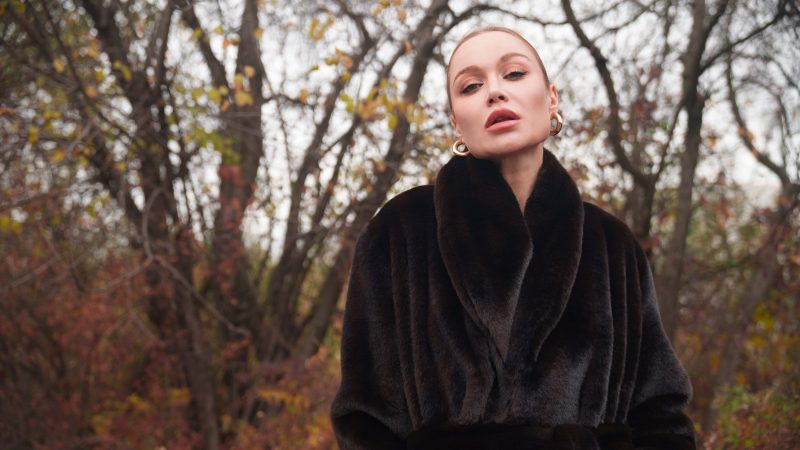
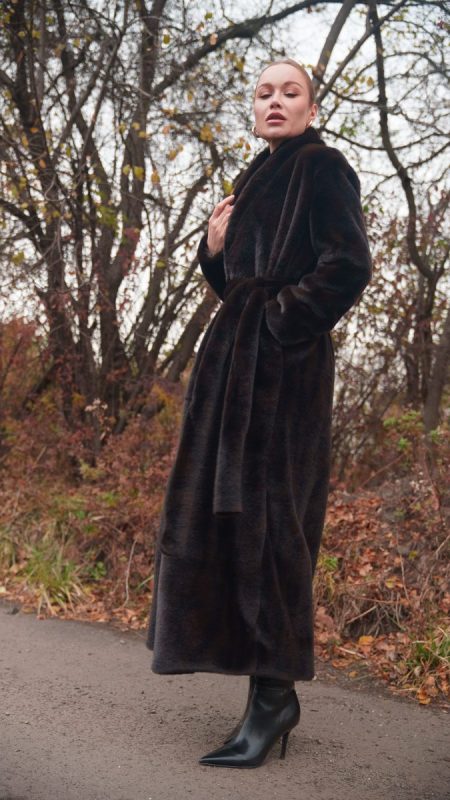
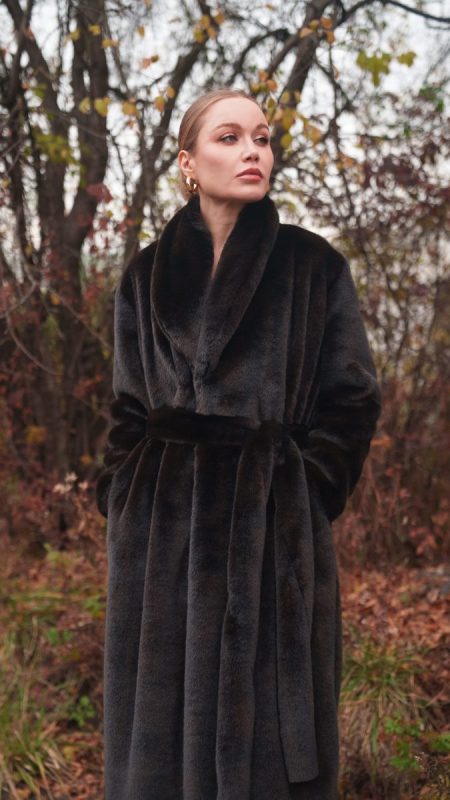
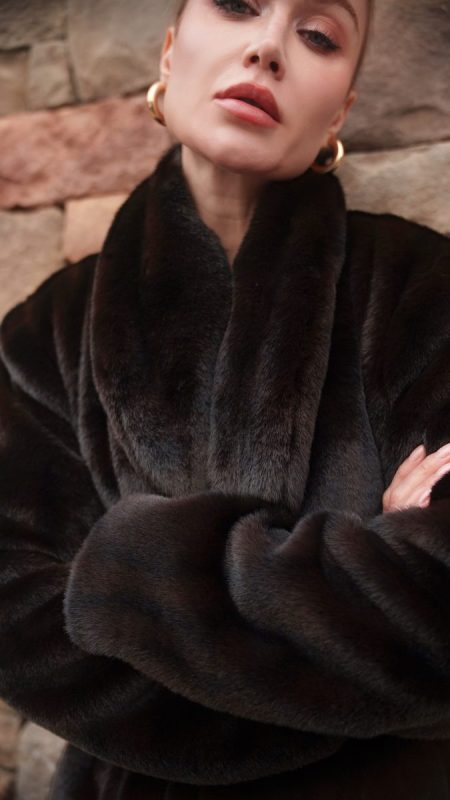
Meet the Glacial Duster Coat, your new staple for winter elegance. Crafted from an incredibly plush faux fur, this coat has a dense, velvety feel that mimics the luxury of real fur without the cost or compromise. Its sweeping floor length silhouette creates an instant sense of drama, while the soft, cloud-like collar wraps gently around your neck and chest for warmth that feels indulgent rather than bulky.
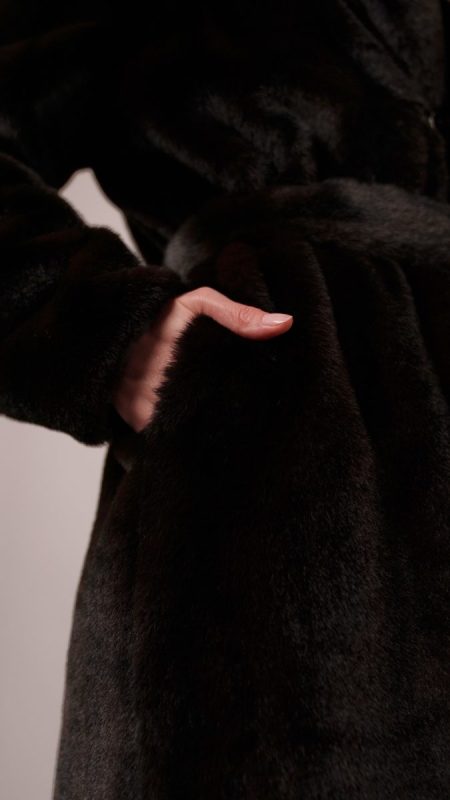
Hidden side-seam pockets preserve the coat’s long, uninterrupted lines while giving you the perfect place to tuck your hands against the cold. Sleek, sophisticated, and timeless without ever looking dated, this design proves that staying warm doesn’t mean sacrificing style.
You won’t believe how simple and easy it is to sew this lavish duster coat until you try it for yourself. So if you’ve been searching for the look and feel of a real fur coat, you may find this is exactly what you’ve been waiting for.

Essential Materials & Sizing Guide for the Glacial Duster Coat
Continue reading for a breakdown of what knowledge and materials you need for creating your very own duster coat! We’ve got you covered with the recommended materials we used—if you want to follow along exactly—as well as a curated list of alternative fabric type recommendations if you want to customize your own version. The Glacial Duster Coat free sewing pattern download includes technical drawings for seam and duster coat visibility, plus a size chart to help you find your perfect fit!
Purchase Products Used Below:
Quantities indicated are for sewing a size small duster coat. Toggle the ‘SHOP THIS LOOK’ box to find quantity estimates for other sizes.
- 3.5 yards of Plush Short Pile Recycled Polyester Faux Fur – Dark Chocolate Brown
- 3.5 yards of Bemberg Lining – Black – Lucidum Collection
- 1 each of Italian Fancy Gunmetal Hook and Eye Closure
- 1 each of Gutermann Sew All Thread 500m – 594 Walnut
- MDF483 – The Glacial Duster Coat Sewing Pattern (Free download below!)
Quick tip! The ‘SHOP THIS LOOK’ box defaults to full-yard quantities. To order an exact half-yard quantity for an fabric, simply use the decrease quantity button (-) to subtract by the half yard. Then click ‘ADD TO CART’ to add all materials to your cart.
(Our system can only display full-yard quantities initially.)
Additional Products Used:
Alternative Fabric Type Recommendations:
The Glacial Duster Coat sewing pattern is best suited for heavyweight fashion fabrics. Explore other fabric types or colors from our featured collections for your duster coat with the links below.
Download Your Free Sewing Pattern
Submit your name and email in the form below to receive the download link for the Glacial Duster Coat free sewing pattern directly in your inbox. Mood Sewciety Patterns will send your free download link via email with the subject line: ‘Your Free Download from Mood Sewciety – The Glacial Duster Coat’ (in PDF format for A4 and letter-size printing).
© MoodFabrics.com / MoodSewciety.com – Mass production, resale, or distribution of this pattern in any form is strictly prohibited.
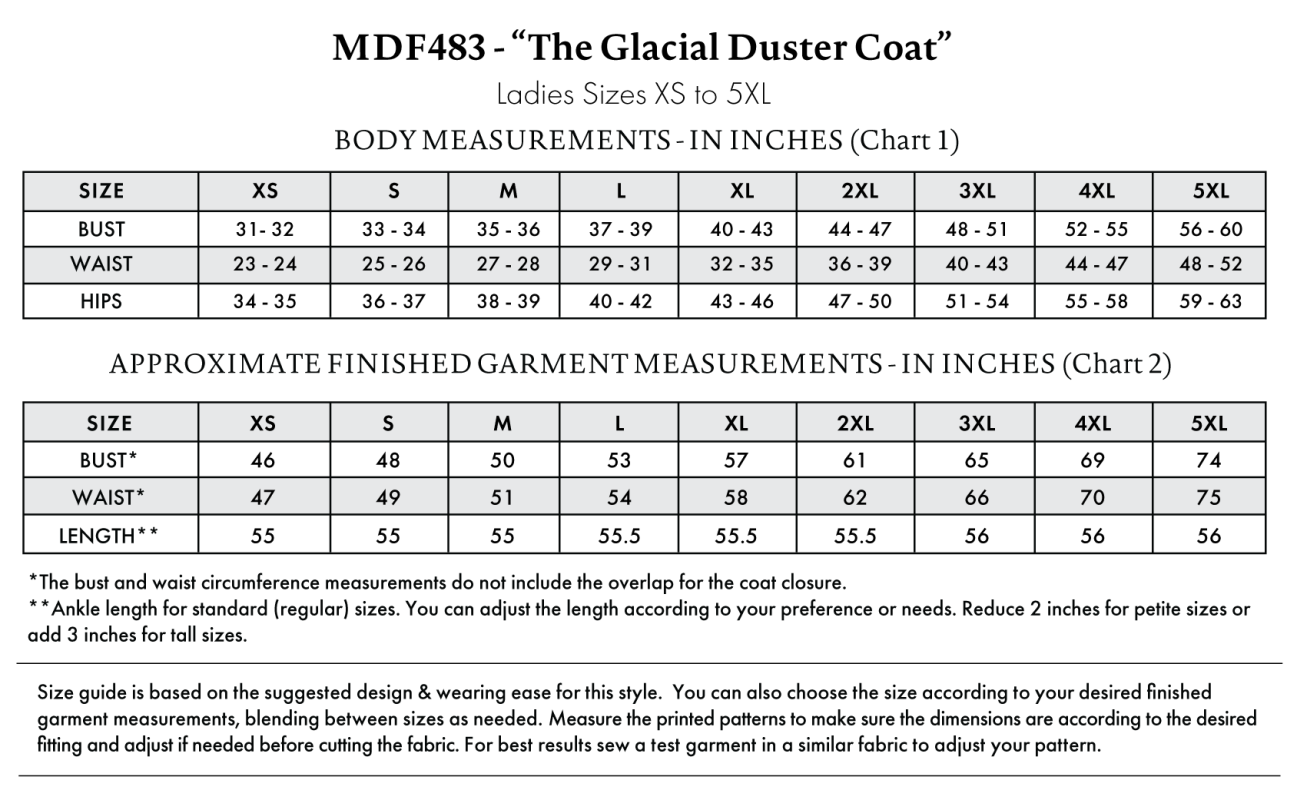
Find Your Perfect Fit
The Glacial Duster Coat Sizing Guide is based on the suggested design & wearing ease for this style. You can also choose the size according to your desired finished garment measurements, blending between sizes as needed. Measure the printed patterns to make sure the dimensions are according to the desired fitting and adjust if needed before cutting the fabric. For best results, sew a test garment in a similar fabric to adjust your pattern.
The bust and waist circumference measurements do not include the overlap for the coat closure.
Ankle Length for standard (regular) sizes. You can adjust the length according to your preference or needs. Reduce 2 inches for petite sizes or add 3 inches for tall sizes.
Note: Always read all the instructions before cutting the fabric!
How to Sew The Glacial Duster Coat
The instructions provided below are designed to guide you through sewing the Glacial Duster Coat from start to finish.
4 Tips for Sewing with Faux Fur
⇒ When cutting the pattern pieces out of the fabric, cut directly into the backing of the faux fur without cutting the hairs. This will prevent a massive faux fur mess in your sewing area AND keep the faux fur long around all your seams.
⇒ Use a lot of pins or clips. The faux fur shifts around a lot under the sewing machine, even if you have your tension and stitch length settings all right.
⇒ When constructing the seams, try your best to tuck the tufts of fur away from the seam allowance so that they aren’t big tufts sticking out on the raw edge. This is another technique that will help keep your seams hidden.
⇒ DO NOT IRON FAUX FUR.
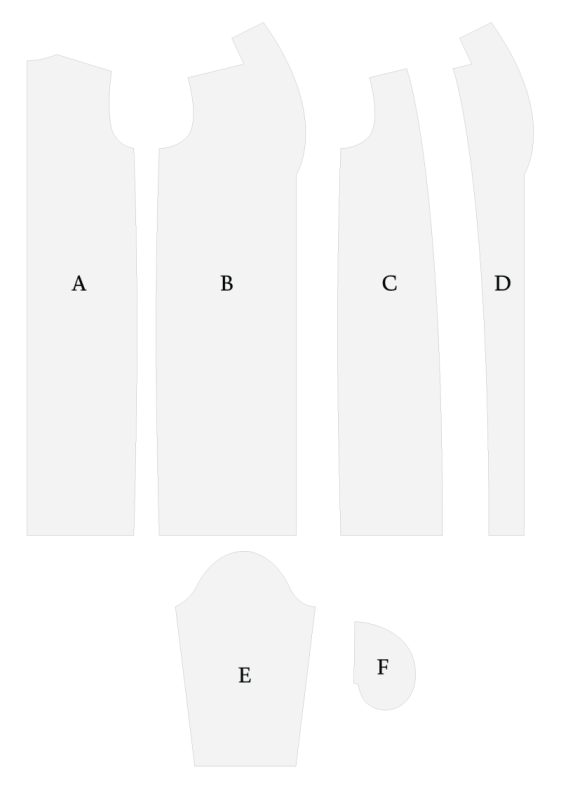
Pattern Pieces & Fabric Cuts Needed
- (A) BACK
- FABRIC – CUT 1 ON FOLD
- LINING – CUT 1 ON FOLD
- (B) FRONT
- FABRIC – CUT 2 MIRRORED
- (C) FRONT LINING
- LINING – CUT 2 MIRRORED
- (D) FRONT FACING
- FABRIC – CUT 2 MIRRORED
- (E) SLEEVES
- FABRIC – CUT 2 MIRRORED
- LINING – CUT 2 MIRRORED
- (F) POCKETS
- LINING – CUT 2 MIRRORED SETS
Sew with a 1/2″ seam allowance for all seams unless otherwise specified.
Step 1
CONSTRUCT SHELL
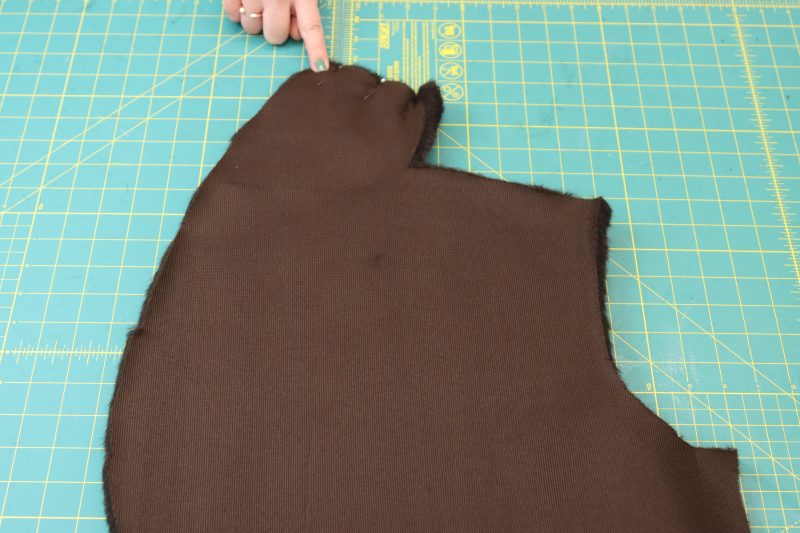
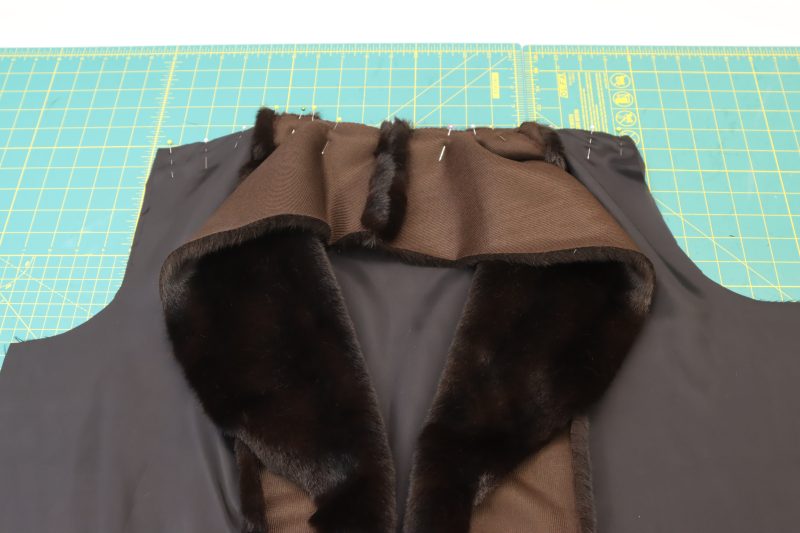
- Lay the front fur pieces right sides together.
- Pin and sew the back of the collar together at the center back seam, as shown in the first picture below.
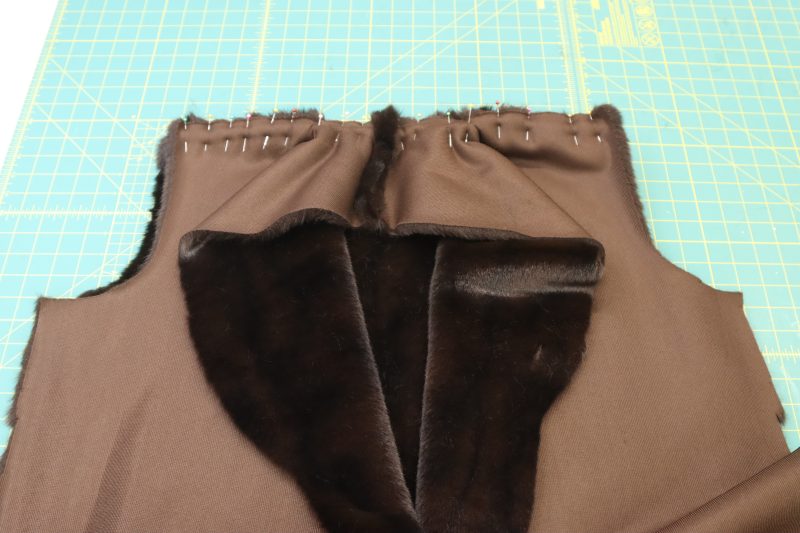
- Open the back collar seam and lay the front fur piece right sides together with the back fur piece, lining up the shoulders and back neckline.
- Pin and sew the front and back of the coat together at the shoulders and neckline.
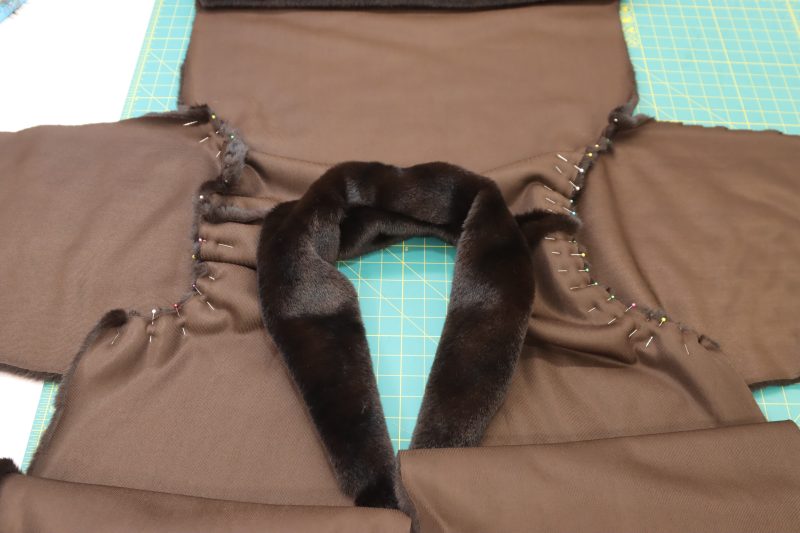
- Open the coat at the shoulder seams and lay it flat with the fur side facing down.
- Pin the sleeve caps to the armscyes right sides together while the coat is laying flat, making sure that the fronts of the sleeves are pinned to the front of the armscye.
- Sew the sleeves around the armscyes
Step 2
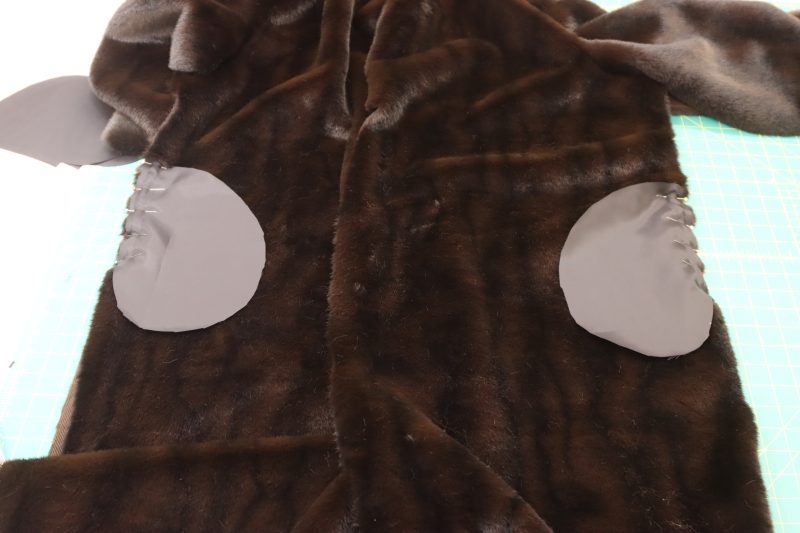
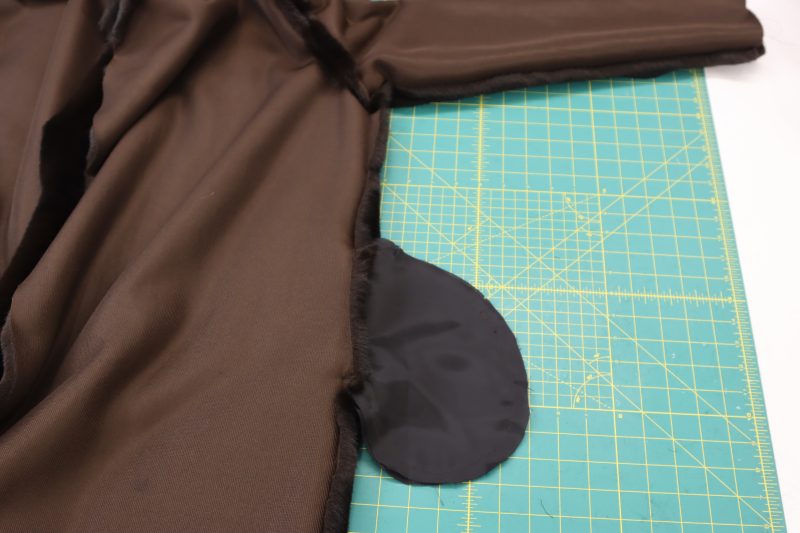
POCKETS
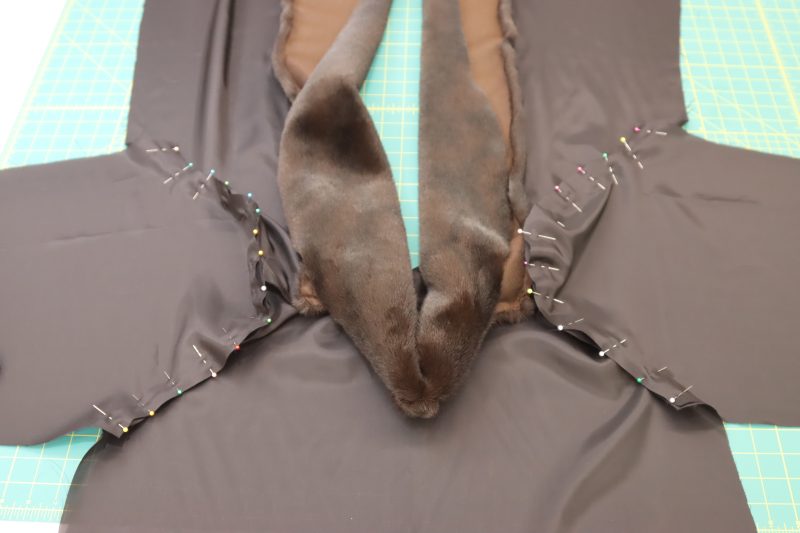
- Pin the pocket pieces right sides together to the front and back coat pieces at the side seam, lining them up with the notches on the pattern.
- Sew the sides of the pocket pieces to the side seams of the coat.
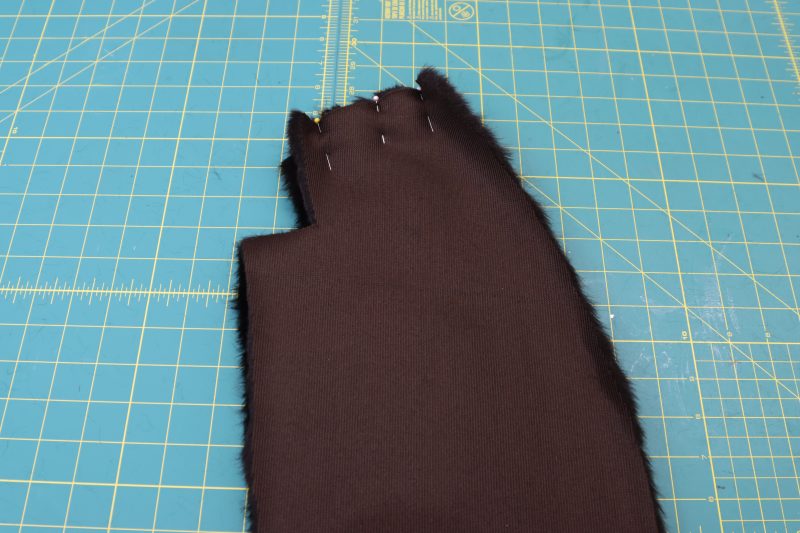
- Flip the coat inside out and match the front and back of the coat at the side seams.
- Sew a single stitch that starts at the bottom of the wrist, connects the front and back of the armscye, goes around the perimeter of the pocket, and ends at the bottom hem of the coat. This seam holds the entire side of the coat together, including the sleeve, while leaving an opening for the pocket from the outside.
Step 3
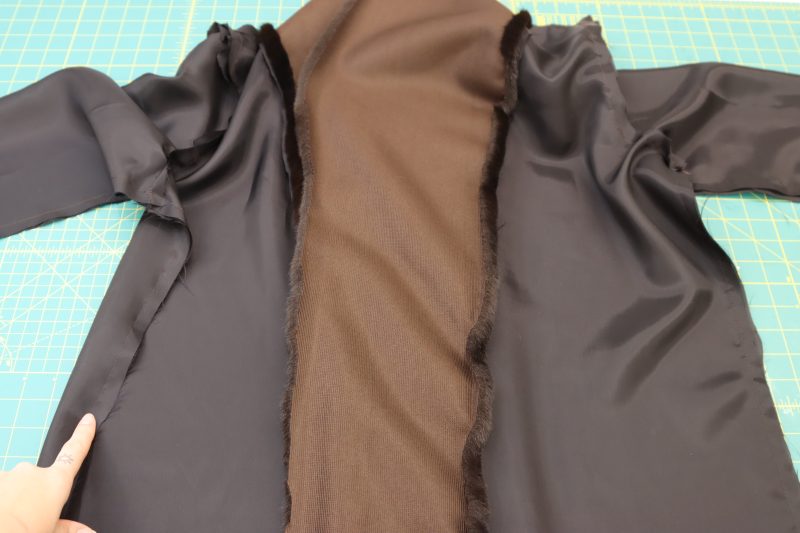
CONSTRUCT LINING
- Pin and sew the front facing pieces right sides together at the center back collar, just like the front of the coat.
- Pin and sew the long flat edge (not rounded edge) of the front facing to the front lining pieces.
- Open the back collar seam and lay the front lining right sides together with the back lining, lining up the shoulders and back neckline.
- Pin and sew the front and back of the lining together at the shoulders and neckline.
- Open the lining at the shoulder seams and lay it flat with right sides facing down.
- Pin the sleeve caps to the armscyes right sides together while the lining is laying flat, making sure that the fronts of the sleeves are pinned to the front of the armscye.
- Sew the sleeves around the armscyes.
- Connect the side seams of the lining coat the same way as in step 2, except there are no pockets in the lining so you can just sew all the way down the side seam.
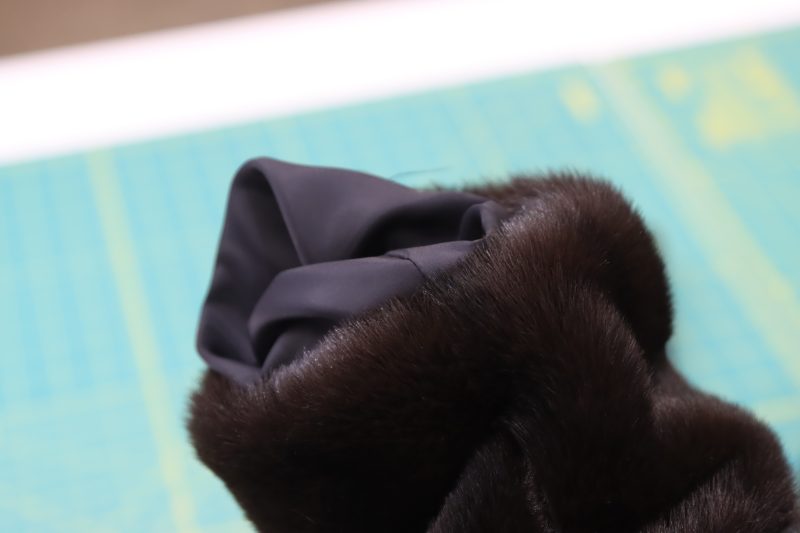
Step 4
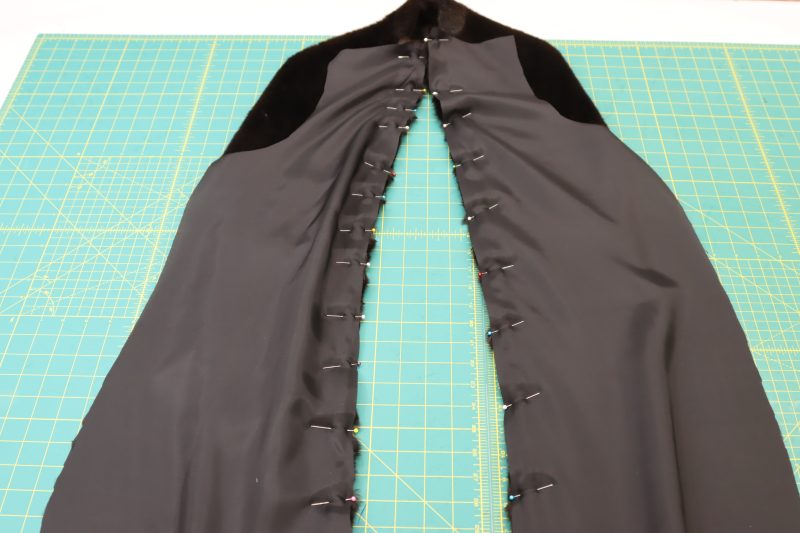
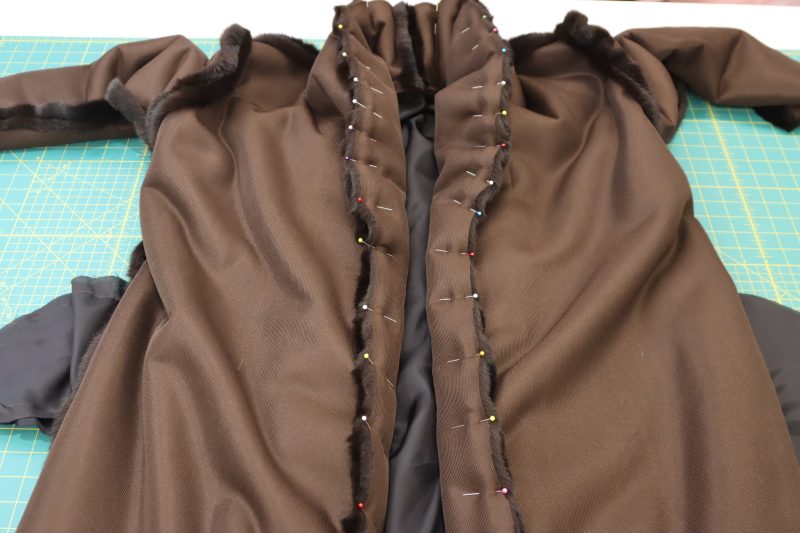
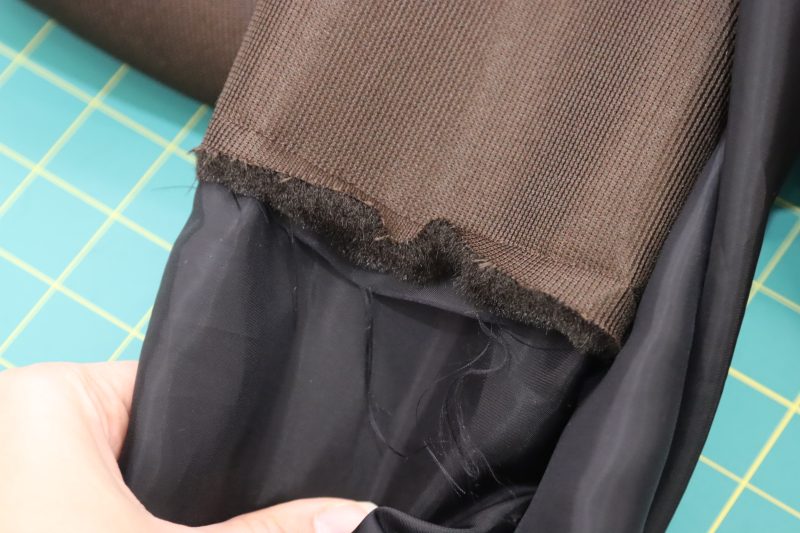
FRONT OPENING
- Place the lining coat inside of the faux fur coat, right sides together.
- Place pins around the entire front opening of the coat, including the collar.
- Sew around the entire front opening of the coat to connect the lining to the faux fur.
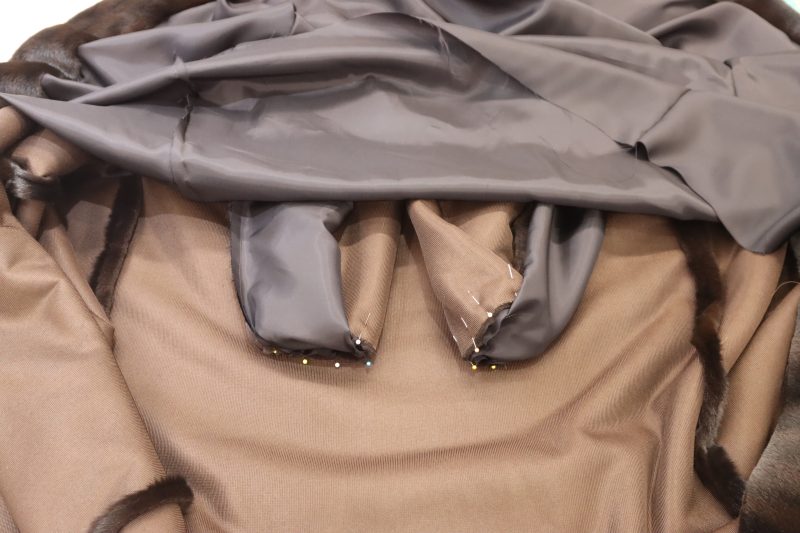
Step 5
SLEEVE CLOSURE
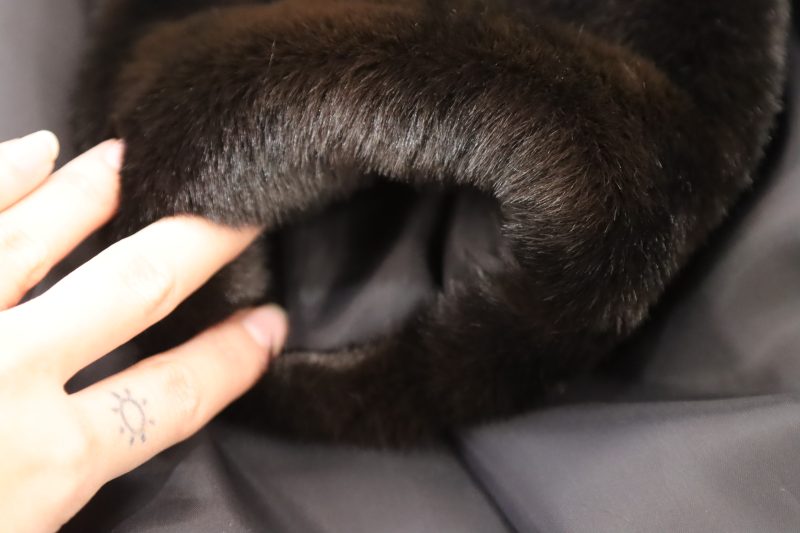
- Flip the coat right sides out.
- Reach up the hem of the coat between the lining and the faux fur.
- Reach down one of the sleeves and grab the ends of the sleeves.
- Orient the raw edges of the sleeves between your fingers and pinch them right sides together.
- Pull the raw edges of the sleeves out through the hem of the coat and place a pin where your fingers were holding the sleeves right sides together.
- Pin the rest of the sleeve opening right sides together.
- Sew around the sleeve opening to connect the lining to the faux fur.
- Flip the sleeve right sides out back through the arm hole.
- Check that the lining is fully hidden in the faux fur at the end of the sleeve.
Step 6
HEM
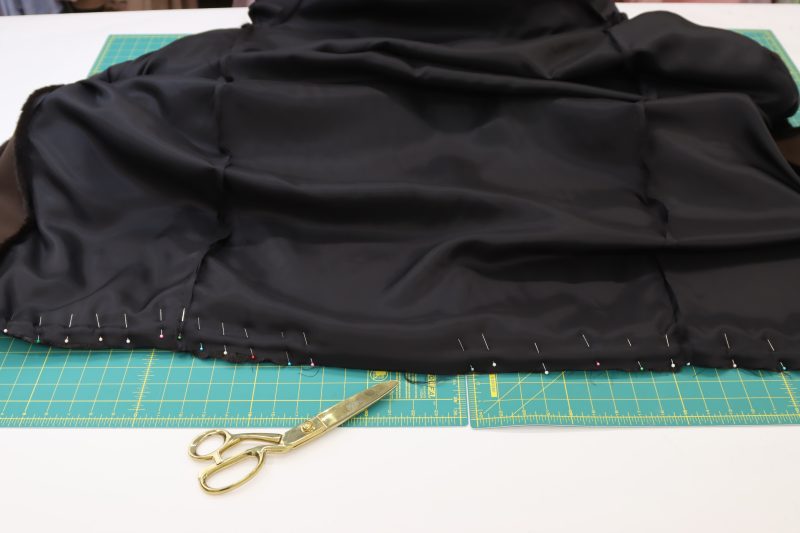
- Flip the coat inside out again.
- Pin the lining to the faux fur across the entire bottom hem of the coat, except for one 6 inch gap where the coat can be turned right sides out.
- Sew across the entire bottom hem of the coat, leaving the gap open.
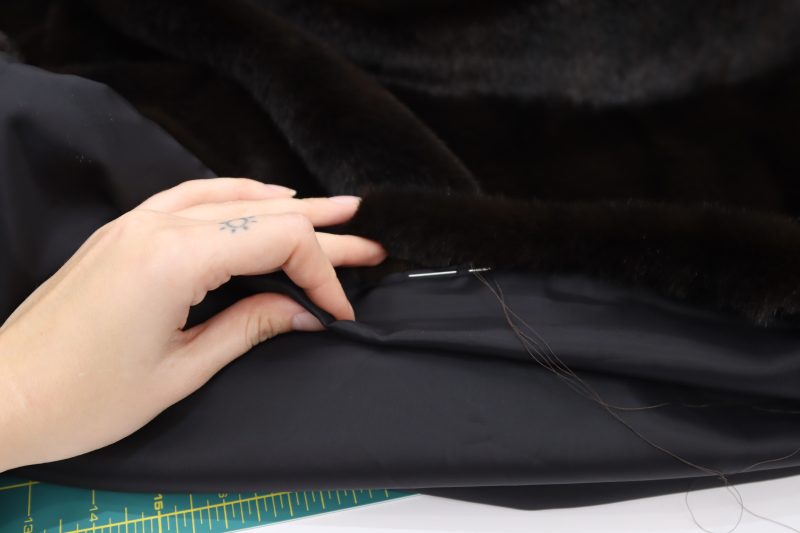
- Flip the coat right sides out through the gap in the hem.
- Hand sew the gap closed with a ladder stitch by sewing the lining and the faux fur right sides together with a needle and thread.
Step 7
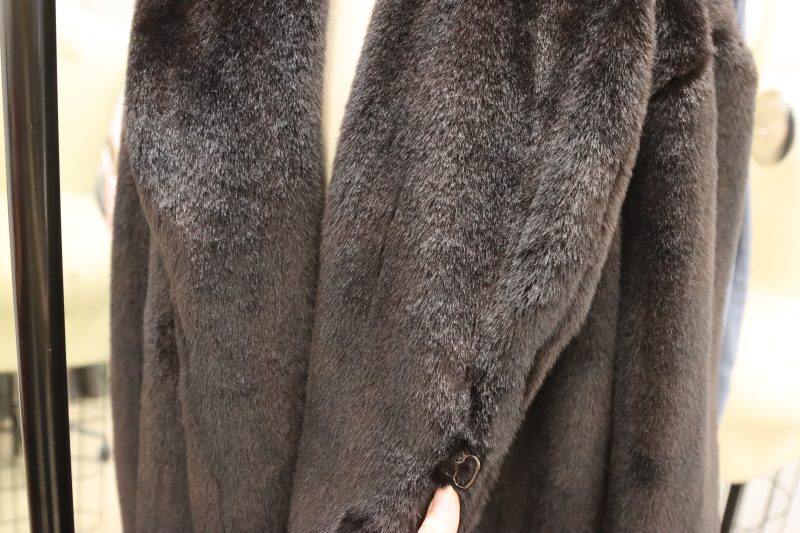
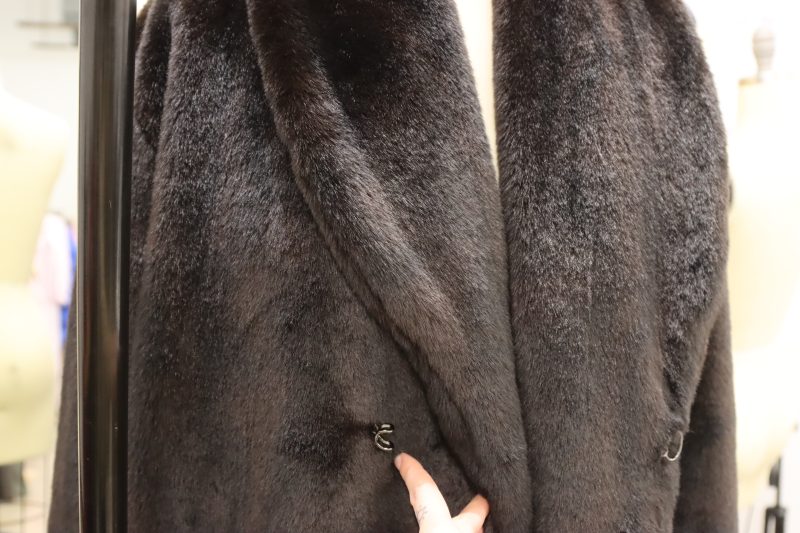
HOOK & EYE
- Hand sew the eye part of the hook and eye closure to the front facing piece right under the rounded collar piece.
- Hand sew the hook part of the hook and eye closure to the opposite side of the coat on the outside front of the coat (this part is kind of up to the wearer, depending on how tightly you want your coat to be closed. I sewed this piece pretty much right in the middle of the front coat piece so that when it’s hooked onto the loop, the collar is laying perfectly centered on the chest).
Step 8
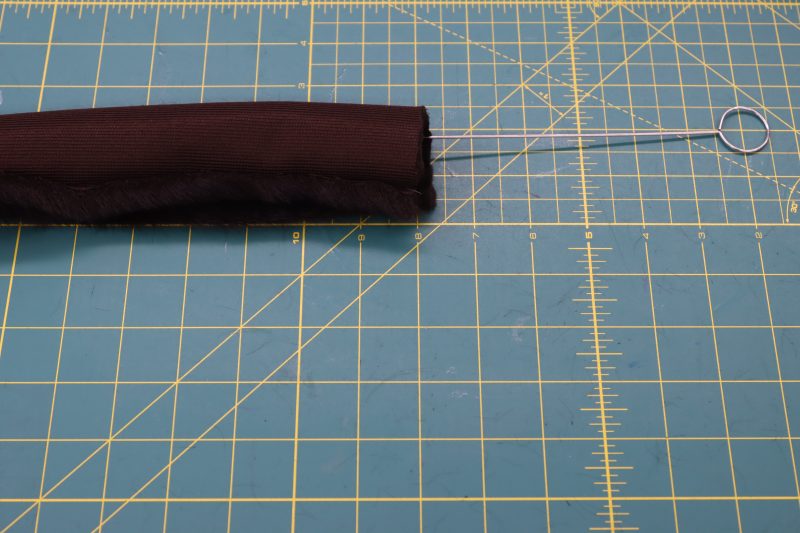
BELT
- Cut a long strip of the faux fur that is 4 inches wide and 2 yards long.
- Fold the strip in half so that the long sides are touching each other, right sides together.
- Sew the long edges of the strip of faux fur to create a closed tube.
- Use a tube turner to flip the tube right sides out.
- Finish the raw edges of the tube by hand with a needle and thread.
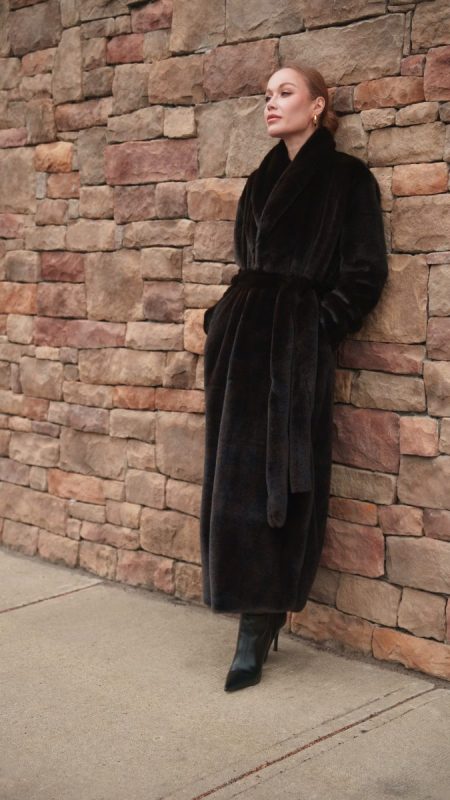
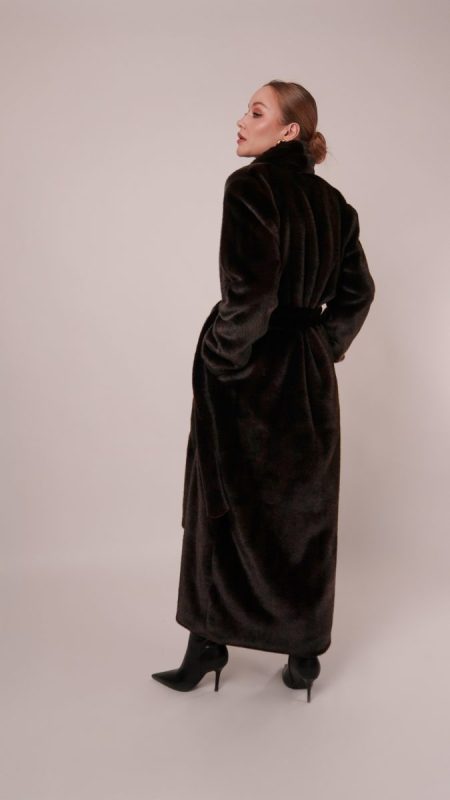
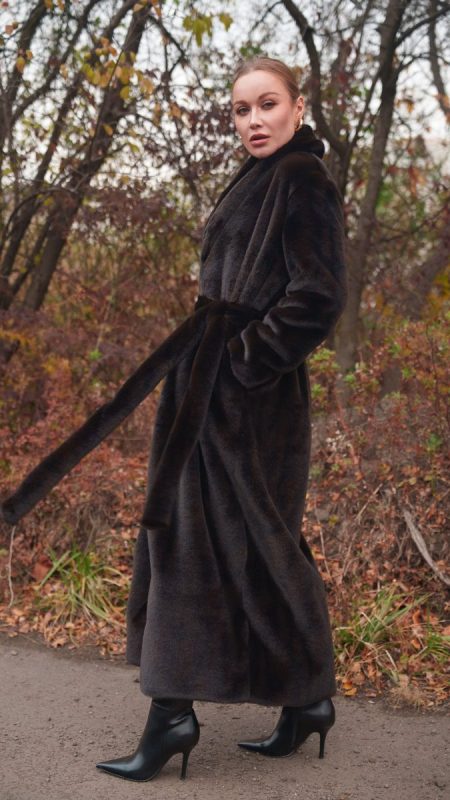
Sewing Success: The Finished Glacial Duster Coat
Share this post with a friend (or two!), download the Glacial Duster Coat free sewing pattern, and show us which fabrics and colors you choose, using the hashtags #MoodGlacialPattern & #MadeWithMood—and don’t forget to tag us @MoodFabrics, too.
Free Sewing Pattern Inspiration for Your Next Project
With 480+ free sewing patterns and counting, your opportunities for sewing with Mood are endless!
We hope you had as much fun sewing this duster coat pattern as we did! As always, we want to hear from you—share your thoughts and comments below and let us know where you’ll be wearing the The Glacial Duster Coat free sewing pattern!
Gorgeous!
Adoro. Os moldes são ótimos
What size is the model wearing?
The model is wearing a blend between the size 2 and size 4. It is meant to fit a little bit oversized, but I tried it on while I was making it (I’m a size 8) and it was tight around my hips.
Thanks
If I had each of my students sign up for the email could we use this pattern for a community sewing class?
Absolutely! Our patterns are free to use.
Nice
I love it
Hello I want to try out free pattern pieces
You can download the pattern for free by entering your name and email address into the field under “Download Your Free Sewing Pattern”. Then, check your email inbox (and your spam, just in case) for an email from Mood Sewciety Patterns with the subject line “Your Free Download from Mood Sewciety”. Scroll down to the blue link under the title of the email and click on that. It will bring you to a web browser page where you have to scroll down and find the orange button that says “click here to download your free sewing pattern”. That button will redirect you to the webpage with the PDF of the pattern, which can be printed on 8.5×11 paper on your printer at home. Let me know if you need any additional help accessing the pattern!
Thank you
This coat is gorgeous!
I would love to know what other fabrics would be suitable for this pattern. In Southern California it may just be too warm and would probably get worn only for a month or two.
Thank you
You could totally make it with faux leather, denim, or corduroy for a jacket that’s not so insulating and fluffy. Just make sure you iron your seams if you use a fabric that can be ironed like denim or corduroy because it’ll help the neckline/lapels lay where they’re supposed to.