

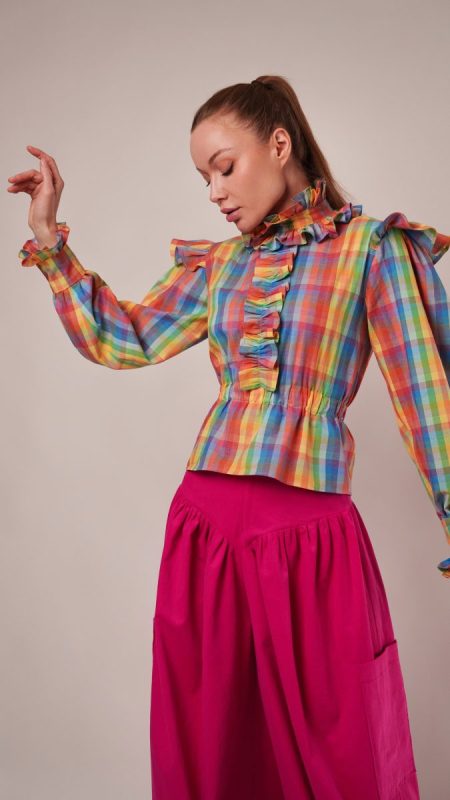
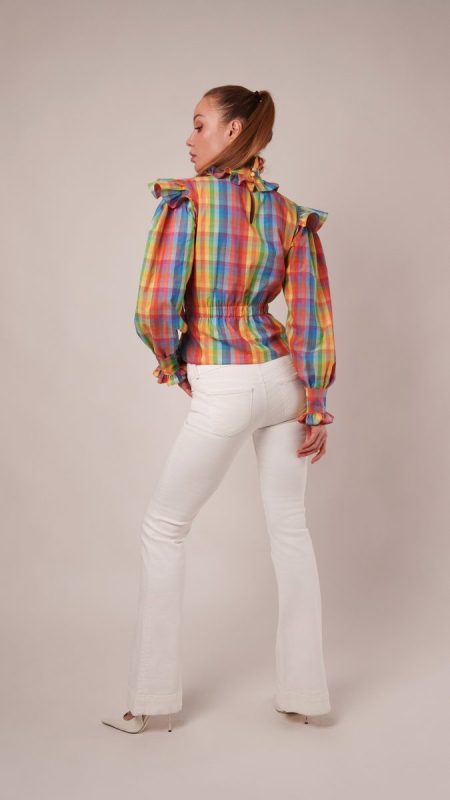
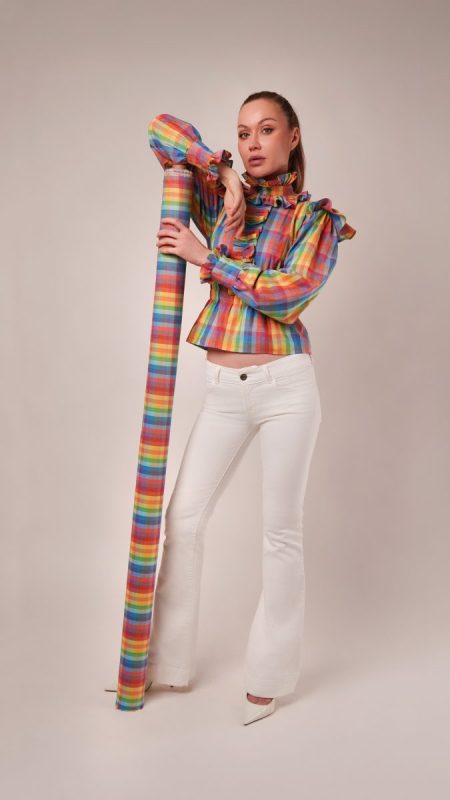
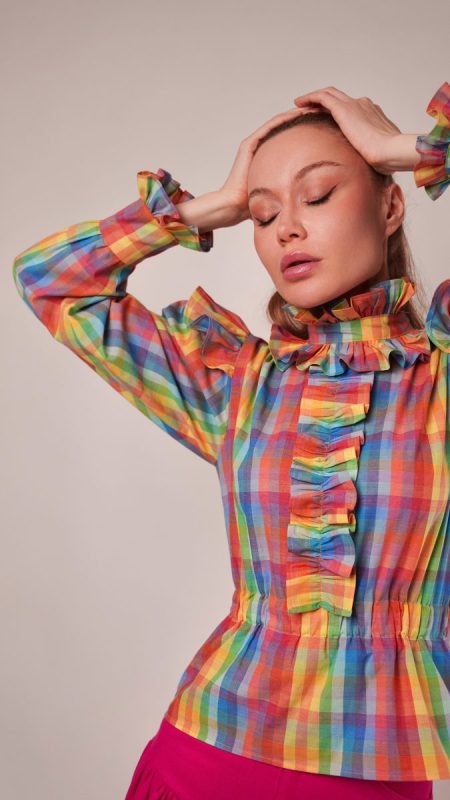
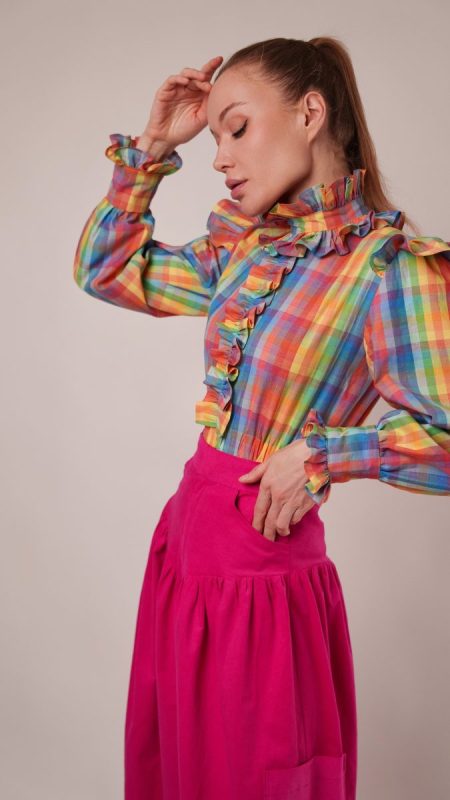
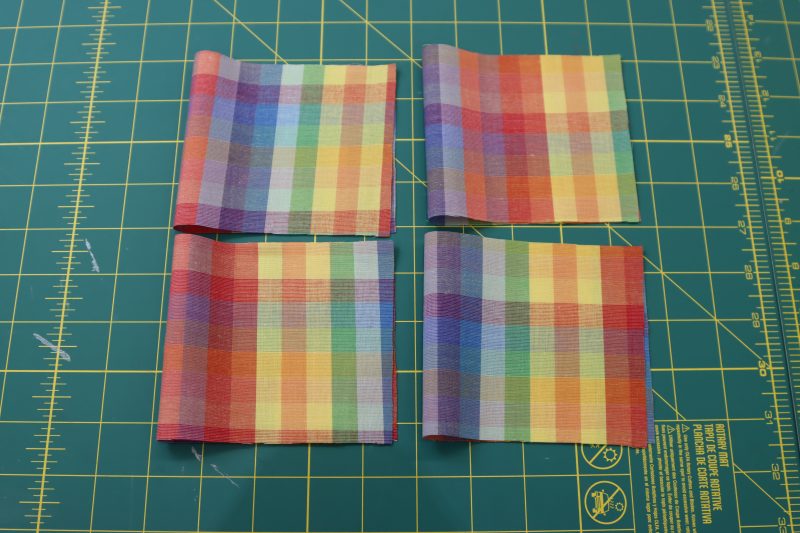
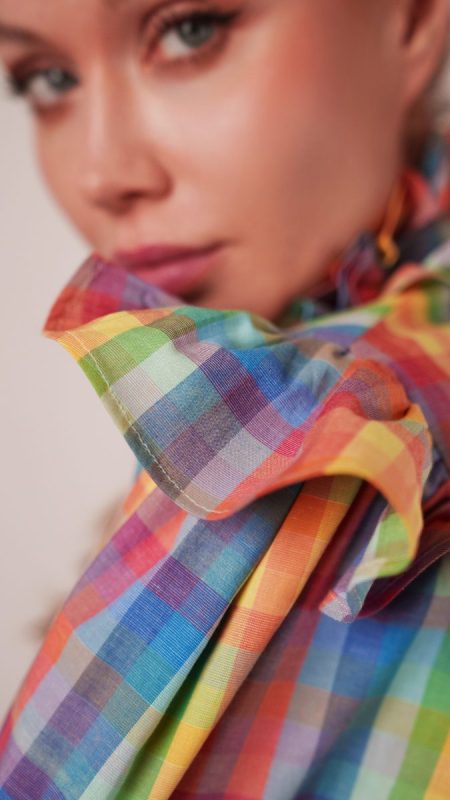
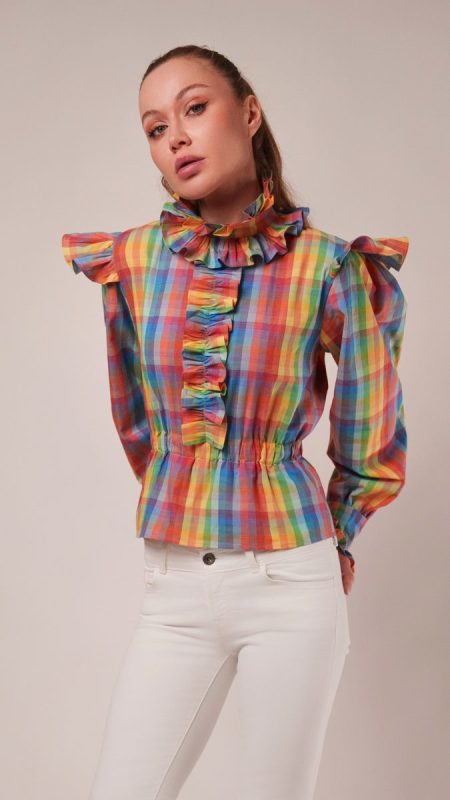
Meet the Bayport Blouse, a love letter to volume, color, and details you can’t ignore. This pattern leans all the way into maximalist joy, starting with a breathable cotton shirting that comes alive in a playful rainbow check. The light, airy fabric gives the blouse its buoyant shape while keeping it wearable and full of movement.
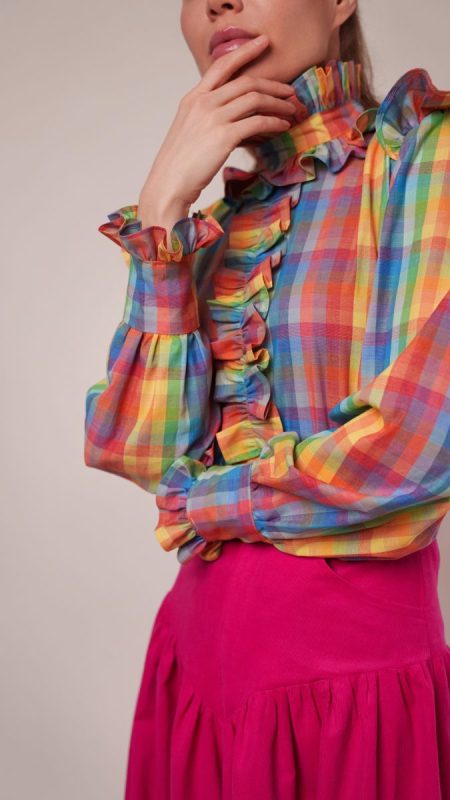
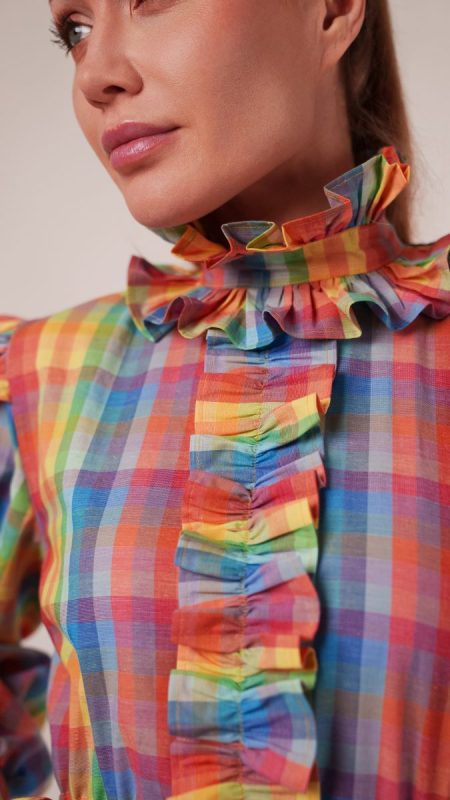
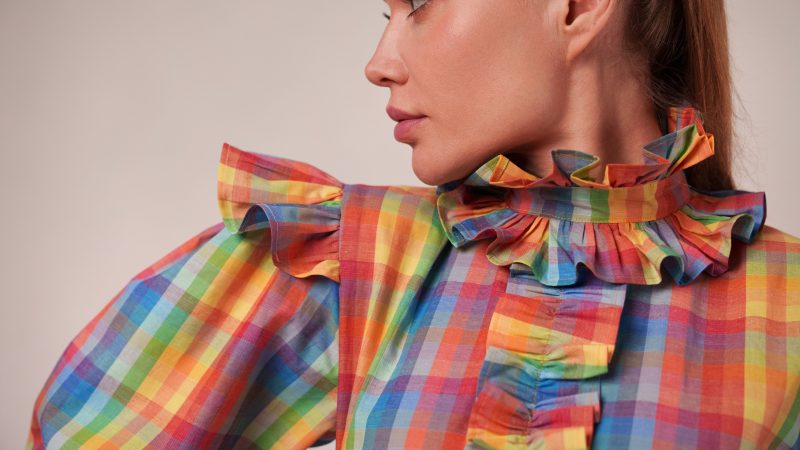
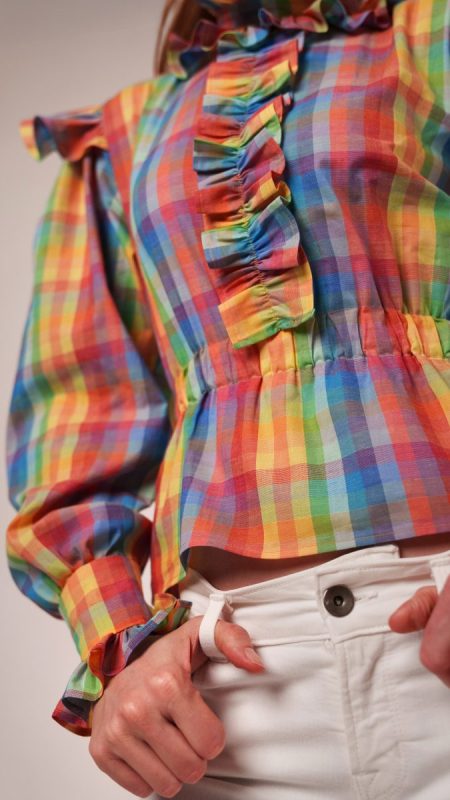
Ruffles ripple along the sleeves, shoulders, collar, and center front, creating a texture that you can’t keep your eyes off of. A softly cinched elastic waist defines the silhouette without feeling restrictive, while the keyhole neckline with matching fabric covered buttons adds a thoughtful, polished yet playful touch.
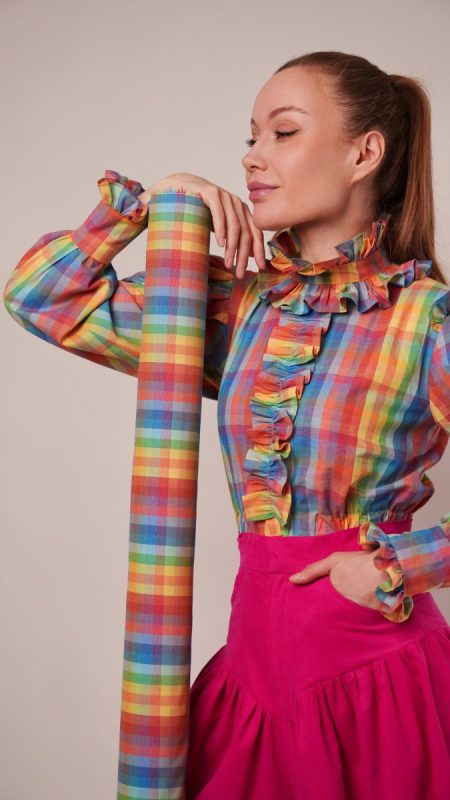
The Bayport Blouse was designed to be loud, fun, and truly one of a kind. That said, its bones are beautifully versatile. Sew it up in a solid cotton shirting for a more understated look, or take it in a daring direction with a sheer chiffon fabric layered over a statement bra or camisole. The pattern happily shape-shifts with your fabric choice.
Whether you lean into rainbow plaid exuberance or keep things pared back and classic, the Bayport Blouse has the potential to become that one piece you reach for when the rest of your outfit needs a little spark. Consider it your new statement maker, ready to mix effortlessly with all your wardrobe basics.

Essential Materials & Sizing Guide for the Bayport Blouse
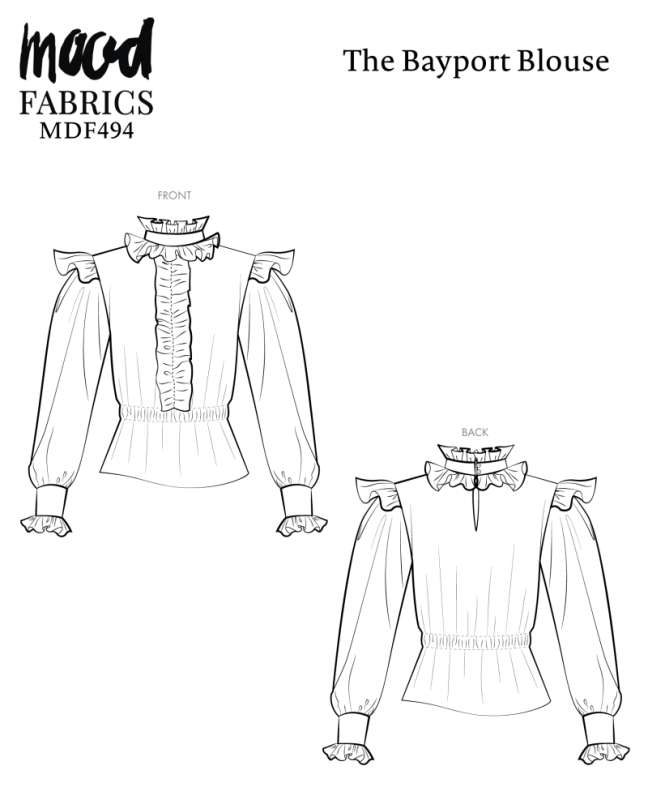
Continue reading for a breakdown of what knowledge and materials you need for creating your very own blouse! We’ve got you covered with the recommended materials we used—if you want to follow along exactly—as well as a curated list of alternative fabric type recommendations if you want to customize your own version. The Bayport Blouse free sewing pattern download includes technical drawings for seam and blouse visibility, plus a size chart to help you find your perfect fit!
Purchase Products Used Below:
Quantities indicated are for sewing a size small blouse.* Toggle the ‘SHOP THIS LOOK’ box to find quantity estimates for other sizes.
- 2.5 yards of Premium Rainbow Checks Cotton Shirting
- 2 each of Gutermann Cotton Thread 100m – 1600 Yellow
- 1 each of Dritz White Underwear and PJ Elastic – 1 in x 1.25 yd
- 1 each of Maxant Button Cover Kit-20
- MDF494 – Bayport Blouse Sewing Pattern (Free download below!)
*Quick Tip! The ‘SHOP THIS LOOK’ box defaults to full-yard quantities. To order an exact half-yard quantity for any fabric, simply use the decrease quantity button (-) to subtract by the half yard. Then click “ADD TO CART” to add all materials to your cart.
(Our system can only display full-yard quantities initially.)
Alternative Fabric Type Recommendations:
The Bayport Blouse sewing pattern is best suited for lightweight] fashion fabrics. Explore other fabric types or colors from our featured collections for your blouse with the links below.
Download Your Free Sewing Pattern
Submit your name and email in the form below to receive the download link for the Bayport Blouse free sewing pattern directly in your inbox. Mood Sewciety Patterns will send your free download link via email with the subject line: ‘Your Free Download from Mood Sewciety – The Bayport Blouse’ (in PDF format for A4 and letter-size printing).
© MoodFabrics.com / MoodSewciety.com – Mass production, resale, or distribution of this pattern in any form is strictly prohibited.
Find Your Perfect Fit
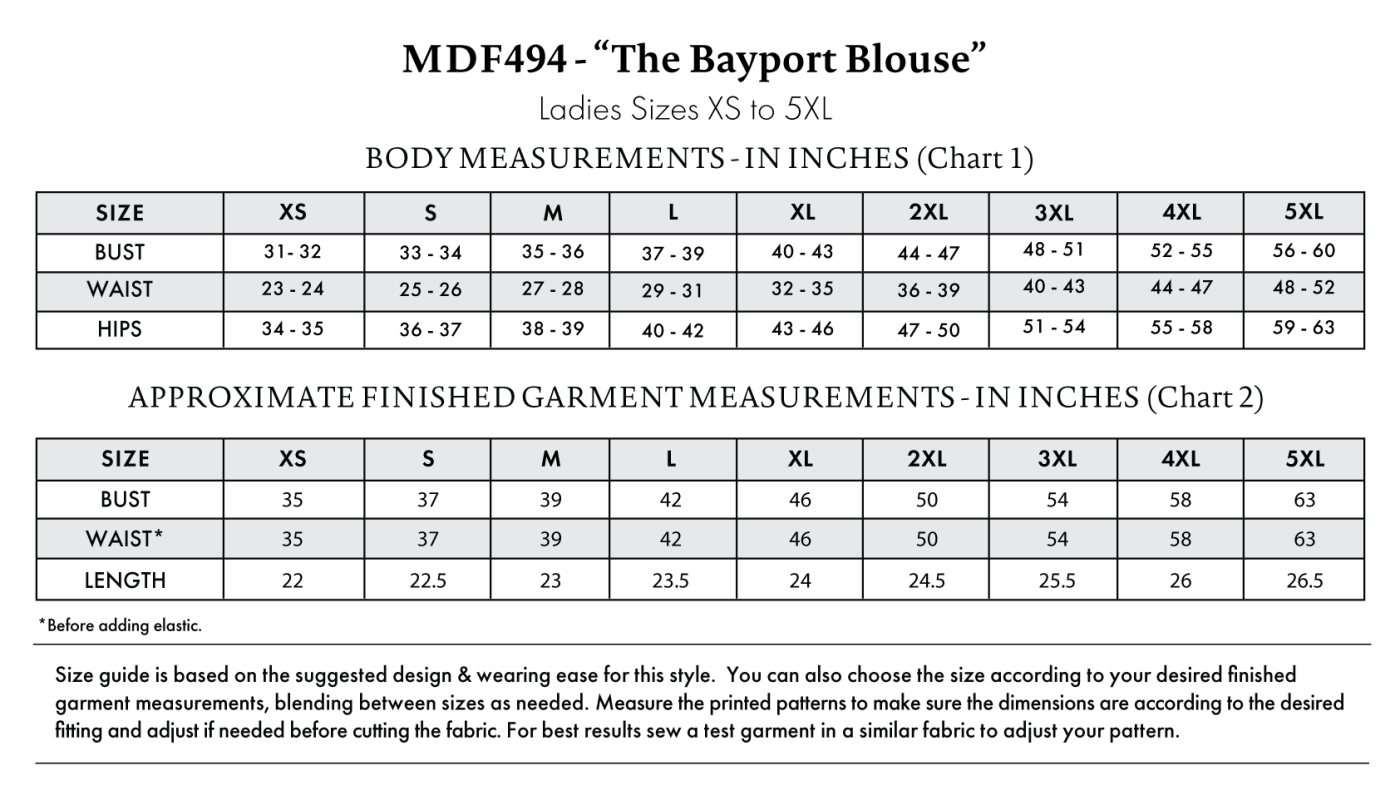
The Bayport Blouse Sizing Guide is based on the suggested design & wearing ease for this style. You can also choose the size according to your desired finished garment measurements, blending between sizes as needed. Measure the printed patterns to make sure the dimensions are according to the desired fitting and adjust if needed before cutting the fabric. For best results, sew a test garment in a similar fabric to adjust your pattern.
Note: Always read all the instructions before cutting the fabric!
How to Sew The Bayport Blouse
The instructions provided below are designed to guide you through sewing the Bayport Blouse from start to finish.
3 Tips for Sewing with Cotton Shirting
⇒ Use a super skinny microtex needle to prevent pulls in the fabric.
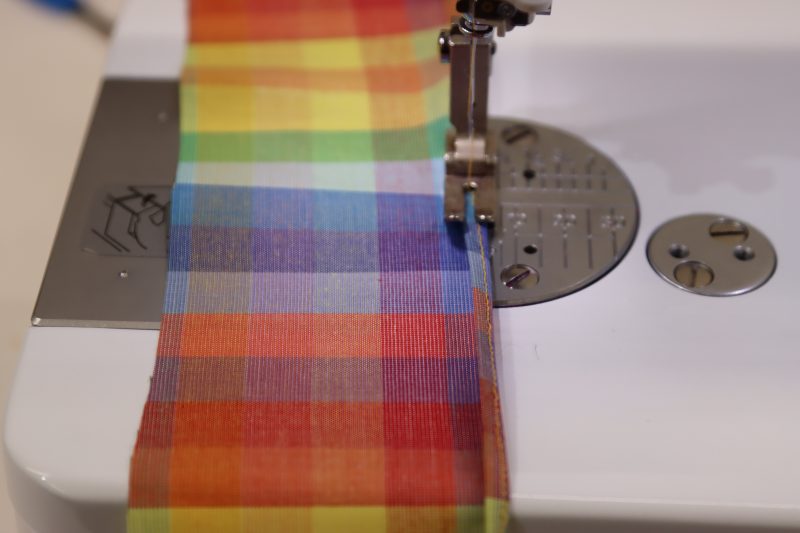
⇒Woven cotton shirting is very prone to fraying, so it would be wise to finish your raw edges either with a serger, zigzag stitch, or baby hem.
⇒ Prewash your fabric. This is always a good rule to follow, but it’s especially important for woven cotton shirting that will definitely shrink in the dryer.

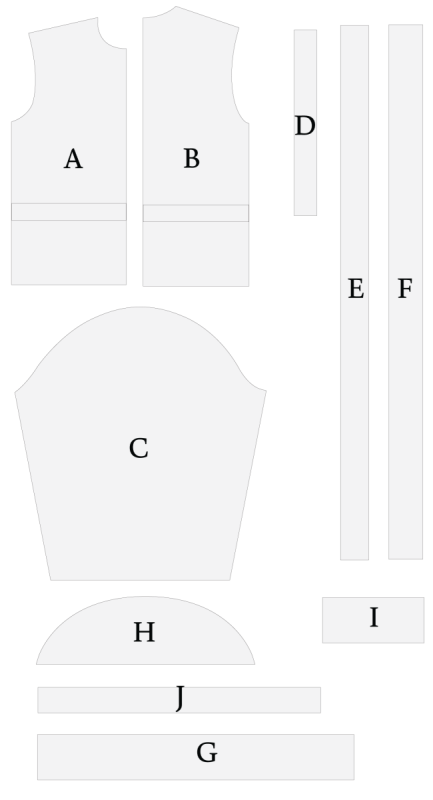
Pattern Pieces & Fabric Cuts Needed
- (A) FRONT
- FABRIC – CUT 1 ON FOLD
- (B)BACK
- FABRIC – CUT 1 ON FOLD
- (C) SLEEVES
- FABRIC – CUT 2 MIRRORED
- (D) COLLAR
- FABRIC – CUT 2
- (E) COLLAR TOP RUFFLE
- FABRIC – CUT 1
- (F) COLLAR BOTTOM RUFFLE
- FABRIC – CUT 1
- (G) FRONT RUFFLE
- FABRIC – CUT 1
- (H) SHOULDER RUFFLES
- FABRIC – CUT 2
- (I) CUFFS
- FABRIC – CUT 4
- (J) CUFFS RUFFLE
- FABRIC – CUT 2
Sew with a 1/2″ seam allowance for all seams unless otherwise specified.
Step 1
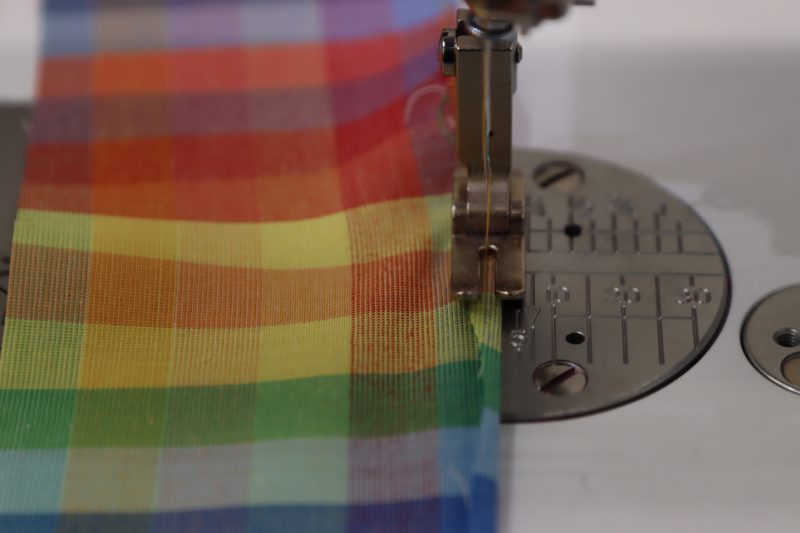
BABY HEMS
- Sew baby hems on the following pieces:
- One of the long sides of the bottom collar ruffle
- One of the long sides of the top collar ruffle
- One of the long sides of both of the sleeve ruffles
- Both long sides of the front center ruffle
- Baby hems are done by first sewing a tiny 1/8 inch hem along the raw edge, then folding it over again and sewing another 1/8 inch hem.
Step 2
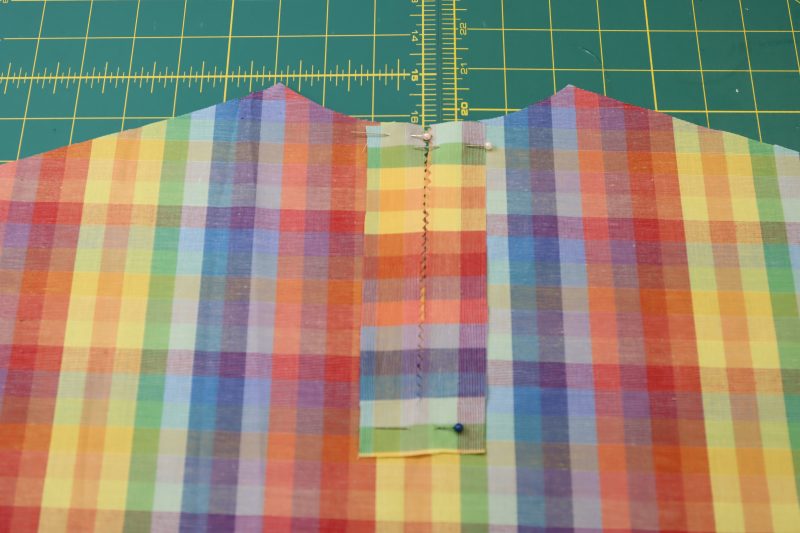
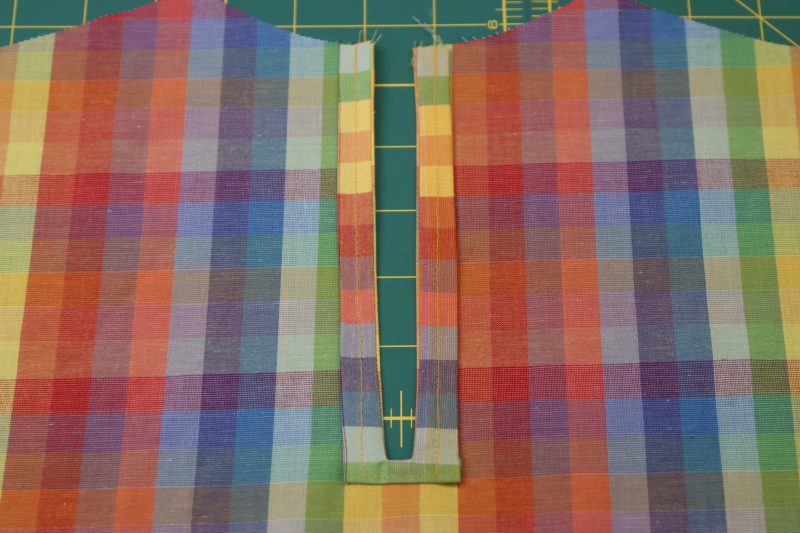
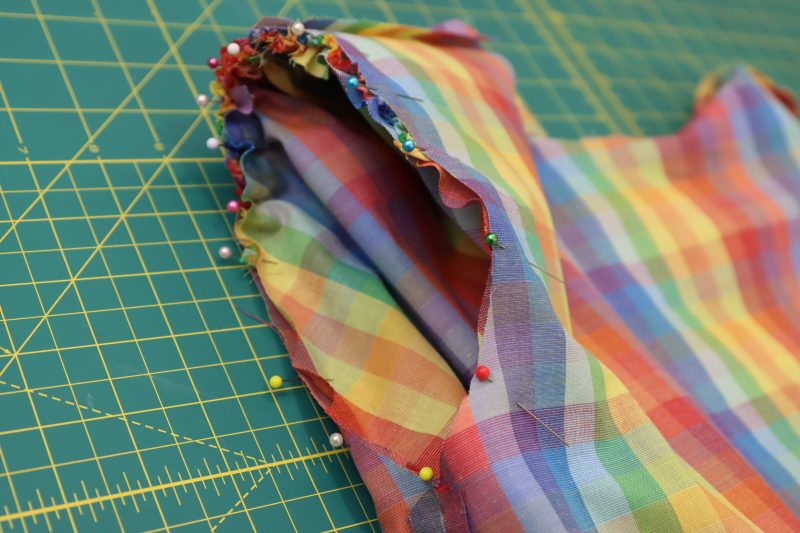
KEYHOLE
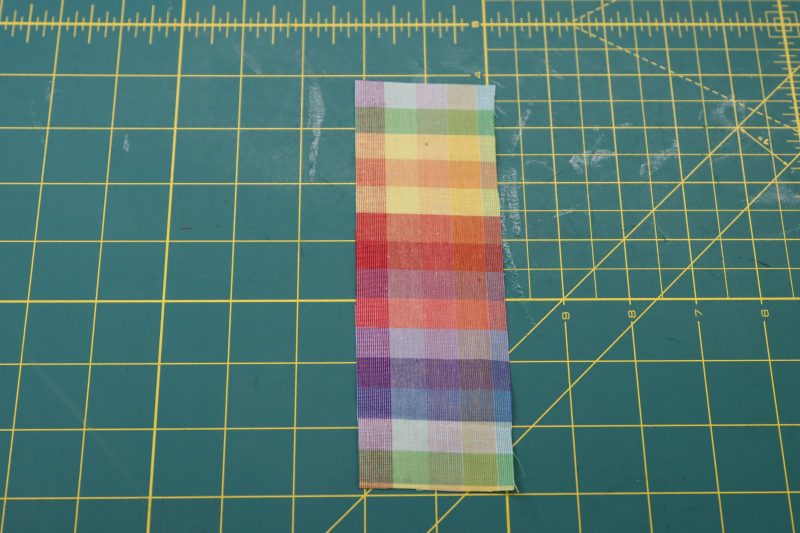
- Cut a piece of fabric that is 2.5 inches wide and 1 inch longer than the length of the keyhole opening on the back pattern piece of the blouse. This piece of fabric will be the keyhole facing.
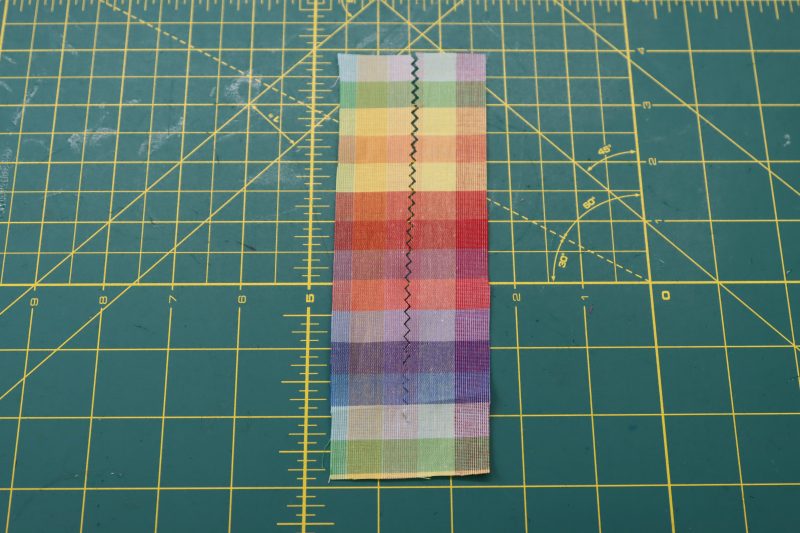
- Cut a slit down the middle of the keyhole facing with pinking shears, but do not cut all the way to the bottom.
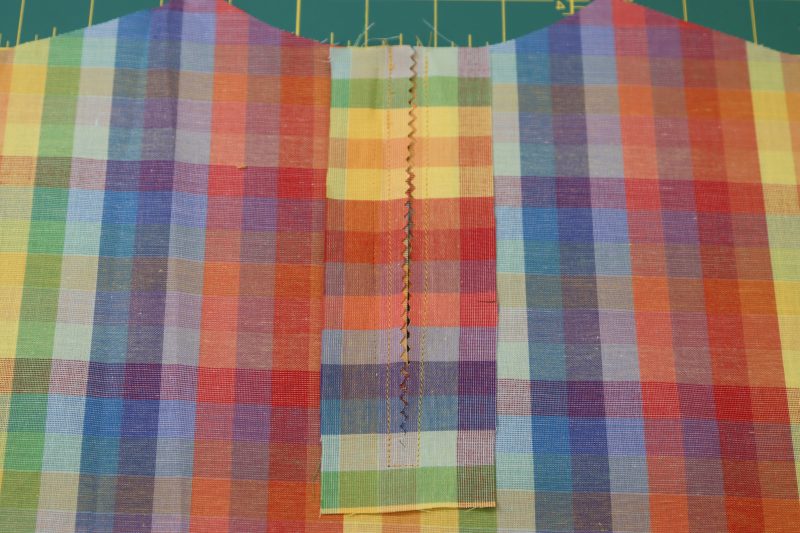
- Pin and sew the keyhole facing directly on top of the keyhole with the slits lining up.
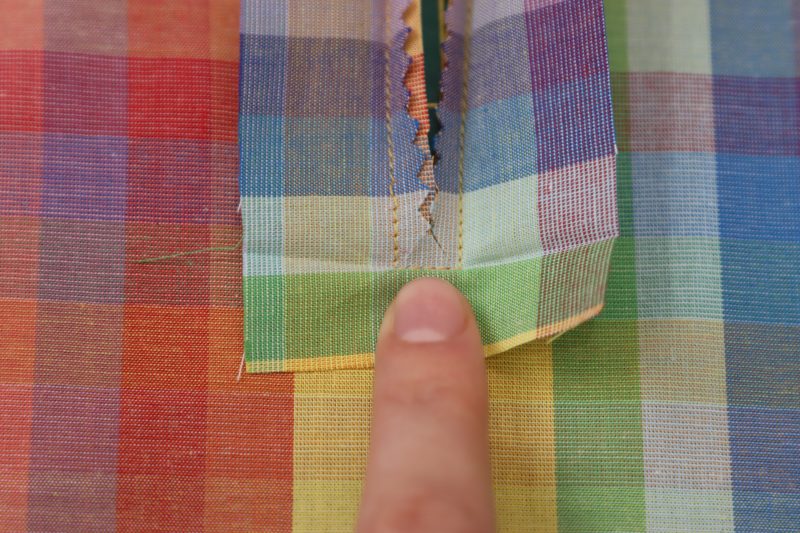
- Cut tiny slits at the bottom of the keyhole so that the facing can be flipped to the inside of the fabric.
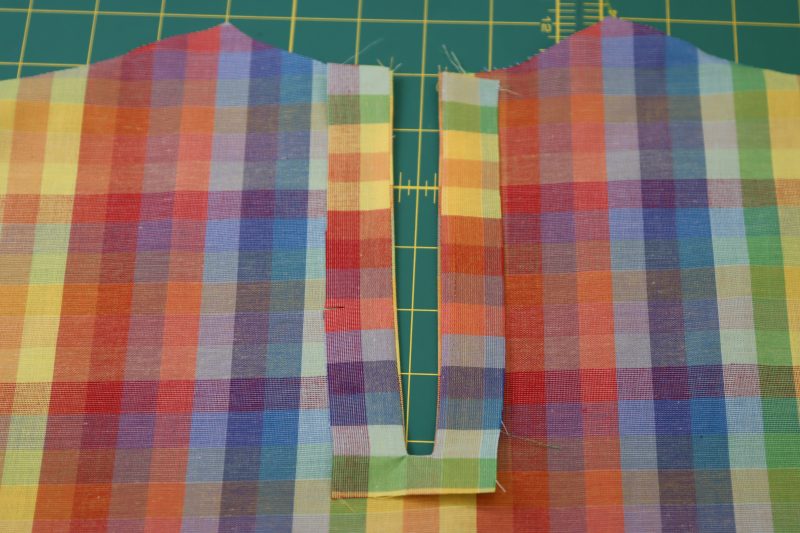
- Flip the keyhole facing to the wrong side of the fabric and iron the seam flat.
- Tuck the raw edges of the keyhole facing under and topstitch around the keyhole.
Step 3
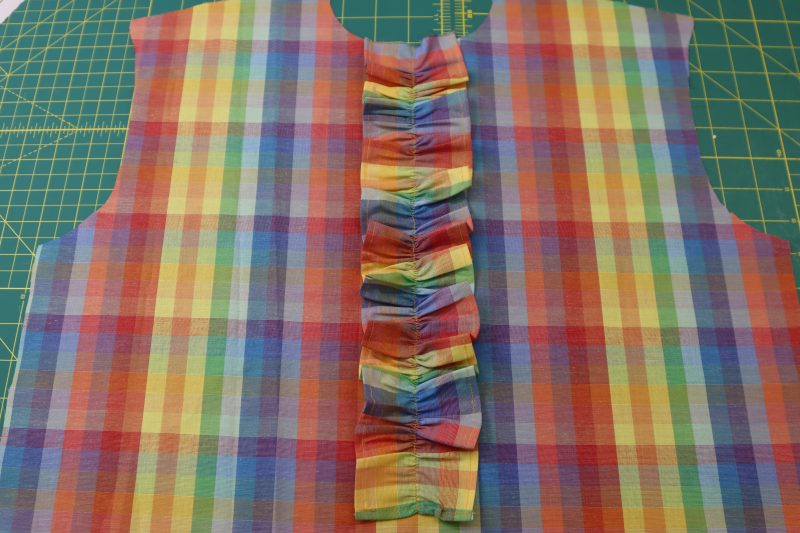
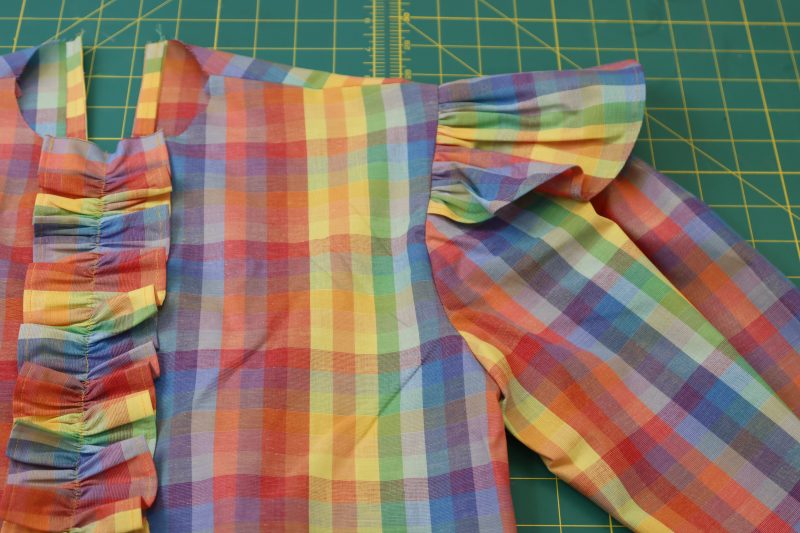
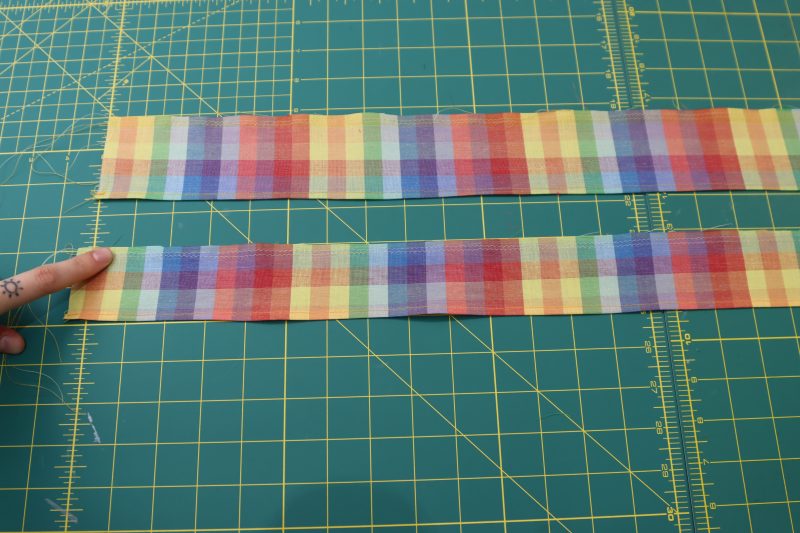
FRONT CENTER RUFFLE
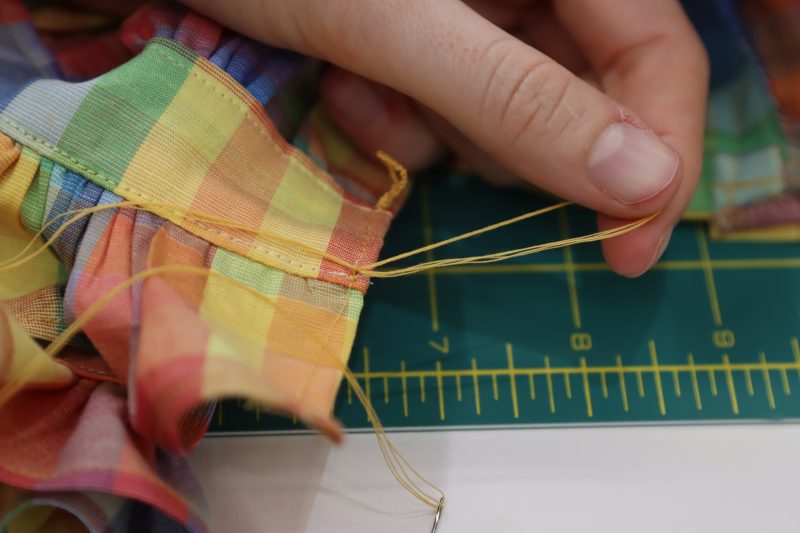
- Sew two parallel straight stitches down the middle of the center front ruffle with a stitch length of 3.5 millimeters.
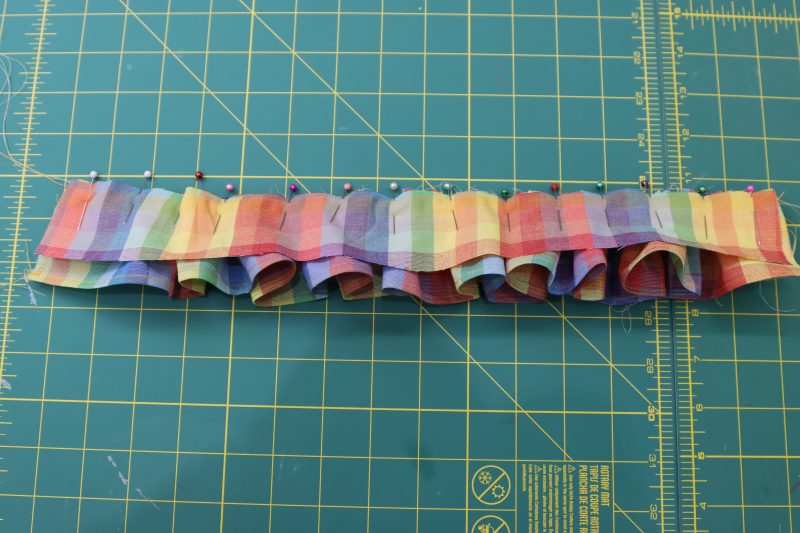
- Hem the raw edge of the center front ruffle that will be on the bottom of the ruffle by the waistline.
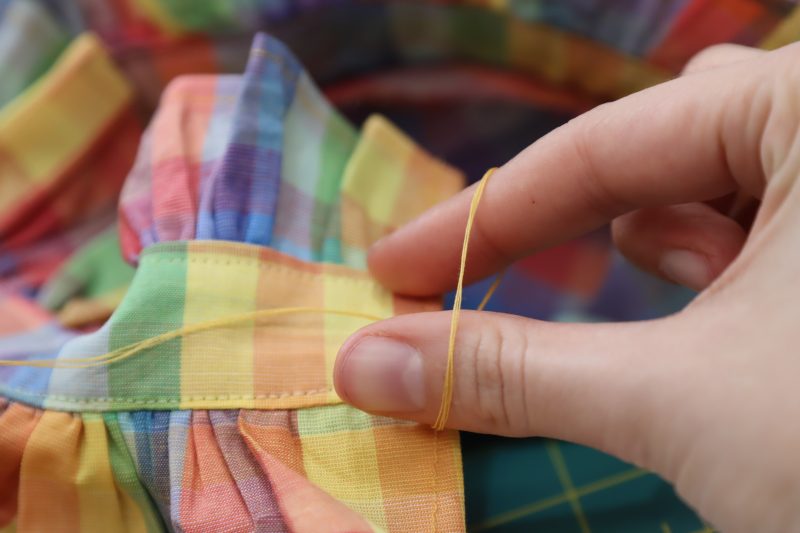
- Pull on the top threads to gather the center front ruffle to the length between the neckline and the marking for the elastic casing at the waistline.
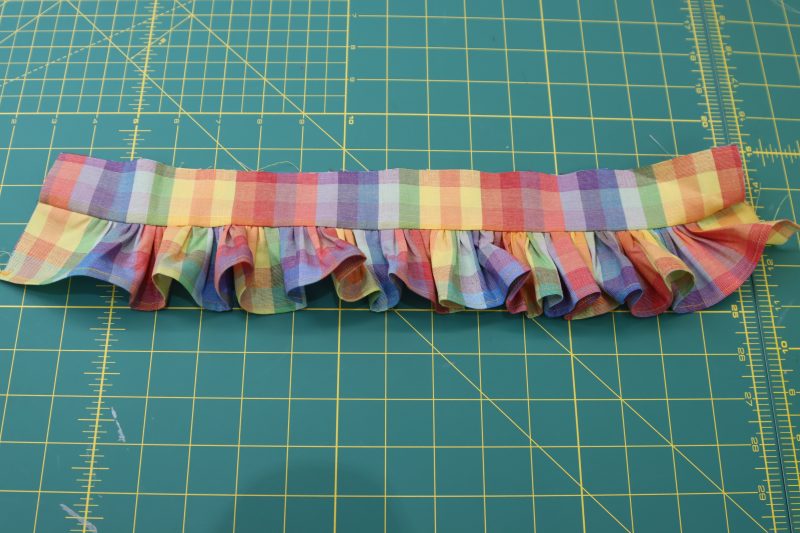
- Pin and sew the gathered center front ruffle to the space between the neckline and the waist marking.
- Remove the gathering stitches once the ruffle is attached.

Step 4
SHOULDER & SIDE SEAMS
- Place the front and back blouse pieces right sides together with the shoulders and sides lined up.
- Pin and sew the shoulders and side seams.

Step 5
SHOULDER RUFFLES
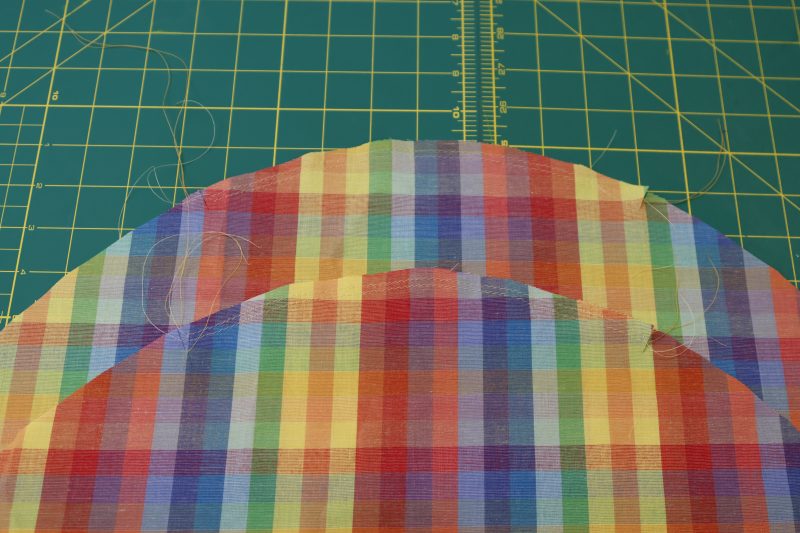
- Sew baby hems around the rounded edges of the shoulder ruffles as shown in the first step of the tutorial.
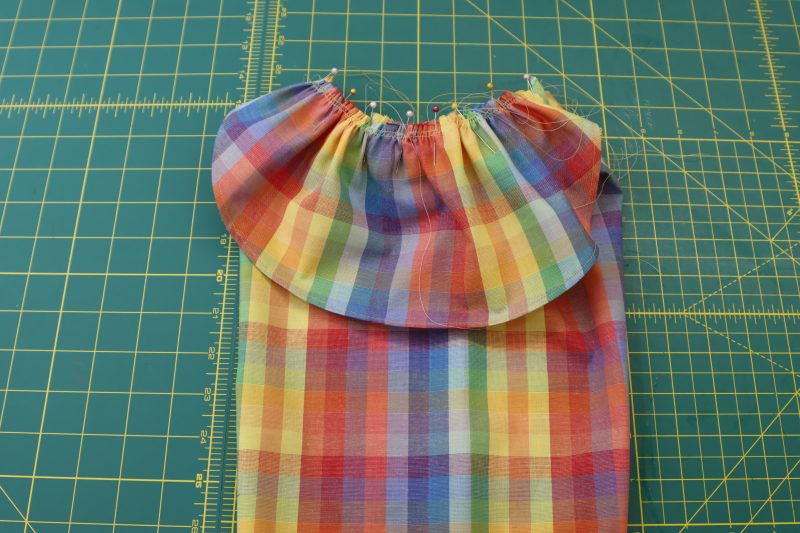
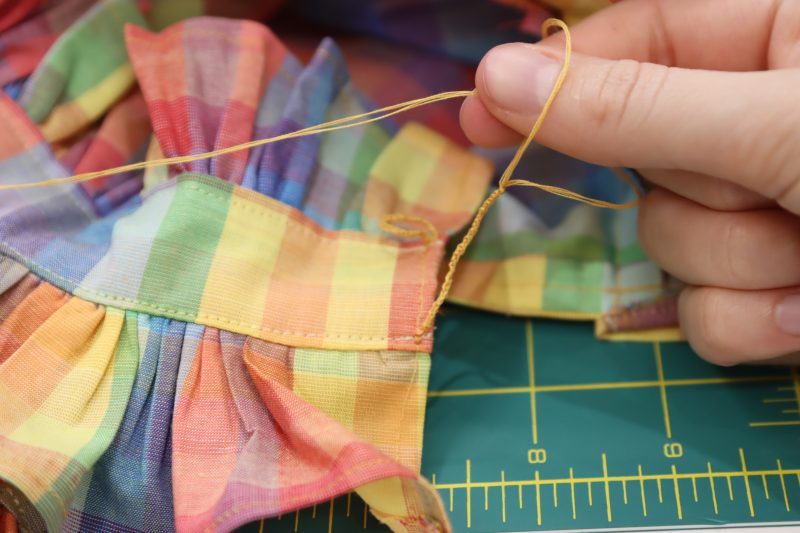
- Sew two parallel straight stitches with a stitch length of 3.5 millimeters along the straight edges of the shoulder ruffles.
- Gather the shoulder ruffles with the gathering stitches until they are ½ of their original length.
Step 6
SLEEVES
- Sew two parallel straight stitches with a stitch length of 3.5 millimeters along the sleeve cap of the sleeves between the two notches.
- Fold the sleeves right sides together and pin and sew the sleeve inseam.
Step 7
ATTACH SHOULDER RUFFLES
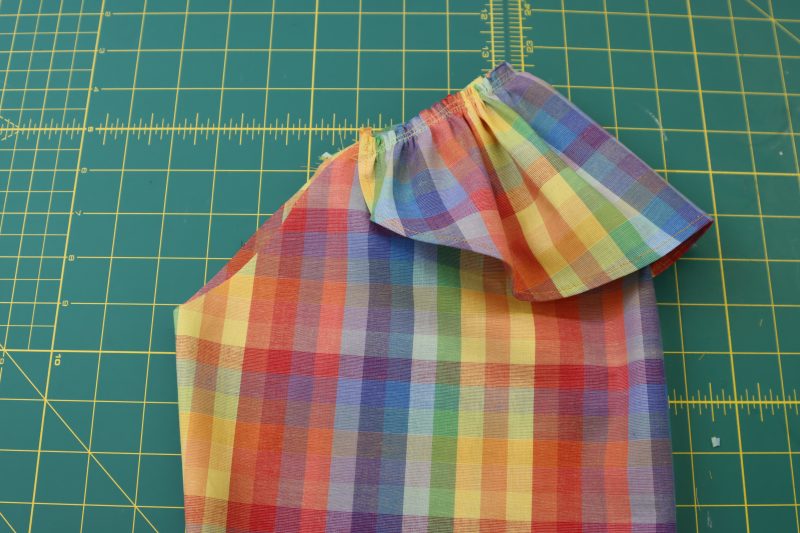
- Pull on the gathering stitches to gather the sleeve caps between the notches.
- Pin the shoulder ruffle to the sleeve cap with the center of the shoulder ruffle lined up with the gathering on the sleeve cap.
- Sew the shoulder ruffle to the sleeve cap.
Step 8
ATTACH SLEEVES
- Pin each sleeve cap into the armscyes. Make sure that the correct sleeve is lined up with its corresponding armscye.
- Sew the sleeves into the armscyes.

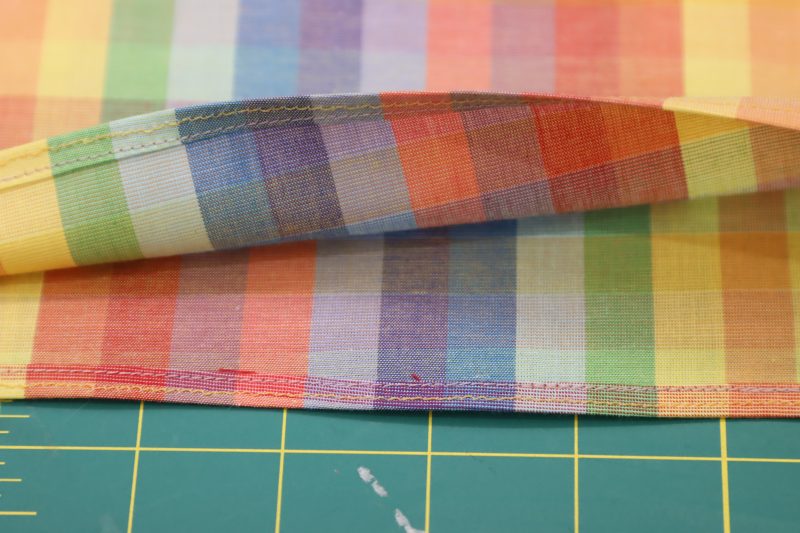
Step 9
CUFFS
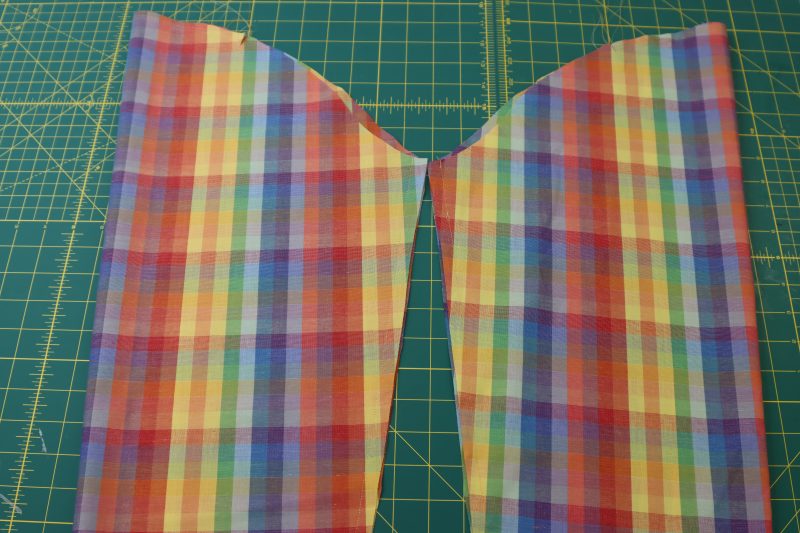
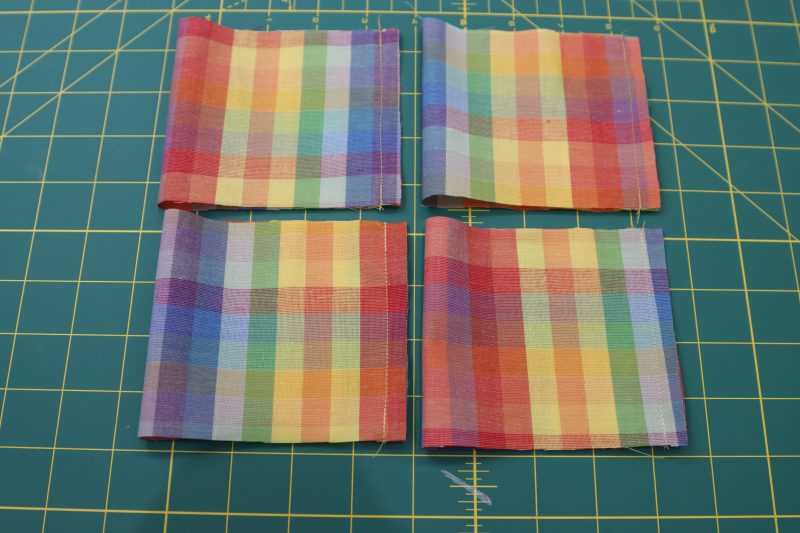
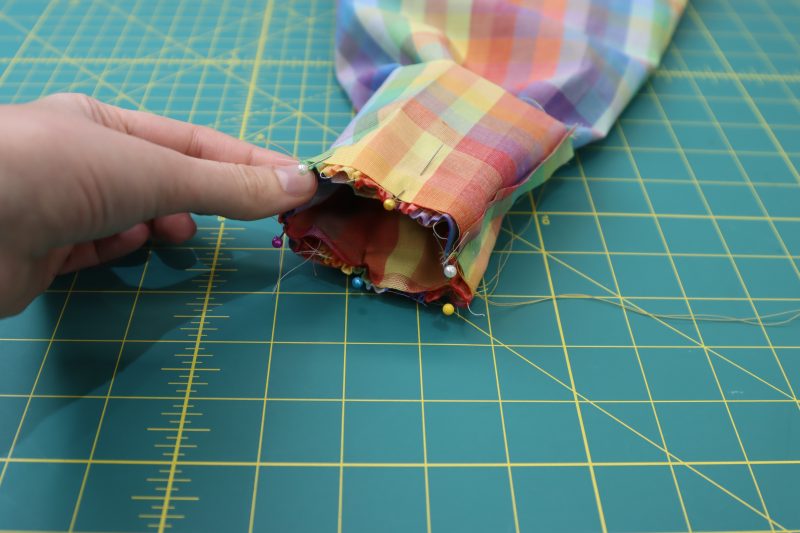
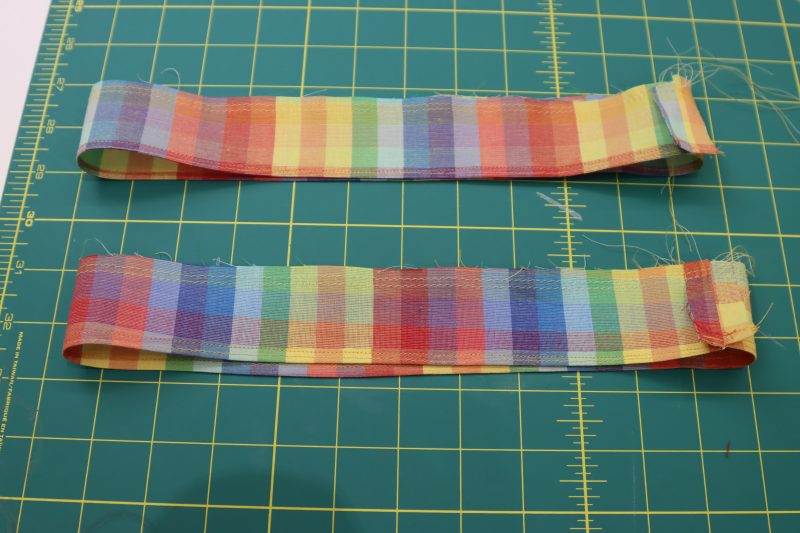
- Fold the sleeve cuffs in half right sides together.
- Sew a straight stitch down the overlapping raw edges as shown in the photo below.
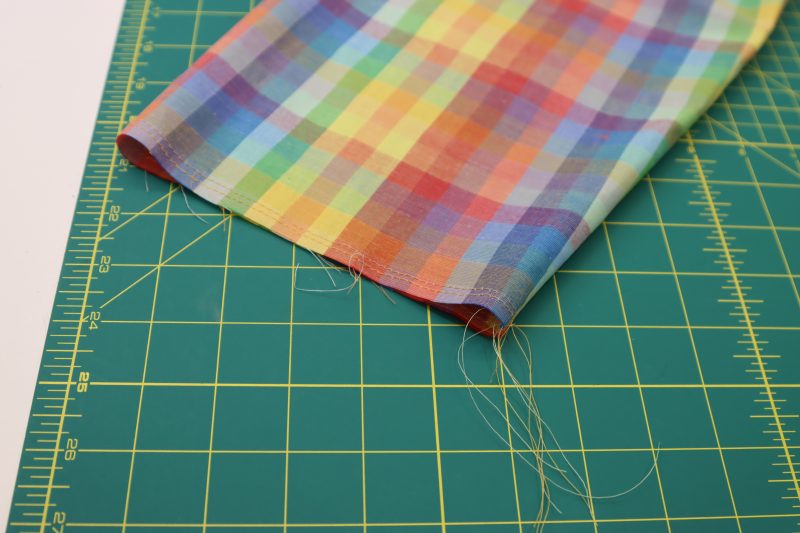
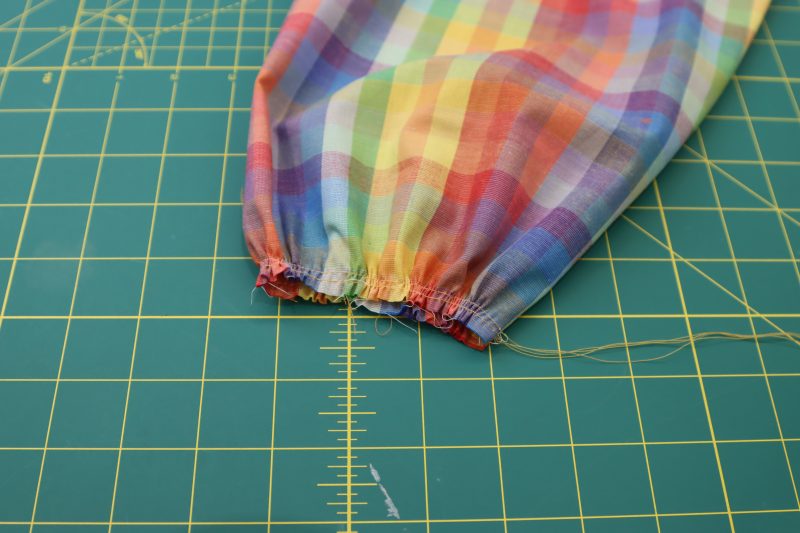
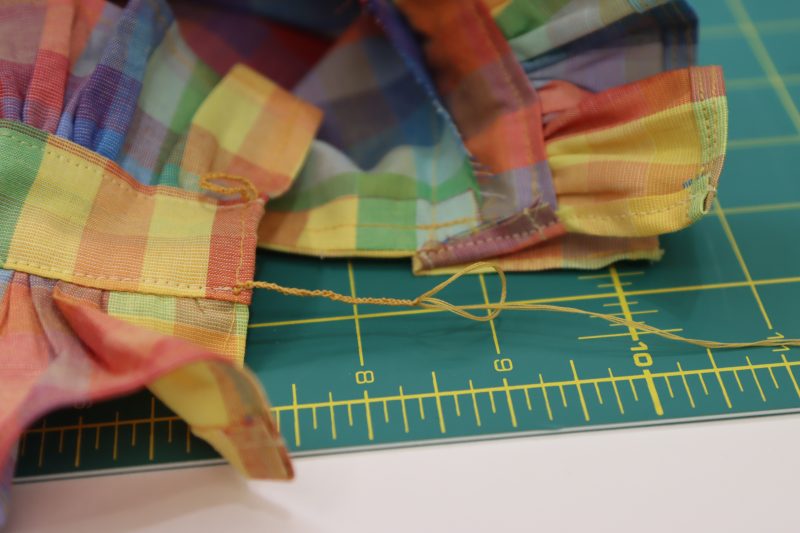
- Sew two gathering stitches along the raw edge of the sleeve and gather it until it is the same length as the sleeve cuffs.
- Make a sandwich where there is a sleeve cuff on the inside of the sleeve (right sides of the cuff to wrong sides of the sleeve), the gathered sleeve is in the middle, and another sleeve cuff is on the outside of the sleeve (right sides together).
- Pin the sleeve cuff sandwich.
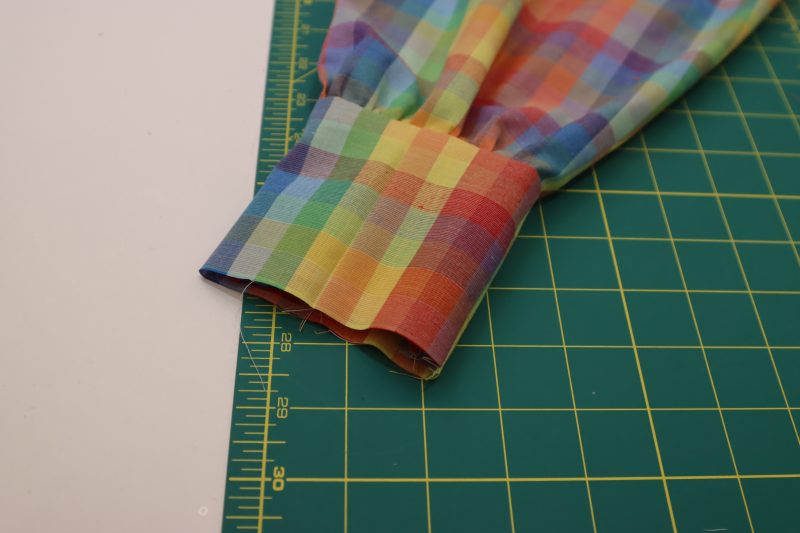
- Sew around the end of the sleeve and flip the sleeve cuffs out.
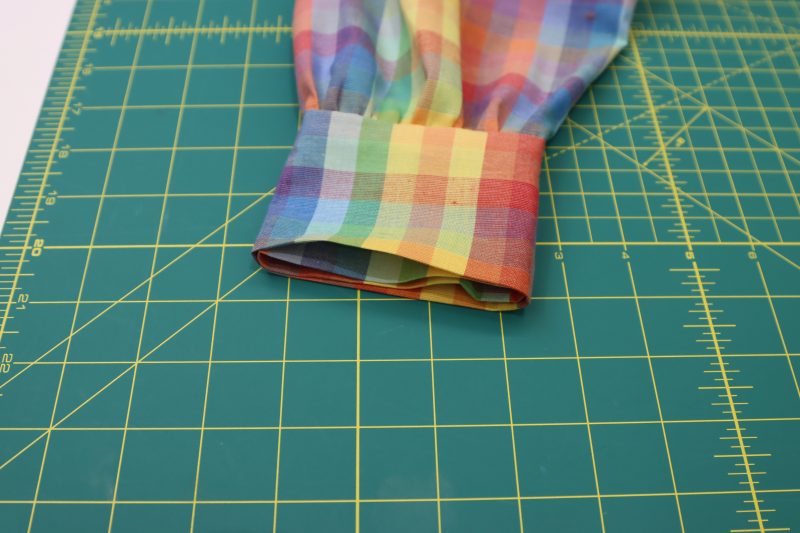
- Fold the raw edges of the sleeve cuffs towards the inside of the blouse by ½ inch and press in place.
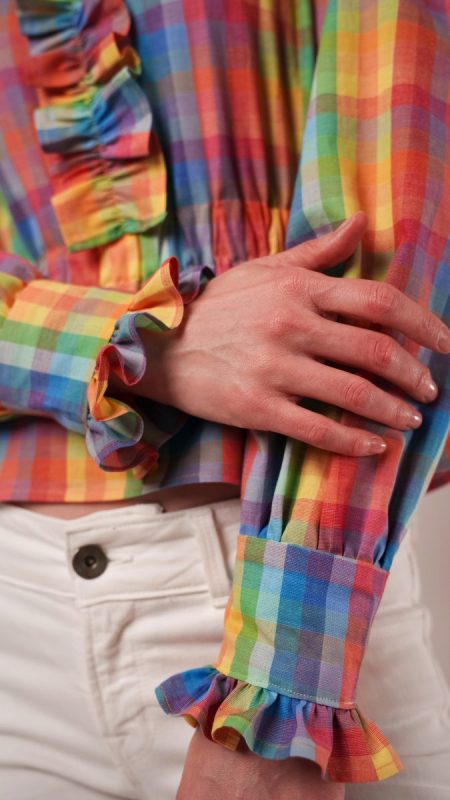
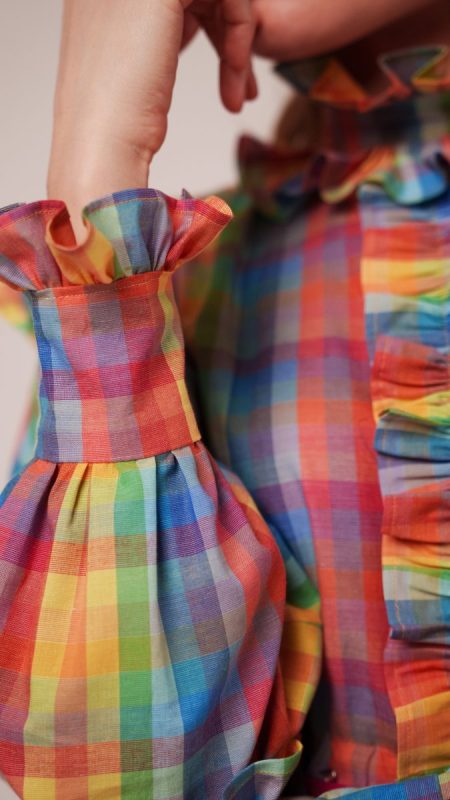
Step 10
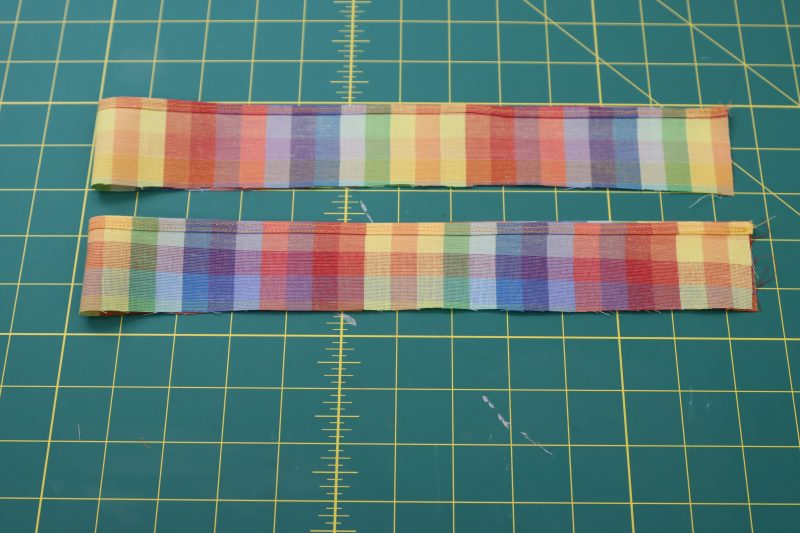
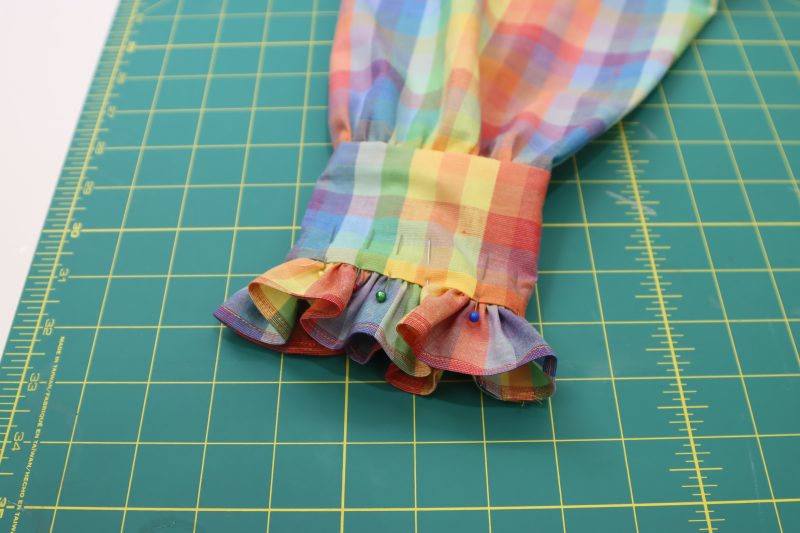
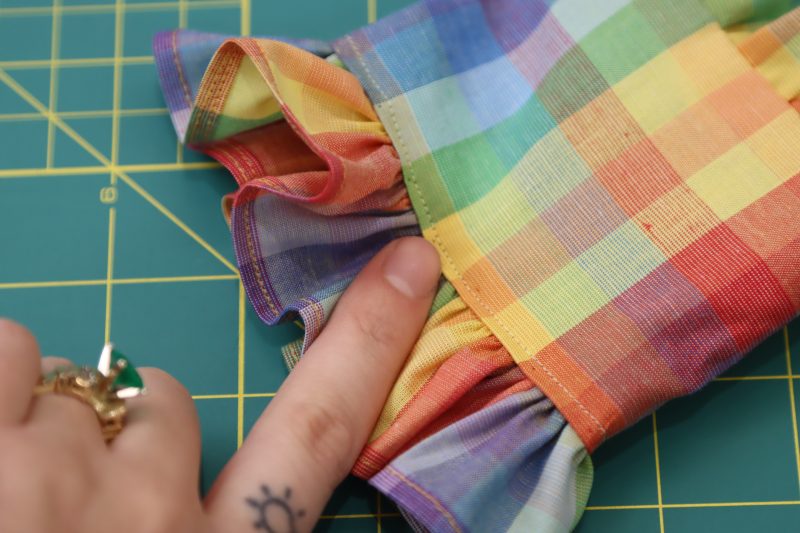
CUFF RUFFLES
- Fold the sleeve ruffles in half hamburger style, right sides together.
- Sew a straight stitch along the short raw edges to create a loop out of each.
- Sew two gathering stitches on the unhemmed edges of the sleeve ruffles.
- Gather the sleeve ruffles until they are the same length as the cuff pieces.
- Sandwich the sleeve ruffles in between the two cuff pieces and pin.
- Topstitch around the bottom edges of the cuffs to secure the sleeve ruffle into the cuff sandwich.
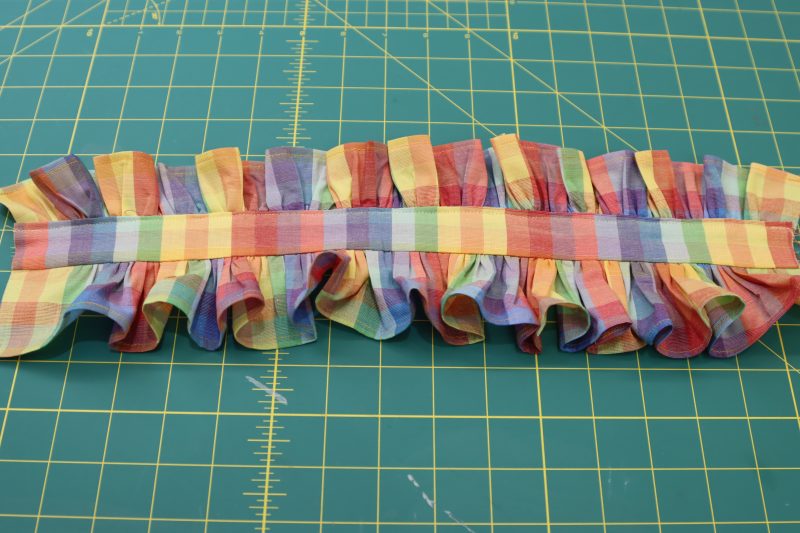
Step 11
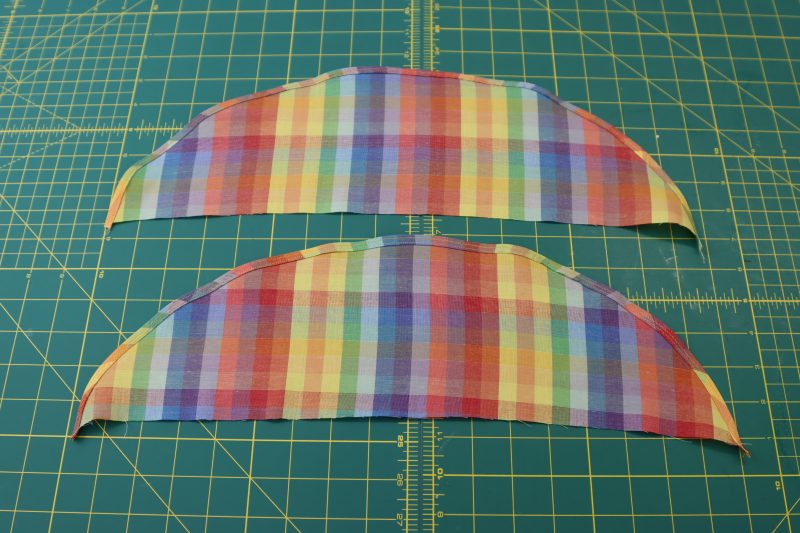
COLLAR
- Sew two gathering stitches along the raw edges of the two collar ruffles.
- Gather the two collar ruffles until they are the same length as the collar piece.
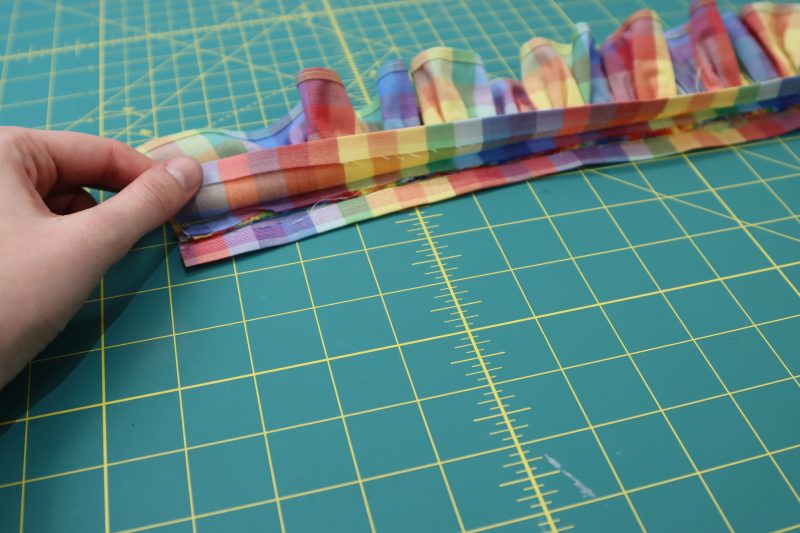
- Sandwich the bottom ruffle in between the two collar pieces.
- Pin and sew the bottom ruffle into the collar pieces.
- Unfold the collar pieces and press the seams open.
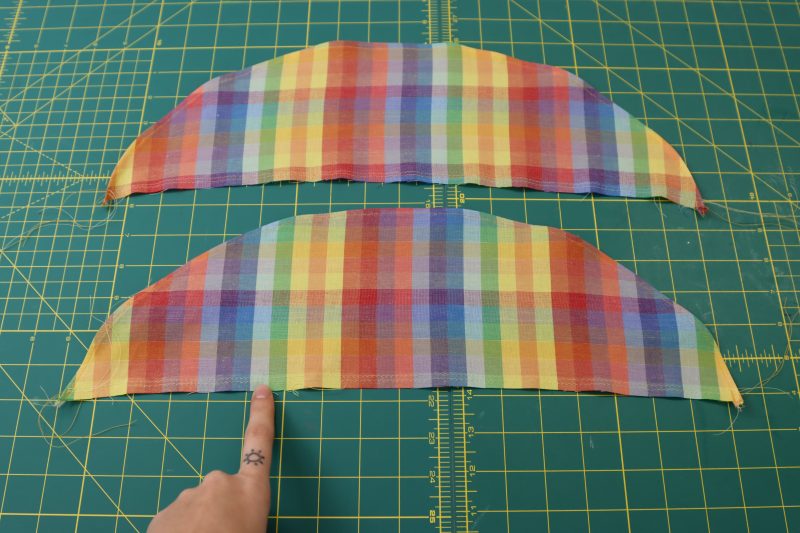
- Fold the top raw edges of the collar pieces over by ½ inch and press in place.
- Sandwich the top collar ruffle in between the folded edges of the collar pieces.
- Pin the top collar ruffle into place.
- Topstitch across the collar the secure the top ruffle.

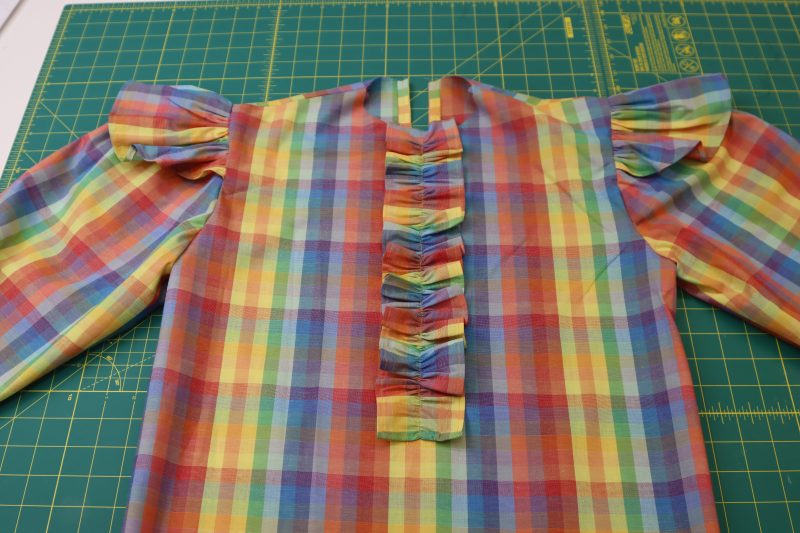
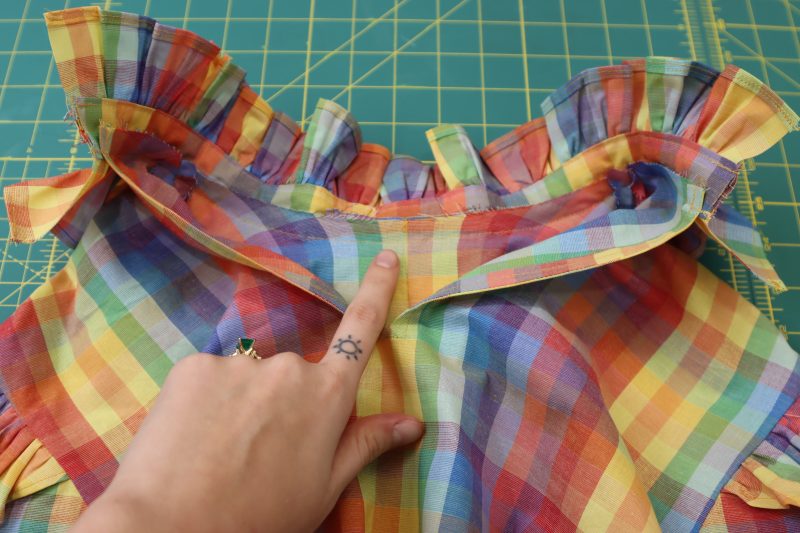
Step 12
ATTACH COLLAR
- Pin the collar to the neckline of the blouse.
- Topstitch the collar to the blouse around the bottom edge of the collar strip.
- Hem the center back edges of the ruffled collar to hide the raw edges.


Step 13
HEM
- Hem the bottom of the shirt using the same baby hem technique as used in step 1.
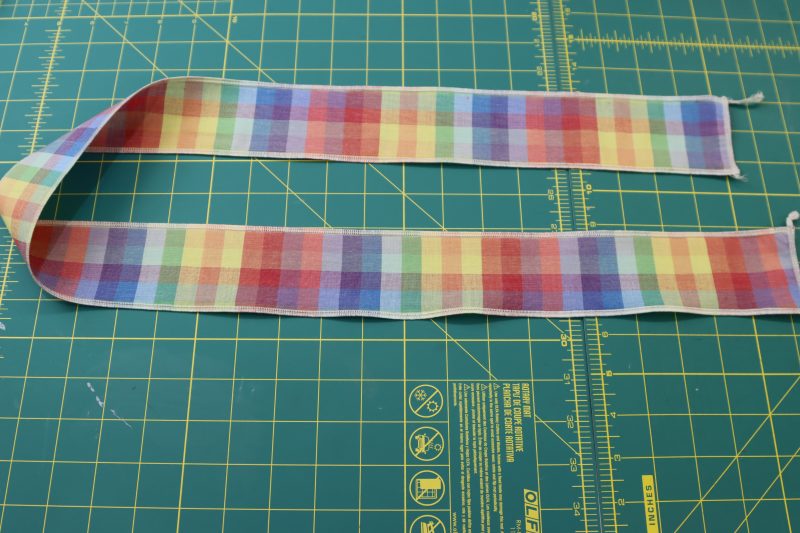
Step 14
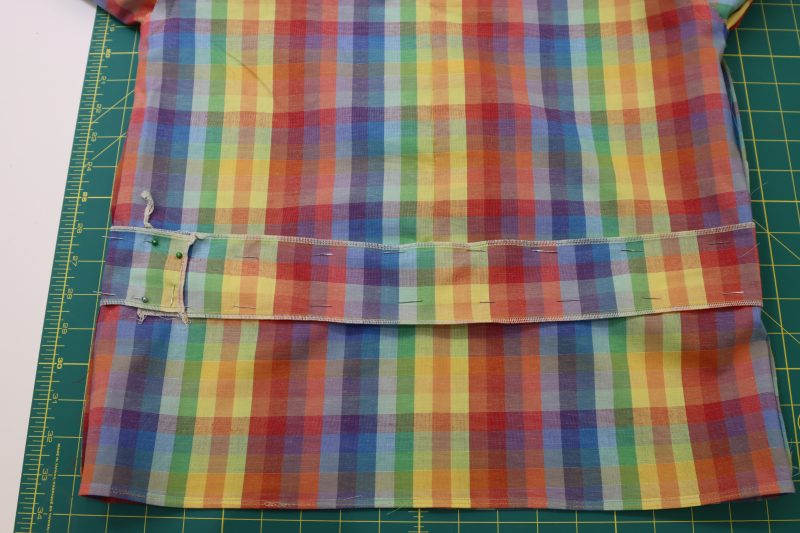
WAISTBAND
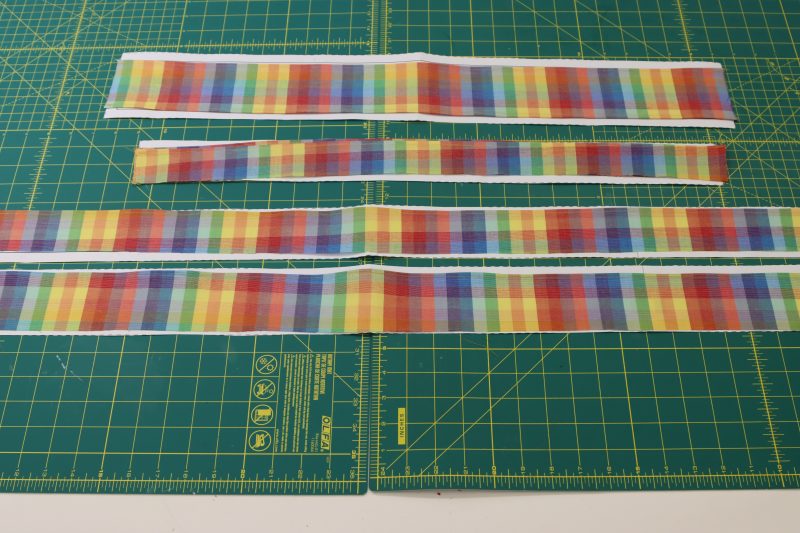
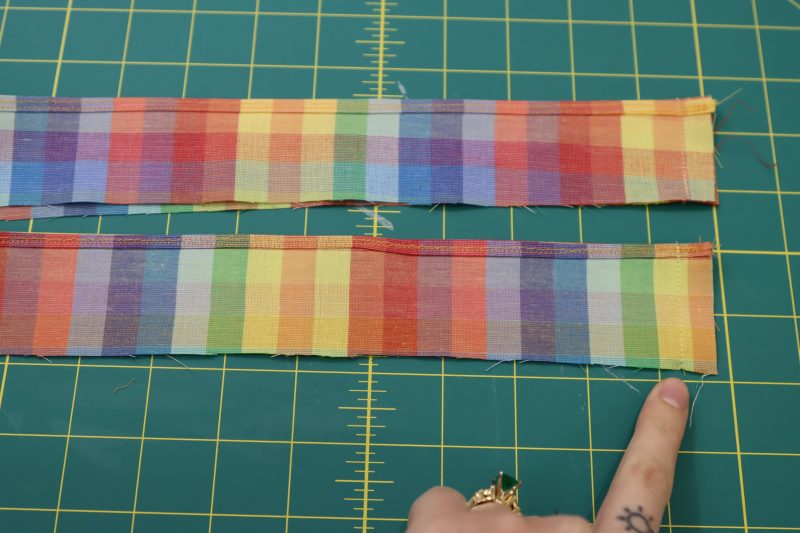
- Cut a strip of fabric that is 2.5 inches wide and as long as the waist markings on the front and back blouse pieces (it should be long enough to go around the entire waist of the shirt).
- Hem or serge the edges of the waistband casing.
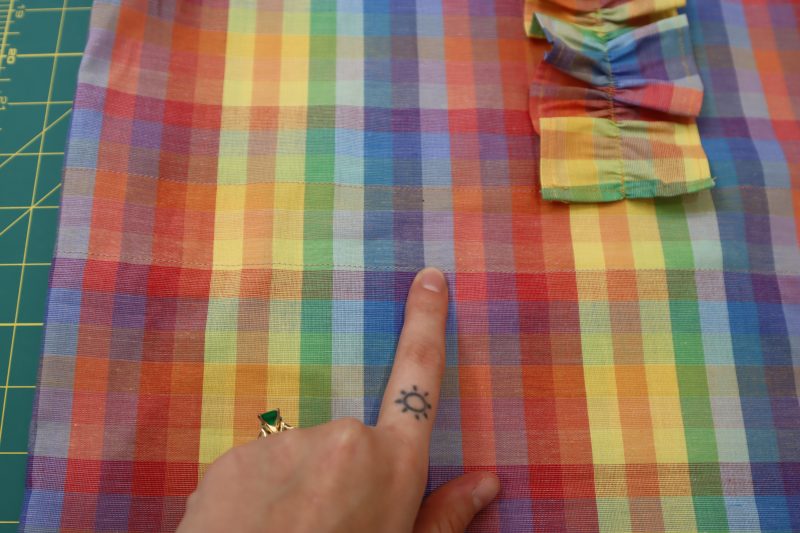
- Pin the waistband casing to the waistline of the blouse where the pattern markings indicate adding elastic.
- Sew the top and bottom of the waistband casing to create a tunnel.
Step 15
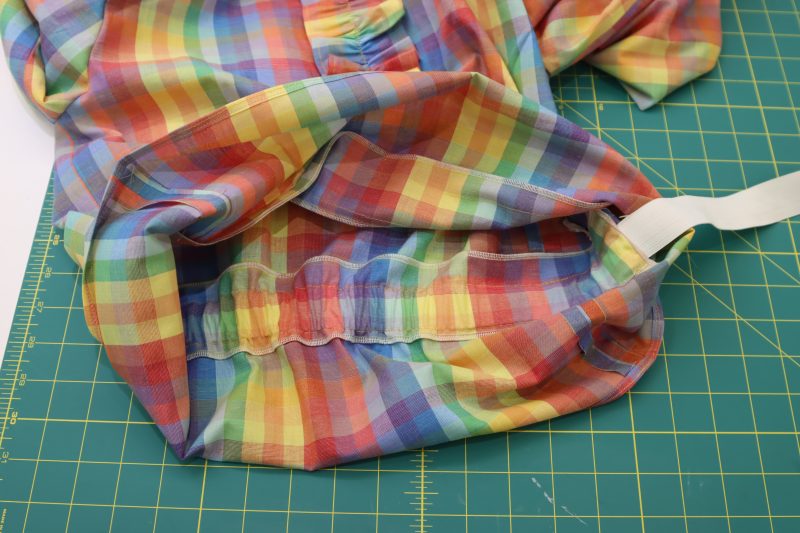
ELASTIC
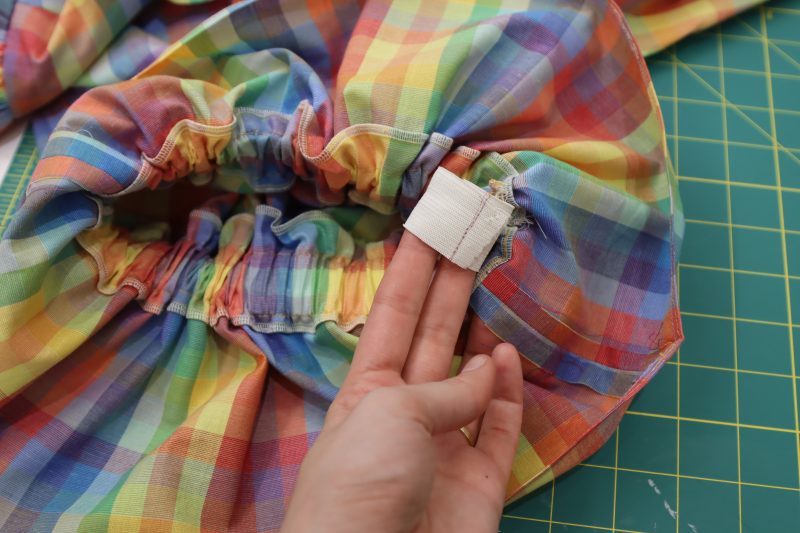
- Insert wide elastic into the casing using a safety pin to feed it through.
- Sew the elastic to itself to create a loop once it reaches the other end of the casing.
Step 16
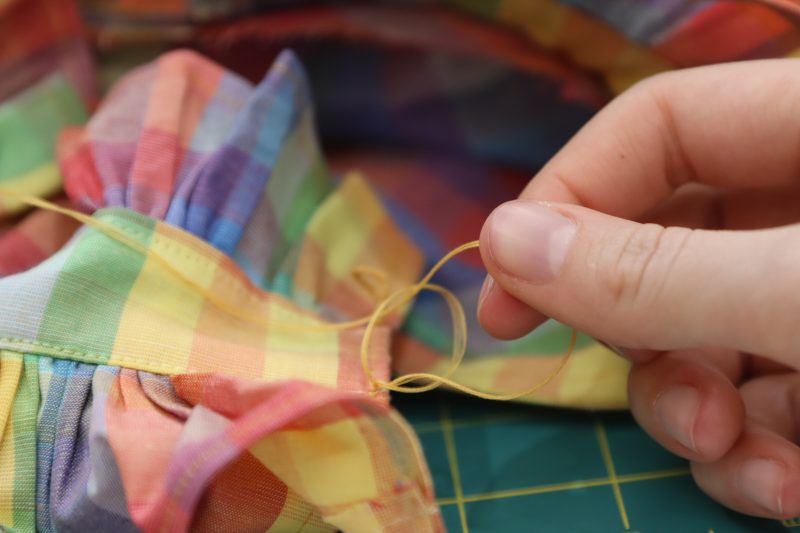
BUTTON LOOPS
- This step is optional and can be done a number of different ways. You can make buttonholes with a buttonhole foot, sew button loops out of fabric, OR use the crocheted thread method below.
- Start by double threading your needle. You do this by folding the thread in half, feeding both of the cut ends into the eye of the needle, then folding in half again and tying a knot.
- Sew through the wrong side of the back of the collar to bring the needle to the front.
- Make a slip knot.
- Reach through the slip knot with two fingers and grab the piece of loose thread that the needle is attached to.
- DO NOT PULL THE NEEDLE ALL THE WAY THROUGH. Just pull the thread until you have a loop in your hand.
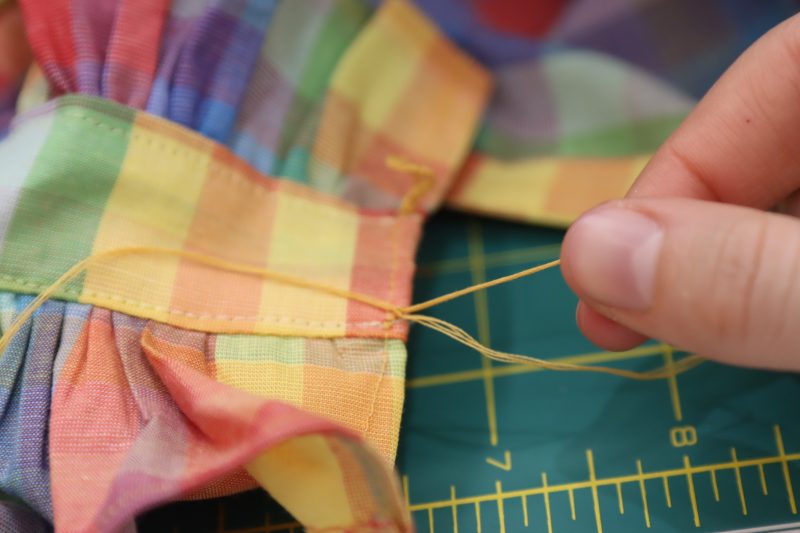
- Pull the original slip knot tight around the new loop.
- Reach through the new loop and grab the loose thread.
- Repeat these steps over and over again until you have a chain of these crocheted knots that makes a loop that is as wide as your button.
- Once the chain is long enough, then you can pull the needle through the loop to secure the chain.
- Sew back through the neckline again and tie off the thread with a knot to secure it.
- Do this twice to make two button loops.

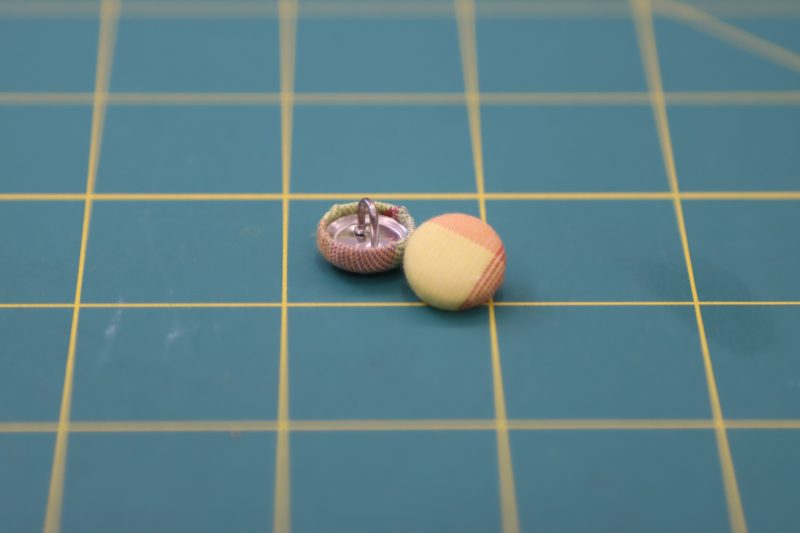
Step 17
BUTTONS
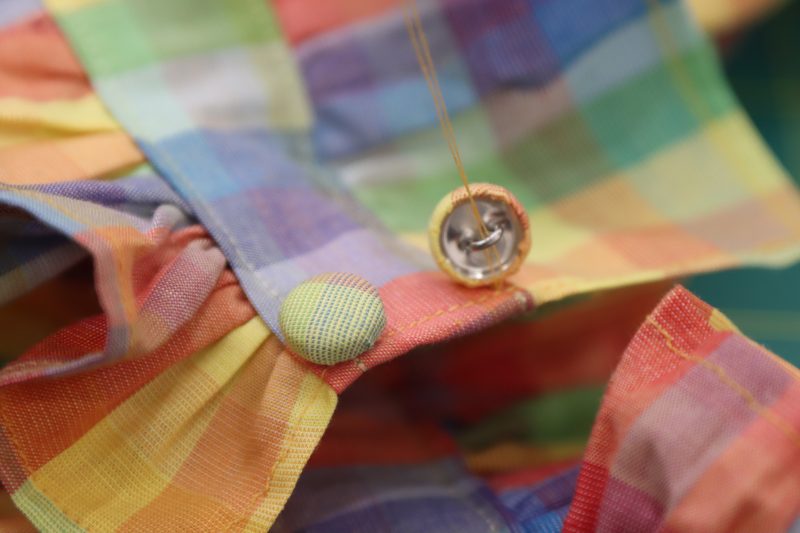
- Using the button cover kit, make two buttons that are covered in your main shirting fabric.
- Hand sew the buttons to the back of the neckline above the keyhole opening with needle and thread.
Sewing Success: The Finished Bayport Blouse
Share this post with a friend (or two!), download the Bayport Blouse free sewing pattern, and show us which fabrics and colors you choose, using the hashtags #MoodBayportPattern & #MadeWithMood—and don’t forget to tag us @MoodFabrics, too.


Free Sewing Pattern Inspiration for Your Next Project
With 490+ free sewing patterns and counting, your opportunities for sewing with Mood are endless!
We hope you had as much fun sewing this blouse pattern as we did! As always, we want to hear from you—share your thoughts and comments below and let us know where you’ll be wearing the Bayport Blouse free sewing pattern!
It’s says it includes the pants. Does the download include them?
Hey Vera, the pants and blouse are separated into our two most recent blog posts on the Mood Sewciety home page, that way you only have to print out one garment at a time if you don’t want to make them both.
LINDO BLUSA, VOU COSTURAR AQUI NO BRASIL., OBRIGADO POR COMPARTILHAR
Me encantó!! Me recuerda mucho las que usaba de niña
Good
M encantan los modelos
Thanks a lot for this pattern
Excelente blusa preciosa
Thanks for the pattern!
It’s a beautiful pattern, but there are zero notches included in it, which makes it really difficult to make sure things are lining up correctly. The sleeves aren’t even marked as to which side goes to the front or back, and I had to match things up and mark it myself. Can y’all please add notches to the actual pattern?
Hi
Due to the visual nature of our patterns, it’s not always possible for us to add notches, as they can get lost among the graded size lines and become visually confusing. That said, thank you very much for your comment. We will look for a solution to include notches in more patterns in the future.
In the meantime, something that can be very helpful is to mark the seam allowance lines. Simply trace an inner margin of ½ inch on the pattern pieces. This will allow you to clearly see the stitch lines (the shapes without seam allowance), which is extremely useful when aligning pieces during sewing.
Happy Sewing 🙂
I love
Super cute blouse! Is this drafted for a B cup? I always need a full bust adjustment, but this info would give me some insight as to how much of one I’ll have to make. I don’t see any bust darts.
Hey Tracy, check the final garment measurements for all the sizes of the blouse. You might end up having to size up on the torso for a fuller bust since you’re right, there is no dart.