

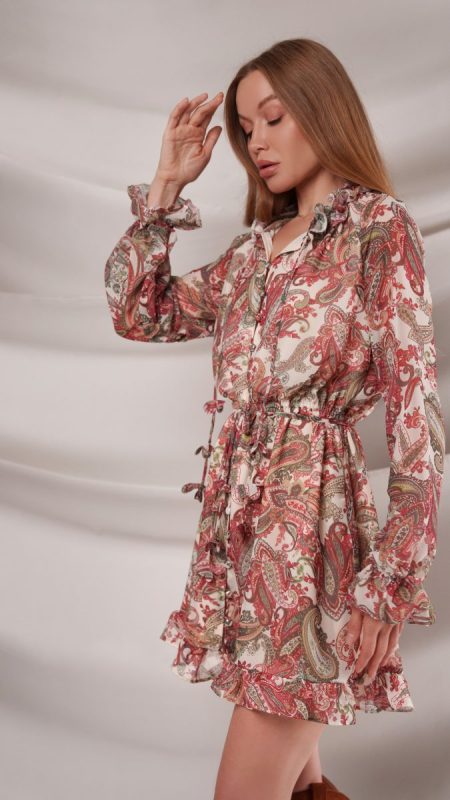
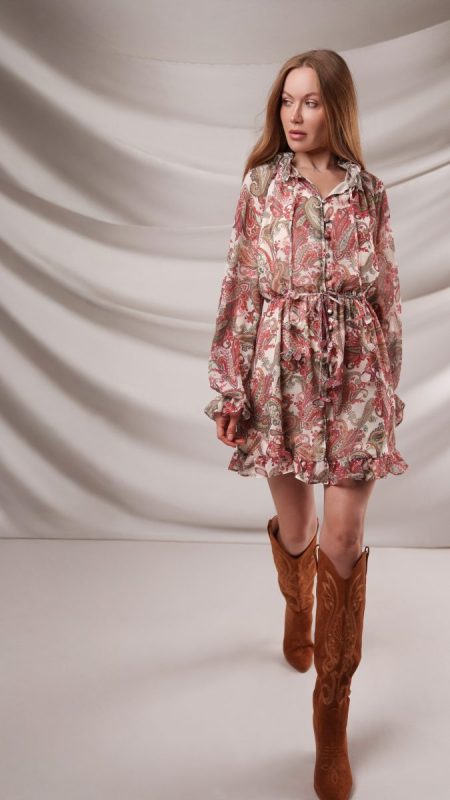
Inspired by sun-soaked afternoons along the Italian coast, the Baratti Blouson Dress free sewing pattern is the definition of effortless elegance with a playful twist. Imagine slipping into something light, airy, and instantly flattering that can be styled from day to night and season to season. That’s the spirit we captured with this design.
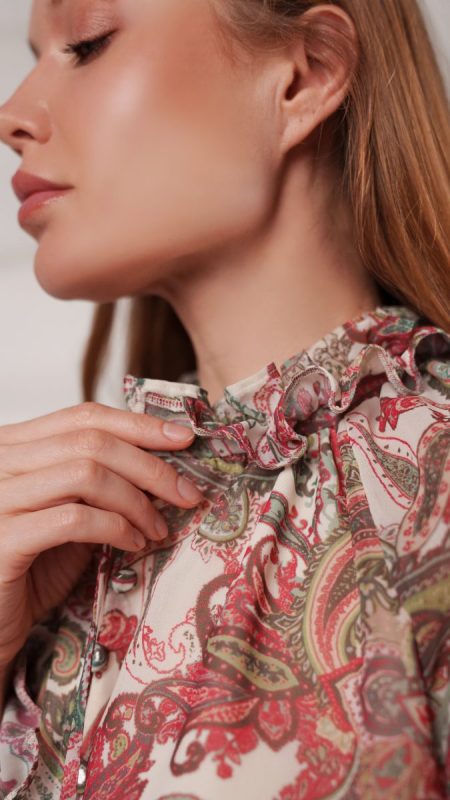
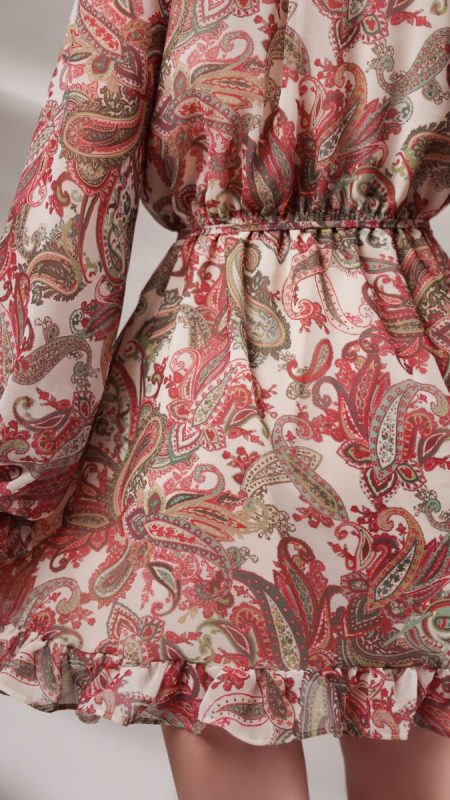
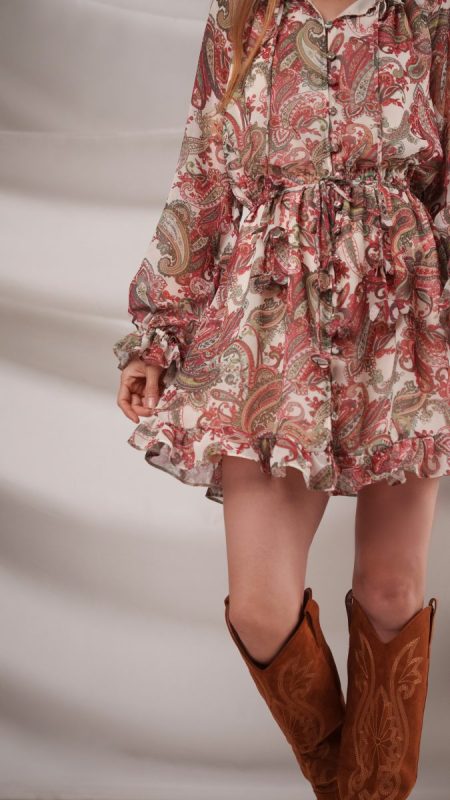
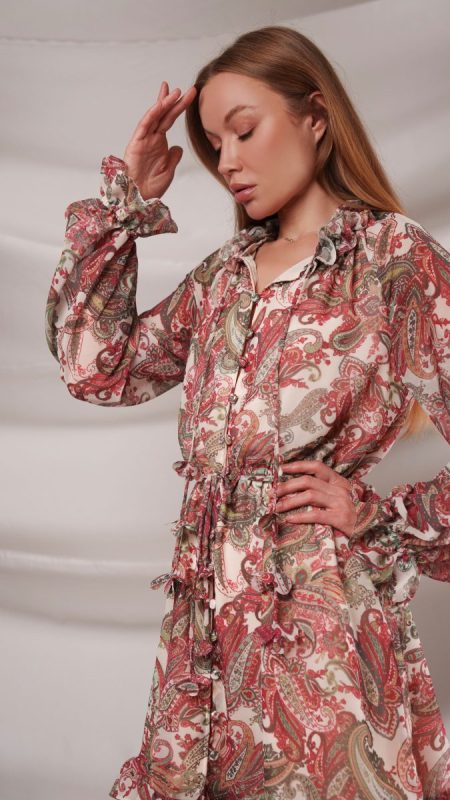
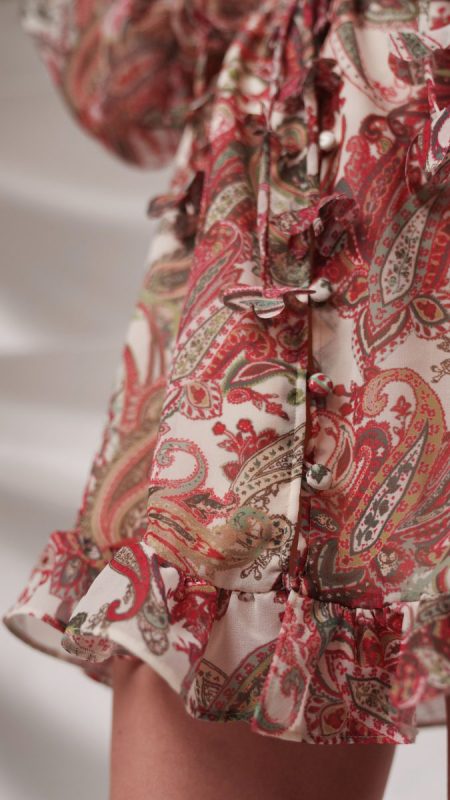
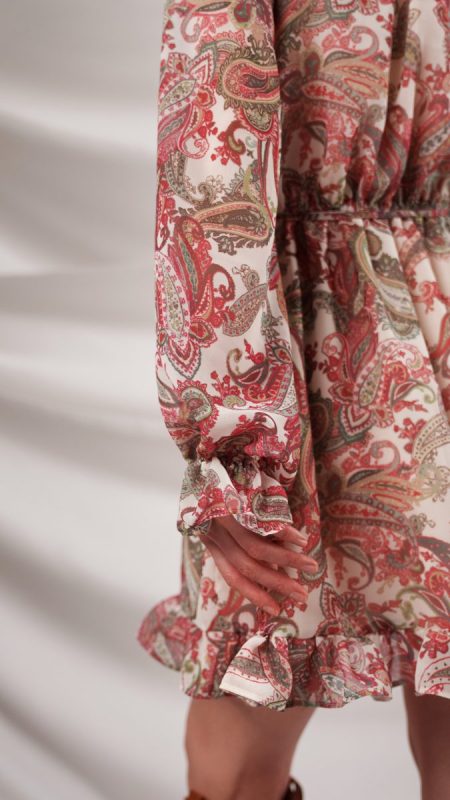
Crafted in sheer polyester georgette, the blouson dress flows with every movement, its delicate ruffled details catching the breeze and adding just the right amount of whimsy. Picture yourself wandering cobblestone streets on a warm evening, or layering it with a light jacket as the seasons change—the Baratti Blouson Dress is just as perfect for summer as it is for transitional weather.
With its easy silhouette and blouson fit, this dress is as versatile as it is striking. Dress it up with strappy heels and statement jewelry for a night out, or pair it with sandals and a sunhat for an effortless daytime look. However you style it, the Baratti Blouson Dress is designed to make you feel chic and comfortable.
Our version uses a dreamy sheer polyester georgette, but the pattern is open to your creativity. Try using a soft chiffon for extra floaty movement, or a lightweight cotton voile for a breezy daytime piece. No matter your choice, this dress is destined to become a wardrobe favorite.
Essential Materials & Sizing Guide for the Baratti Blouson Dress
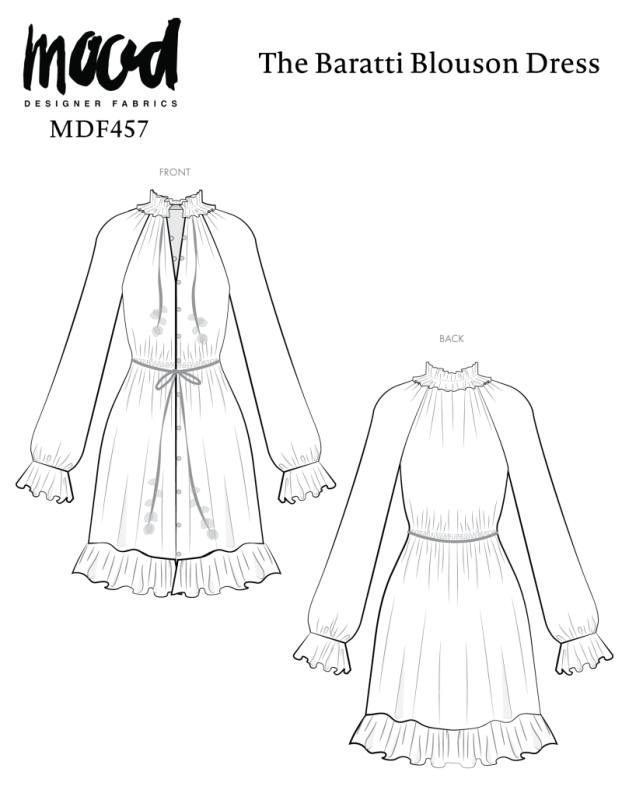
Continue reading for a breakdown of what knowledge and materials you need for creating your very own blouson dress! We’ve got you covered with the recommended materials we used—if you want to follow along exactly—as well as a curated list of alternative fabric type recommendations if you want to customize your own version. The Baratti Blouson Dress free sewing pattern download includes technical drawings for seam and silhouette visibility, plus a size chart to help you find your perfect fit!
Purchase Products Used Below:
Quantities indicated are for sewing a size small blouson dress. Toggle the ‘SHOP THIS LOOK’ box to find quantity estimates for other sizes.
- 3 yards of Italian Silver Green, Moon Mist and Vibrant Red Paisley Polyester Georgette
- 2 yards of Polyester Double Georgette – Ecru – Mimosa Collection by Mood
- 1 yard of White Non Woven Single Sided Fusible Interfacing
- 1 yard of White Double Fusible Interfacing
- 2 each of Gutermann Sew All Thread 100m – 501 Pongee
- 4 each of Maxi-Lock Serger Thread 3000yds – Pearl
- 2 each of Maxant Button Cover Kit – 20
- 2 yards of White Elastic – 0.25″
- MDF457– The Baratti Blouson Dress Sewing Pattern (Free download below!)
Additional Products Used:
Alternative Fabric Type Recommendations:
The The Baratti Blouson Dress sewing pattern is best suited for feather-weight fashion fabrics with a lightweight lining. Explore other fabric types or colors from our featured collections for your blouson dress with the links below.
Fabric Collections Used in this Post:
Download Your Free Sewing Pattern
Submit your name and email in the form below to receive the download link for the Baratti Blouson Dress free sewing pattern directly in your inbox. Mood Sewciety Patterns will send your free download link via email with the subject line: ‘Your Free Download from Mood Sewciety – The Baratti Blouson Dress’ (in PDF format for A4 and letter-size printing).
Find Your Perfect Fit
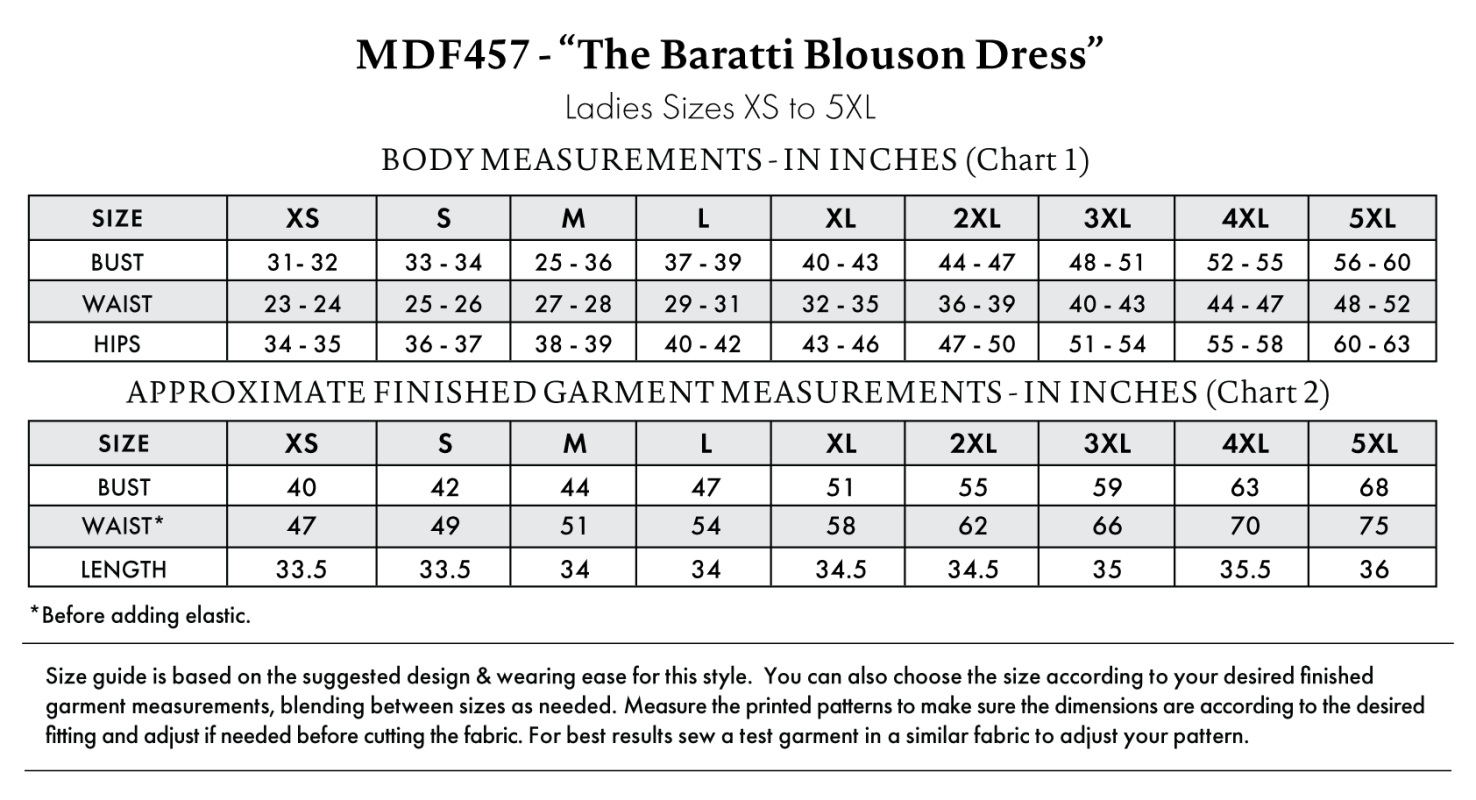
The Baratti Blouson Dress Sizing Guide is based on the suggested design & wearing ease for this style. You can also choose the size according to your desired finished garment measurements, blending between sizes as needed. Measure the printed patterns to make sure the dimensions are according to the desired fitting and adjust if needed before cutting the fabric. For best results, sew a test garment in a similar fabric to adjust your pattern.
*Approximate finished garment measurement for WAIST is before adding elastic.
Note: Always read all the instructions before cutting the fabric!
How to Sew The Baratti Blouson Dress
The instructions provided below are designed to guide you through sewing the Baratti Blouson Dress from start to finish.
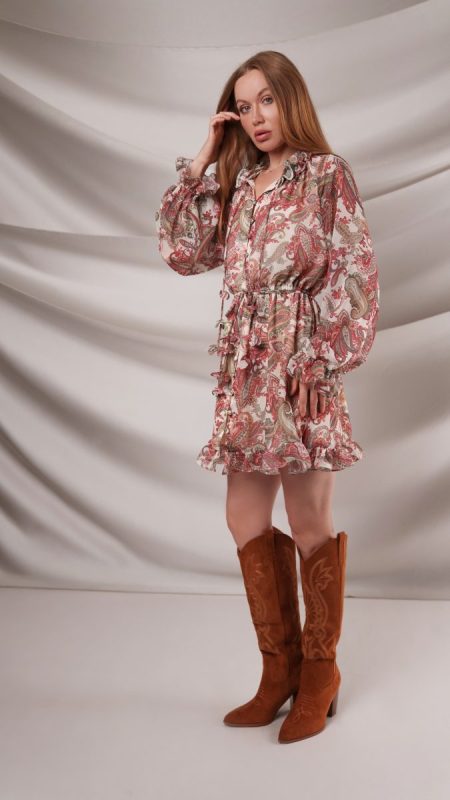
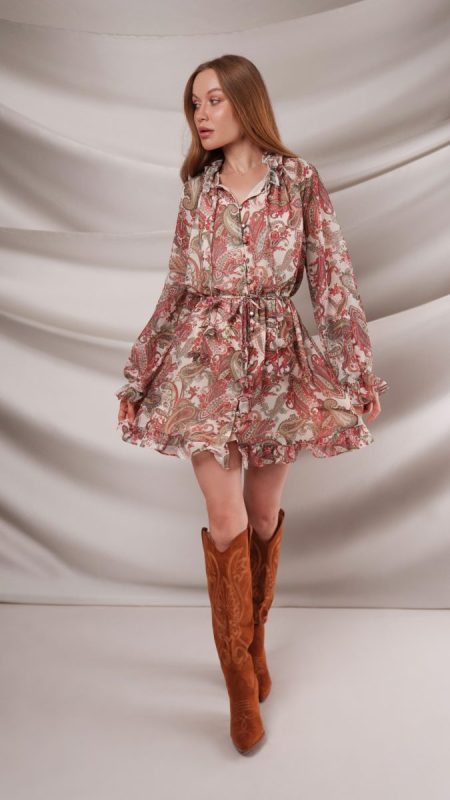
3 Tips for Sewing with Feather-Weight Georgette
- Georgette tends to fray quite a bit after its been cut and manipulated. If fraying becomes an issue while sewing this garment, try using Dritz Fray Check on the cut edges.
- When sewing the gathering stitches, use a longer stitch length (4mm) to easily ruffle the fabric. Otherwise, use 2.5mm stitch length throughout the garment.
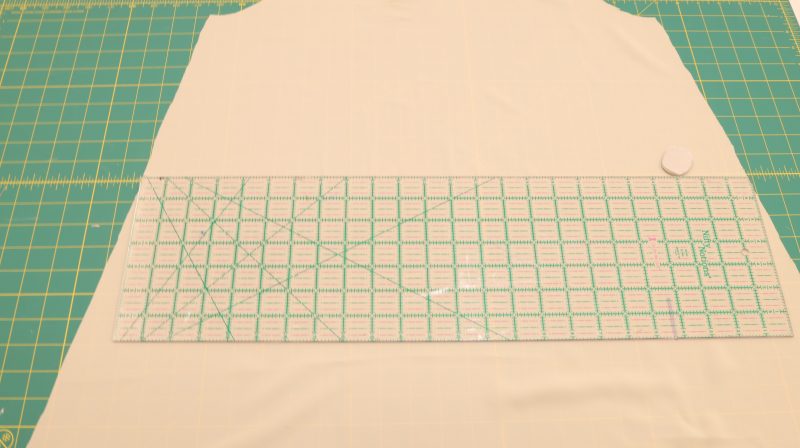
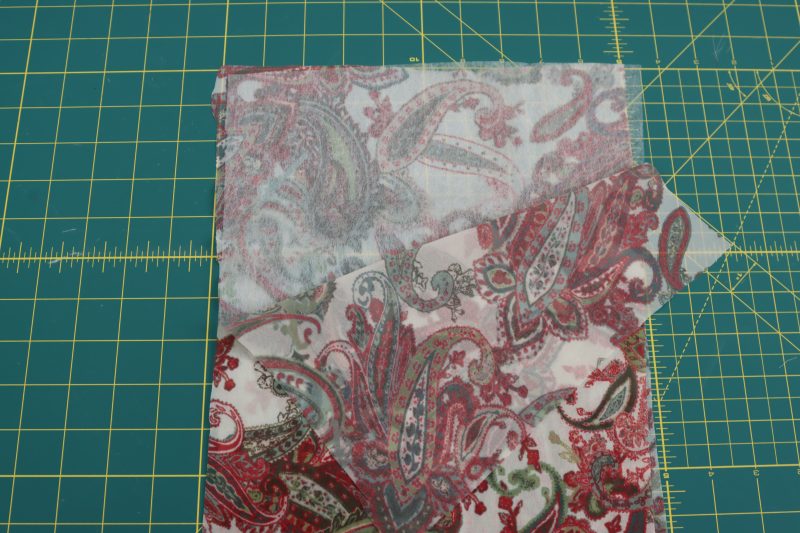
- Georgette and other thin/sheer fabrics tend to shift around while cutting out the pattern. To alleviate this, use a cutting mat with grid lines to ensure that the grainline of the fabric is perfectly straight and not shifted.
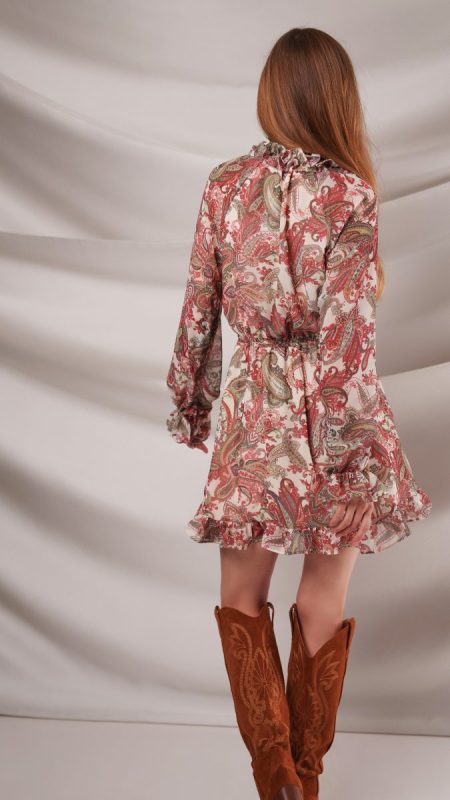
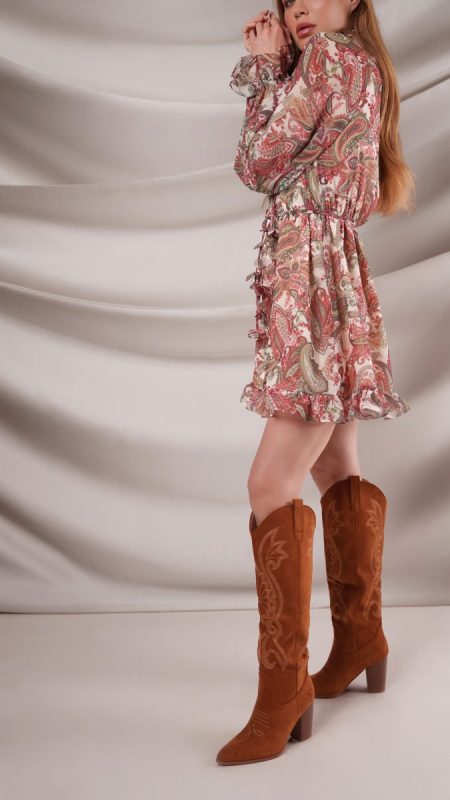
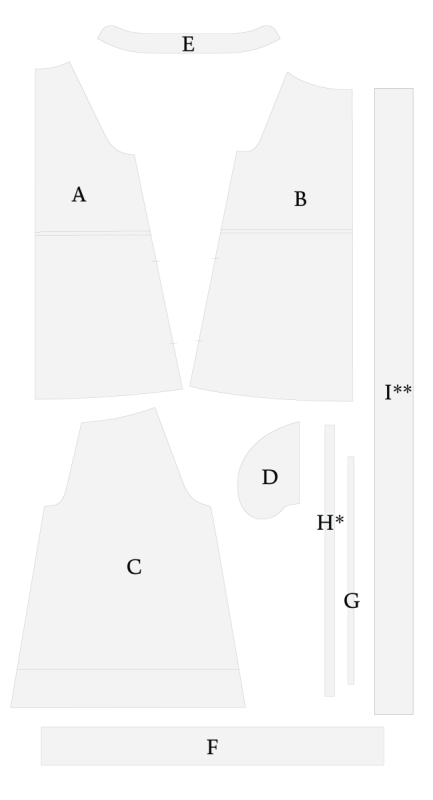
Pattern Pieces & Fabric Cuts Needed
- (A) BACK
- Fabric – Cut 1 on Fold
- Lining – Cut 1 on Fold
- (B) FRONT
- Fabric – Cut 2 Mirrored
- Lining – Cut 2 Mirrored
- (C) SLEEVES
- Fabric – Cut 2 Mirrored
- (D) POCKETS
- Lining – Cut 2 Mirrored Sets
- (E) COLLAR
- Fabric – Cut 2
- (F) COLLAR RUFFLE
- Fabric – Cut 1
- (G) SLEEVE ELASTIC CASING
- Fabric – Cut 1
- (H) CORD
- Fabric – Cut 1*
- (I) BOTTOM RUFFLE
- Fabric – Cut 1**
*Cut 1, extending the length and dividing it into pieces as indicated on page F6.
**To cut the bottom ruffle, use the collar ruffle pattern piece, but extend the length according to the guide below:
SIZE | BOTTOM RUFFLE LENGTH
- XS – 120″
- S – 123″
- M – 127″
- L – 134″
- XL – 140″
- 2XL – 150″
- 3XL – 158″
- 4XL – 164″
- 5XL – 170″
Sew with a 1/2″ seam allowance for all seams unless otherwise specified.
Step 1
MARK WAISTBAND
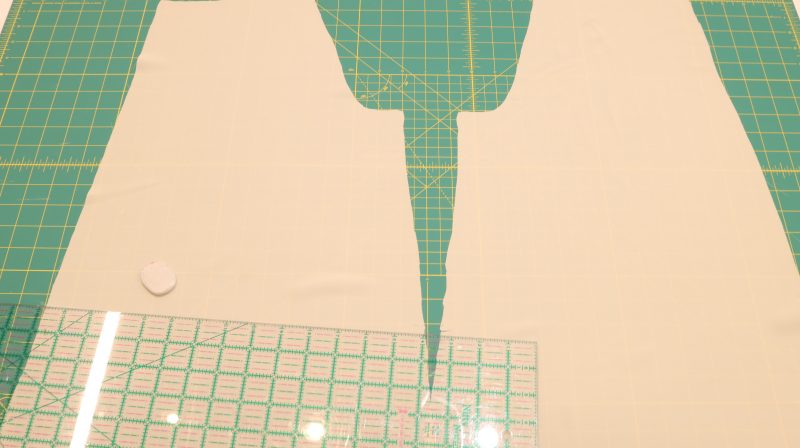
- Mark the tunnel where the waistband will be sewn on the front and back pattern pieces for the lining using tailor’s chalk.
Step 2
LINING CONSTRUCTION
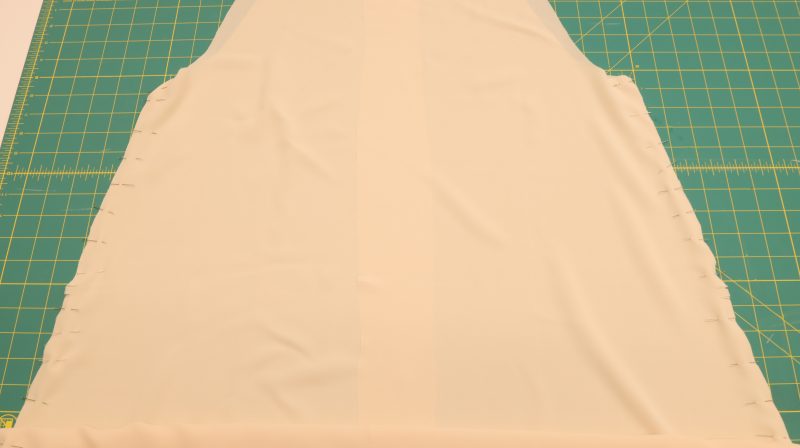
- Pin and sew (or serge) the two front lining pieces to the back lining piece at the side seams.
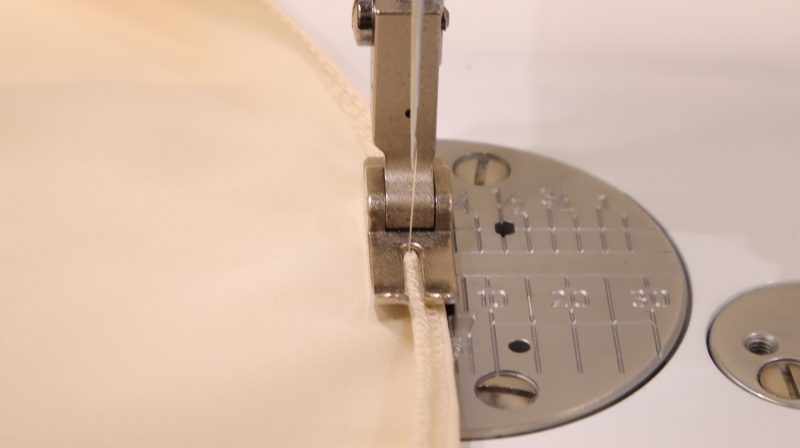
- Hem the bottom of the entire lining piece with a rolled hem (in this dress, the hem was serged, folded over one, and sewn down with a straight stitch).
Step 3
ATTACH POCKETS
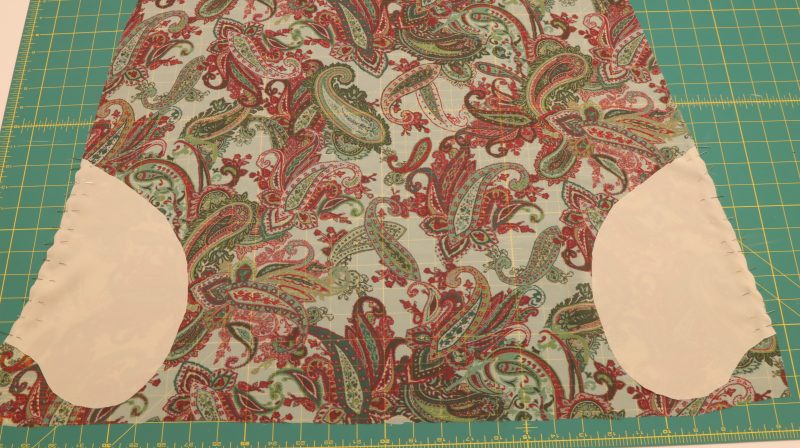
- Line up the pockets with the notches on the side seams of the back piece of main fabric, ensuring the pocket pieces and main fabric are facing right sides together. Pin and sew/serge.
- Complete the same step, but with the notches on the two front pieces of main fabric. Pin and sew/serge.
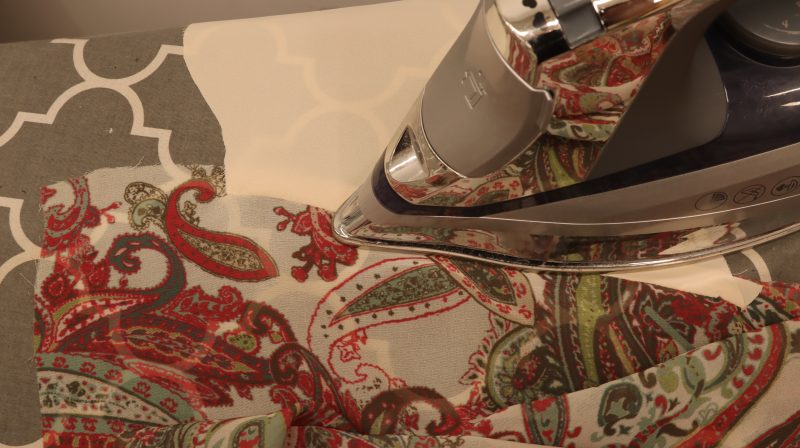
- Iron all four pocket seams open so that the pockets will sit flat inside the main fabric once the dress is constructed.
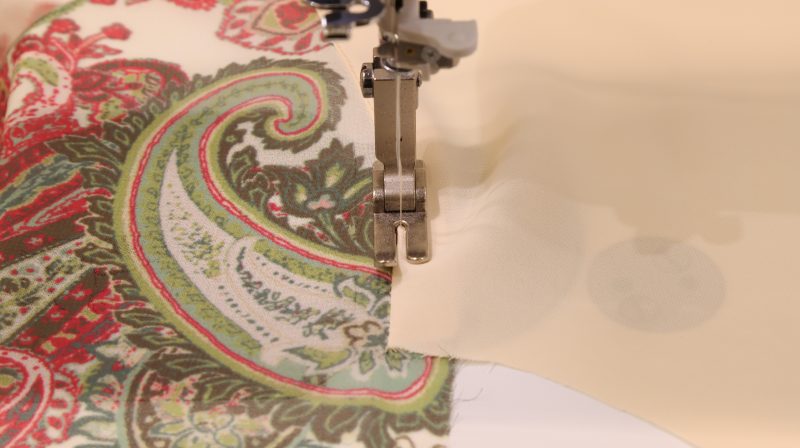
- Under stitch the pocket to the seam allowance of the main fabric.
Step 4
CLOSE POCKETS AND SIDE SEAMS
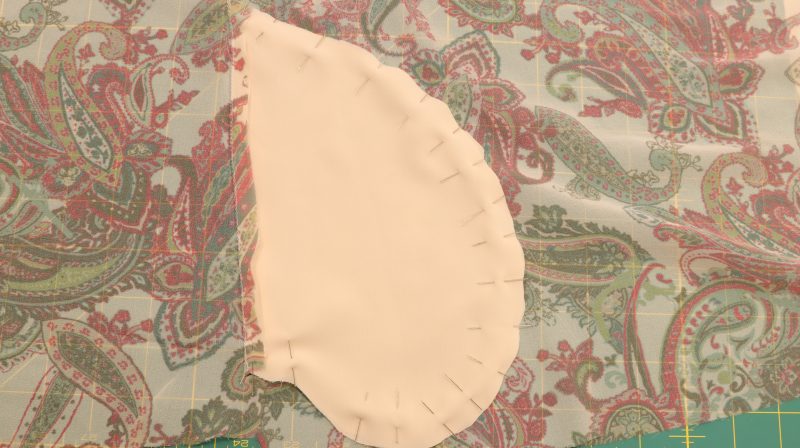
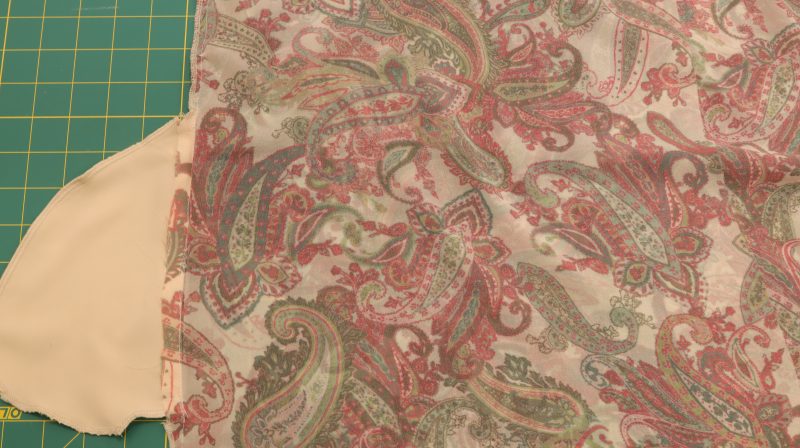
- Place the two front pieces of the main fabric on top of the back piece of the main fabric right sides together, ensuring that the pocket pieces are sticking out to the side.
- Pin only around the rounded part of the pocket pieces to attach them together (Note: Do not pin the flat part of the pocket that is sewn to the side seam of the dress, this will sew the opening of the pocket shut).
- Pin the side seams of the front and back pieces of the main fabric together.
- In one continuous seam, sew (or serge) each side seam of the dress, including the side of the pocket that has been pinned.
Step 5
ATTACH FRONT OPENING
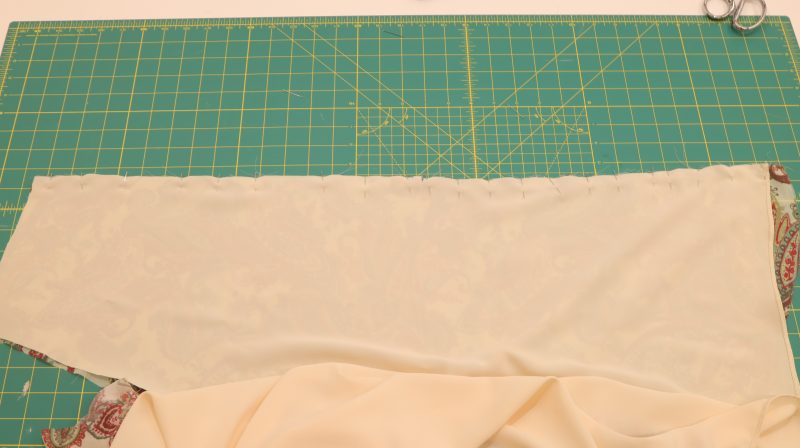
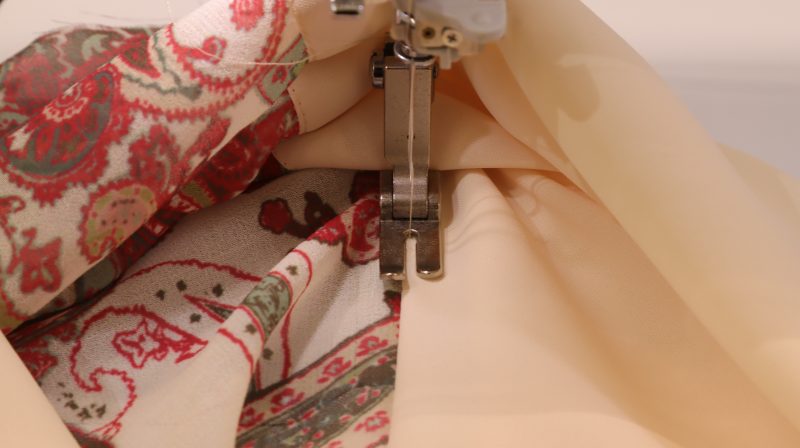
- Place the constructed lining against the constructed main fabric shell right sides together.
- Line up the front opening seams of the lining with the main fabric.
- Pin and sew (or serge) the front of the lining and the front of the main fabric together.
- Under stitch the lining to the seam allowance.
Step 6
ATTACH NECK AND SHOULDERS
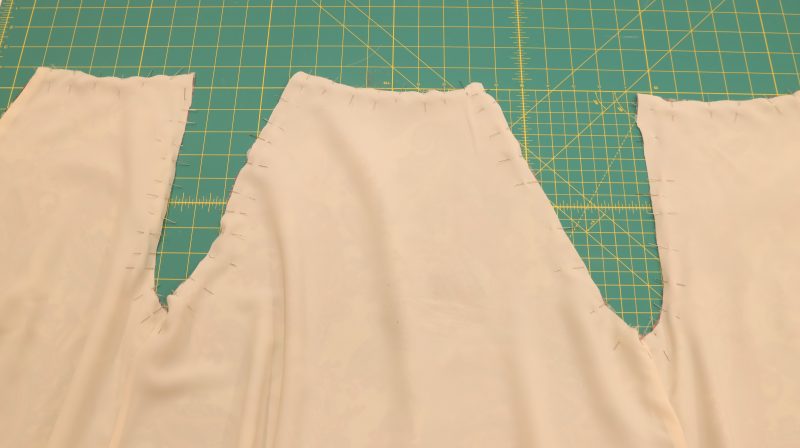
- Turn the fabric so the main fabric and lining fabric are wrong sides together (finished seams facing out).
- Pin the neckline and armholes of the lining fabric to the main fabric.
- Sew or serge the neckline and arm holes to attach the lining to the main fabric.
Step 7
WAISTBAND ELASTIC
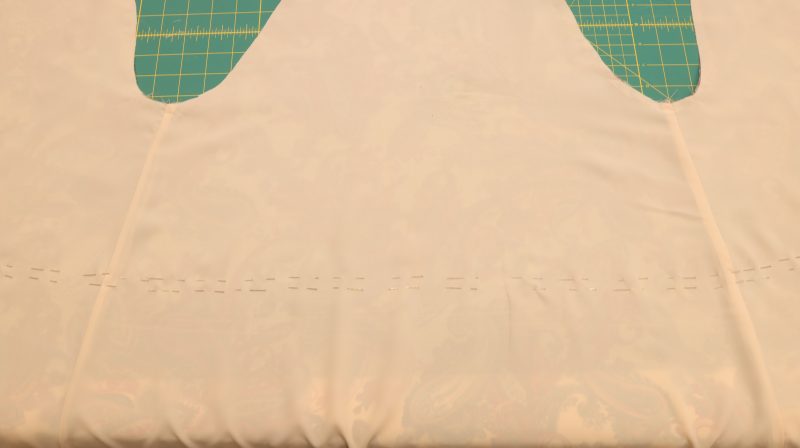
- Mark the two chalk lines from Step 1 using pins to hold fabric in place.
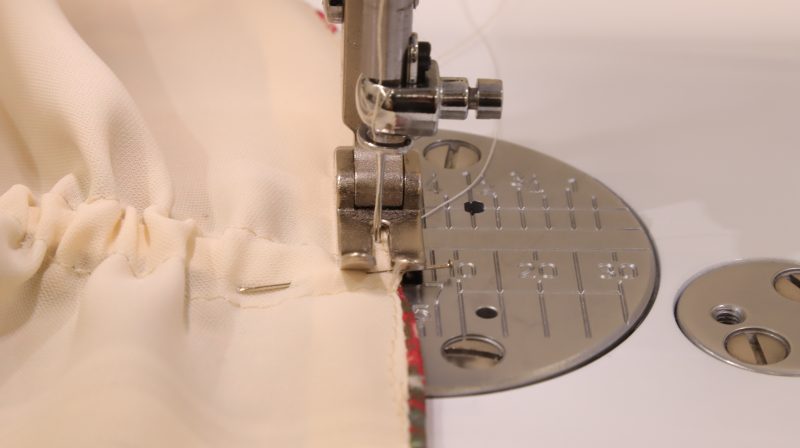
- Sew along both parallel lines to create a tunnel for the elastic waistband.
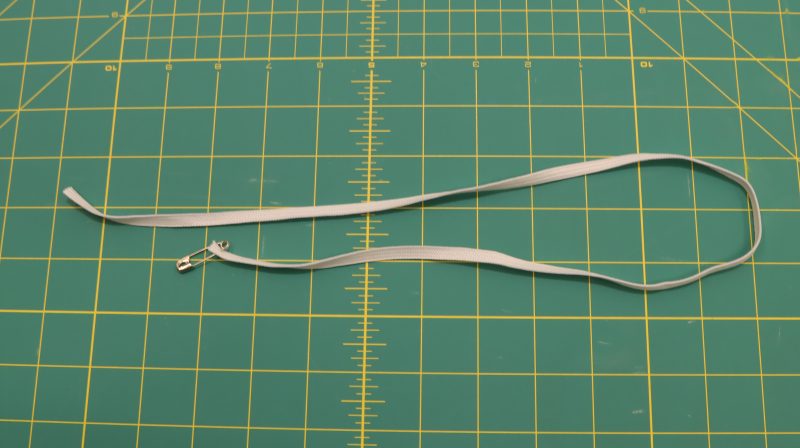
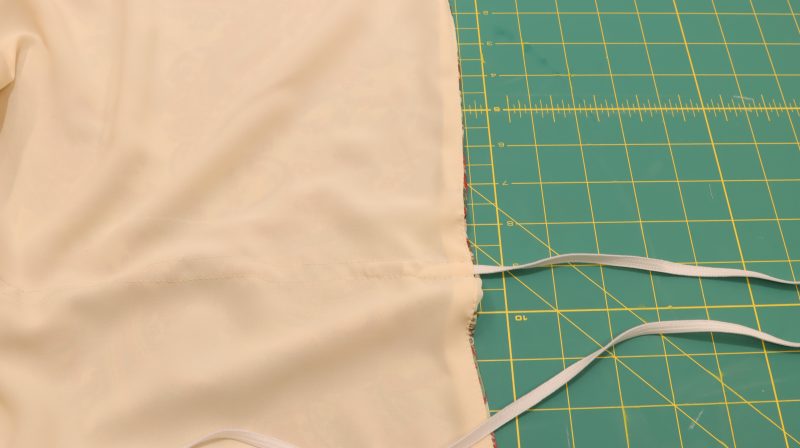
- Feed the elastic through the tunnel by attaching a safety pin to one side of the elastic and snaking it through, ensuring that the elastic is sticking out of both ends of the tunnel when finished.
- Secure the elastic to either side of the opening of the tunnel by sewing a straight stitch over the elastic and both layers of fabric, closing the tunnel.
Step 8
PREPARE SLEEVES
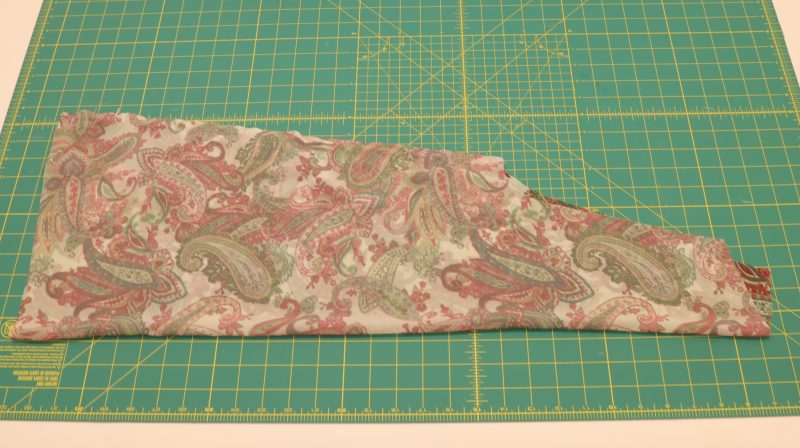
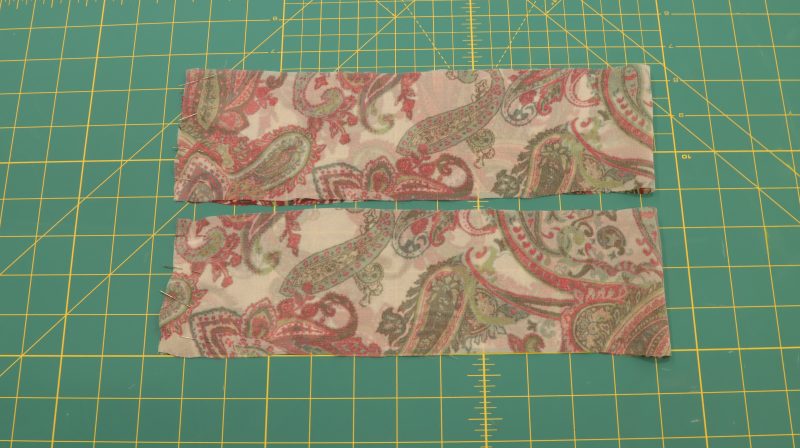
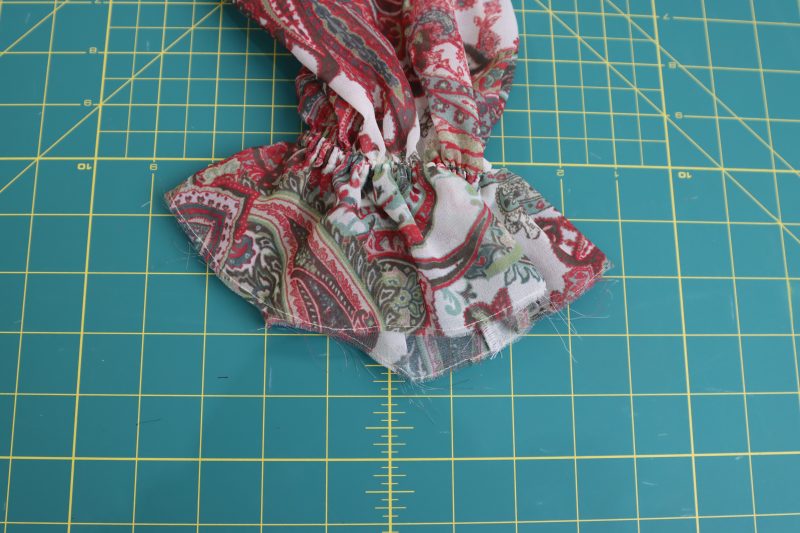
- Fold sleeves in half long ways right sides together. Pin and sew/serge)
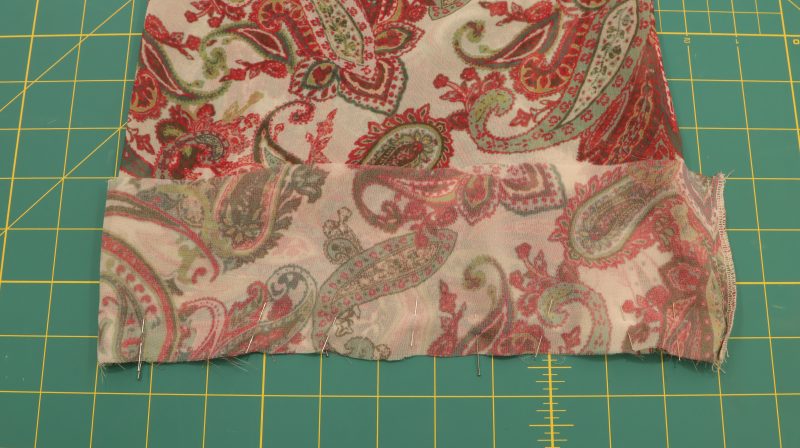
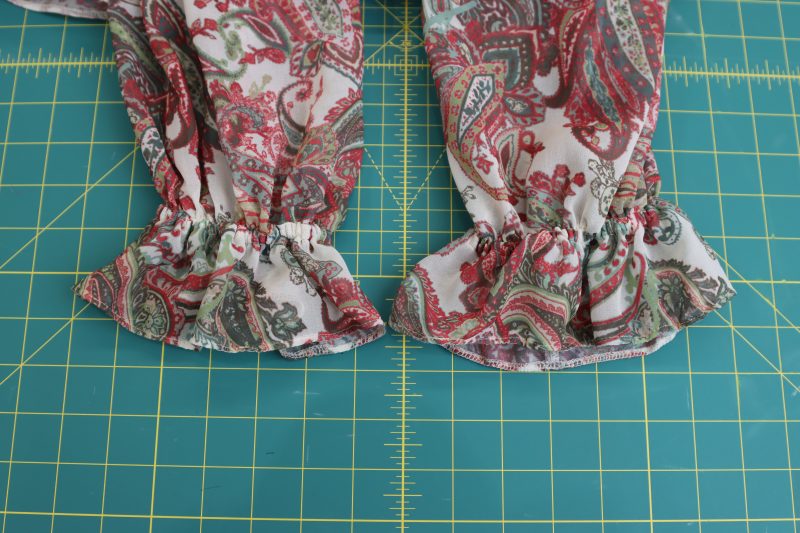
- Fold sleeve ruffles right sides together to create a cuff. Sew/serge the short end of each cuff.
- Pin and sew/serge the cuff to the bottom end of the sleeve, right sides together.
Step 9
GATHER SLEEVES
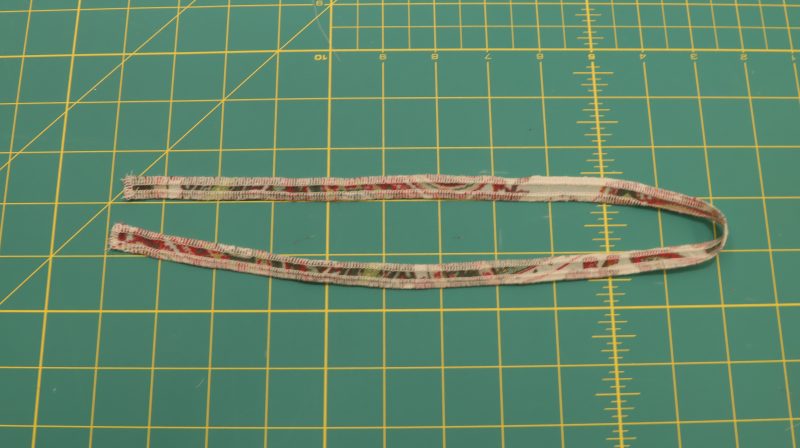
- Serge the edges of the sleeve elastic casing pieces to prevent them from fraying.
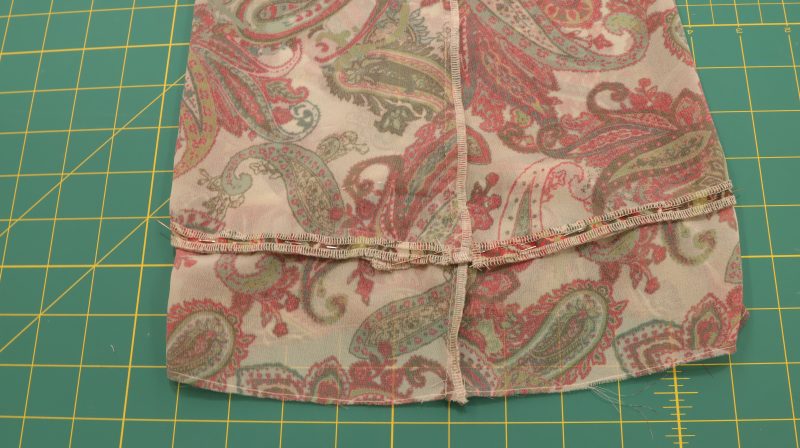
- Pin the elastic casing to the bottom of the sleeve where it was sewn to the cuff. Sew two parallel straight stitches around the entire casing, leaving a small hole on one side for inserting the elastic.
- Insert the elastic into the sleeve tunnel using the same method that was used in Step 7.
- Secure the two ends of the elastic using a straight stitch so that they are connected in a loop.
- Close the small hole left in the casing using a straight stitch.
Step 10
ATTACH SLEEVES
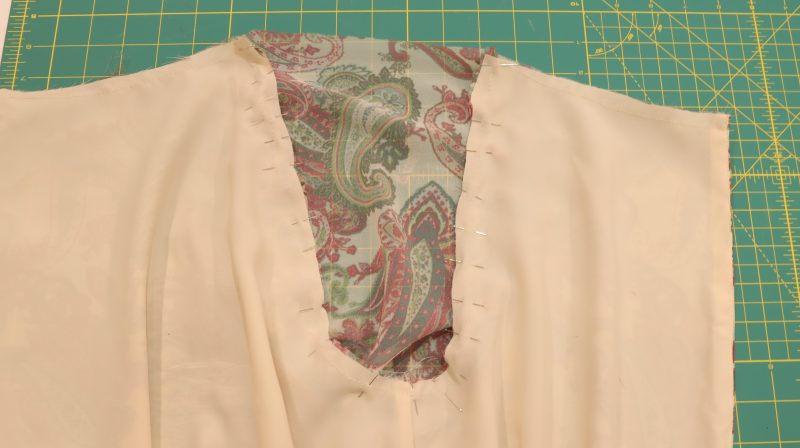
- Pin the sleeves to the arm openings with the right sides together (Note: The sleeves are not lined for this pattern, but a lining can always be added if desired).
- Sew two parallel straight stitches around the entire top opening of the dress, starting from the front of one side of the neck, going over the tops of the sleeves and the back of the dress, finishing at the top of the other side of the neck.
- Gently pull on the end of one thread from each of the two seams to begin ruffling the neckline of the dress (Note: the length of the ruffled neckline will be the same length as the collar, which will be created in Step 12.
Step 11
BELT, TIES, AND LOOPS
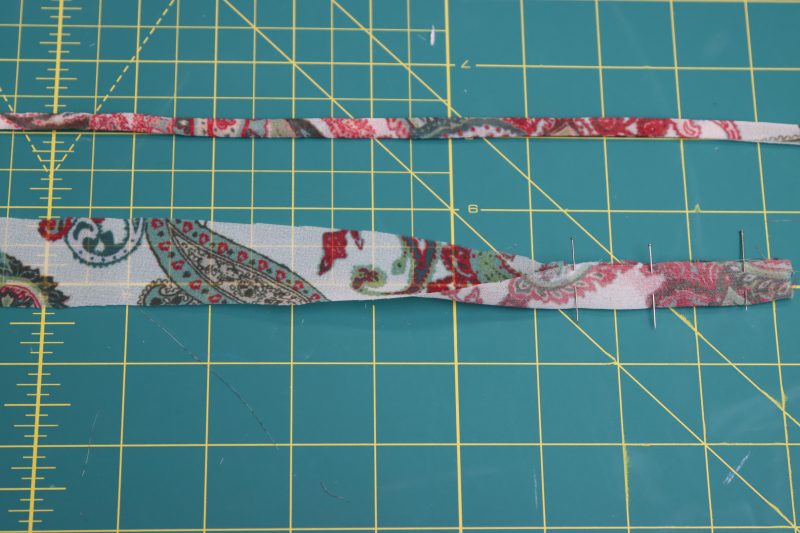
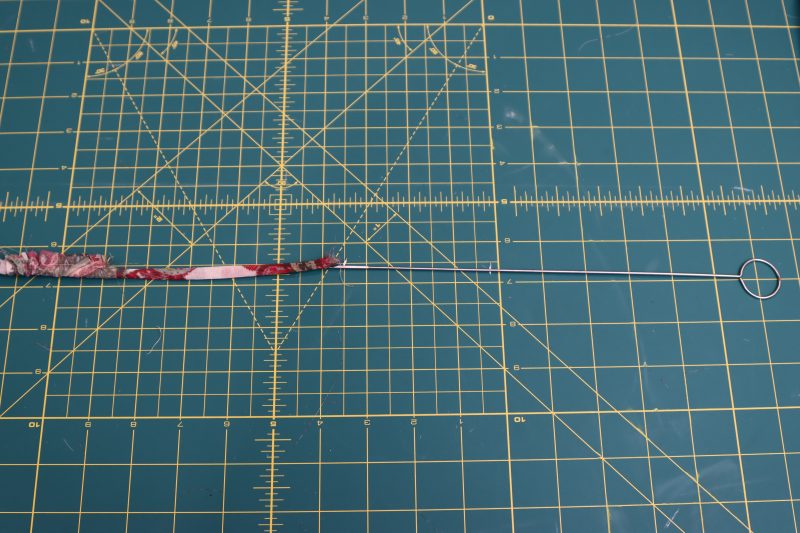
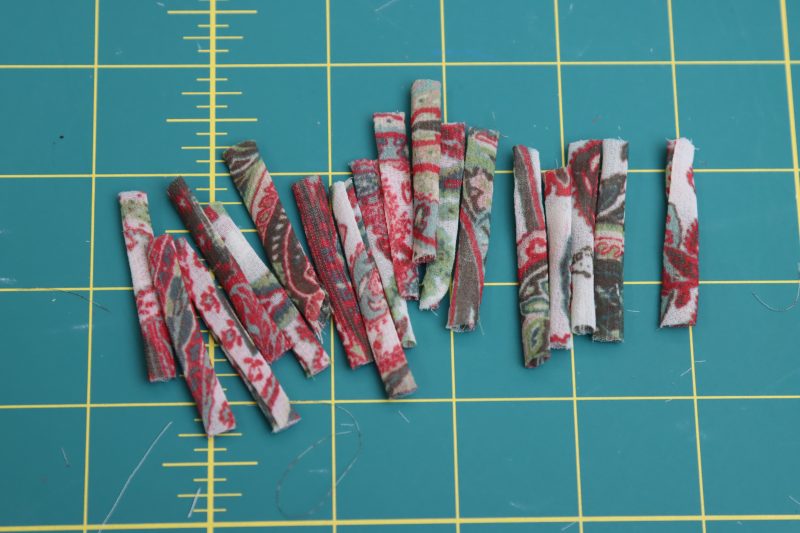
- Using the measurements indicated on the pattern piece for the cord, fold each strip of fabric long. ways and sew a tunnel using a ¼ inch seam allowance (the final width of the cord will be ¼ inch).
- Repeat this process for the belt, neck ties, and button loops.
- Cut out a total of 16 strips that are 1.25 inches long to be used for the button loop placket.
Step 12
BUTTON LOOPS
- Cut out two additional pieces of fabric using the lining fabric and the pattern piece for the cord that are the same length of the front opening of the dress.
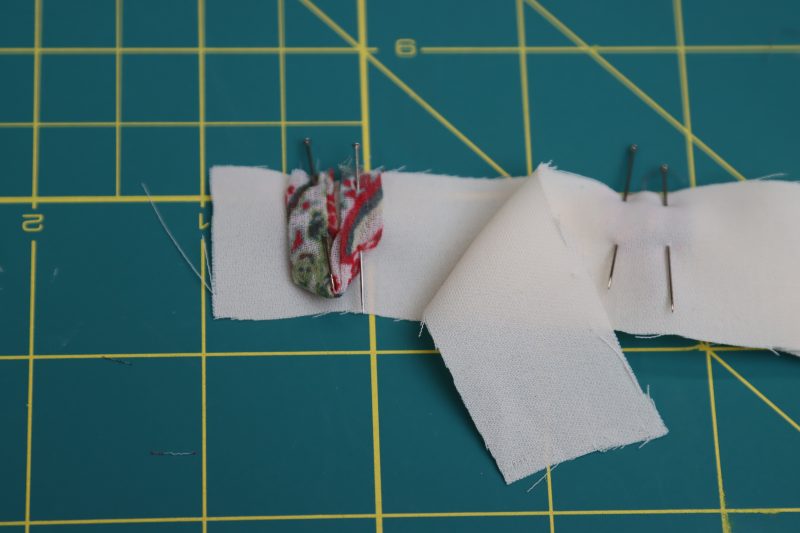
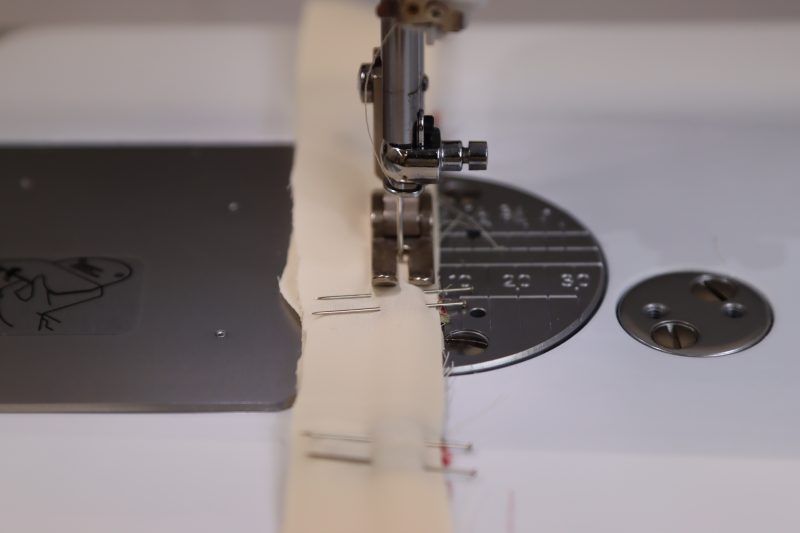
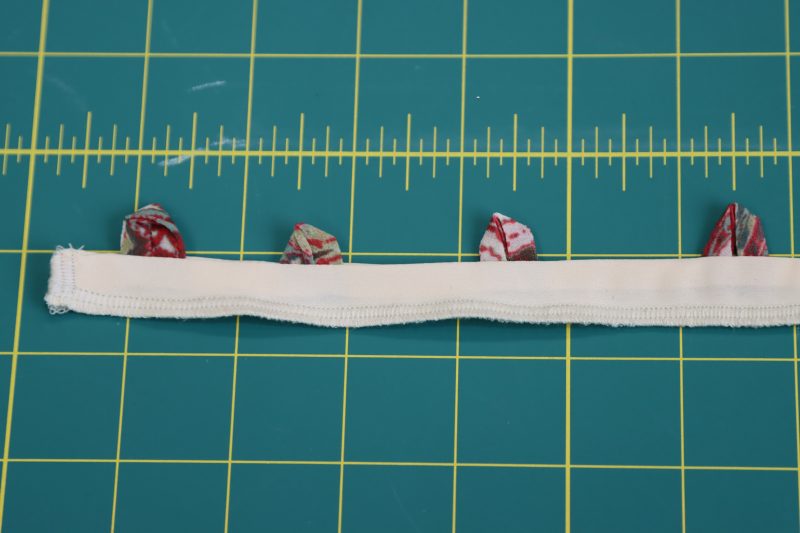
- Sandwich the short cord strips between the two pieces of lining fabric (placed right sides together), equally spaced apart and looping back on themselves. Pin in place.
- Sew the loops down with ¼ inch seam allowance. Turn the strip right sides out and iron flat.
Serge the raw edges of the button loop placket to prevent fraying. - Pin and sew loop placket to the front right side of the dress and sew with ¼ inch seam allowance.
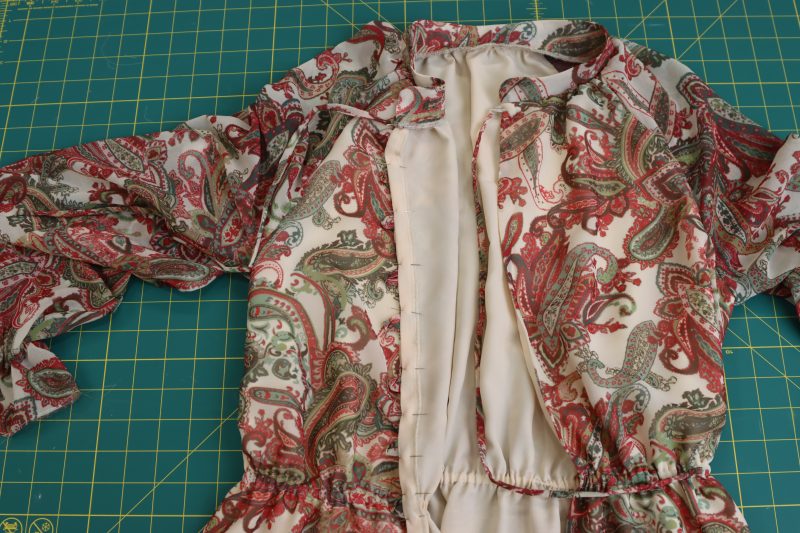
Step 13
COLLAR
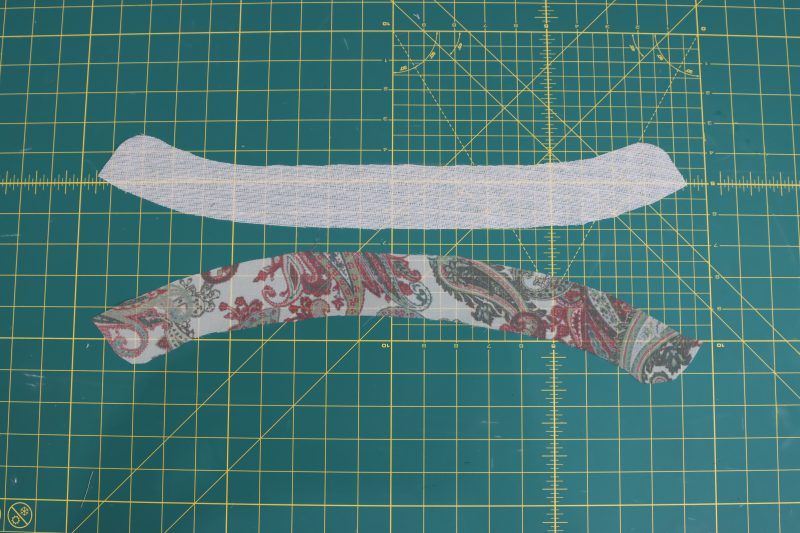
- Iron the interfacing to the wrong side of one piece of the collar pattern for stability.
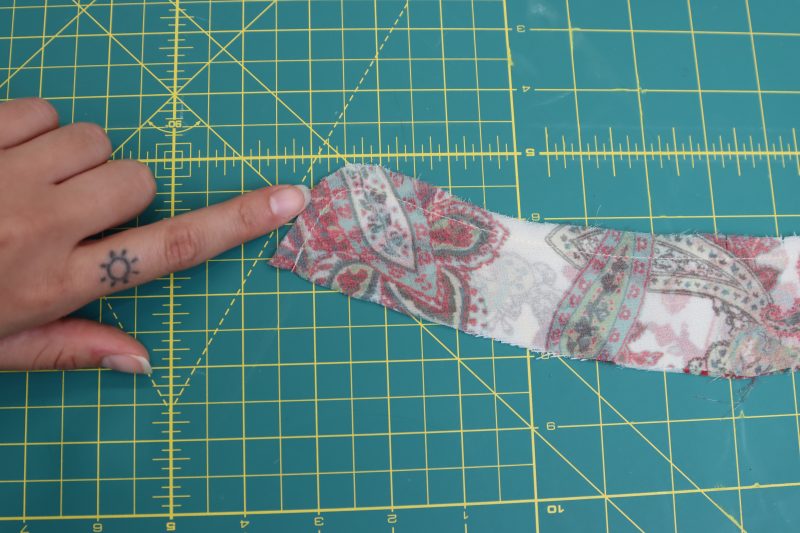
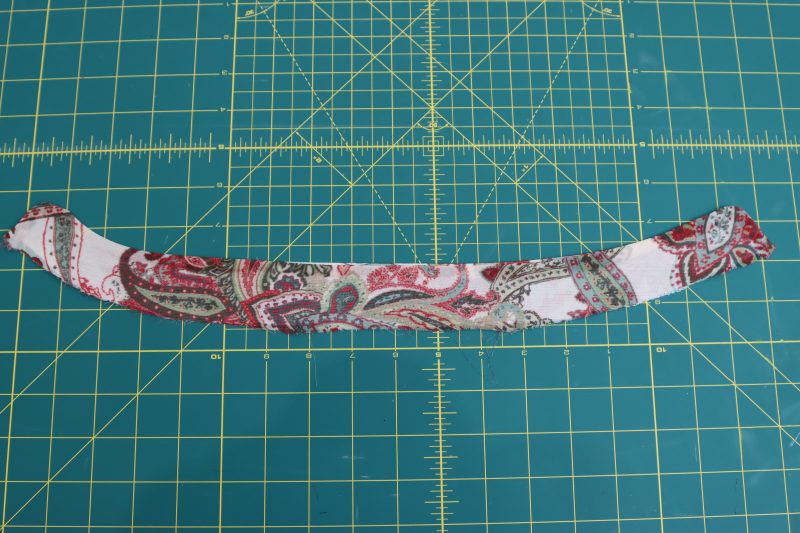
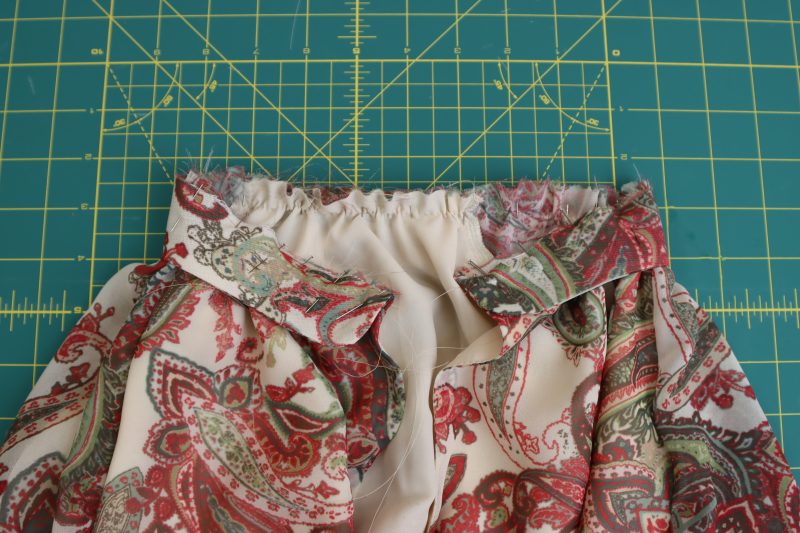
- Sew the two collar pieces right sides together with ¼ inch seam allowance as shown in the photograph (leave the long flat side of the collar pieces unsewn so that it can be turned inside out).
- Cut tiny notches into the rounded sides of the collar, turn the collar piece right sides out, then iron flat.
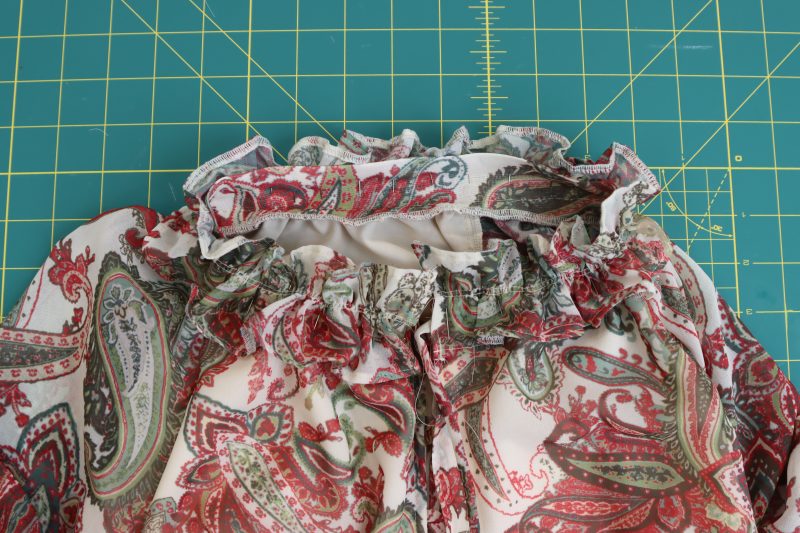
- Pin and sew the collar piece to the gathered neckline of the dress.
- Take the two 20 inch cord pieces and pin them at the seam where the collar meets the neckline. Sew a straight stitch over them to secure them in place.
Step 14
GATHER RUFFLES
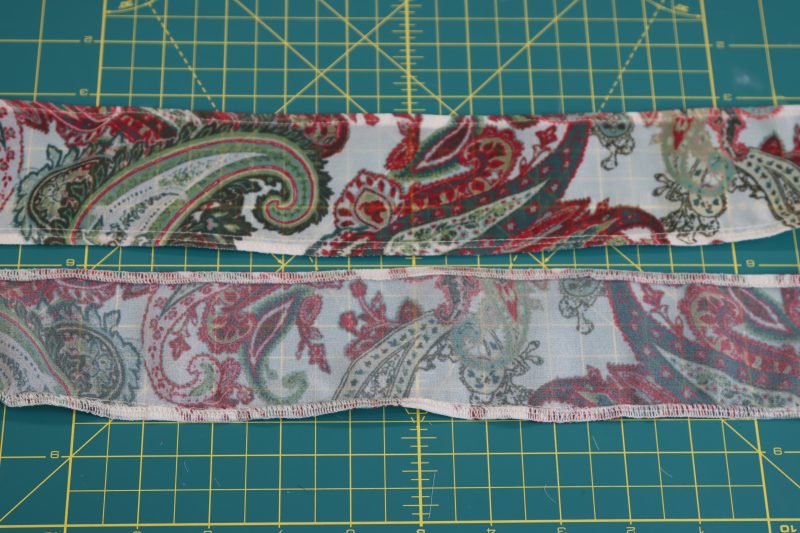
- Hem the edges of each ruffle pattern piece with the serger or a tiny rolled hem.
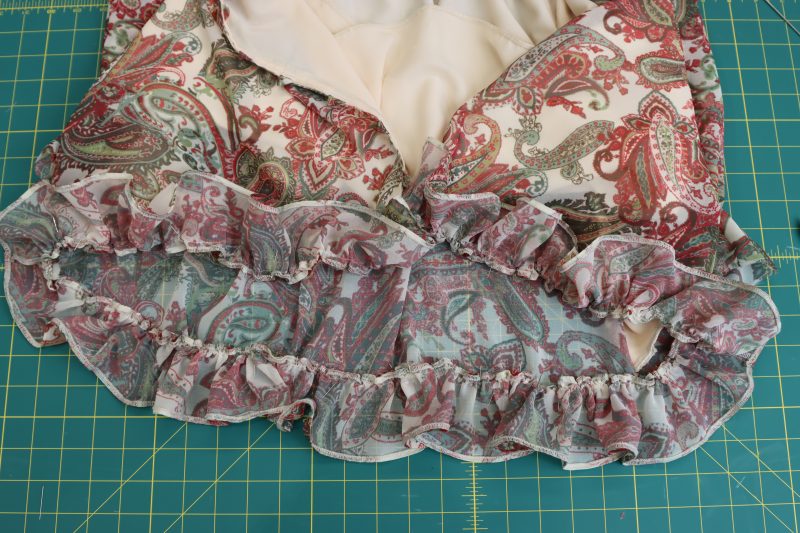
- For the ruffle on the bottom of the dress, sew two parallel straight stitches ¼ inch away from the finished edge of the ruffle to begin gathering using the same gathering method as used in Step 10. Gather the ruffle until it is the same length of the bottom hem of the dress, then pin and sew to secure.
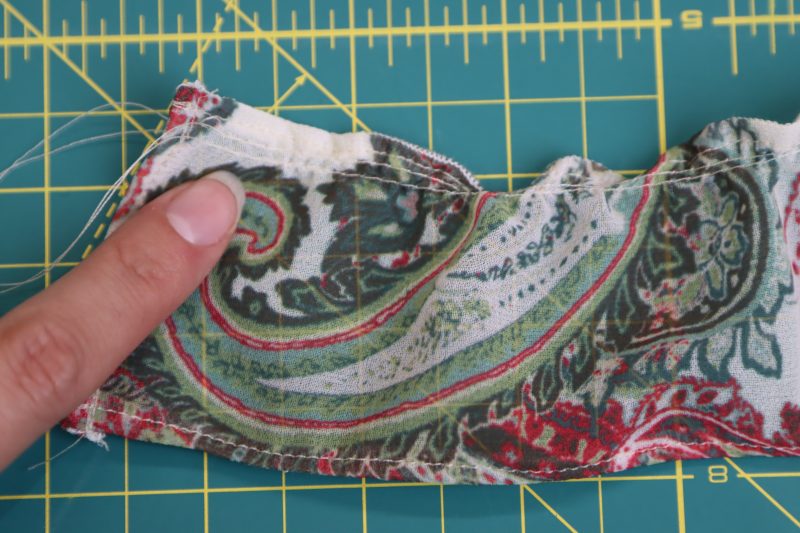
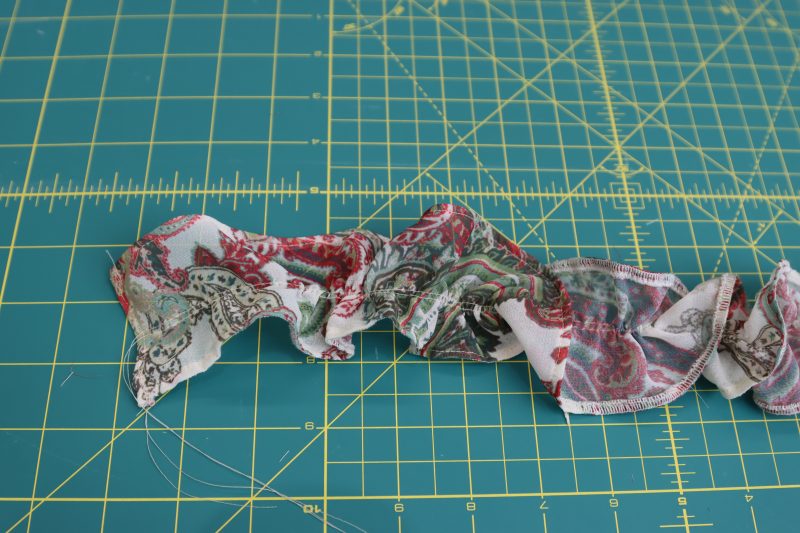
- For the ruffle on the neckline, sew two parallel straight stitches longways down the center of the pattern piece as shown below. Ruffle the neckline ruffle using the same ruffling technique used throughout the pattern.
Step 15
ATTACH RUFFLES
- Pin the neckline ruffle to the collar of the dress with the pins fixed to the center gathered part of the ruffle, allowing the ruffle to stand up with the collar. Top stitch the ruffle to the collar over the gathered stitches using a straight stitch.
- Pin the hemline ruffle to the bottom hem of the dress right sides together. Sew or serge the ruffle to the hem of the dress.
- Hem ruffled sleeves using a serger on the raw edge and a single rolled hem with a straight stitch.
Step 16
BUTTONS
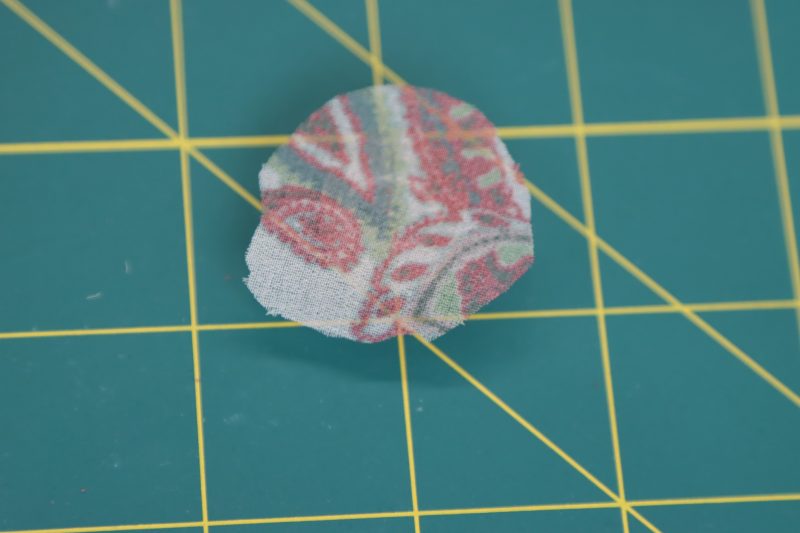
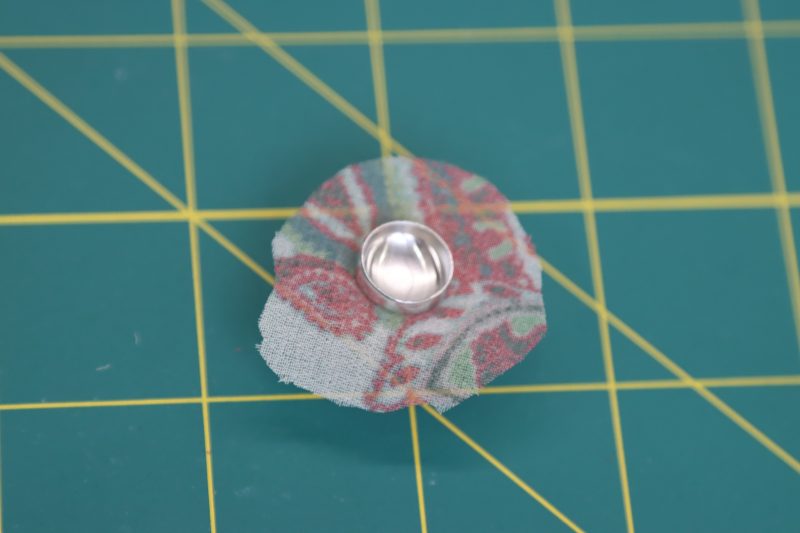
- Following the instructions on the back of the button packaging, cut the fabric to the appropriate sized circle to fit around the button cap.
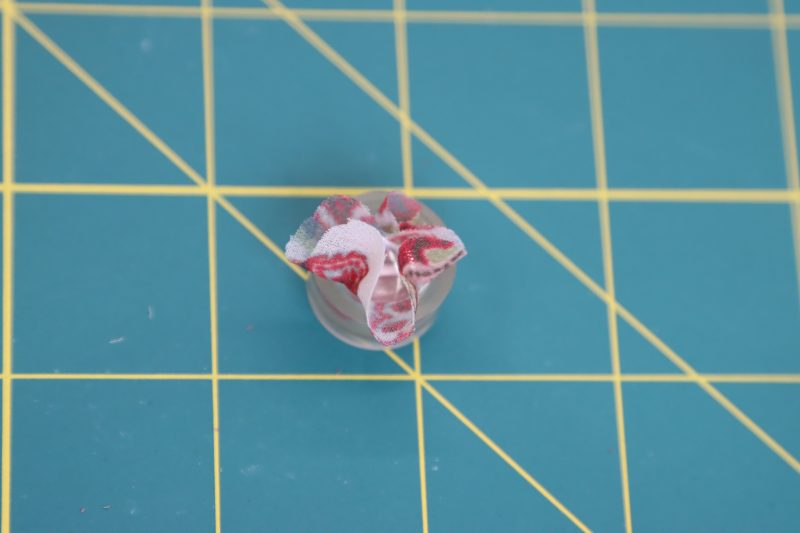
- Place the fabric over the rubber holder and press the button cap into the rubber holder over the fabric.
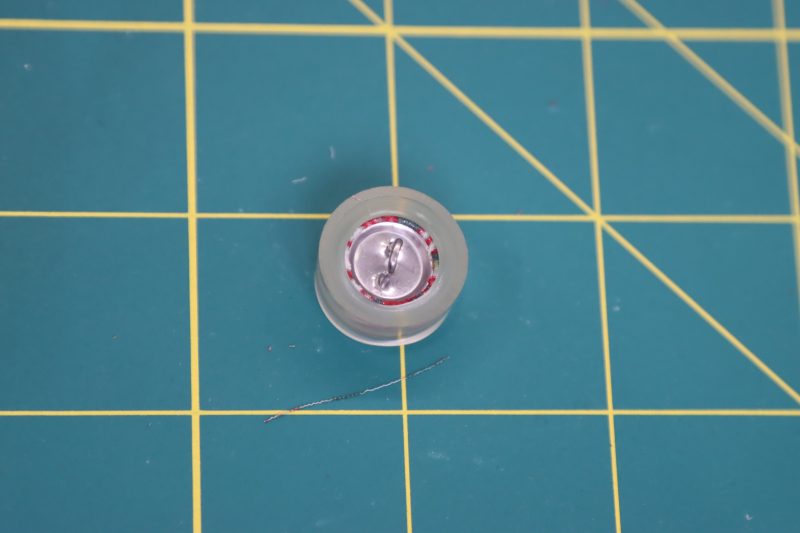
- Tuck the fabric into the button cap, then firmly insert the button backing into the button cap.
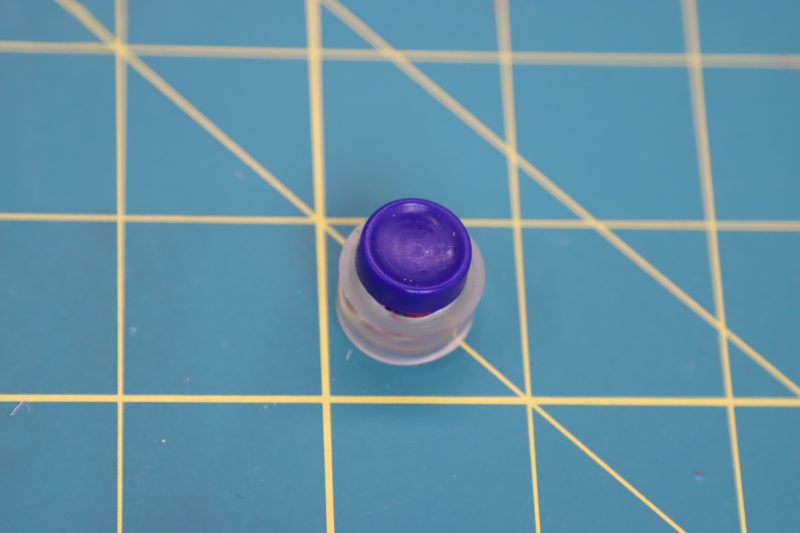
- Place the blue plastic tool over the rubber holder and press firmly or hit gently with a hammer to secure the backing into the button cap.
- Mark the positions of the buttons with pins to line up with the button loops on the opposite side of the front opening. Sew each button with a hand sewing needle and thread.
Step 17
DECORATIVE FLOWERS
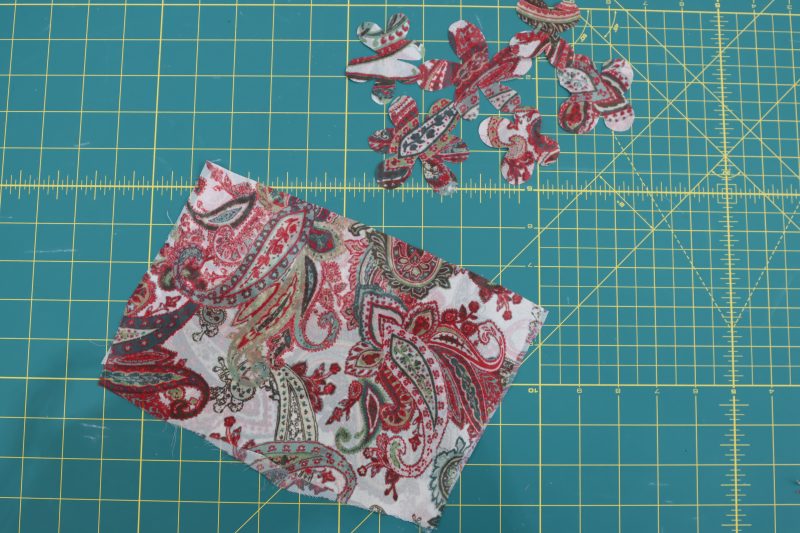
- Sandwich a piece of double sided fusible interfacing between the wrong sides of two pieces of the main fabric. Iron the fusible interfacing to the fabric.
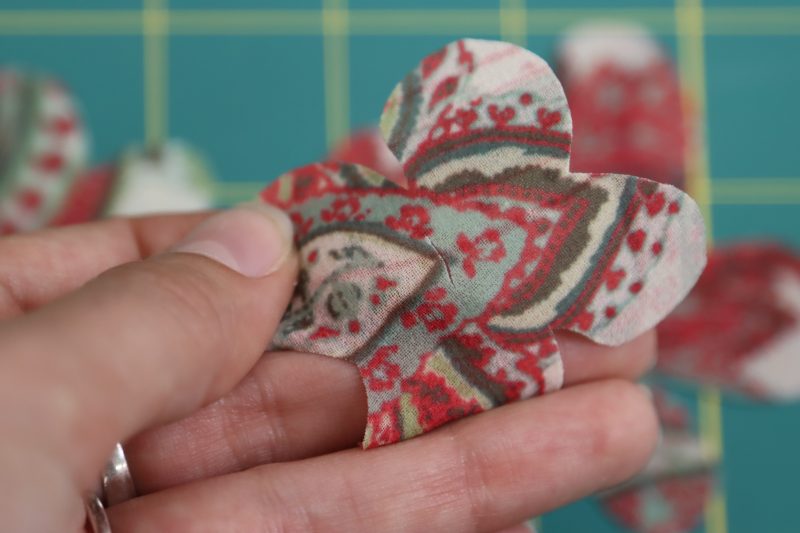
- Freehand cut several flower or leaf shapes to be attached to the neck and waist ties of the dress (for this dress, 6 flowers were used on the neck ties and 4 flowers were used on the waist tie).
- Cut a tiny slit in the center of each flower so that the ties can be inserted into them.
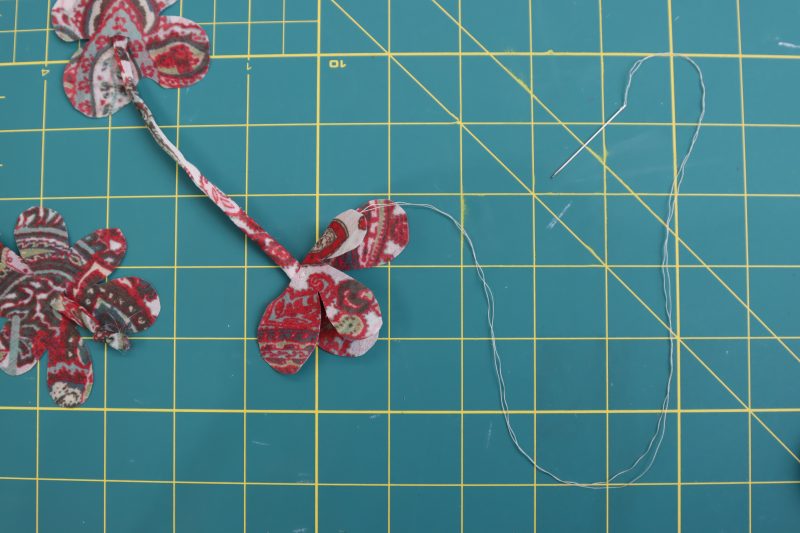
- Gently fold the flowers so that they are flowing downward and hand tack the center of the flowers to the ends of the cord.
Sewing Success: The Finished Baratti Blouson Dress
Share this post with a friend (or two!), download the Baratti Blouson Dress free sewing pattern, and show us which fabrics and colors you choose, using the hashtags #MoodBarattiPattern & #MadeWithMood—and don’t forget to tag us @MoodFabrics, too.
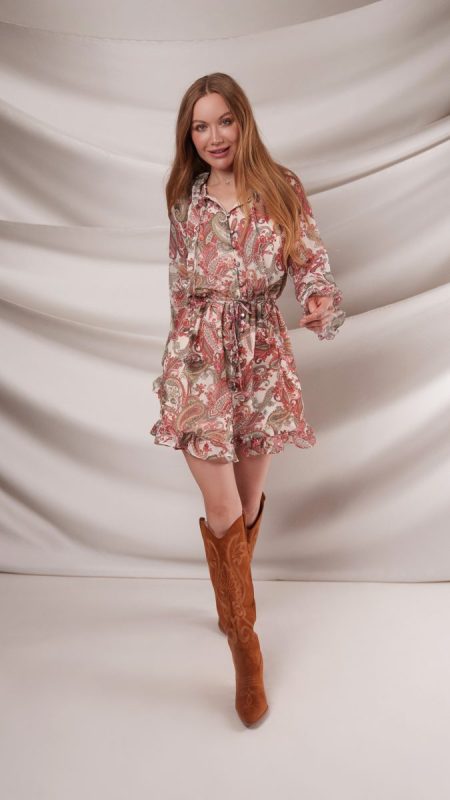
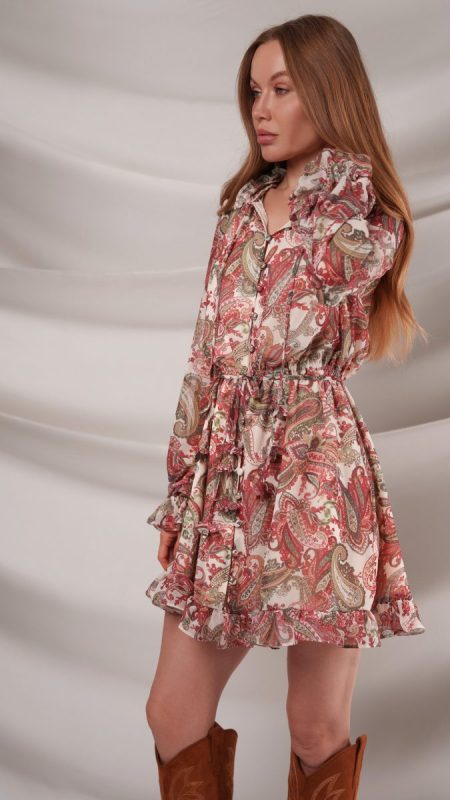
Free Sewing Pattern Inspiration for Your Next Project
With 450+ free sewing patterns and counting, your opportunities for sewing with Mood are endless!
We hope you had as much fun sewing this blouson dress pattern as we did! As always, we want to hear from you—share your thoughts and comments below and let us know where you’ll be wearing the Baratti Blouson Dress free sewing pattern!

Ok this pattern is beautiful and the flower detail too pretty!
Beautiful thank you.
hi, can i get it in large printer format or in format to display in my proejctor?
Thanks, Bobbi
Hi Bobbi, unfortunately we only offer the pattern in A4 format at the moment, but stay tuned for the future!
BOBBI, you can use ‘pdf stitcher’ to make the size you need…. just takes a minute to get the way to put the pages in to get a correct layout, but it is easy.
In theory, this dress is GORGEOUS. I had 3 meters of fabric almost identical to your paisley polyester georgette but in a different color palette. I don’t know what I did wrong or if the pattern is simply not it, but my dress turned out way too costume-y and unflattering. I followed the size chart but the dress seems like 2 sizes too big. The ruffles around the neckline and at the cuffs are way too big and distracting. Very disappointed
Hey Sarah. The dress is definitely supposed to be loose fitting when it’s finished, but 2 sizes does sound excessive. To tackle the costume-y parts of the dress, I recommend steaming your ruffles at the seam where they’re connected to the sleeves and bottom of the skirt. this will help them lay more flat and look less like a clown costume if you get what I’m saying.
Obsessed with the flowers on the cord. I am definitely going to use that in other patterns also!!
I’ve been looking for a pattern like this!
This dresswas gorgeous! The recommended size was too big. So I ended up sizing down by 3 sizes. The fabric around the collar was too long, and made yhe gathers look bulky and shapeless, so I reduced the length of the sleeve at the collar down to 5 inches (3 inches after gathering). This made the collar length significantly less and the sleeves where not as gathered at the collar. I also removed the ruffles at the sleeves and didnt add the collar ruffle.