
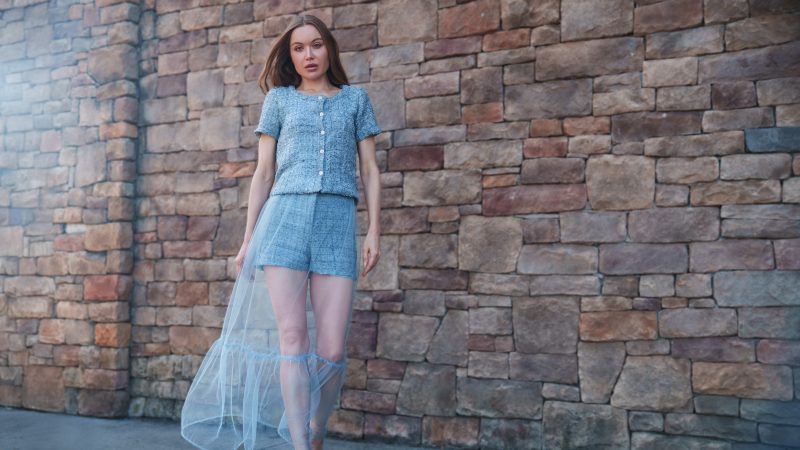
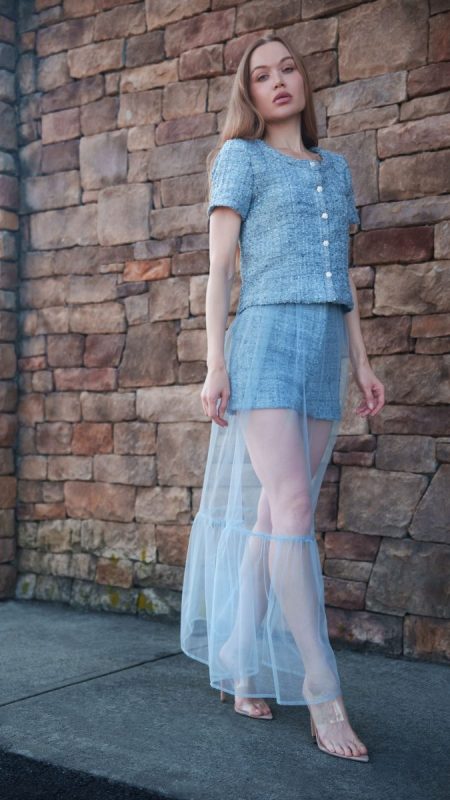
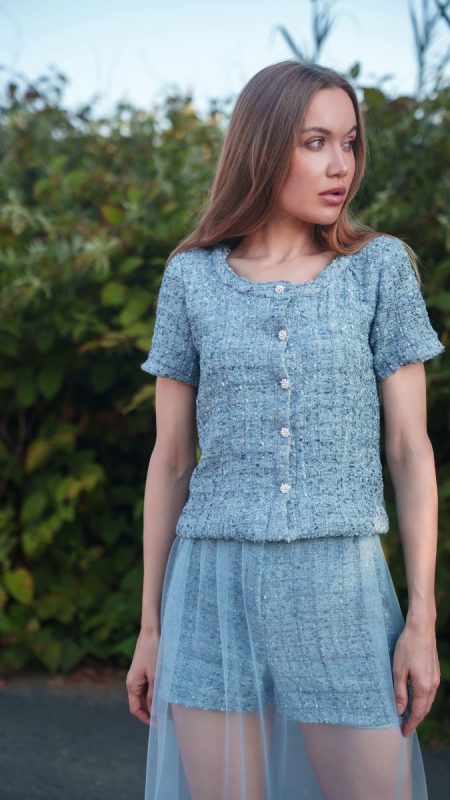
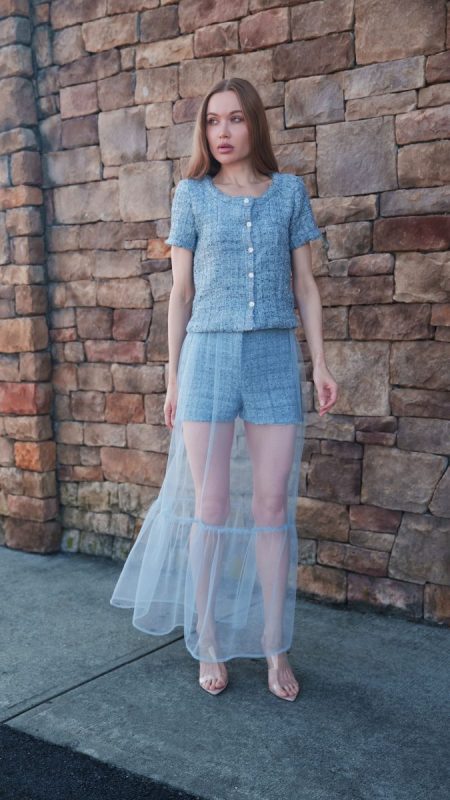
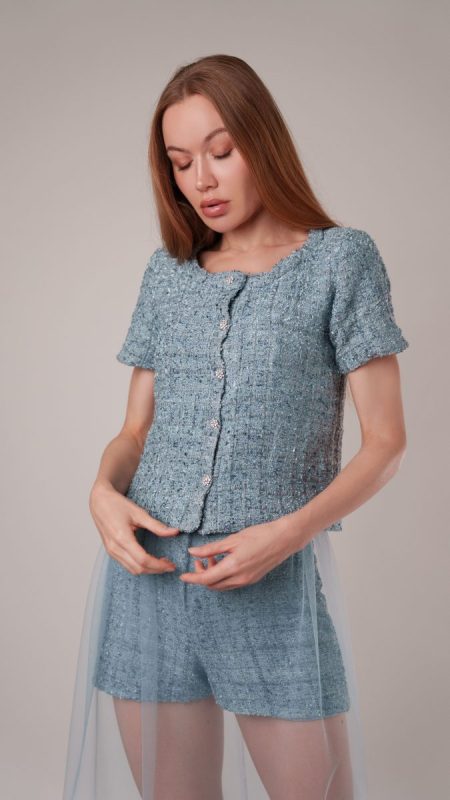
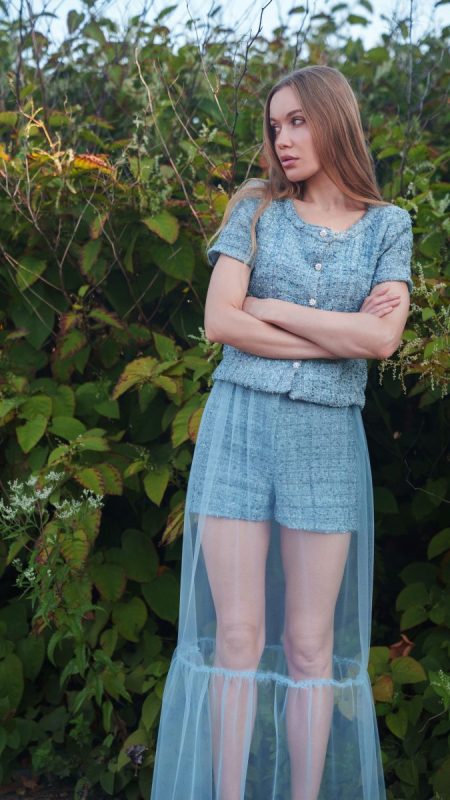
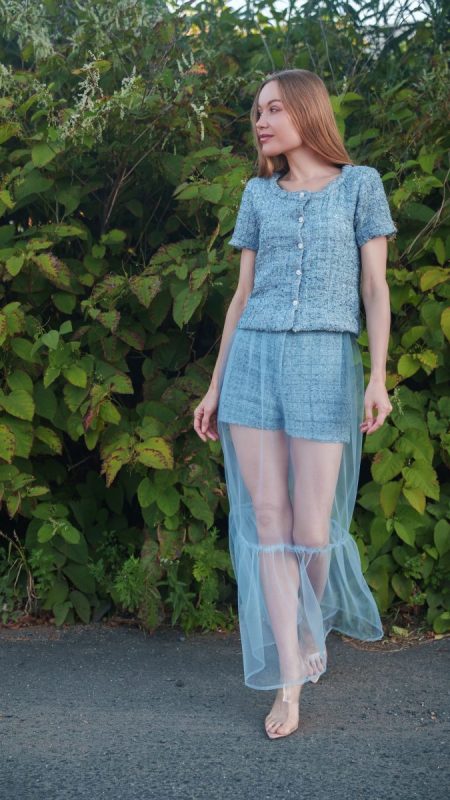
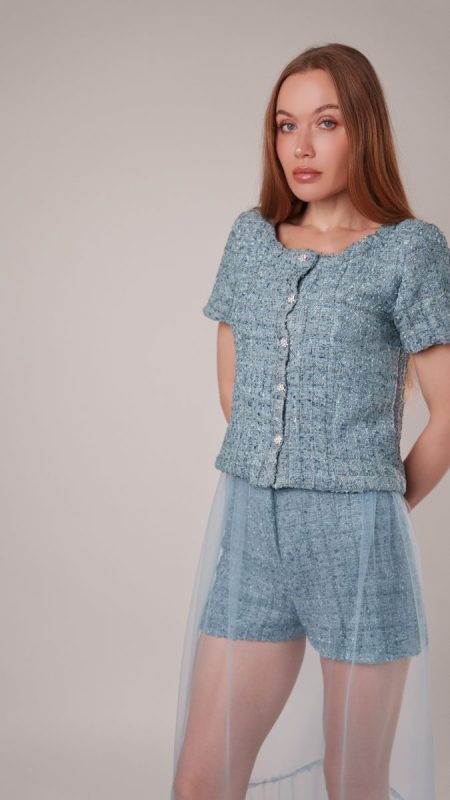
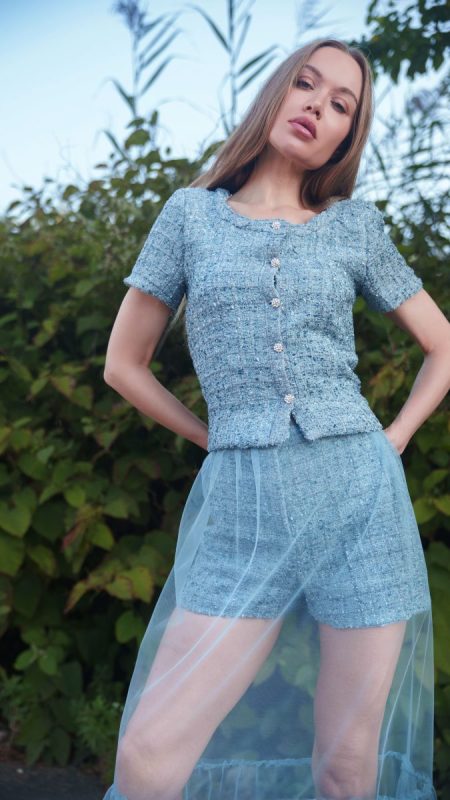
Step into the effortless allure of the French Riviera with the Cannes Ensemble, a three-piece set designed to bring luxury and playfulness into perfect balance. This set includes a tailored top, structured shorts, and a voluminous skirt, giving you endless styling versatility.
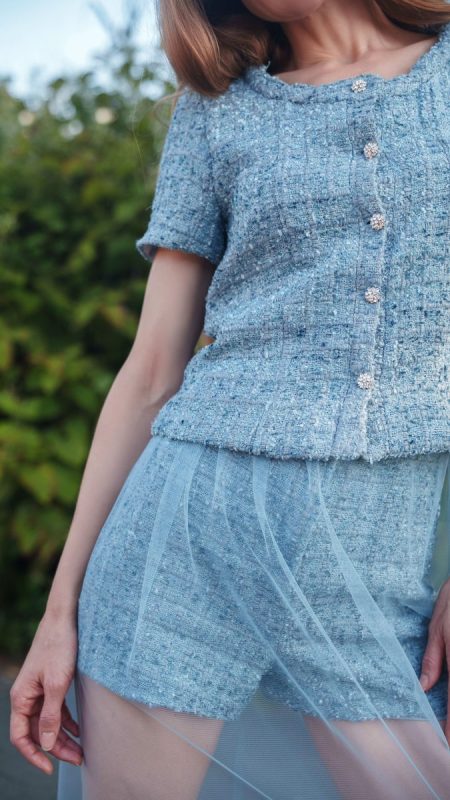
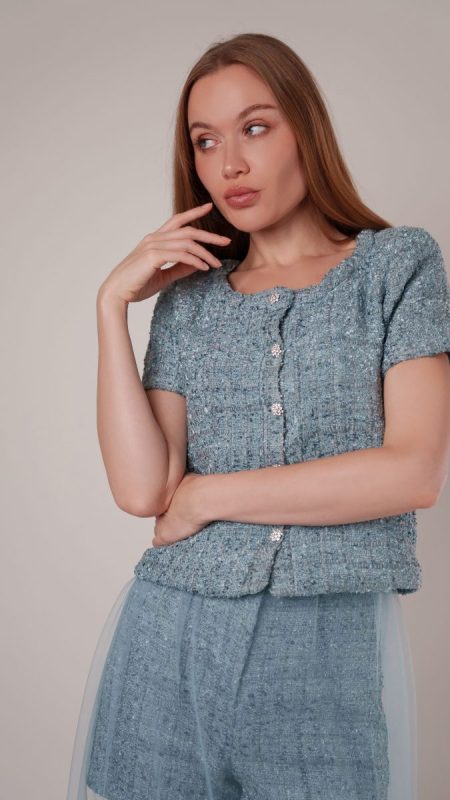
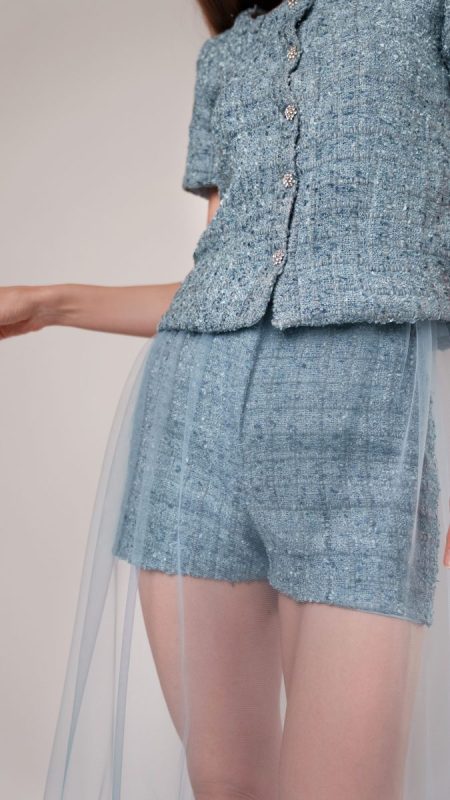
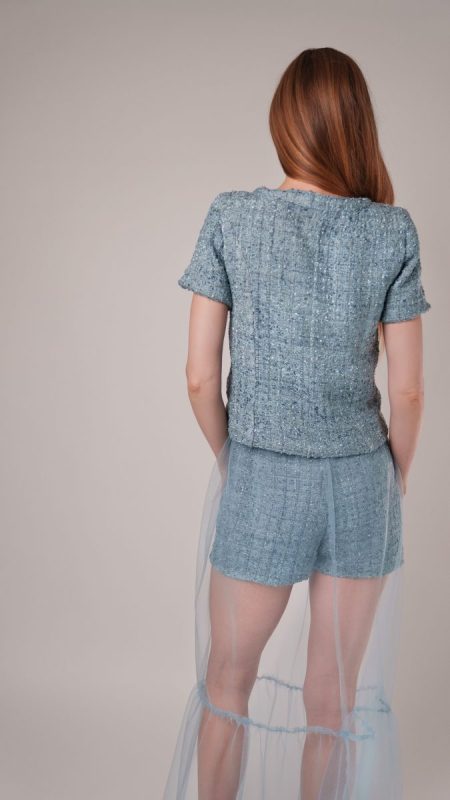
The top and shorts are crafted from sumptuous chenille tweed, a fabric known for its rich texture and timeless sophistication. Tailored with the precision of a classic suit, these pieces evoke an air of polished elegance while still feeling modern and wearable.
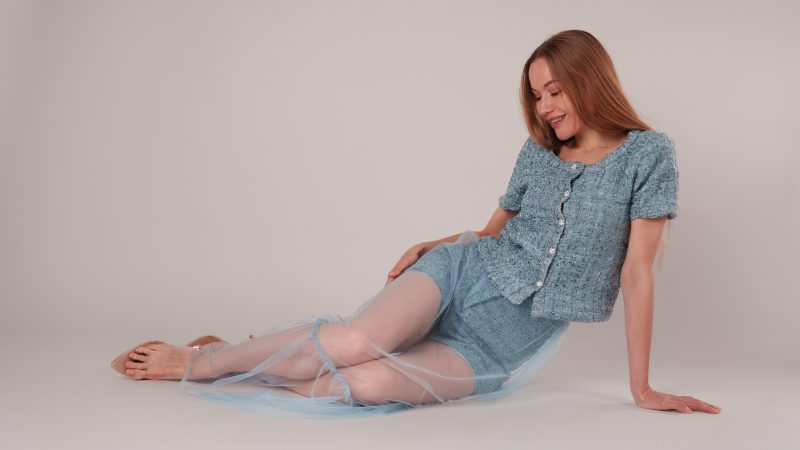
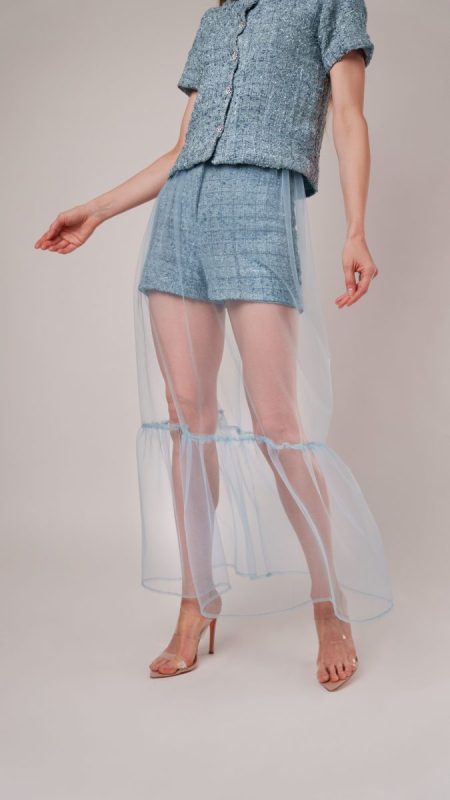
Balancing this structured tailoring is the lightweight ruffled skirt, made from layers of soft tulle that float and sway with every step. The sheer, airy fabric lends a sense of lighthearted play, softening the set’s tailored edges and creating a dreamy contrast to the tweed.
Whether you choose to wear all three pieces as a coordinated set or mix and match them into your wardrobe, the Cannes Ensemble free sewing pattern captures a spirit of luxury that feels both classic and fresh.
Essential Materials & Sizing Guide for the Cannes Ensemble
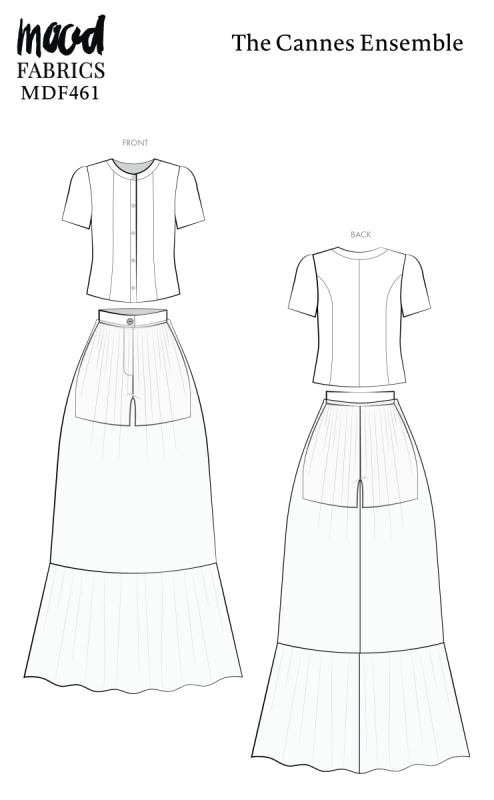
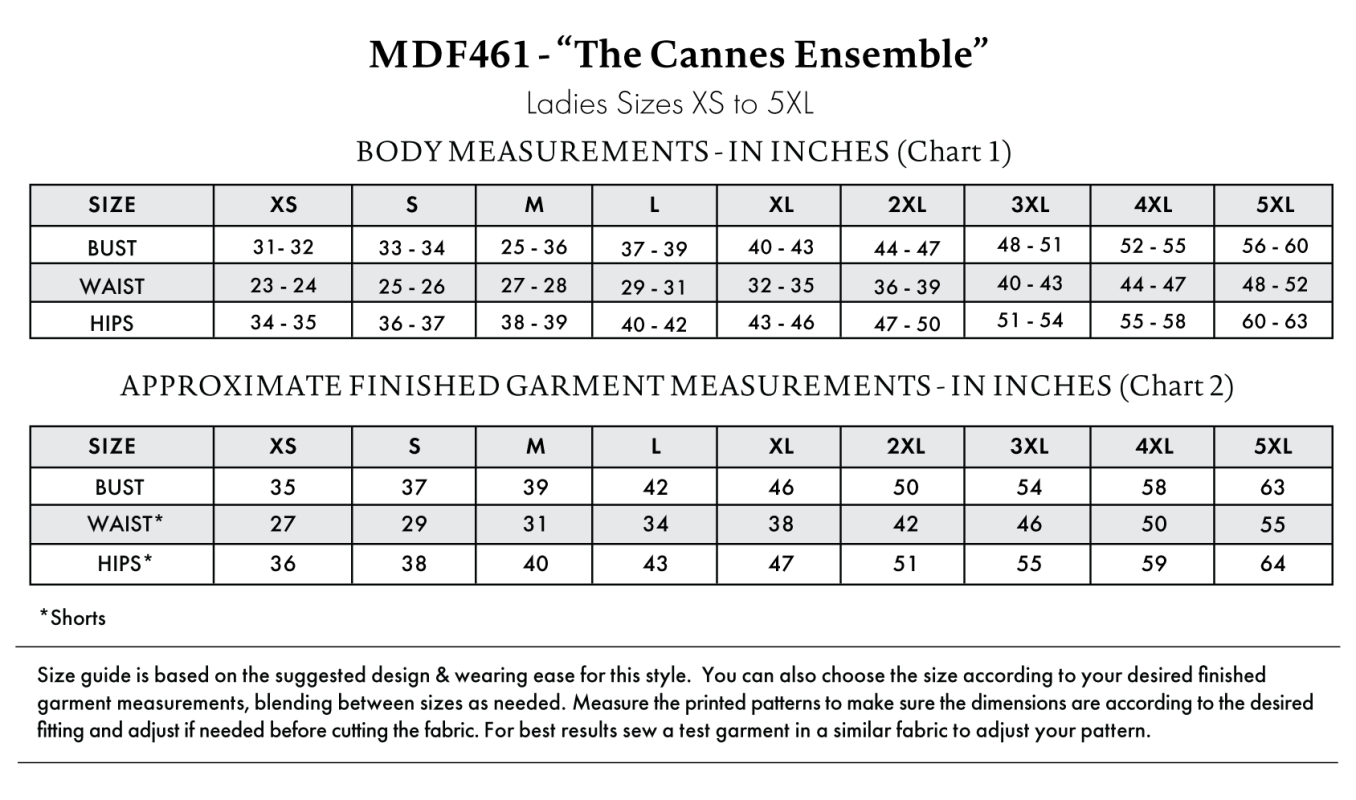
Continue reading for a breakdown of what knowledge and materials you need for creating your very own chenille tweed and soft tulle ensemble! We’ve got you covered with the recommended materials we used—if you want to follow along exactly—as well as a curated list of alternative fabric type recommendations if you want to customize your own version. The Cannes Ensemble free sewing pattern download includes technical drawings for seam and silhouette visibility, plus a size chart to help you find your perfect fit!
Purchase Products Used Below:
Quantities indicated are for sewing a size small chenille tweed and soft tulle ensemble. Toggle the ‘SHOP THIS LOOK’ box to find quantity estimates for other sizes.
- 2 yards of Viscose and Acrylic Chenille Tweed – Flint Stone and Baby Blue Metallic – Newcastle Collection
- 2.5 yards of Bemberg Lining – Baby Blue – Lucidum Collection
- 4 yards of Soft Nylon Tulle – Country Blue – Leonardo Collection
- 1 yard of White Non-Woven Single Side Fusible Interfacing
- 1 yard of White Elastic – 0.25″
- 1 pair of Foam Shoulder Pads Covered with White Polyester – 6″ x 3.5″ x .5″
- 6 each of Rhinestone and Metal Shank Back Buttons – 24L/15mm – Crystal and Nickel-Free
- 1 each of Regular Zipper 9″ by YKK – 232 Ice
- 1 each of Gutermann Sew All Thread 250m – 126 Slate
- 1 each of Gutermann Sew All Thread 250m – 220 Dawn Blue
- MDF461 – Cannes Ensemble Sewing Pattern (Free download below!)
Alternative Fabric Type Recommendations:
The Cannes Ensemble sewing pattern is best suited for feather-weight and lightweight to medium weight fashion fabrics. Explore other fabric types or colors from our featured collections for your tweed and tulle ensemble with the links below.
Tweed Alternatives
Tulle Alternatives
Fabric Collections Used in this Post:
Download Your Free Sewing Pattern
Submit your name and email in the form below to receive the download link for the Cannes Ensemble free sewing pattern directly in your inbox. Mood Sewciety Patterns will send your free download link via email with the subject line: ‘Your Free Download from Mood Sewciety – The Cannes Ensemble’ (in PDF format for A4 and letter-size printing).
Find Your Perfect Fit
The Cannes Ensemble Sizing Guide is based on the suggested design & wearing ease for this style. You can also choose the size according to your desired finished garment measurements, blending between sizes as needed. Measure the printed patterns to make sure the dimensions are according to the desired fitting and adjust if needed before cutting the fabric. For best results, sew a test garment in a similar fabric to adjust your pattern.
Note: Always read all the instructions before cutting the fabric!
How to Sew The Cannes Ensemble
The instructions provided below are designed to guide you through sewing the Cannes Ensemble from start to finish.
3 Tips for Sewing with Chenille Tweed
⇒ This fabric has a tendency to fray quite a bit. If fraying is making the fabric difficult to sew, consider cutting some small pieces of interfacing and ironing it around the cut edges of the pattern pieces. This could be especially useful for pattern pieces that are really small, like the neckband at the neckline of the top or even hemlines.
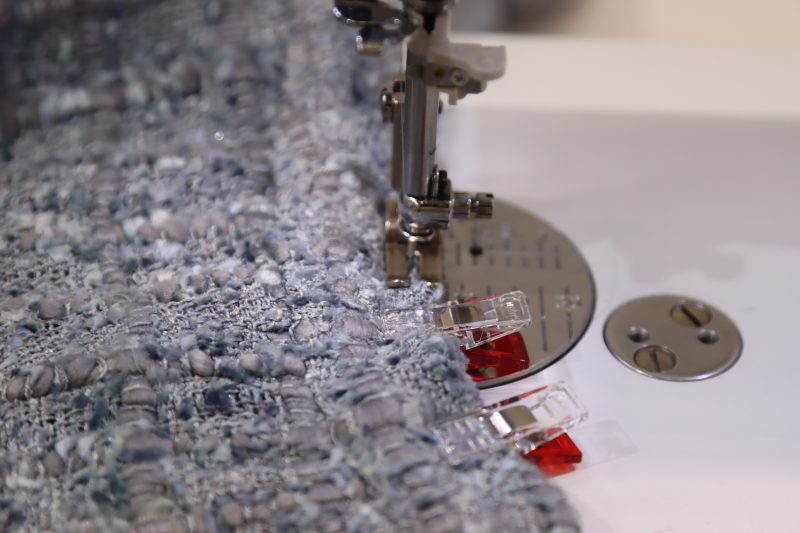
⇒ Use more pins when attaching pattern pieces together than you would normally use. Because this fabric has a particularly loose weave, it really needs to be held together at the edges when sewing a seam down.
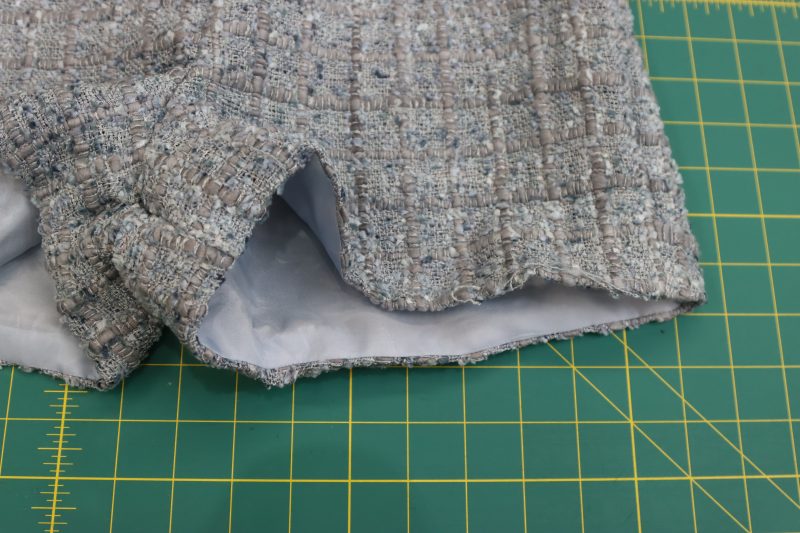
⇒ In the arm, leg, and waist openings of the garments, finish the raw edges of the tweed and lining fabric by sewing them right sides together instead of hemming them separately. This will ensure that all the loose raw edges of the tweed are really secured inside of the wrong side of the garment and aren’t exposed to bare skin or harsh laundering conditions.
Pattern Pieces & Fabric Cuts Needed
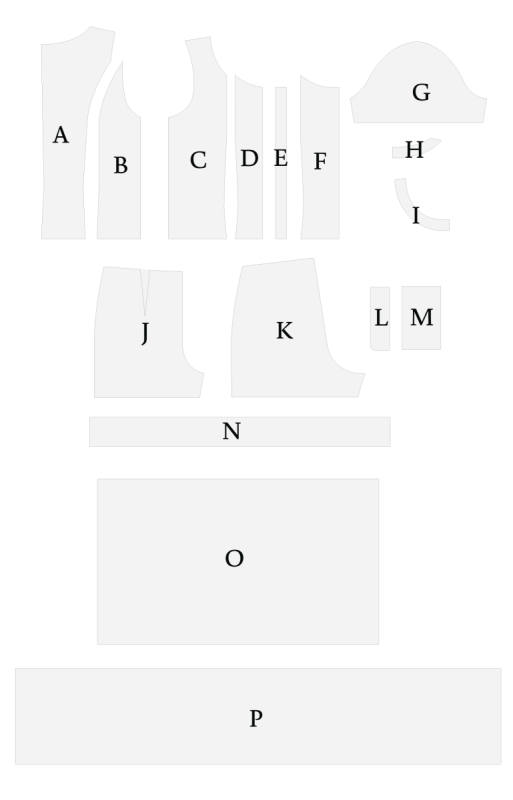
- (A) TOP BACK CENTER
- FABRIC – CUT 2 MIRRORED
- LINING – CUT 2 MIRRORED
- (B) TOP BACK SIDE
- FABRIC – CUT 2 MIRRORED
- LINING – CUT 2 MIRRORED
- (C) TOP FRONT SIDE
- FABRIC – CUT 2 MIRRORED
- LINING – CUT 2 MIRRORED
- (D) TOP FRONT CENTER
- FABRIC – CUT 2 MIRRORED
- (E) BUTTON PLACKET
- FABRIC – CUT 2
- (F) FABRIC CENTER LINING
- LINING – CUT 2 MIRRORED
- (G) SLEEVES
- FABRIC – CUT 2 MIRRORED
- LINING – CUT 2 MIRRORED
- (H) BACK COLLAR
- FABRIC – CUT 2 MIRRORED
- (I) FRONT COLLAR
- FABRIC – CUT 2 MIRRORED
- (J) SHORTS FRONT
- FABRIC – CUT 2 MIRRORED
- LINING – CUT 2 MIRRORED
- (K) SHORTS BACK
- FABRIC – CUT 2 MIRRORED
- LINING – CUT 2 MIRRORED
- (L) FLY
- FABRIC – CUT 2
- (M) FLY SHIELD
- FABRIC – CUT 2
- (N) SHORTS WAISTBAND
- FABRIC – CUT 1
- (O) SKIRT UPPER
- FABRIC – CUT 1
- (P) SKIRT LOWER
- FABRIC – CUT 1
Sew with a 1/2″ seam allowance for all seams unless otherwise specified.
HOW TO SEW TAILORED SHORTS
Step 1
DARTS
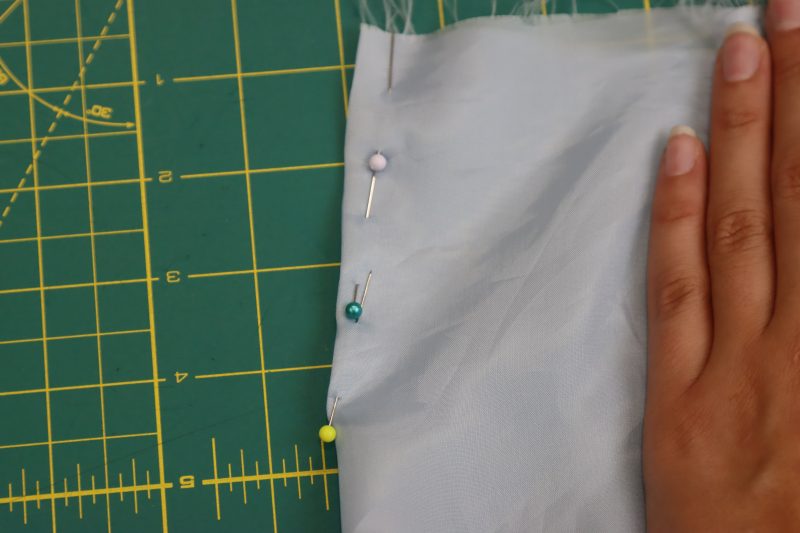
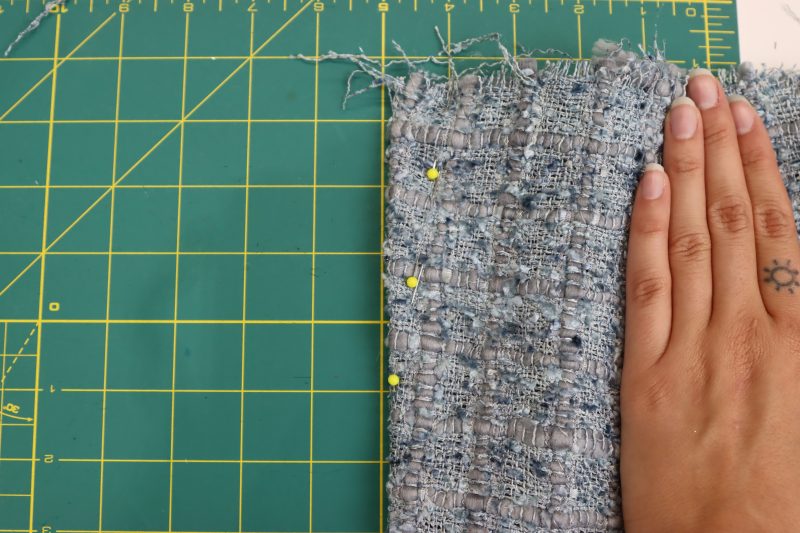
- Pin and sew the darts on the back shorts pieces of both the lining and shell fabric according to the marks on the pattern.
Step 2
CROTCH SEAMS
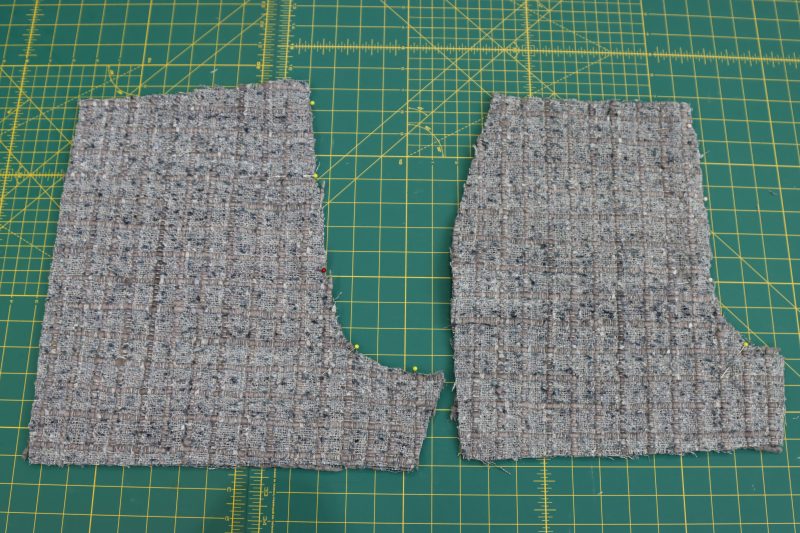
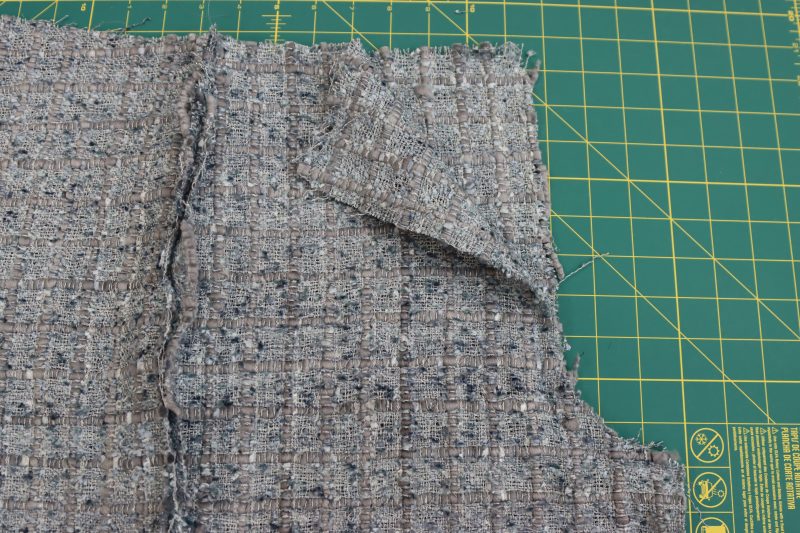
- Place the two front pieces of the shell fabric right sides together and pin the bottom half of the curved crotch seam, leaving an opening at the top for the zipper fly to be inserted later.
- Place the two back pieces of the shell fabric right sides together and pin the entire crotch seam.
- Sew the crotch seams of both the front and back pieces.
- Repeat the above steps for the lining pieces, ensuring to leave an opening for the zipper fly in the lining as well.
Step 3
SIDE SEAMS
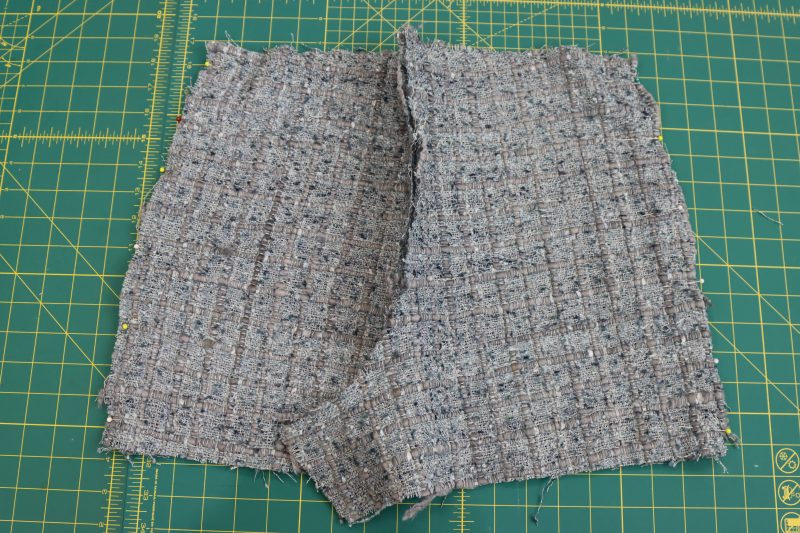
- Open the front and back shorts pieces so that the crotch seams are laying flat.
- Place the front and back pattern pieces right sides together and line them up at the side seams.
- Pin and sew the side seams shut on both sides.
- Repeat these steps for both the lining and shell pieces.
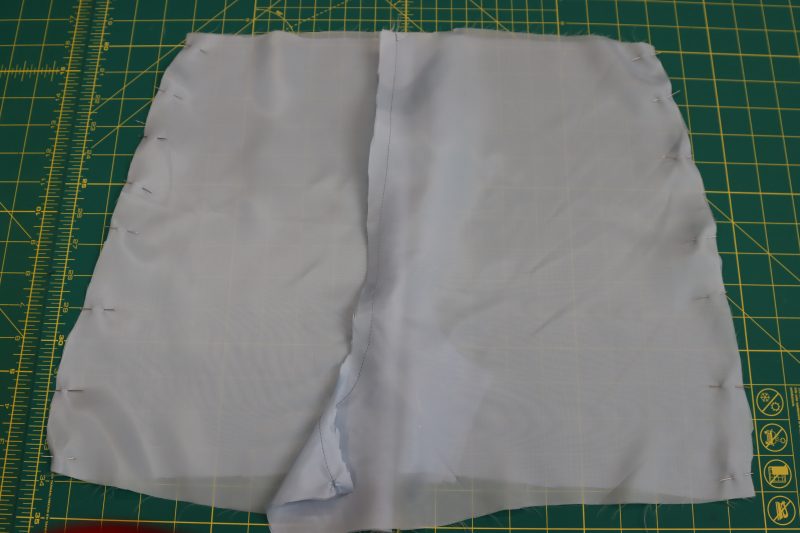
Step 4
PREPARE FLY PIECES
- Pin the fly facing pieces wrong sides together.
- Fold the fly shield piece in half wrong sides together and pin it to itself.
- Serge or zigzag the raw edges of both fly pieces.
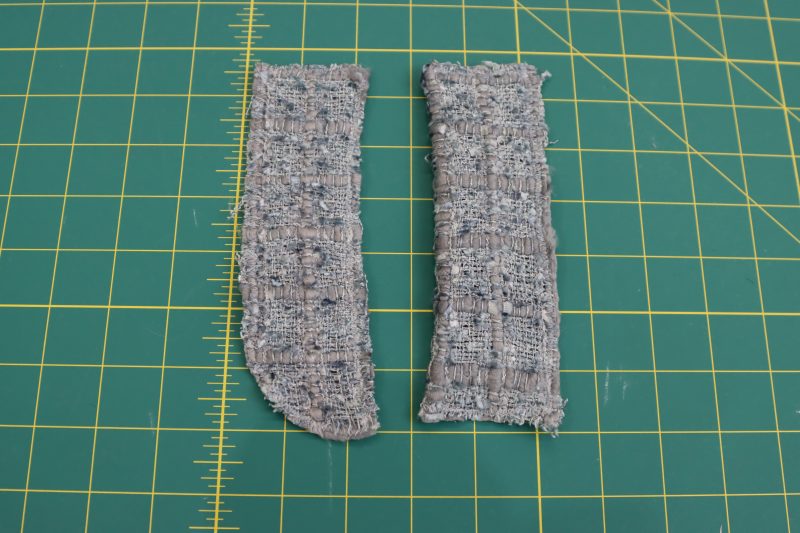
Step 5
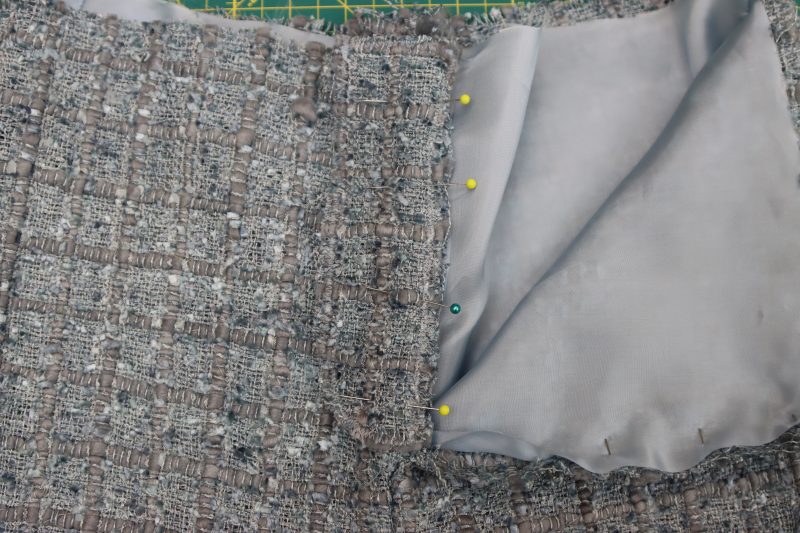
FLY FACING
- Place the lining shorts inside of the shell shorts wrong sides together.
- Pin and sew the lining to the shell along the opening on the crotch seam (Note: Do not sew the opening shut yet. Sew the lining to the shell in two separate seams, one on each side of the opening left for the zipper).
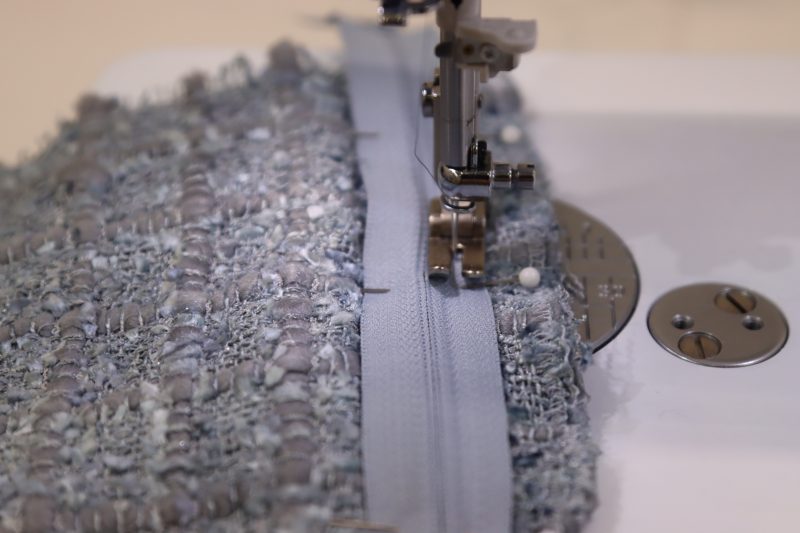
- Pin and sew the fly facing to the right side of the front shorts piece along the crotch opening, right sides together.
- Open the fly facing from the front shorts piece and iron it flat.
- Place the zipper right sides together on the fly facing with the edge of the zipper lined up with the center crotch seam.
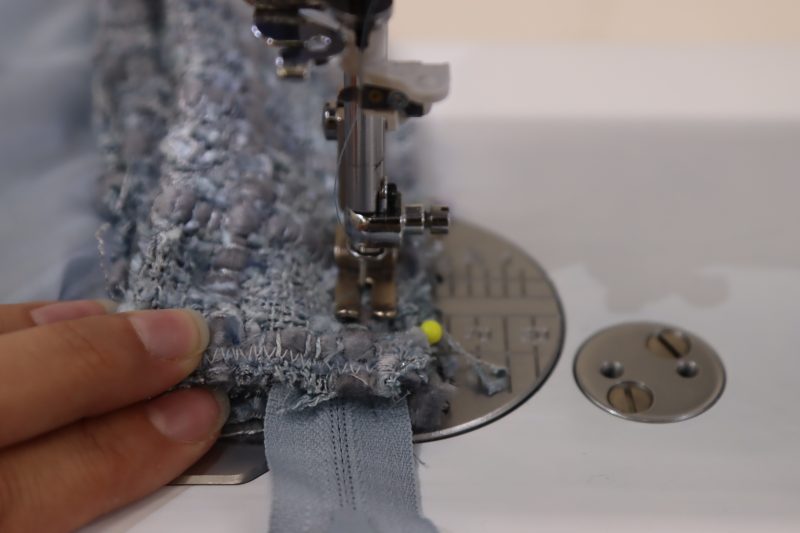
- Sew the zipper down on the side furthest away from the center seam.
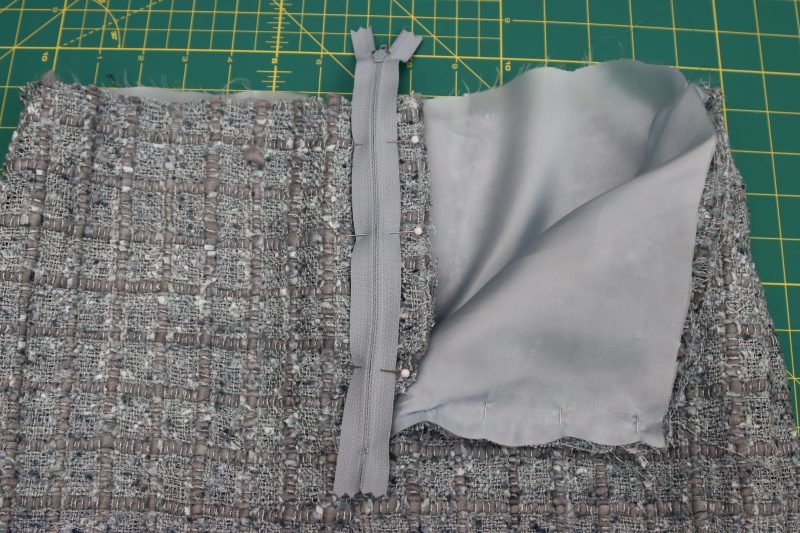
Step 6
FLY SHIELD
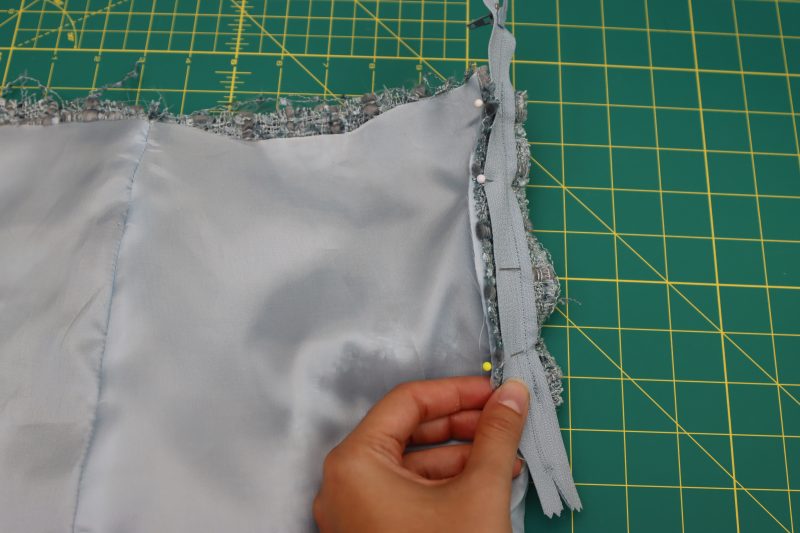
- Turn the shorts inside out so that the lining is on the outside.
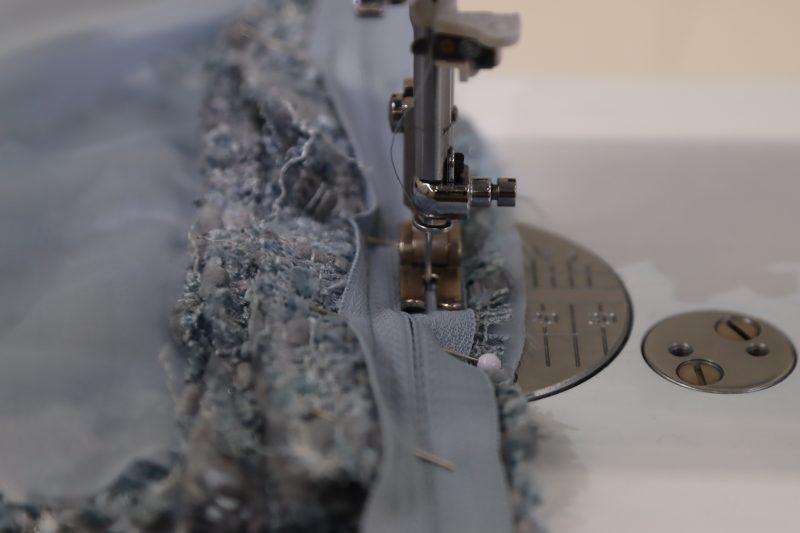
- Place the zipper right sides together with the center seam of the other side of the shorts.
- Pin and sew the other side of the zipper in place.
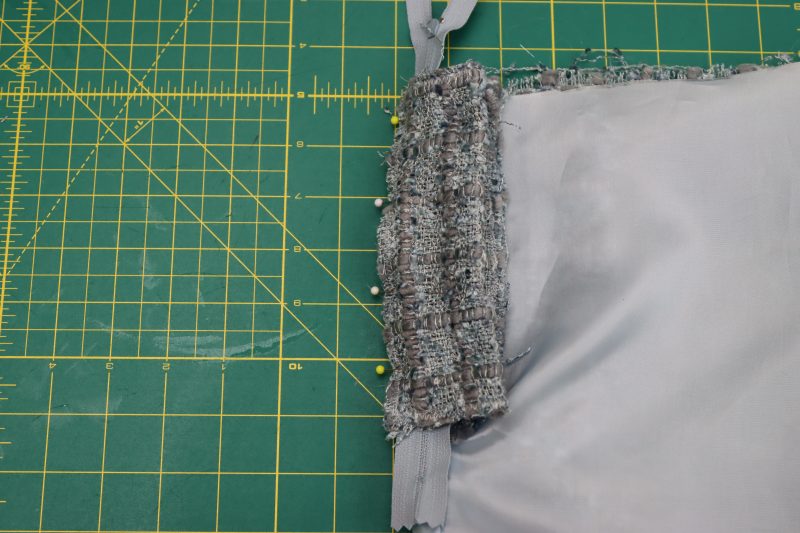
- Place the fly shield right sides together with the seam that was just sewn, sandwiching the zipper between the left side of the shorts and the fly shield.
- Pin and sew the fly shield on top of the zipper.
Step 7
FLY FINISHINGS
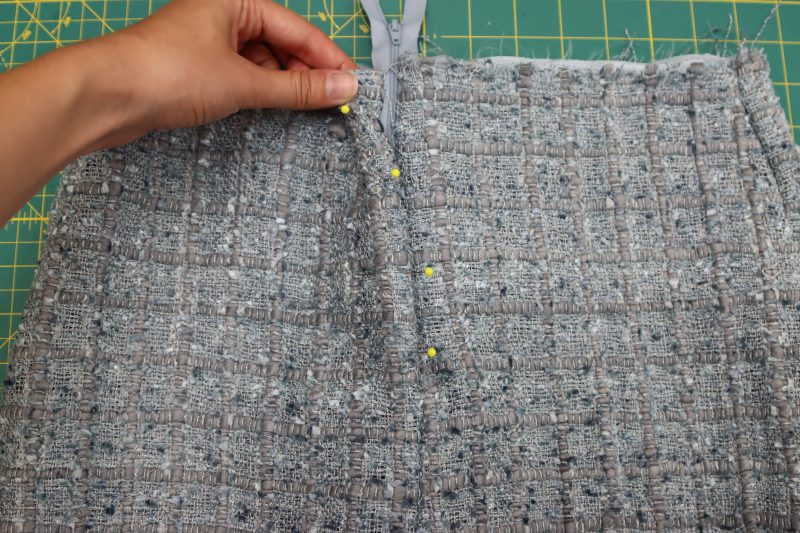
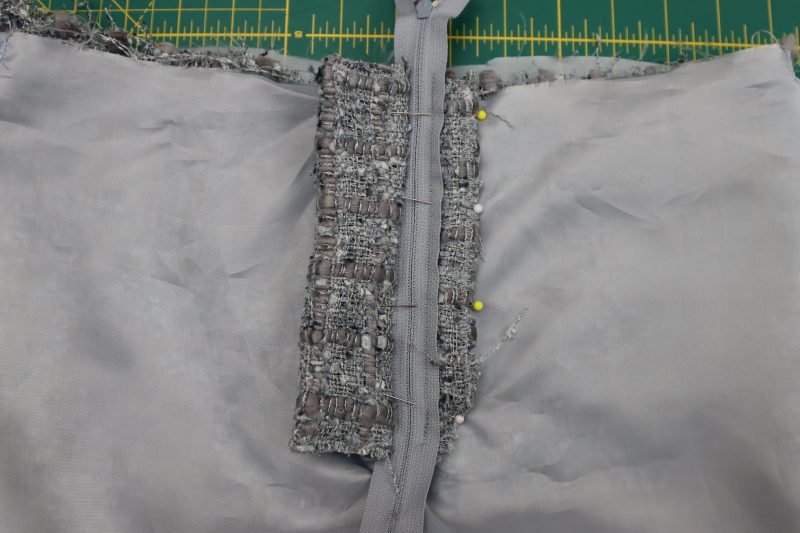
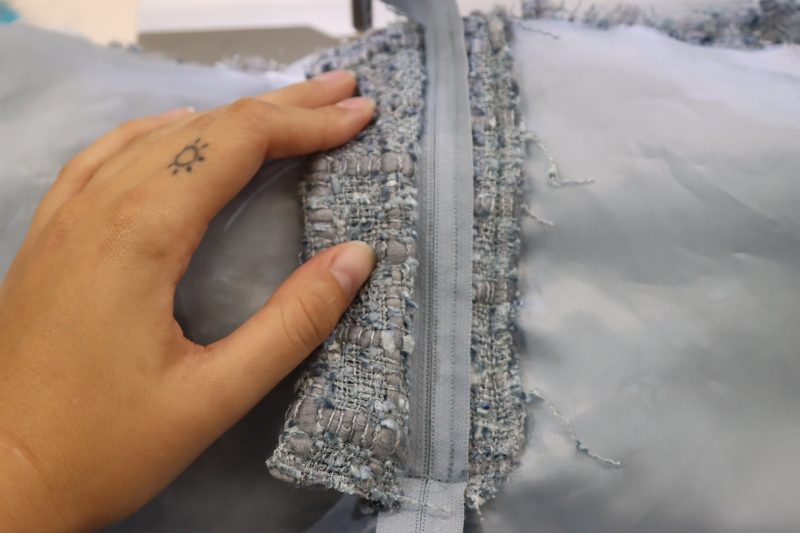
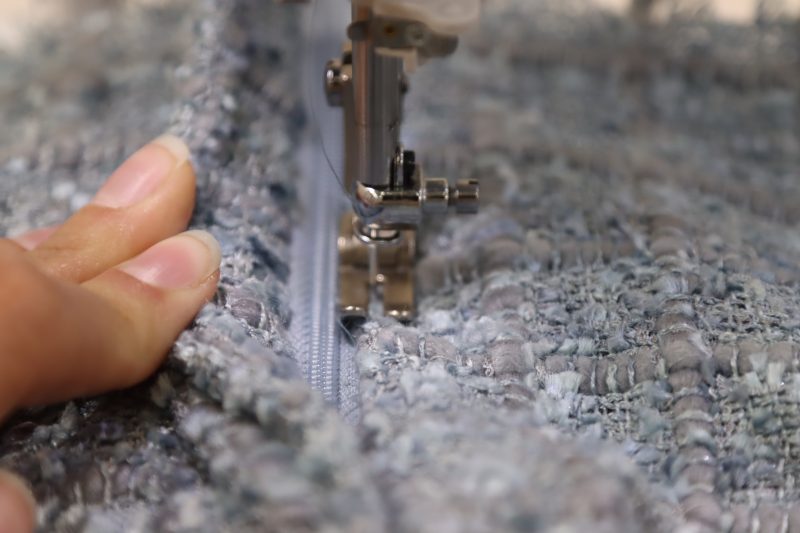
- Top stitch the seam that connects the fly facing to the shorts front, ensuring that the zipper remains accessible.
- Lay the fly facing flat against the inside of the right front shorts leg and pin it down.
- Sew a curved stitch following the shape of the edge of the fly facing, securing it to the leg of the shorts.
- Top stitch the left leg to the zipper and fly shield from the front of the pants.
Step 8
INSEAM
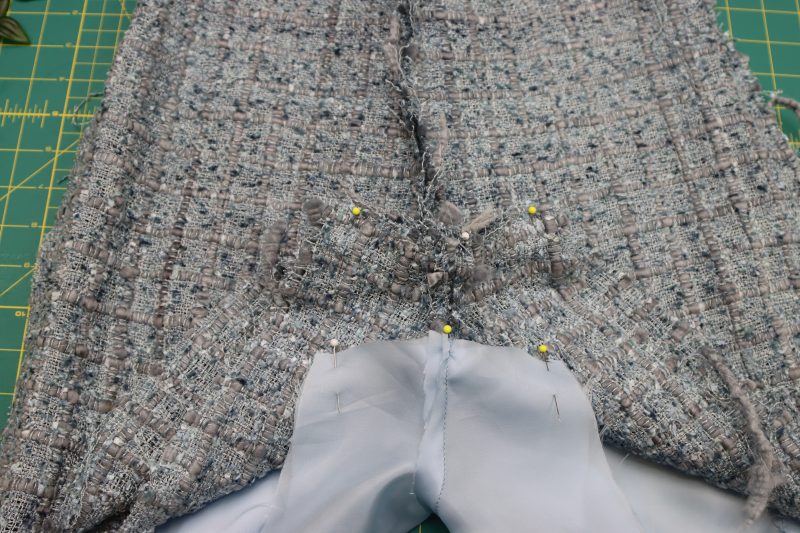
- Pin and sew the inseam of the shell fabric, right sides together.
- Repeat the first step for the lining fabric, ensuring that the inseams are sewn separately and not attached to one another.
Step 9
SHORTS HEM
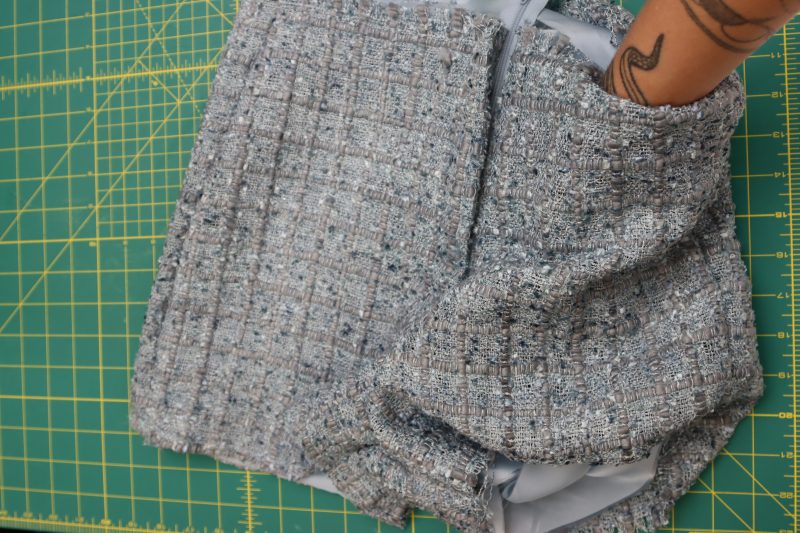
- Reach through the waist opening of the shorts between the lining and the shell and grab both the shell and lining of one of the legs of the shorts.
- Pinch one section of the bottom hem of both the lining and shell of the shorts opening, right sides together.
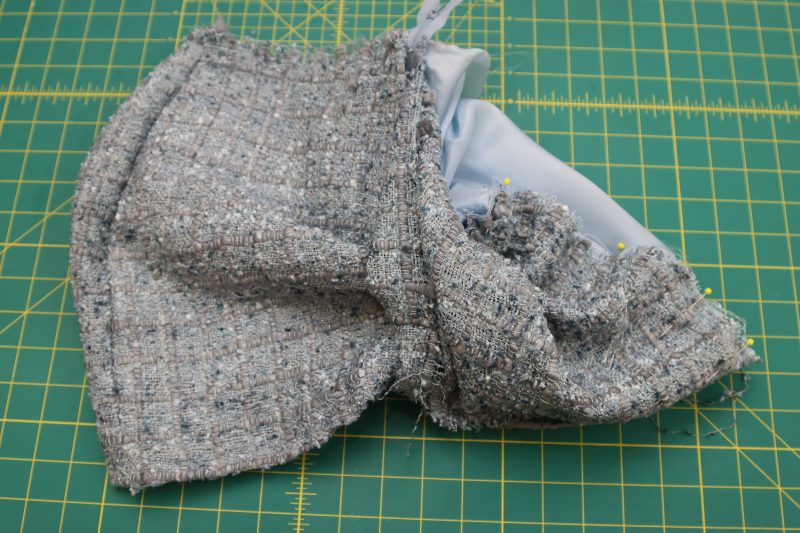
- Pull the pinched section of the shorts through the waist opening of the shorts and pin that section right sides together.
- Continue to pin the rest of the hems of the lining and shell pieces right sides together (Note: This part is tough because it can be hard to visualize and also difficult to sew, but this is how many tailored garments with linings are finished at the sleeves and hems. Just trust the process).
- Sew the hem of the shorts right sides together all the way around the perimeter of the leg opening.
- Stuff the lining and shell back through the waist opening and iron the bottom hem flat.
- Repeat these steps for both the left and right leg openings.
Step 10
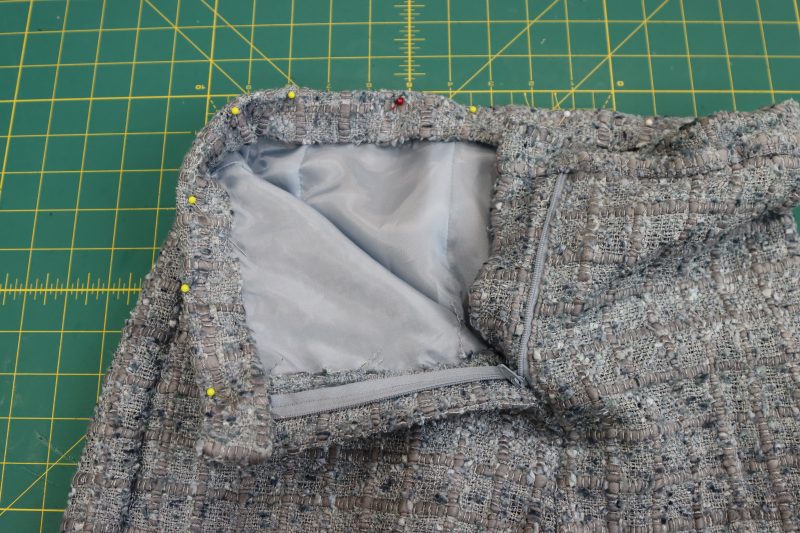
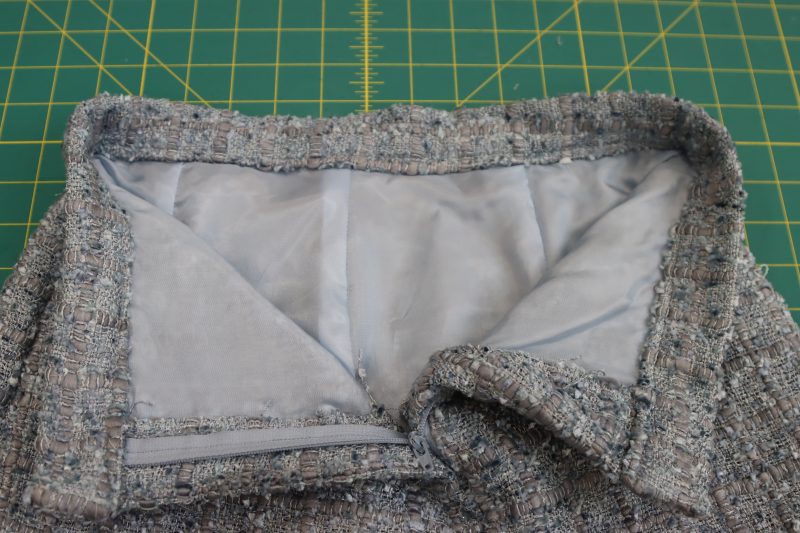
WAISTBAND
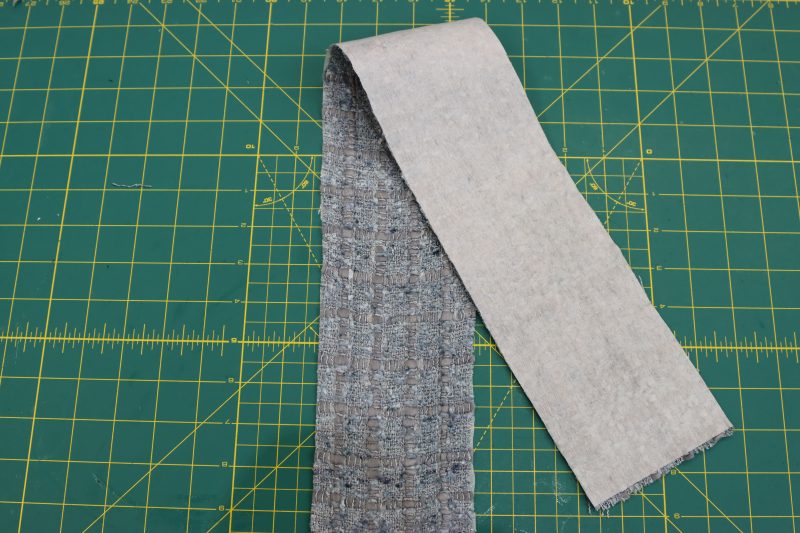
- Iron the interfacing to the wrong side of the waistband piece.
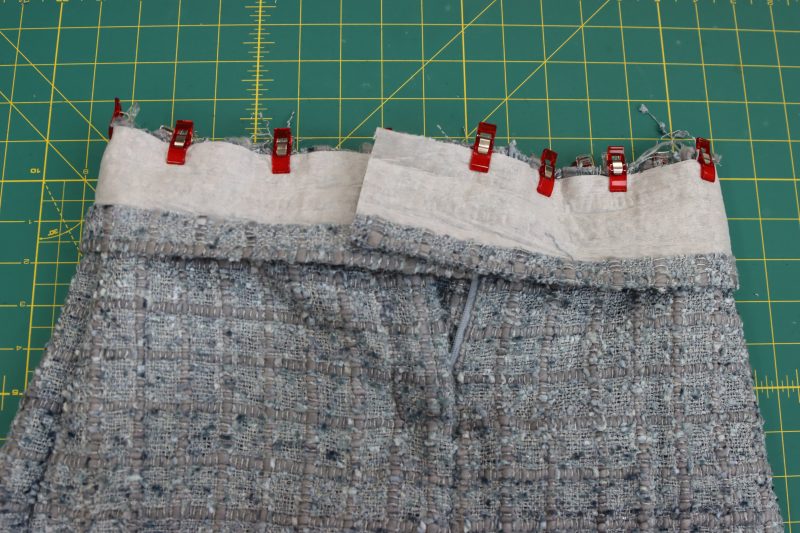
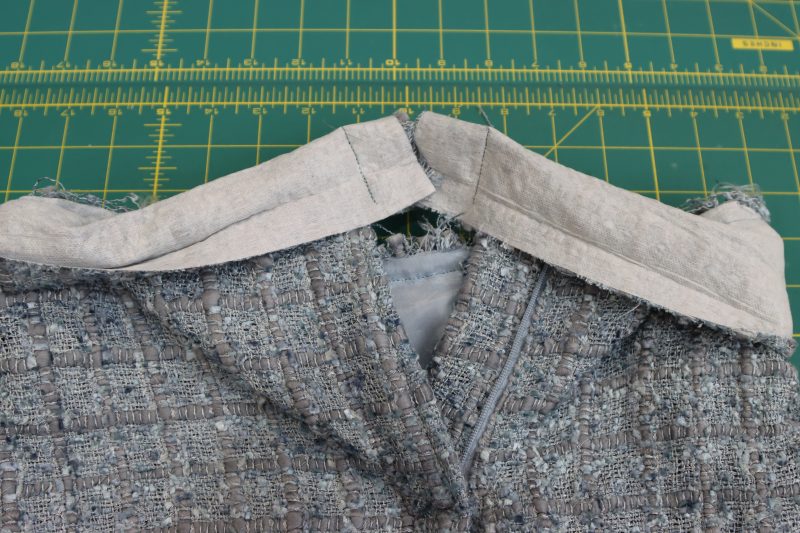
- Pin and sew the waistband right sides together with the waist opening of the shorts.
- Pin and sew the ends of the waistband shut, right sides together.
- Turn the waistband right sides out and fold the raw edge in ½ inch.
- Pin the folded edge of the waistband to the inside of the waist opening of the shorts.
- Sew the inside edge of the waistband to the shorts using “stitch in the ditch” method for a seamless finish from the outside of the shorts.
Step 11
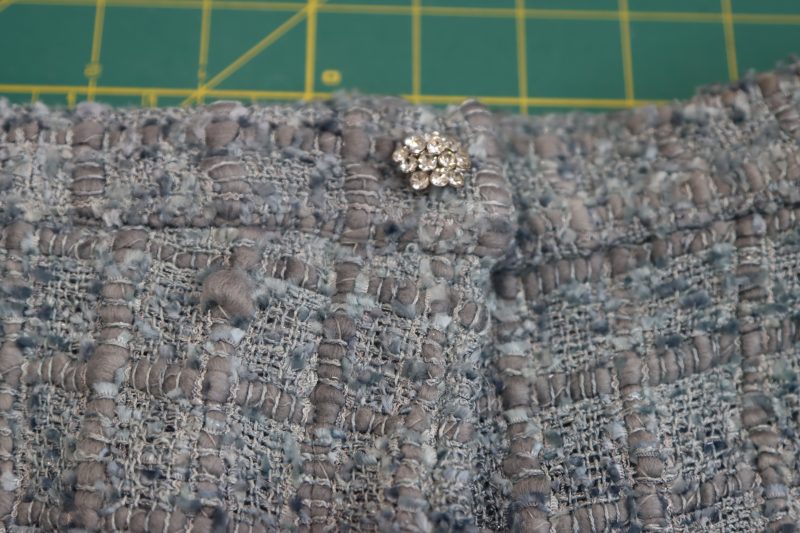
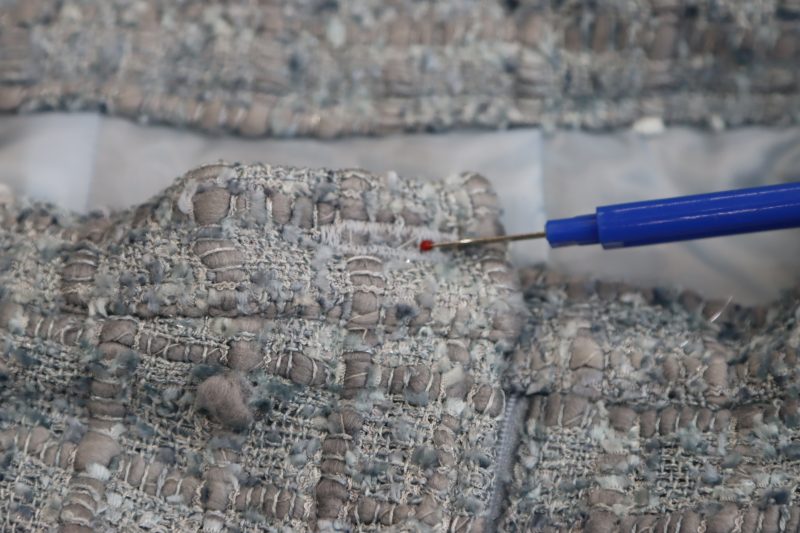
BUTTON & BUTTONHOLE
- Mark where the buttonhole will go on the outside of the waistband.
- Use the buttonhole foot attachment to make a buttonhole in the waistband of the shorts.
- Hand sew the button to the other side of the waistband directly under the buttonhole.
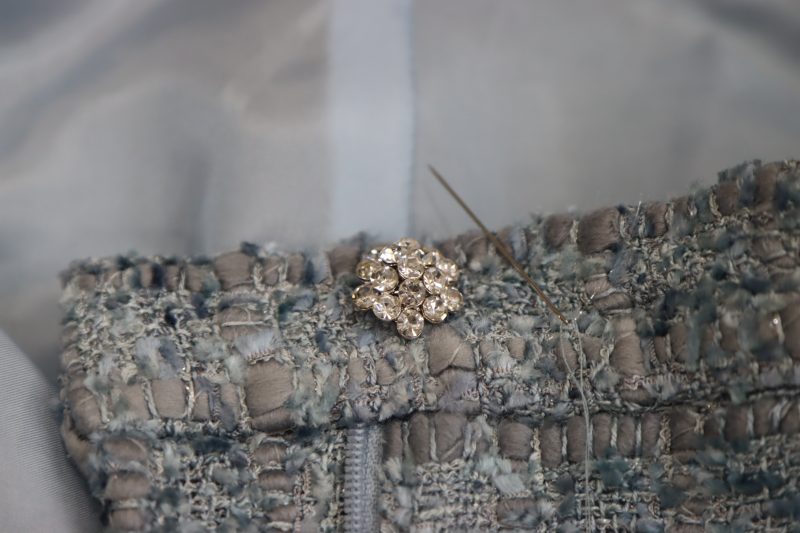
HOW TO SEW A TWEED JACKET
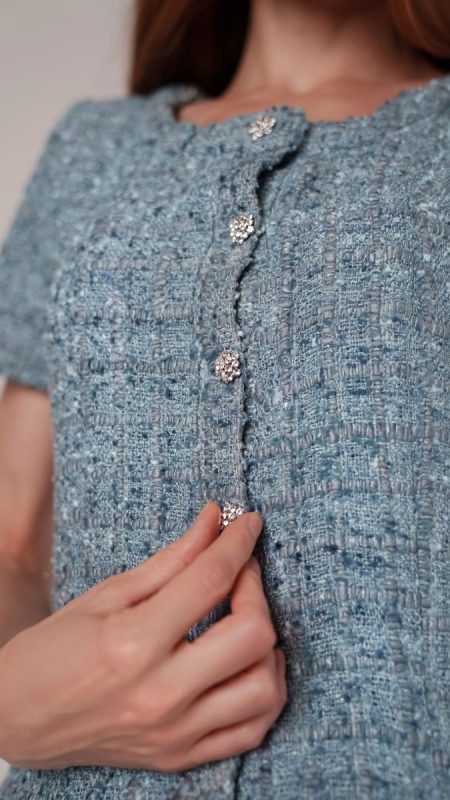
Step 12
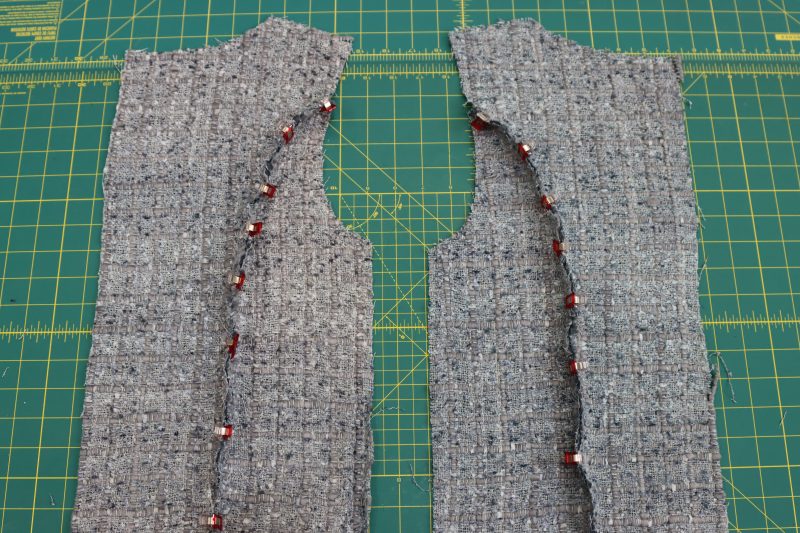
CONSTRUCT SHELL
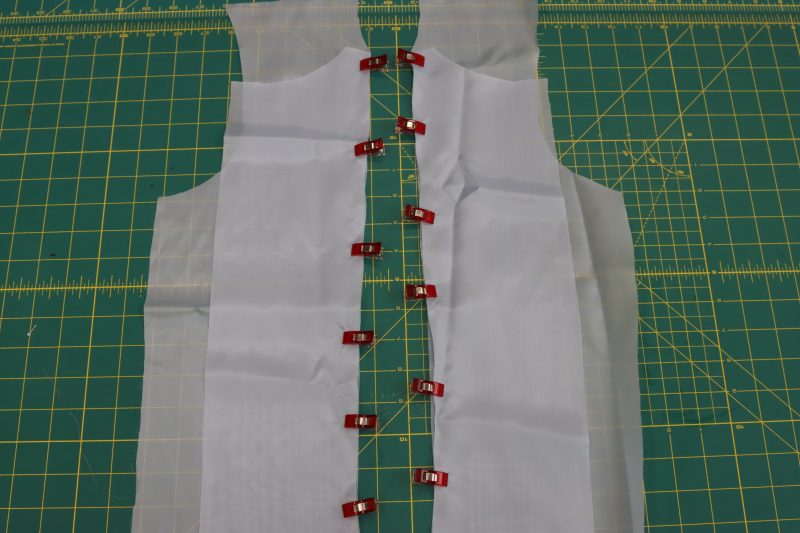
- Pin and sew top back center to top back side.
- Pin and sew top front center to top front side.
- Pin and sew back center pieces together.
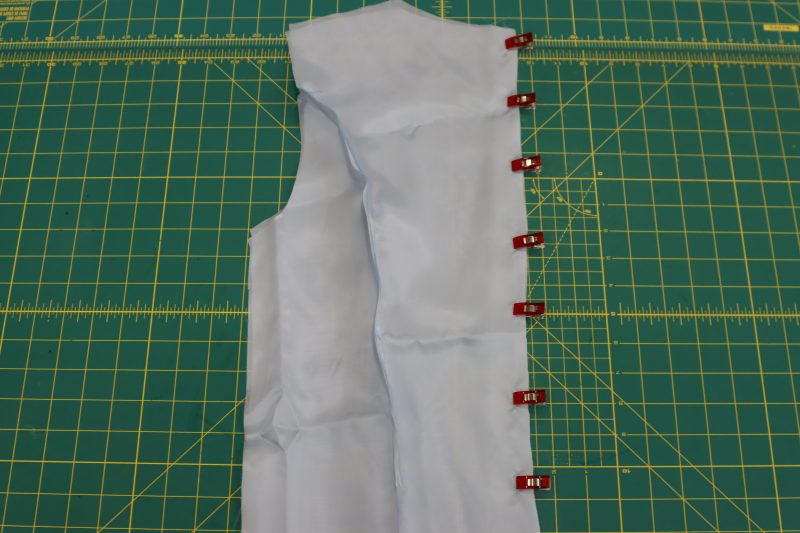
- Pin and sew front and back shoulder seams together.
- Pin and sew button plackets to front centers.
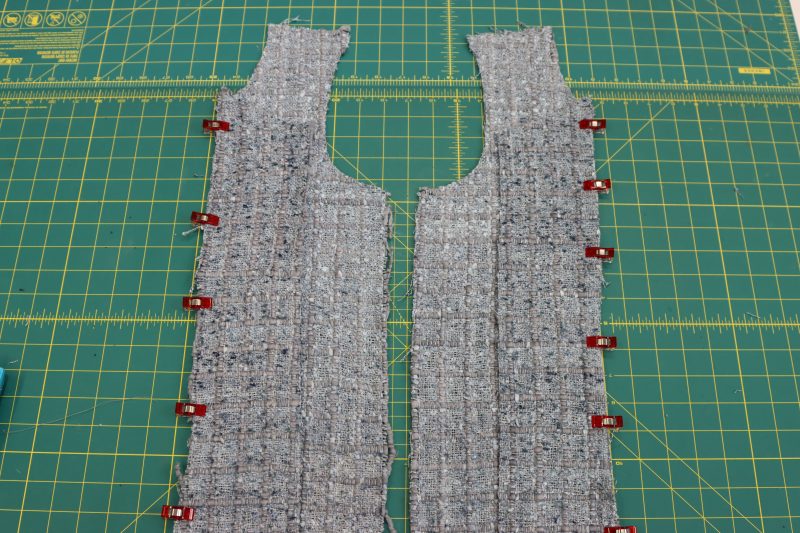
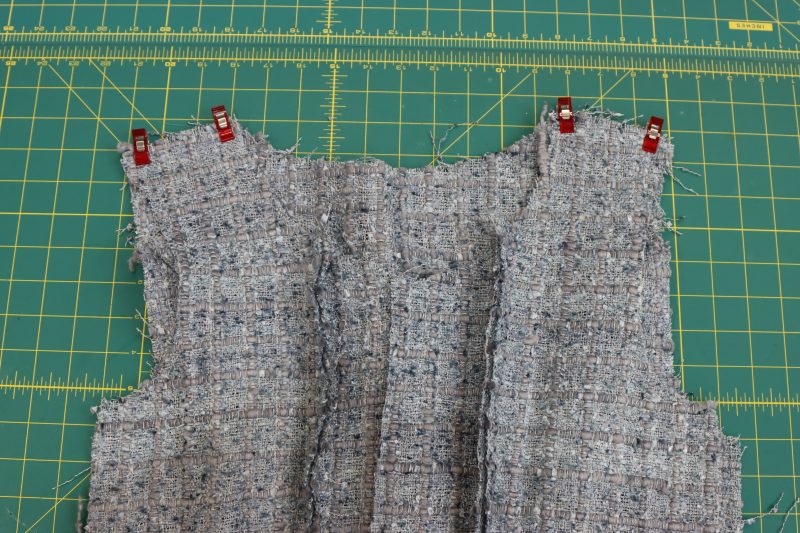
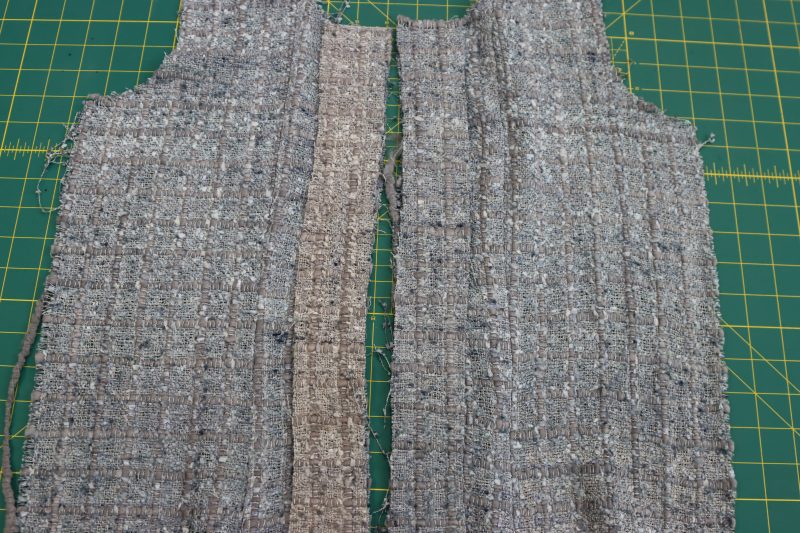
Step 13
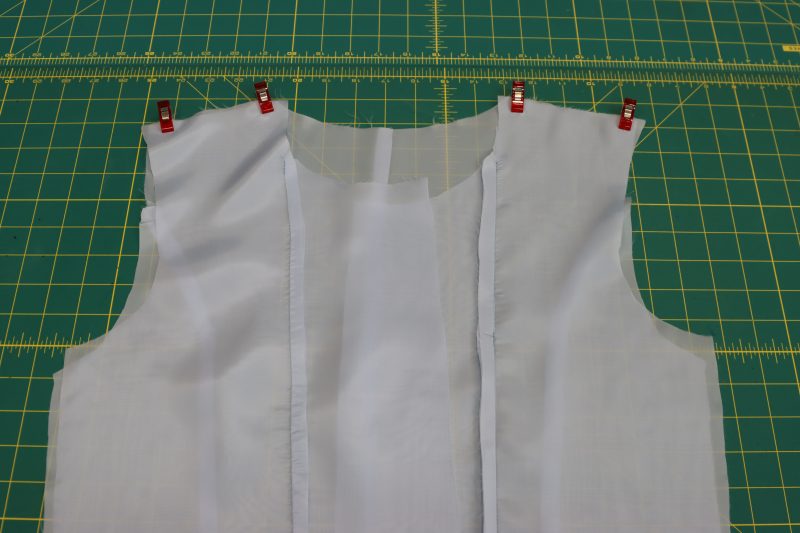
CONSTRUCT LINING
- Pin and sew top back center to top back side.
- Pin and sew top front center to top front side.
- Pin and sew back center pieces together.
- Pin and sew front and back shoulder seams together.
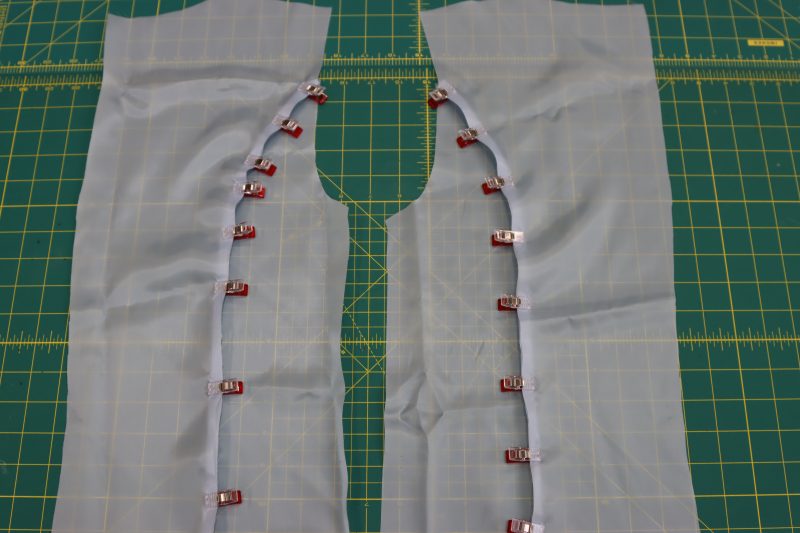
Step 14
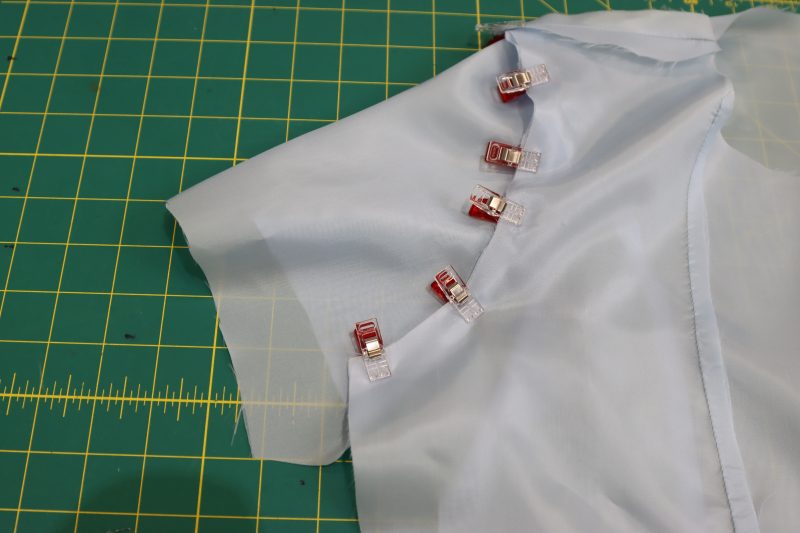
ATTACH SLEEVES
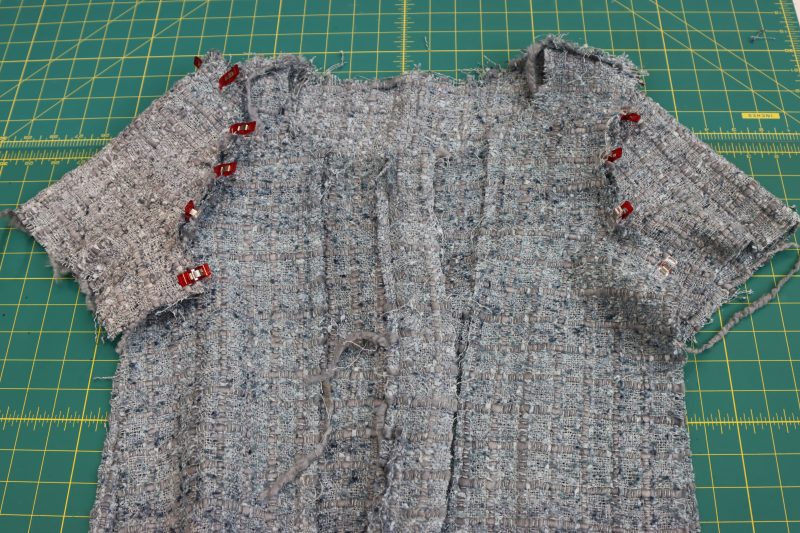
- Pin the curved edge of the sleeve to the armscye, right sides together, ensuring that the fronts and backs of the sleeves are pinned to the fronts and backs of the armholes respectively.
- Sew the sleeves to the armscyes on both the shell and lining pieces.
Step 15
ATTACH SIDE SEAMS
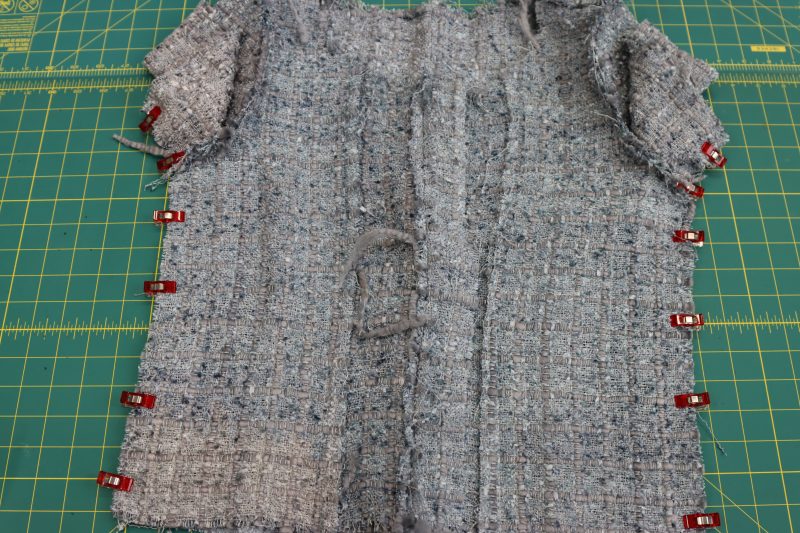
- Pin the front and back top pieces together at the side seams, including the front and back of the sleeves.
- Sew a continuous stitch from the ends of the sleeves to the bottom hem of the top.
- Repeat the steps for both the shell and lining pieces.
Step 16
CLOSE FRONT OPENING
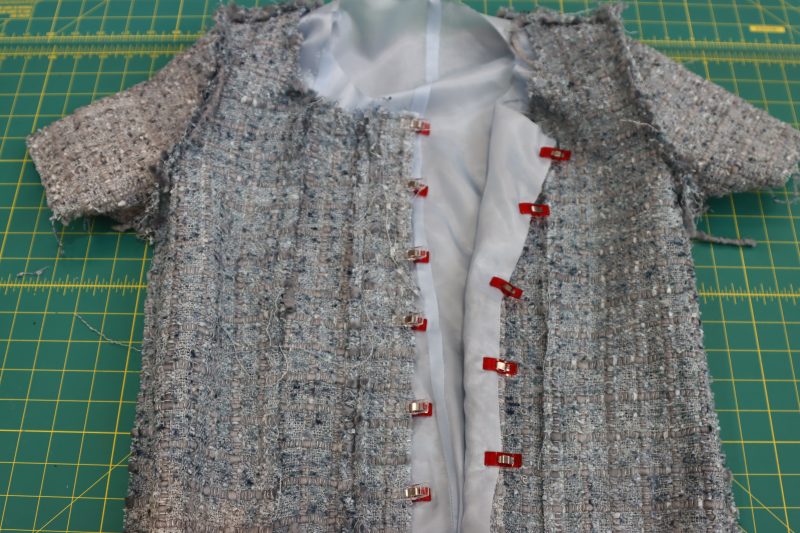
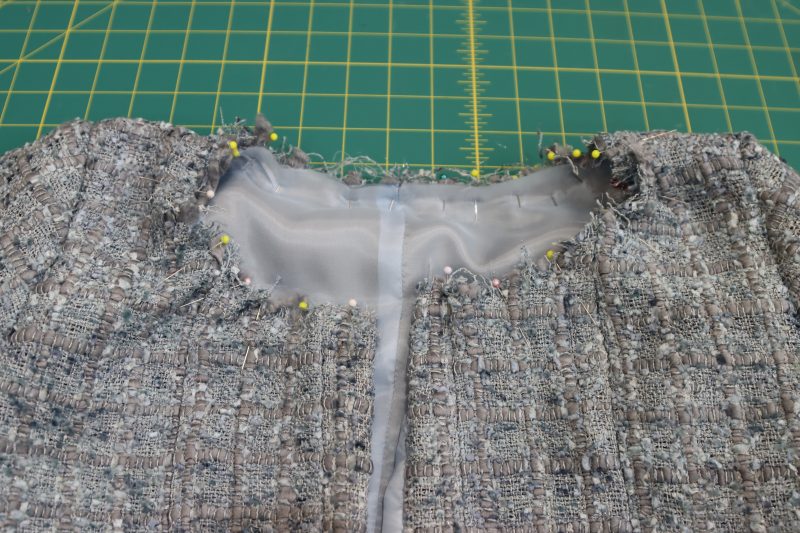
- Pin and sew the front openings of the lining and shell pieces together, right sides together.
- Turn the top right sides out.
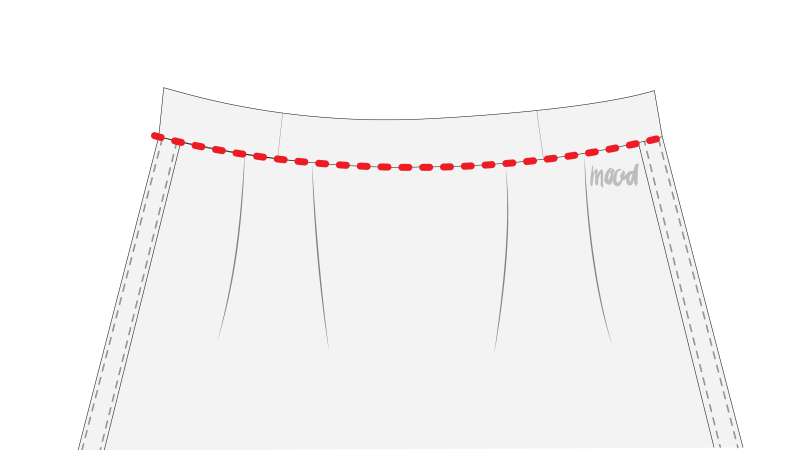
- Sew a stay stitch around the neckline to attach the lining to the shell.
Step 17
ATTACH NECKBAND
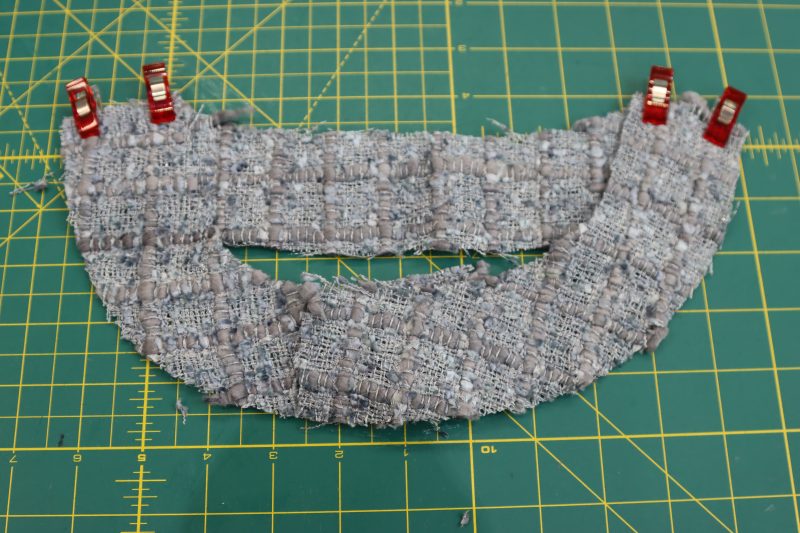
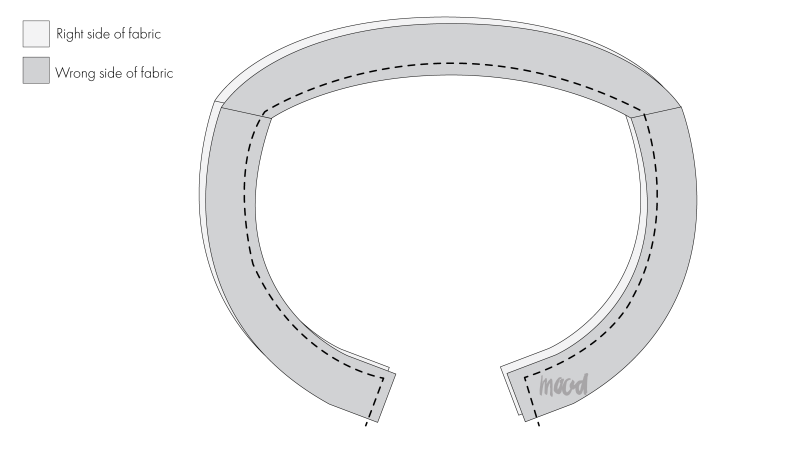
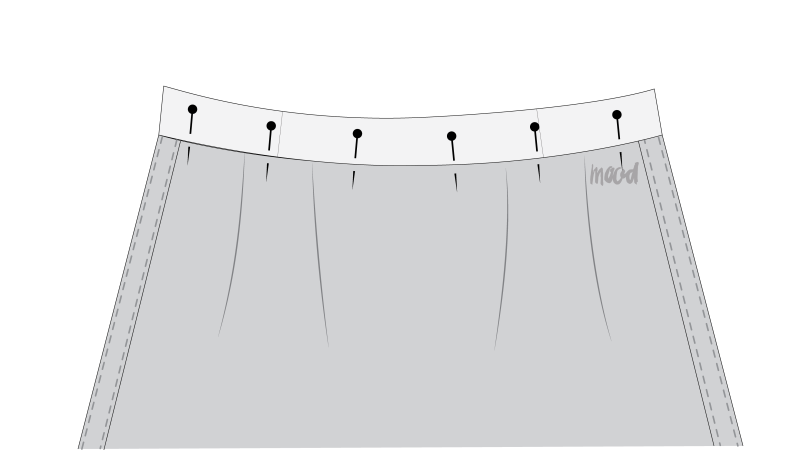
- Pin and sew the front and back neck bands together by the shoulder seam.
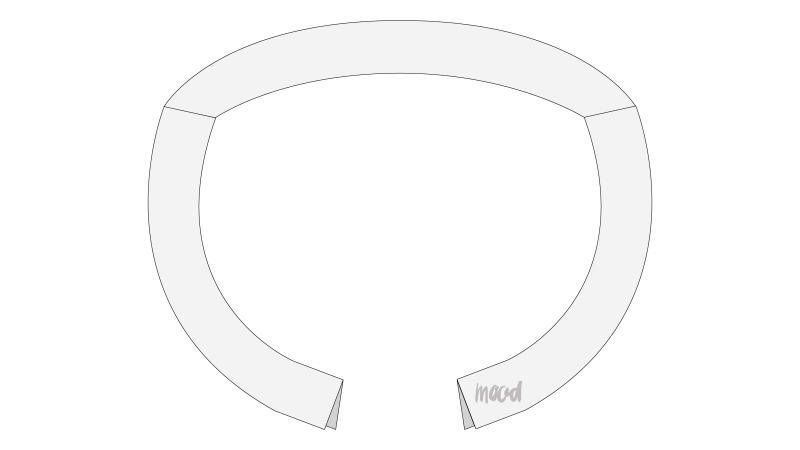
- Place the 2 neck band pieces together, facing right sides, and sew around the sides and across the top. Leave the bottom open.
- Turn right side out and press.
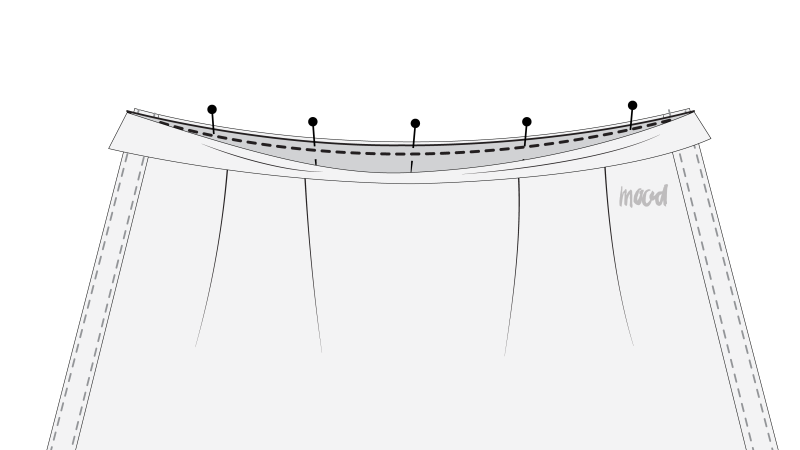
- Right sides together, align the raw edge of the inner neckband with the neckline. Pin in place and sew.
- On the wrong side, with the remaining edge of the neckband, fold and press the seam allowance under, covering the neckline seam line by 1 or 2 mm. Pin in place.
- On the right side, stitch in the ditch, on the seam where the neck band meets the top. You can also finish this step with an invisible hand stitch.
- Top stitch the inner edge of the neckband.
Step 18
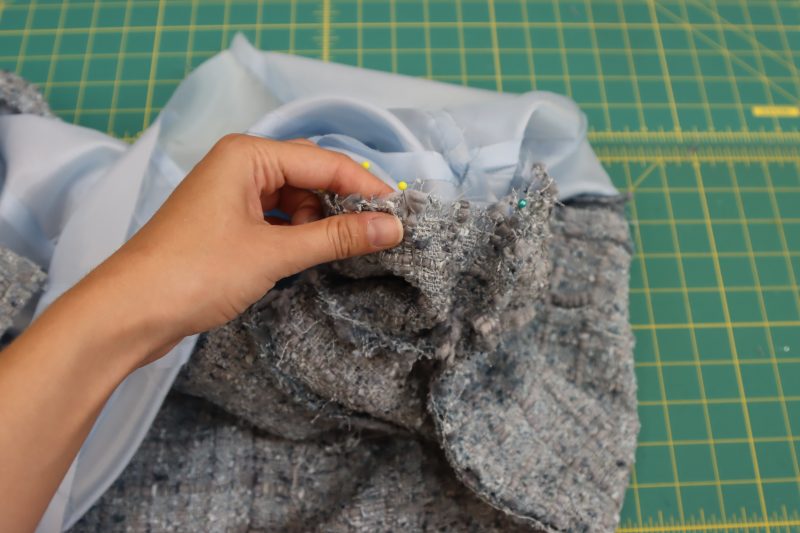
SHOULDER PADS
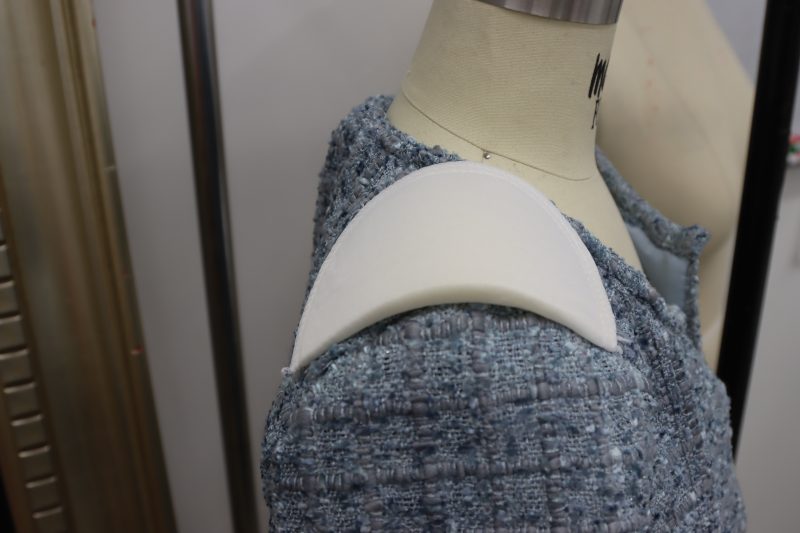
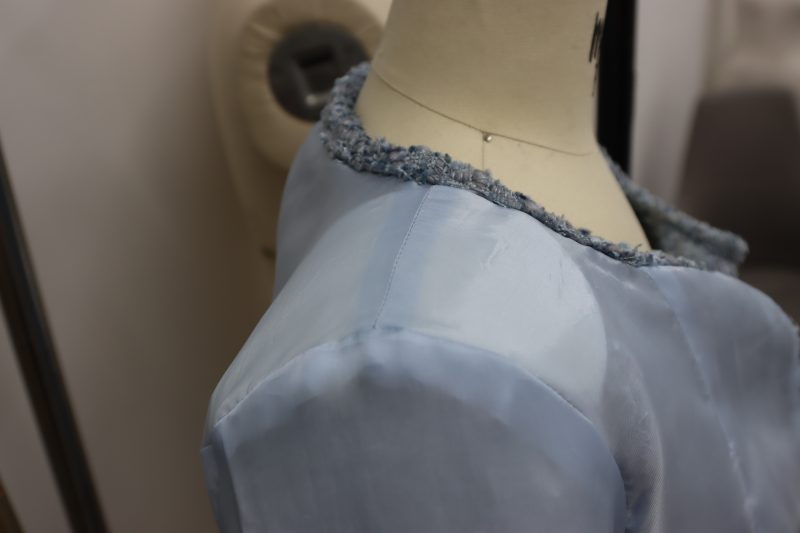
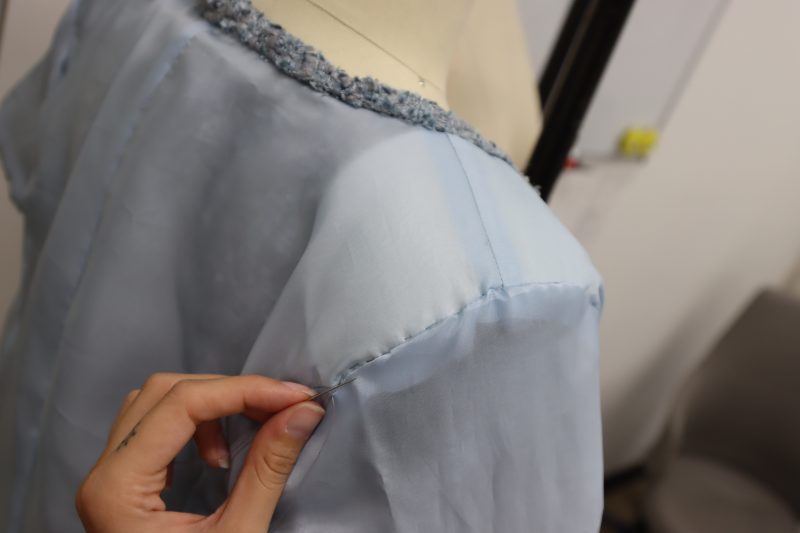
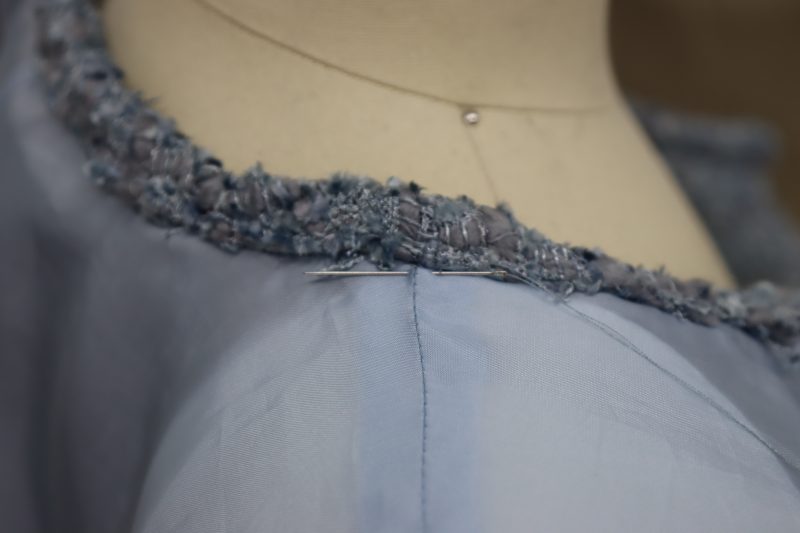
- Align the shoulder pads on the shoulders so that the flat edge of the pad lines up with the armscye and the longer side of the pad is oriented towards the back of the top.
- Place the shoulder pads in between the shell and the lining.
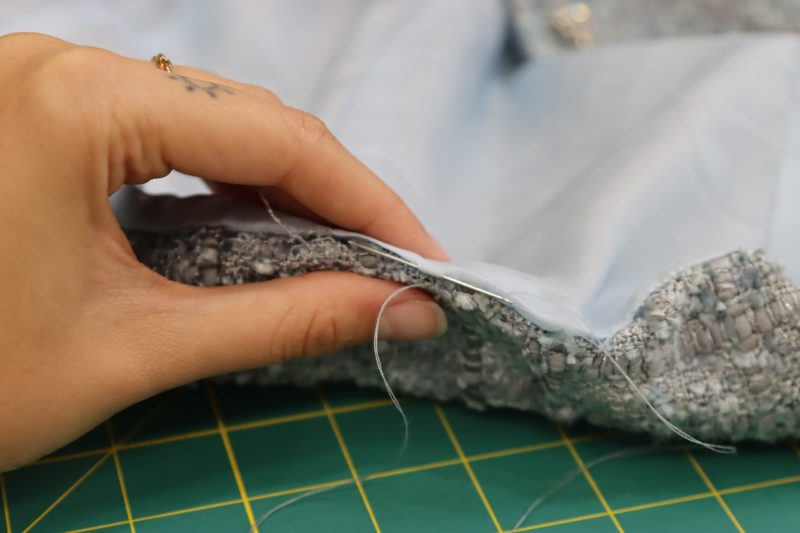
- Hand sew a basting stitch to connect the pad to the lining at the points indicated in the photos below.
Step 19
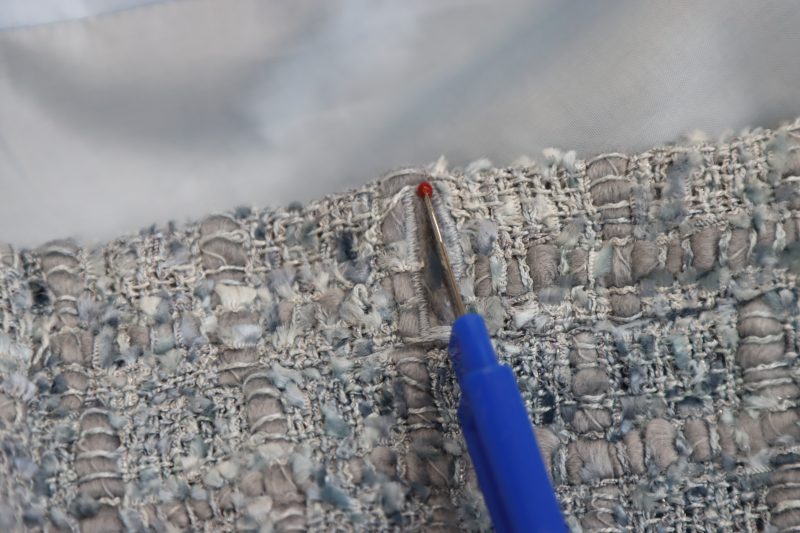
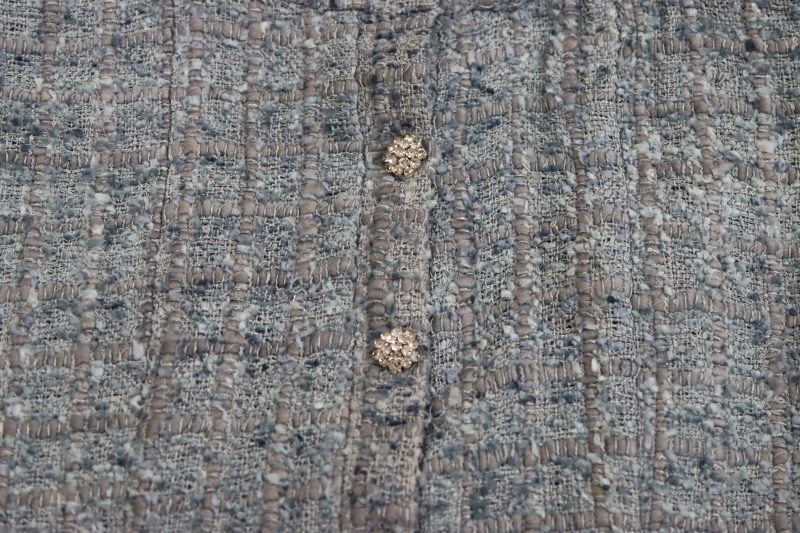
BUTTONS & BUTTONHOLES
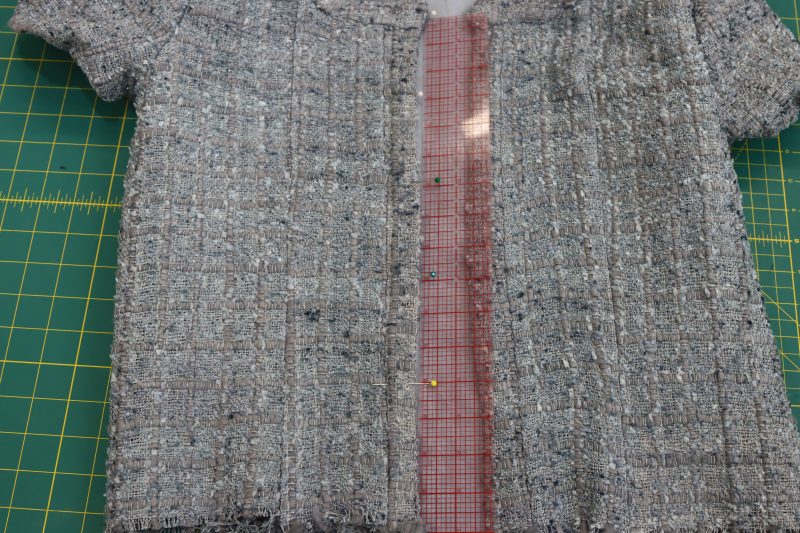
- Evenly mark 5 buttonhole locations on the front opening of the top.
- Use the buttonhole foot attachment on your sewing machine to make 5 buttonholes at the marked locations.
- Hand sew buttons on the opposite side of the front opening of the top, aligned with the buttonholes.
Step 20
HEM SLEEVES & WAIST OPENING
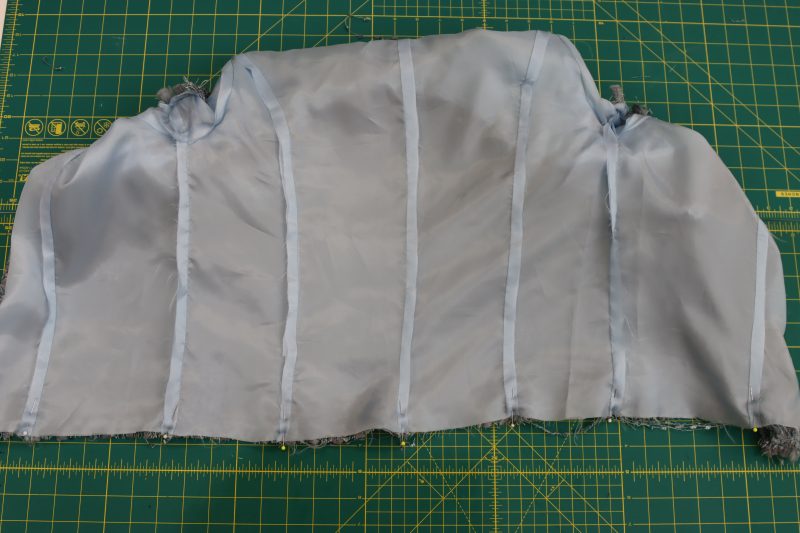
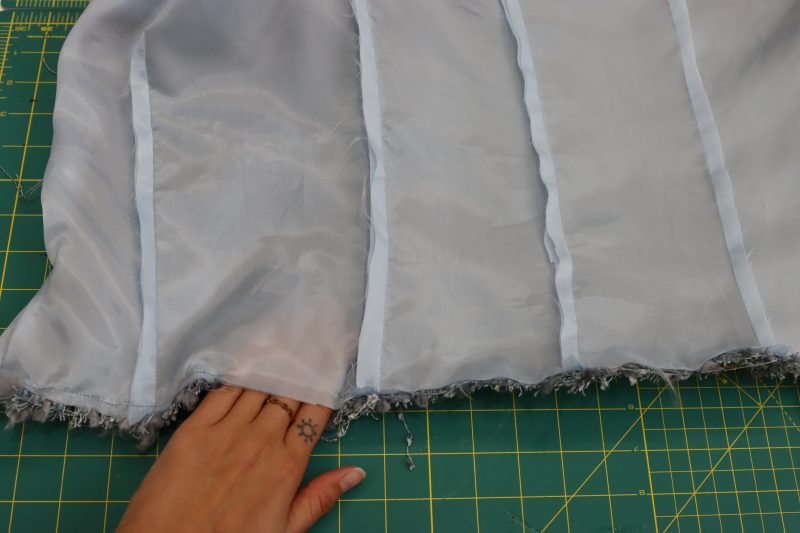
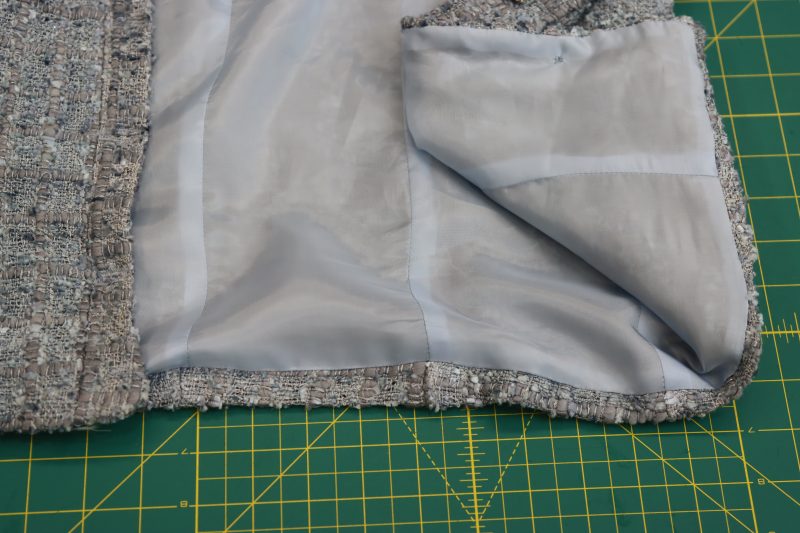
- Using the same closure method from step 9, hem the raw edges of the sleeves by pulling them through the bottom hem of the top.
- Flip the top inside out so that the bottom hem of the lining and shell can be sewn right sides together.
- Pin and sew the bottom hem of the top right sides together, leaving a small gap through which the top can be turned right sides out.
- Turn the top right sides out.
- Hand sew a ladder stitch over the opening left at the bottom of the hem.
- Iron the bottom hem of the top.
HOW TO SEW A TULLE SKIRT OVERLAY
Step 21
SEW BACK SEAM
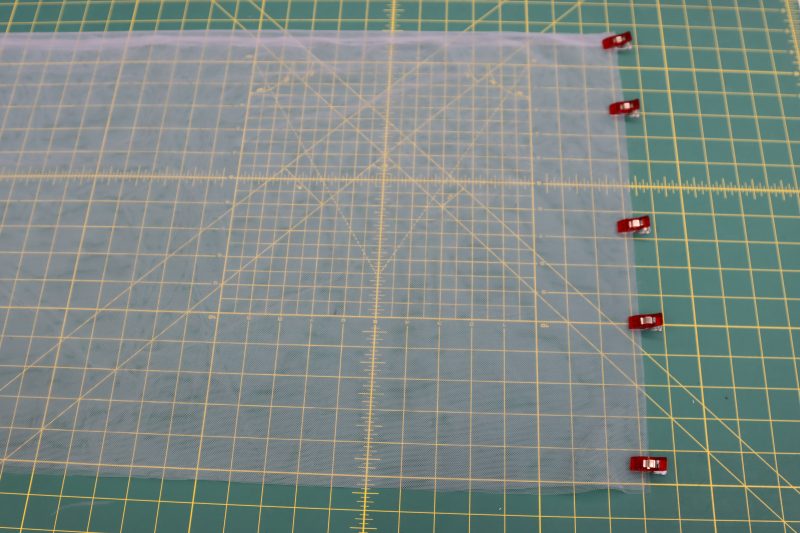
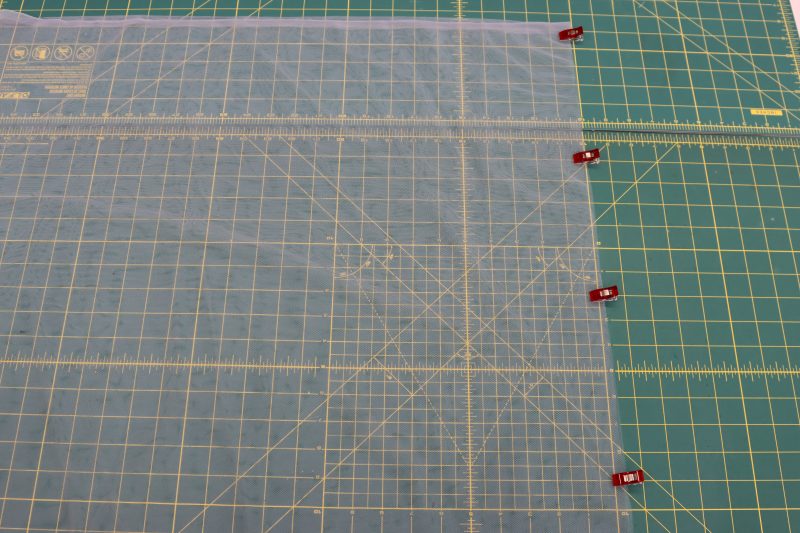
- Cut two rectangular pieces of tulle to the dimensions indicated in the pattern according to your size.
- Fold each piece of the tulle separately and pin the raw edges together to create a back seam on each piece.
Step 22
ELASTIC CASING
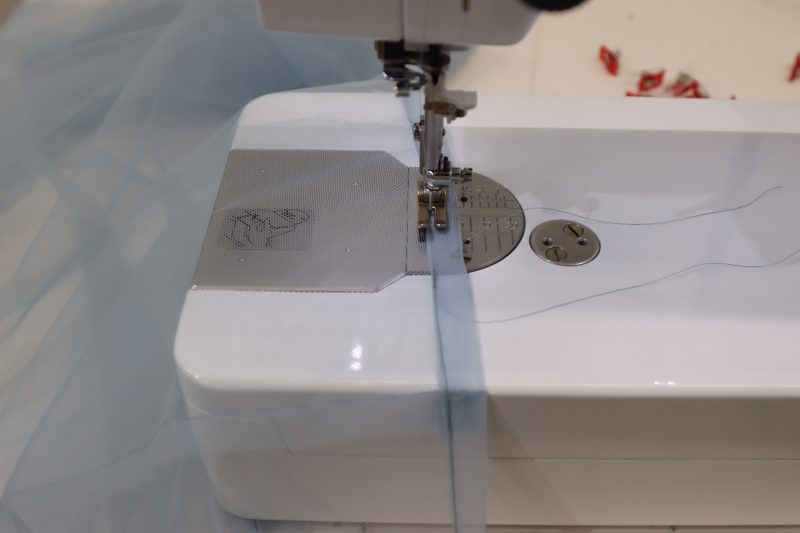
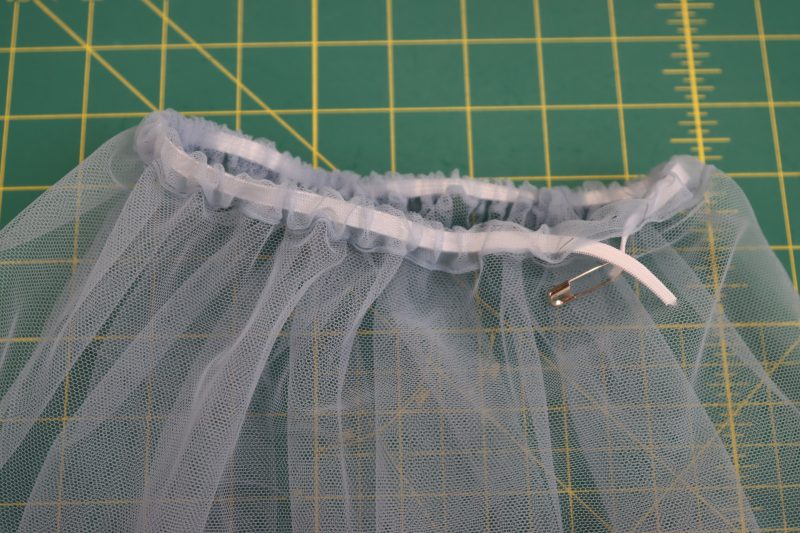
- Pin and sew a tunnel at the waist opening of the main skirt piece (Note: ¼ inch elastic was used for this project, so the width of the tunnel was ⅜ inch).
- Leave a small opening in the tunnel for the elastic to be inserted into the waistband.
- Cut a piece of elastic to the size of your waist.
- Attach a safety pin to one end of the elastic and feed it through the opening in the tunnel until it comes out the other end.
- Sew the elastic to itself to create a closed loop.
- Sew the opening in the tunnel shut with a top stitch.
Step 23
GATHER SKIRT EXTENSION
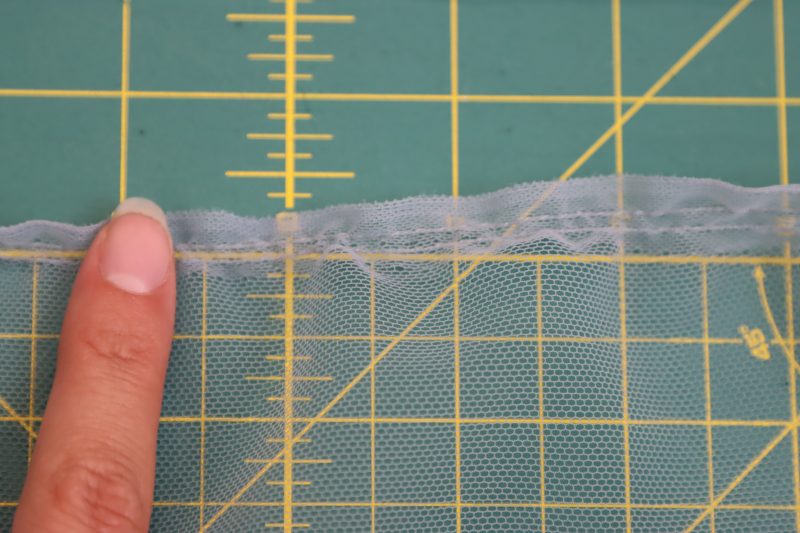
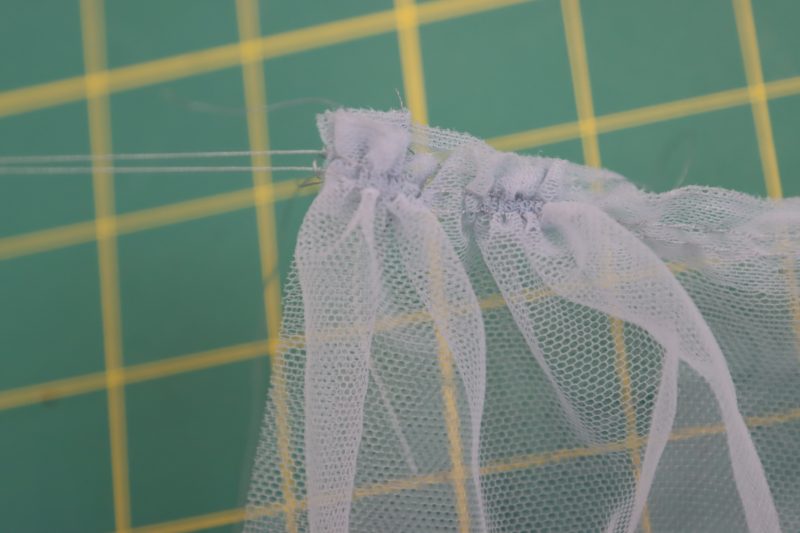
- Sew two parallel straight stitches on one of the long edges of the skirt extension with a stitch length of 3.5 millimeters.
- Securely grab the two top threads and begin pulling on them to gather the edge and create a ruffle.
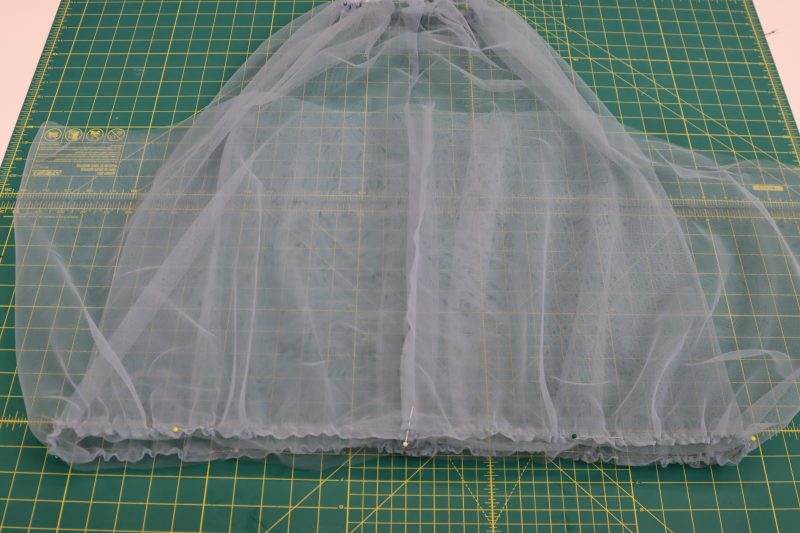
- Once the skirt extension is gathered to reach the same length as the bottom skirt opening of the main skirt piece, pin and sew the ruffle to the bottom of the main skirt, right sides together (Note: Be sure to change the stitch length back to 2 millimeters when attaching the skirt extension to the bottom of the main skirt).
Step 24
SKIRT HEM
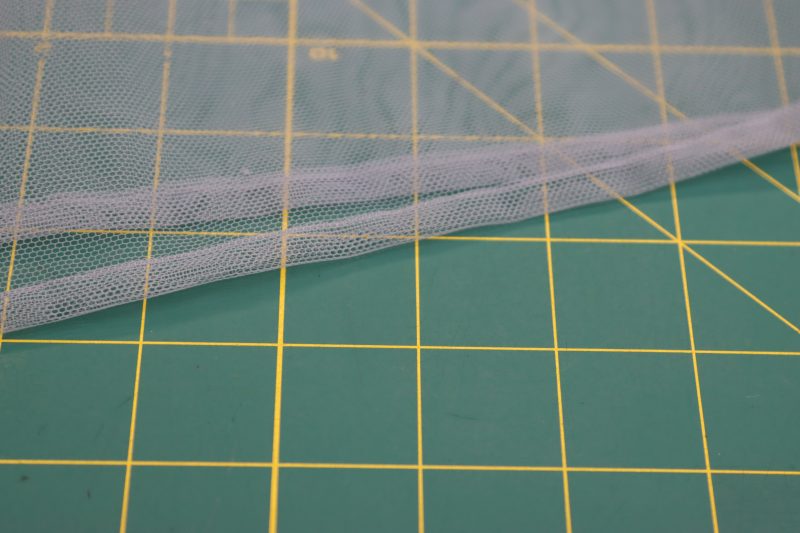
- Fold and sew a ¼ inch double folded hem on the bottom of the skirt extension.
Sewing Success: The Completed Cannes Ensemble

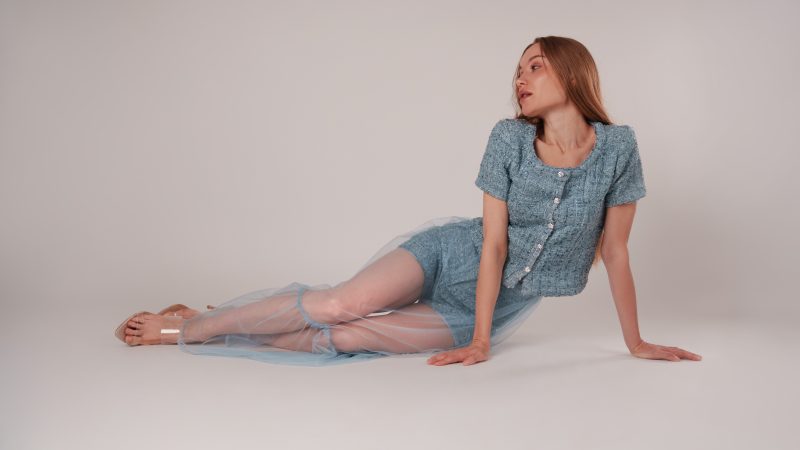
Share this post with a friend (or two!), download the Cannes Ensemble free sewing pattern, and show us which fabrics and colors you choose, using the hashtags #MoodCannesPattern & #MadeWithMood—and don’t forget to tag us @MoodFabrics, too.
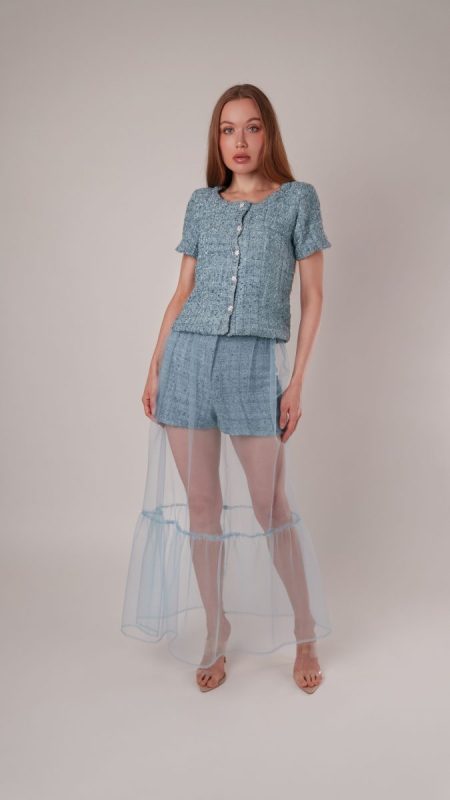
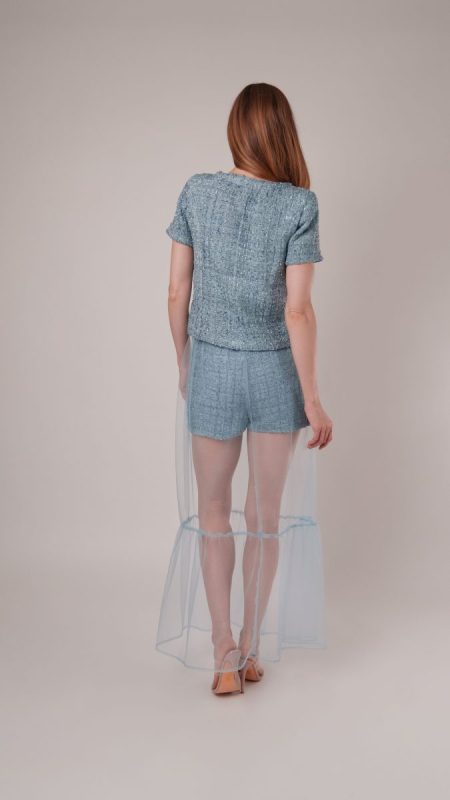
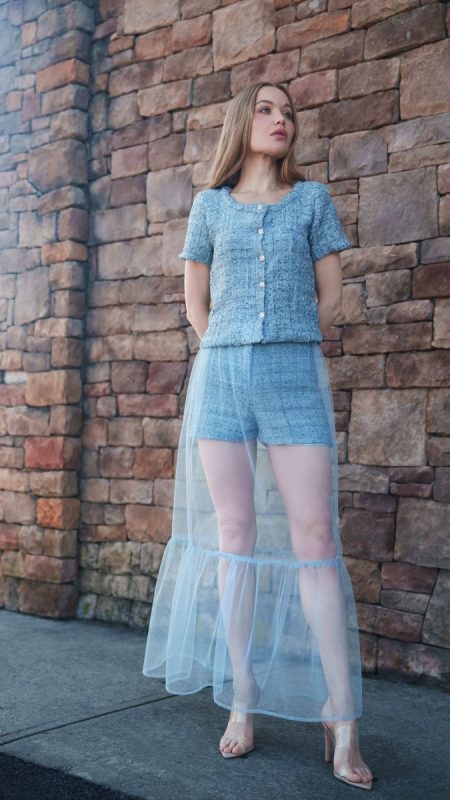
Free Sewing Pattern Inspiration for Your Next Project
With 450+ free sewing patterns and counting, your opportunities for sewing with Mood are endless!
We hope you had as much fun sewing this chenille tweed and soft tulle pattern as we did! As always, we want to hear from you—share your thoughts and comments below and let us know where you’ll be wearing the Cannes Ensemble free sewing pattern!

Me encantan sus patrones
Could I lengthen the shorts to capri or even wide leg cropped?
Yes, absolutely! You can lengthen the shorts on The Cannes Ensemble Free Sewing Pattern to create a capri or wide-leg cropped style. It’s a great way to customize the look to your preference. We’d love to see your version if you share with #MadeWithMood!
Are the pants too small? I wear a medium size, but it turns out I should have used an S. Thanks.
Hi Berta! Our model is a size 4 and is wearing a size small. Make sure the check your measurements with the size chart and if you’re between sizes, you can always blend two sizes together.
Hello! I would like to see just the shorts, is it possibile without printing the whool pattern? Do you have the pattern just of the short?
Hi Linda! The shorts pattern is printed on pages 18-47, so you can just print those pages out to save paper.
Hi
Could the top work in linen, instead of tweed.
Thanks
Absolutely! That would be so cute.
I want to make this without shoulder pads, are there changes that I should make? I am also lengthening the shorts to pant length. I am using material I have on hand and then I am using ultra suede with satin backing for my Christmas outfit. Thanks for all your halo with this change I am not certain of, I also don’t want to ruin either outfits. Again thank you.
You don’t need to do anything differently to omit the shoulder pads, just don’t put them in. To lengthen the shorts into pants, just extend the hem of the shorts and make sure to either keep them straight leg or taper them out at the hip so that they’re slightly wide leg. This will make sure they fit around your thighs. I hope this answers your questions!