

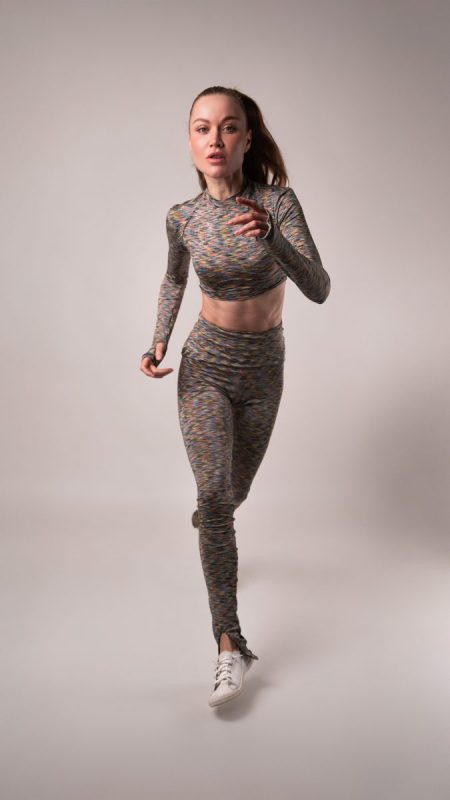
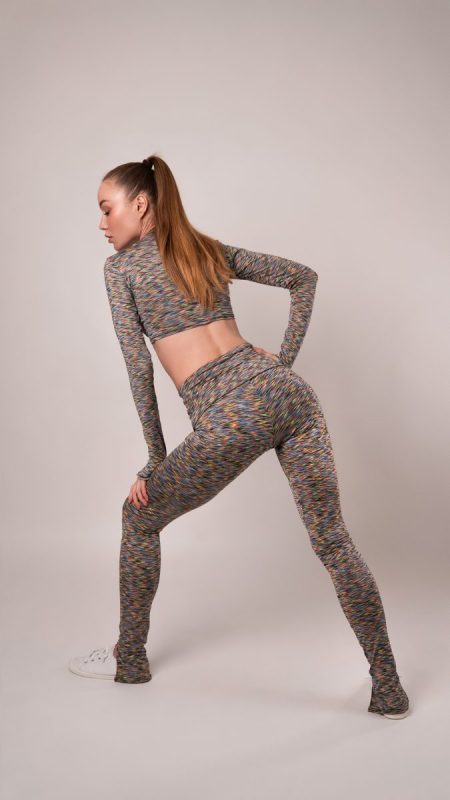
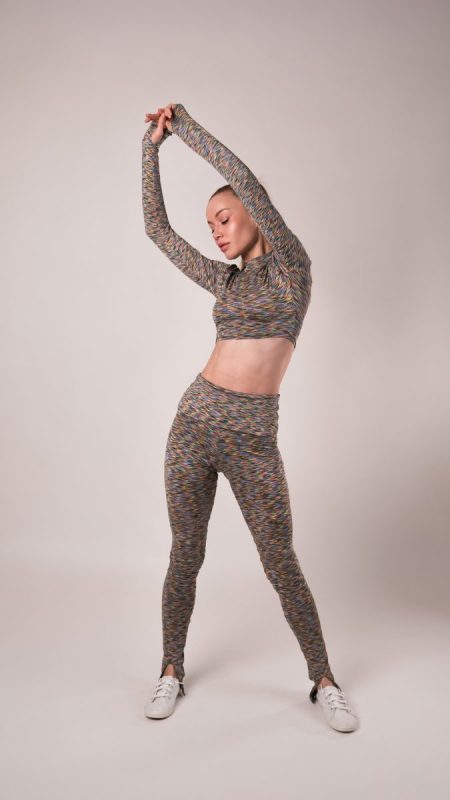
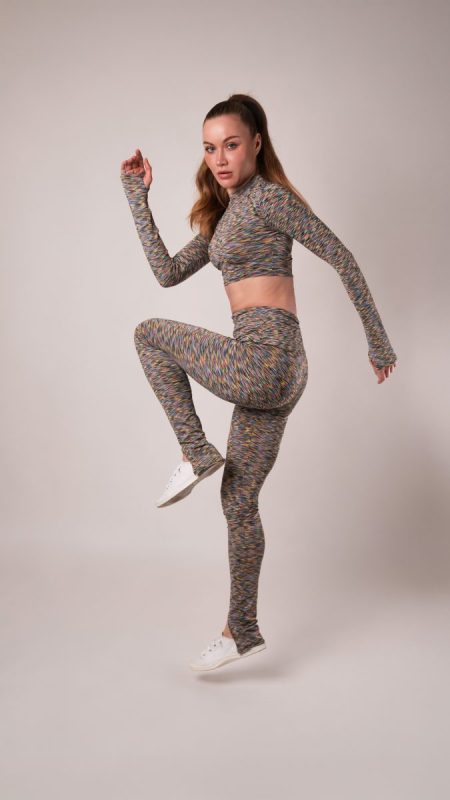
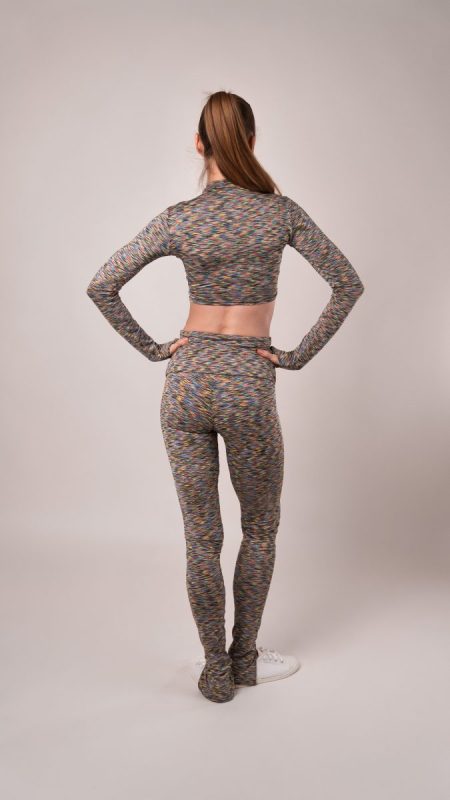
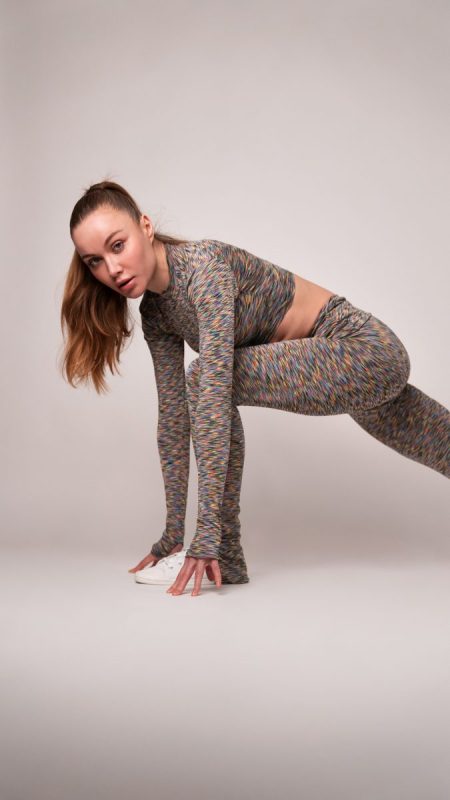
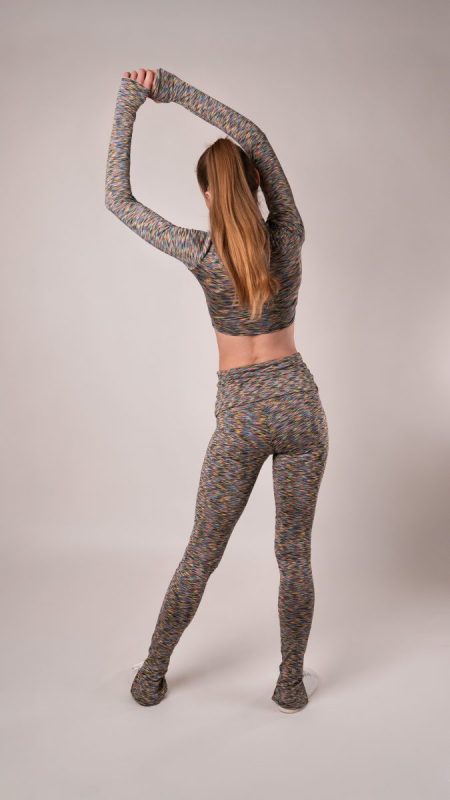
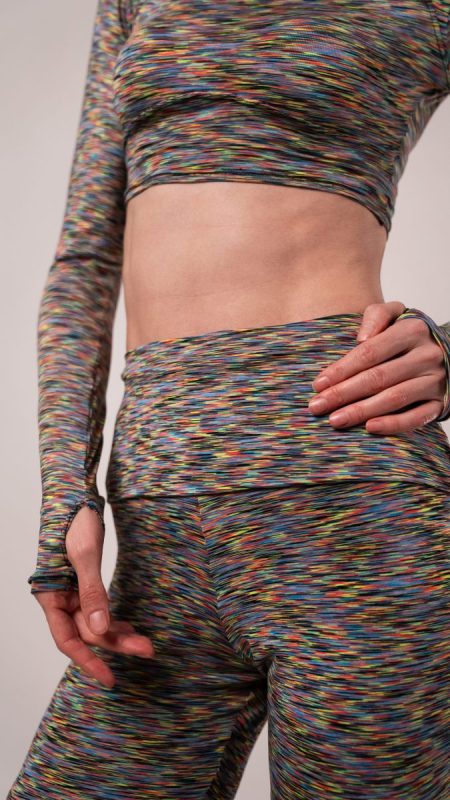
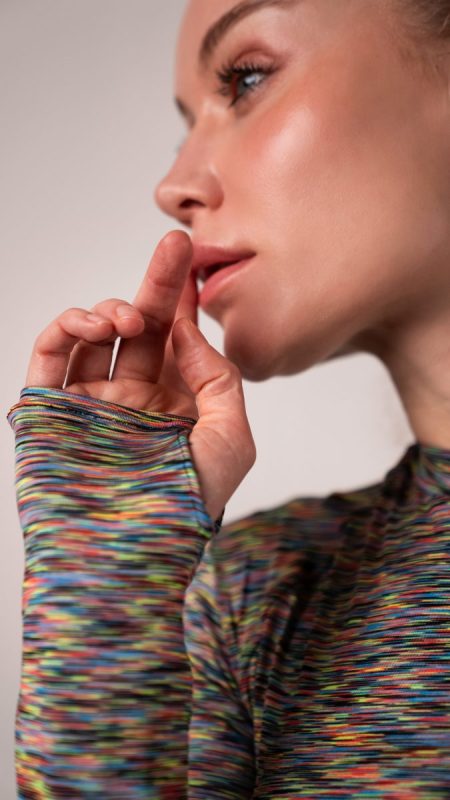
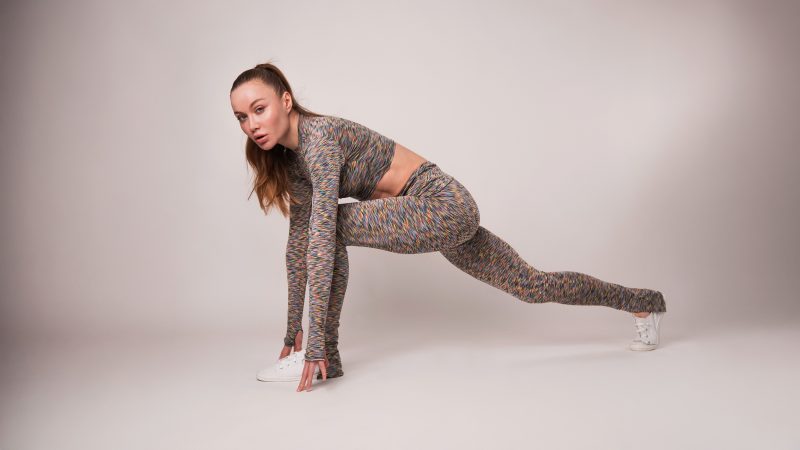
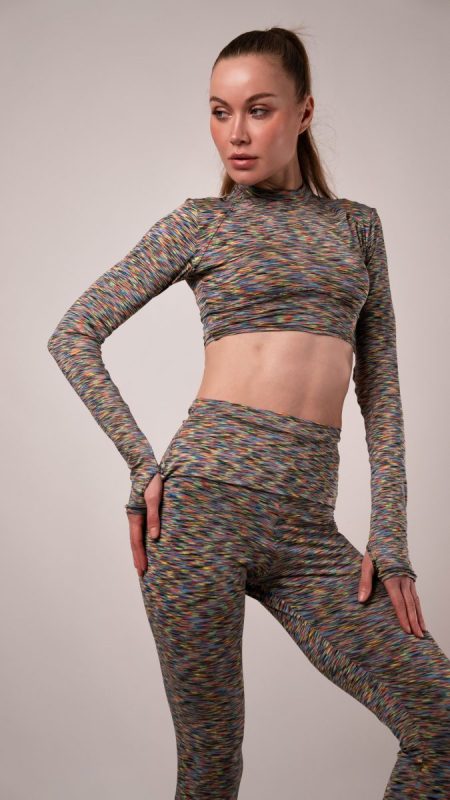
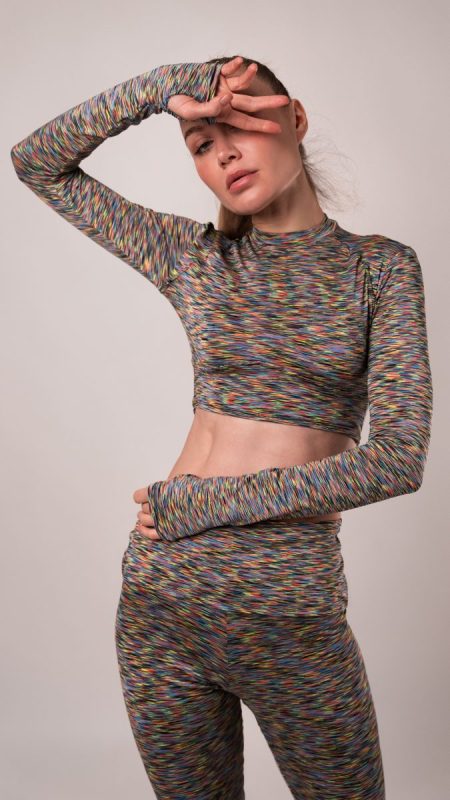
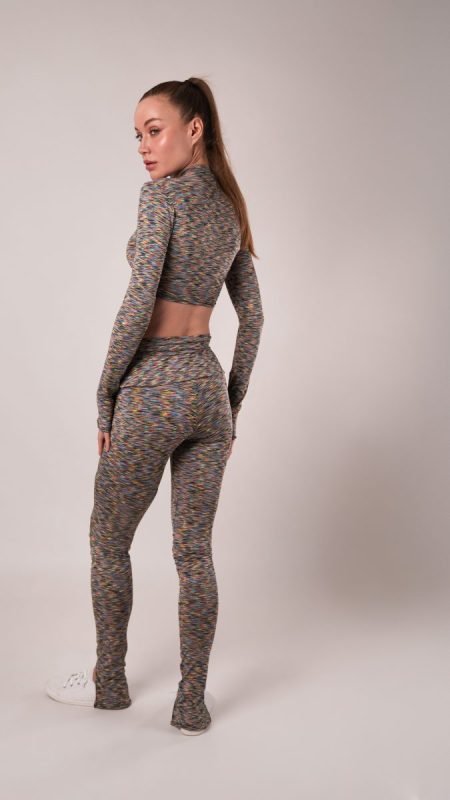
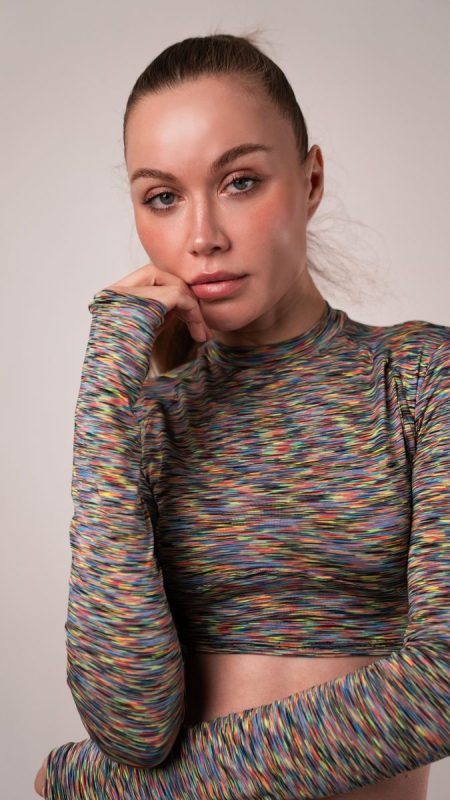
If you’re looking for warm winter workout versatility, look no further than the Arlington Workout Set. Made out of a moisture-wicking, antimicrobial performance jersey, this workout set feels as natural as a second skin, moving to your rhythm and keeping you insulated during chilly outdoor commitments.
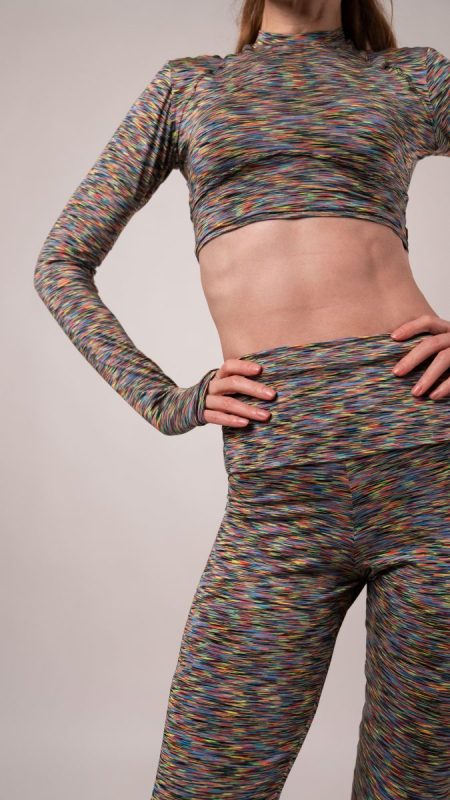
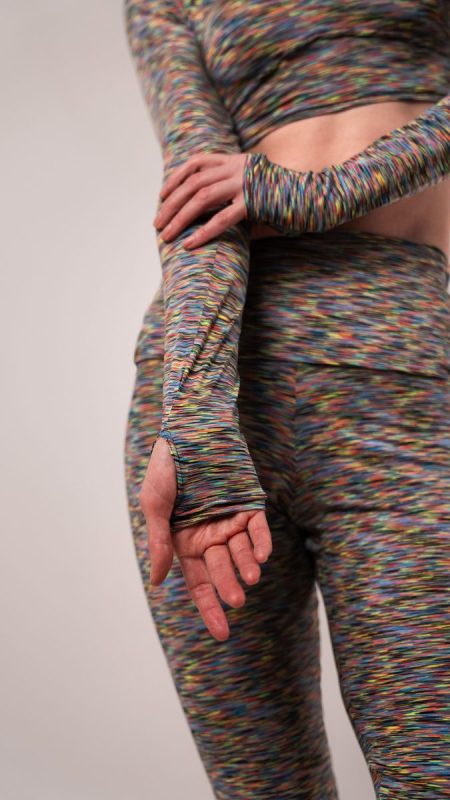
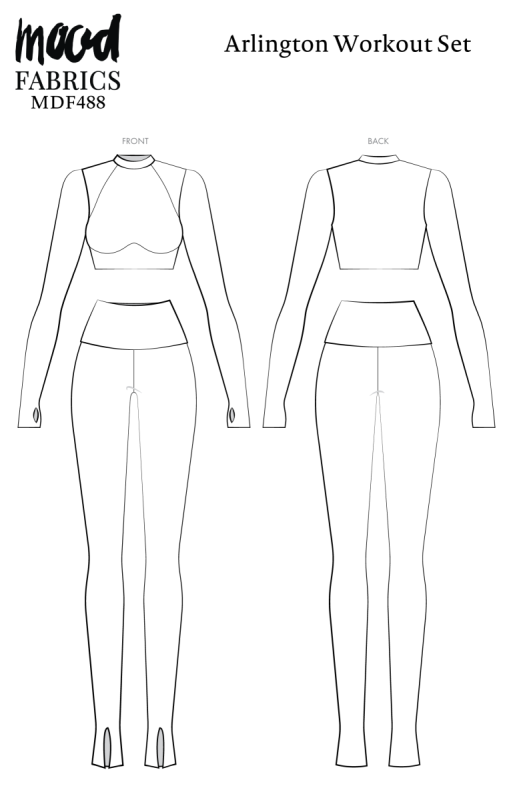
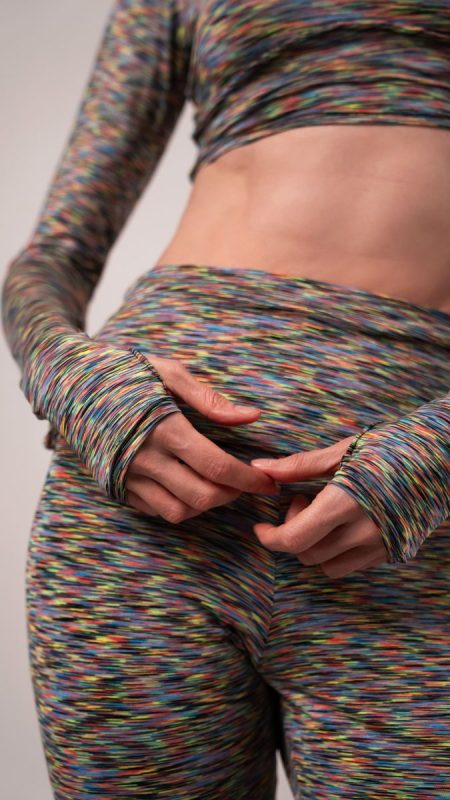
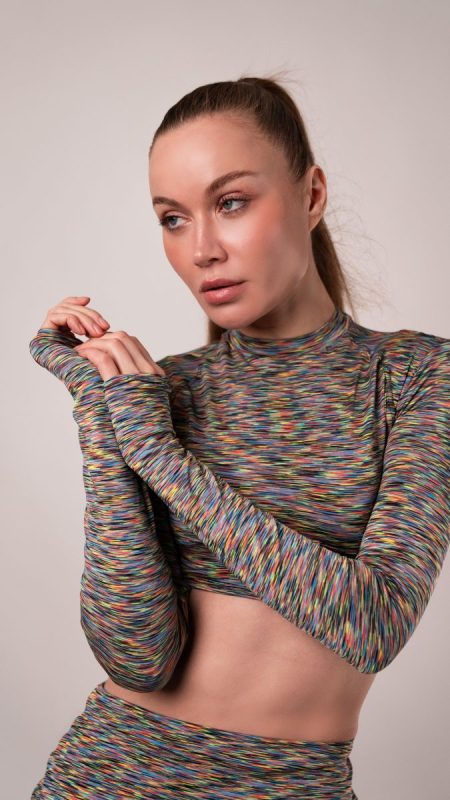
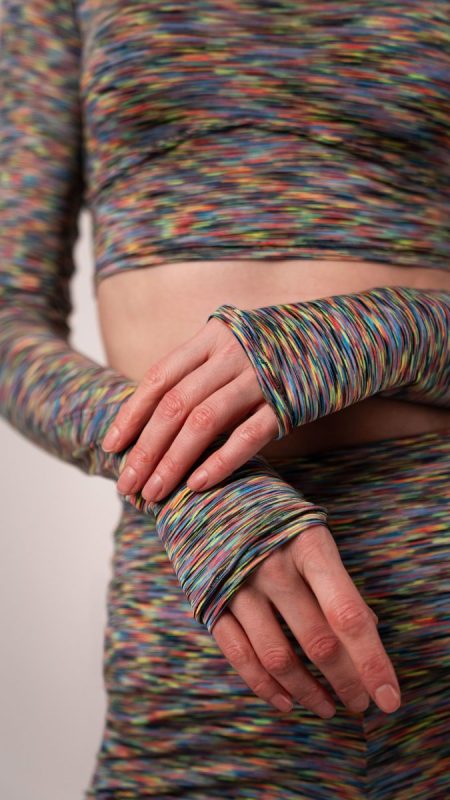
The long sleeve mock neck crop top is sculpted with top stitching that traces a subtle sports-bra illusion and finishes with thumb holes that guard your hands from the cold winter chill. The leggings follow suit with a fold-over waistband, smooth side-seam-free legs, and small hem slits that add a wink of movement. Together they form a set built for intense workout sessions, airport sprints, and delicious post-feast lounging. As soon as you’re ready to take on the new year, do it in the Arlington Workout Set.
Essential Materials & Sizing Guide for the Arlington Workout Set
Continue reading for a breakdown of what knowledge and materials you need for creating your very own workout set! We’ve got you covered with the recommended materials we used—if you want to follow along exactly—as well as a curated list of alternative fabric type recommendations if you want to customize your own version. The Arlington Workout Set free sewing pattern download includes technical drawings for seam and workout set visibility, plus a size chart to help you find your perfect fit!
Purchase Products Used Below:
Quantities indicated are for sewing a size small workout set. Toggle the ‘SHOP THIS LOOK’ box to find quantity estimates for other sizes.
- 3 yards of Performance Jersey, Wicking and Anti-Microbial – Avatar Rain Striated
- 2 each of Gutermann Sew All Thread 500m – 10 Black
- MDF488 – Arlington Workout Set Sewing Pattern (Free download below!)
Additional Products Used:
*Quick Tip! The ‘SHOP THIS LOOK’ box defaults to full-yard quantities. To order an exact half-yard quantity for any fabric, simply use the decrease quantity button (-) to subtract by the half yard. Then click “ADD TO CART” to add all materials to your cart.
(Our system can only display full-yard quantities initially.)
Alternative Fabric Type Recommendations:
The Arlington Workout Set sewing pattern is best suited for lightweight stretch knit fashion fabrics. Explore other fabric types or colors from our featured collections for your workout set with the links below.
Download Your Free Sewing Pattern
Submit your name and email in the form below to receive the download link for the Arlington Workout Set free sewing pattern directly in your inbox. Mood Sewciety Patterns will send your free download link via email with the subject line: ‘Your Free Download from Mood Sewciety – The Arlington Workout Set’ (in PDF format for A4 and letter-size printing).
© MoodFabrics.com / MoodSewciety.com – Mass production, resale, or distribution of this pattern in any form is strictly prohibited.
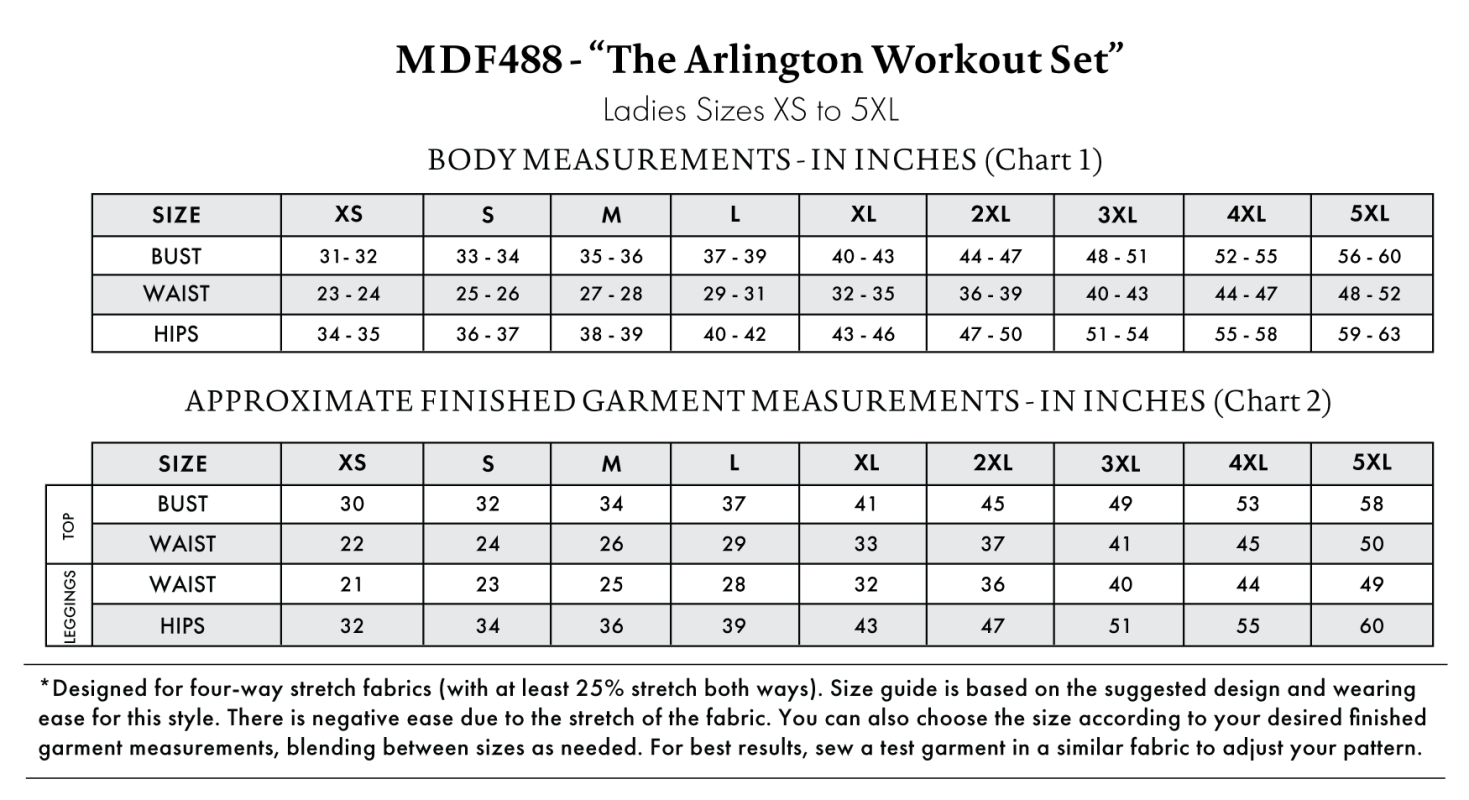
Find Your Perfect Fit
The Arlington Workout Set Sizing Guide is based on the suggested design & wearing ease for this style. You can also choose the size according to your desired finished garment measurements, blending between sizes as needed. Measure the printed patterns to make sure the dimensions are according to the desired fitting and adjust if needed before cutting the fabric. For best results, sew a test garment in a similar fabric to adjust your pattern.
Note: Measurements may vary after adjustments. If using non-stretch fabrics, reference the approximate finished garment measurements chart to choose your size.
Note: Always read all the instructions before cutting the fabric!
How to Sew The Arlington Workout Set
The instructions provided below are designed to guide you through sewing the Arlington Workout Set from start to finish.
3 Tips for Sewing with Jersey
⇒ Ideally, you would really want a serger or a coverstitch machine for a jersey because it is just so stretchy. If you don’t have such a thing, I recommend choosing the overcasting or zigzag stitch on your machine and making your seams with that so that the fabric isn’t restricted from stretching.
⇒ I highly recommend you use a ball point/stretch needle for any jersey fabric.
⇒ You should be stretching the jersey ever so slightly as you sew/serge it so that it isn’t restricted by the stitches.
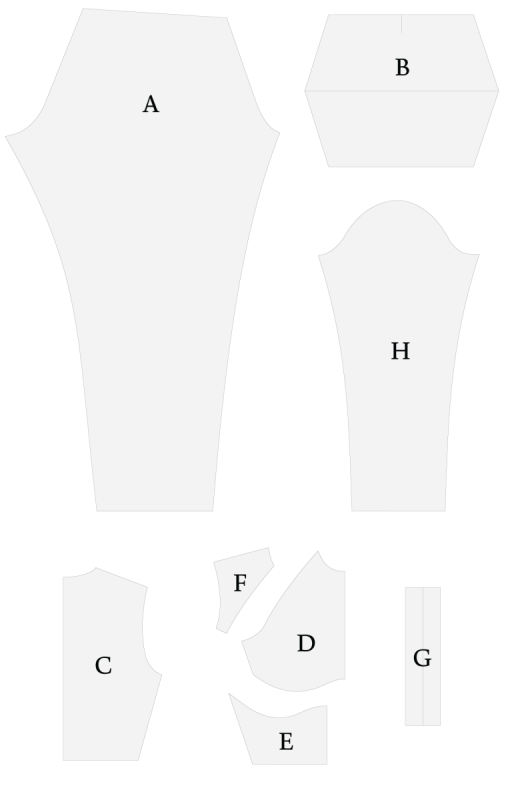
Pattern Pieces & Fabric Cuts Needed
- (A) LEGGINGS
- FABRIC – CUT 2 MIRRORED
- (B) LEGGINGS WAISTBAND
- FABRIC – CUT 2
- (C) TOP BACK
- FABRIC – CUT 1 ON FOLD
- (D) TOP FRONT UPPER
- FABRIC – CUT 1 ON FOLD
- (E) TOP FRONT LOWER
- FABRIC – CUT 1 ON FOLD
- (F) TOP FRONT SHOULDER
- FABRIC – CUT 2 MIRRORED
- (G) NECKBAND
- FABRIC – CUT 1
- (H) SLEEVES
- FABRIC – CUT 2 MIRRORED
Sew with a 1/2″ seam allowance for all seams unless otherwise specified.
Step 1
TOP FRONT
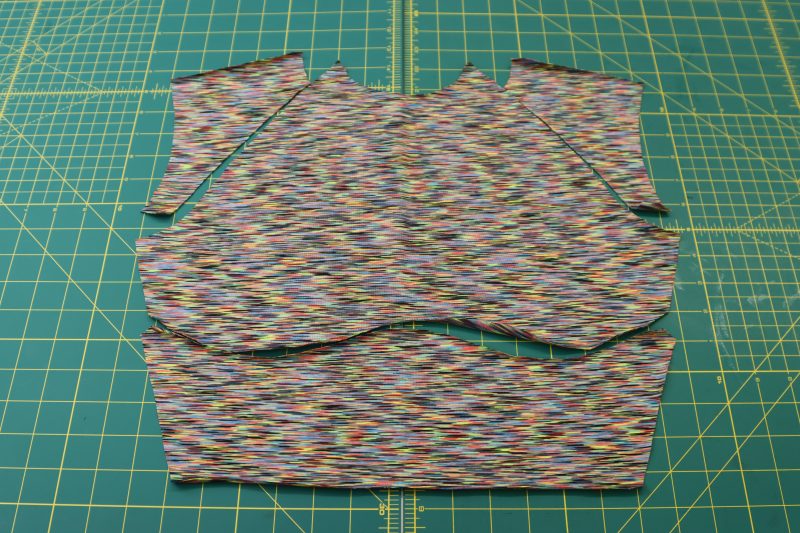
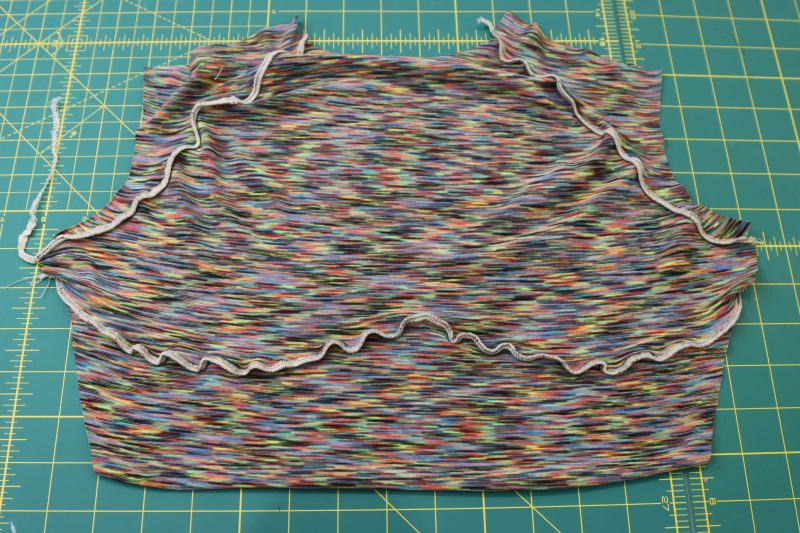
- Lay out all the front top pieces next to each other as shown in the photo below so that you know how the front top is supposed to be assembled.
- Serge or zigzag the top front upper to the top front lower piece, right sides together.
- Serge or zigzag the top front shoulders to the raglan seam of the top front upper, right sides together.
Step 2
TOPSTITCHING
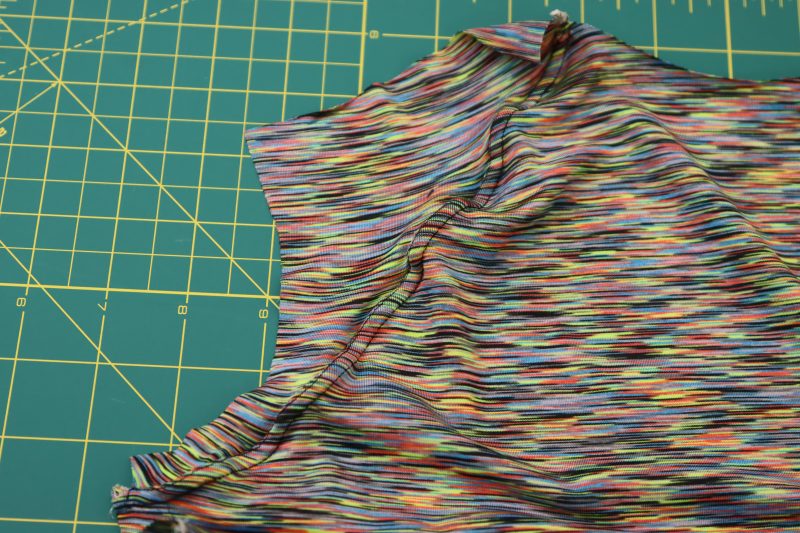
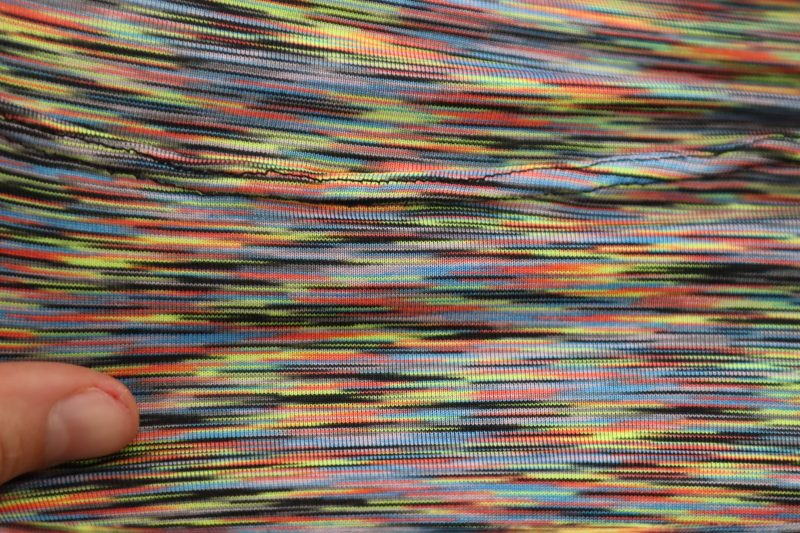
- Using a twin needle and two spools of matching thread to topstitch over the serged seam allowance at the raglan and underbust seams.
- If you don’t have a twin needle , you can skip this step OR two two parallel straight stretch stitches (the symbol for the straight stretch stitch button on your sewing machine looks like 3 straight stitches all lined up next to each other in columns. This stitch LOOKS like a straight stitch, but it has a little bit of stretch when you sew it. Be careful, though, because this stitch is difficult and time consuming to seam rip).
Step 3
SHOULDERS
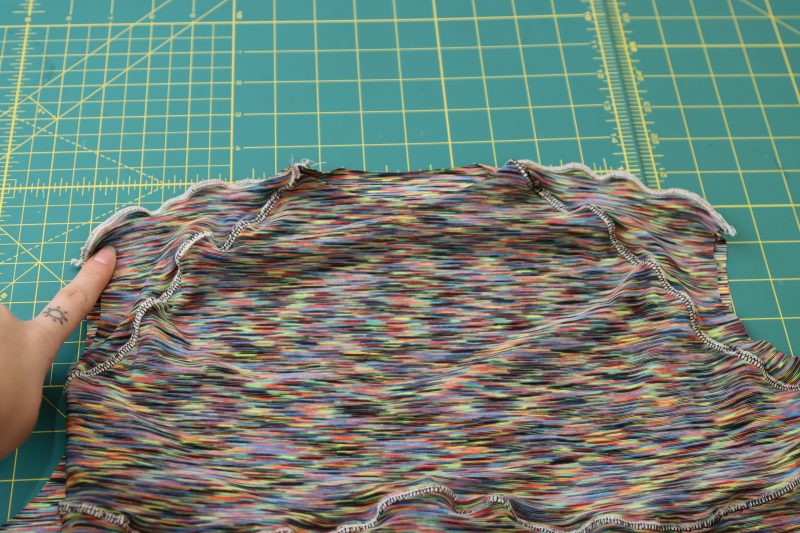
- Lay the front top piece on top of the back top piece, right sides together with the shoulders lined up.
- Serge or zigzag the front and back shoulders together.
Step 4
SLEEVES
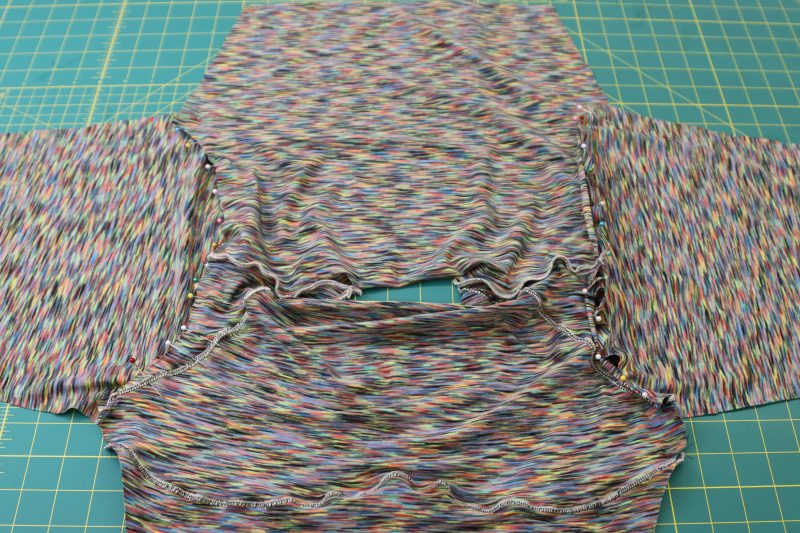
- Open the top so that the right sides of both the front and the back pieces are facing down on the table.
- Lay the sleeve caps up against the armscyes so that the front sleeve is matched up with the front of the top.
- Pin the sleeve caps to the armscyes, right sides together.
- Serge or sew the sleeve caps to the armscyes.
Step 5
SIDE SEAMS
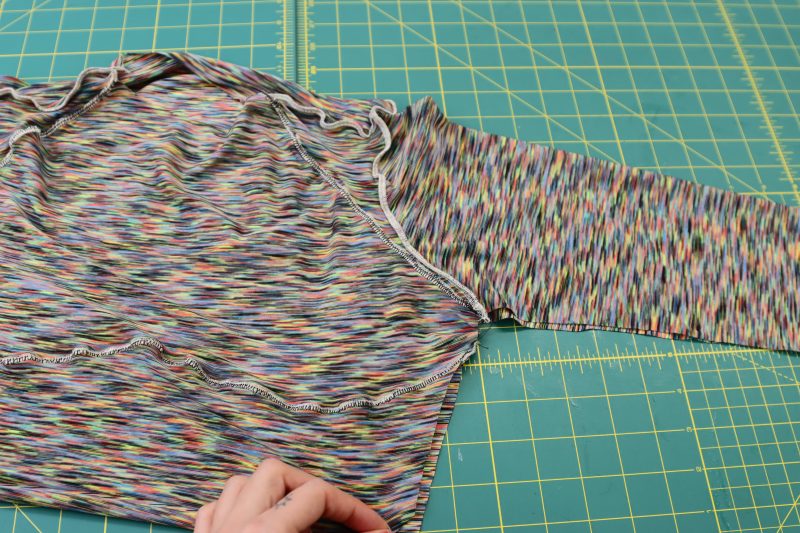
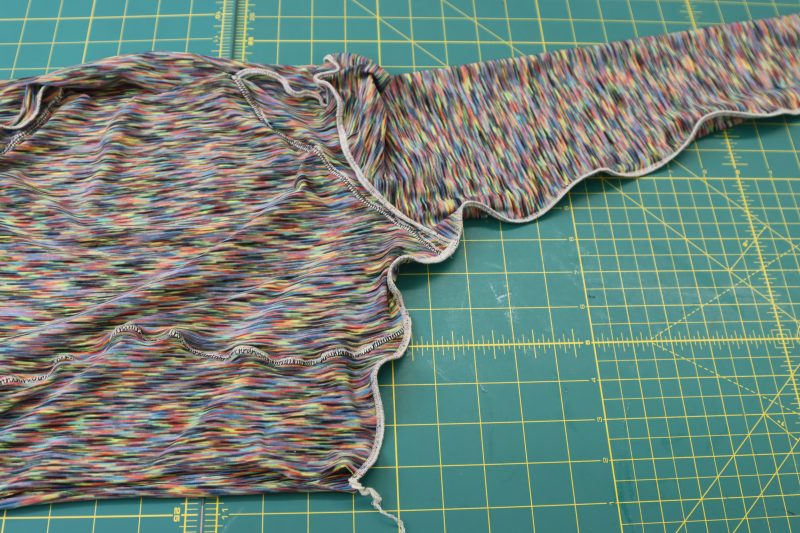
- Fold the top at the shoulders so that the side seams and raw edges of the sleeves are lined up.
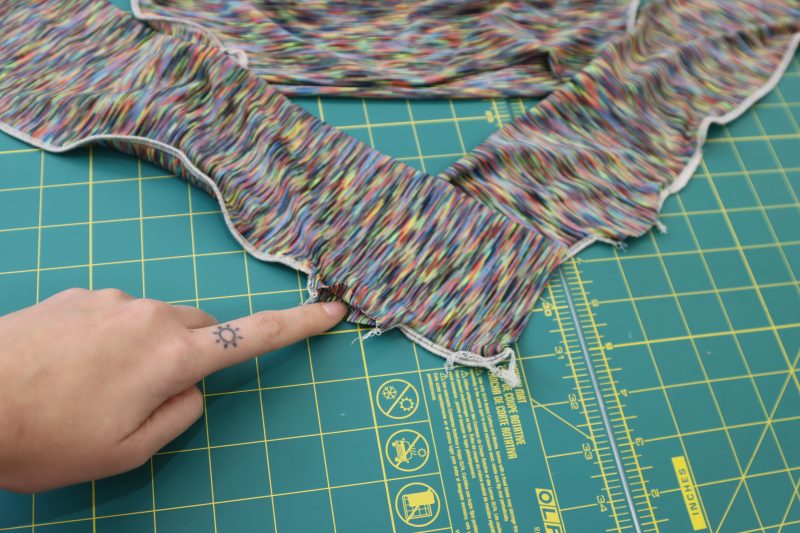
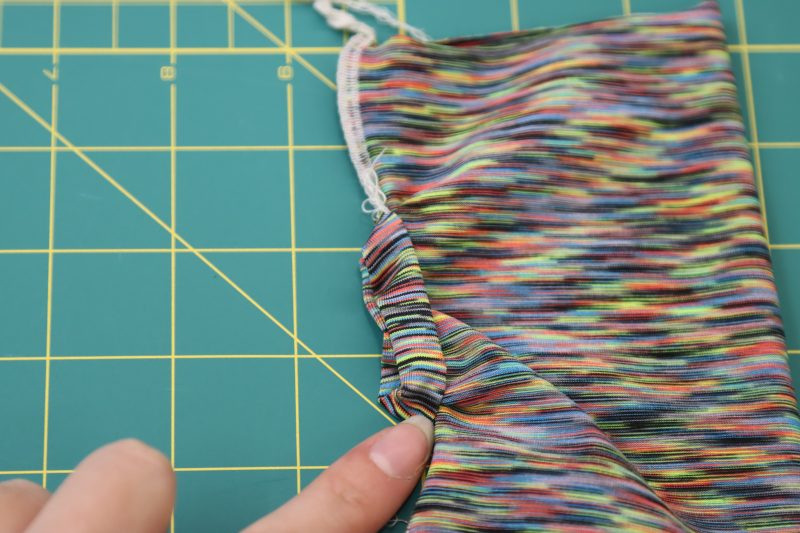
- Serge or sew from the wrist to the armpit to the bottom hem of the shirt to close the sleeve and connect the side seams, making sure to leave an opening for the thumb hole as indicated on the paper pattern.
- Repeat for both side seams.
Step 6
THUMB HOLES
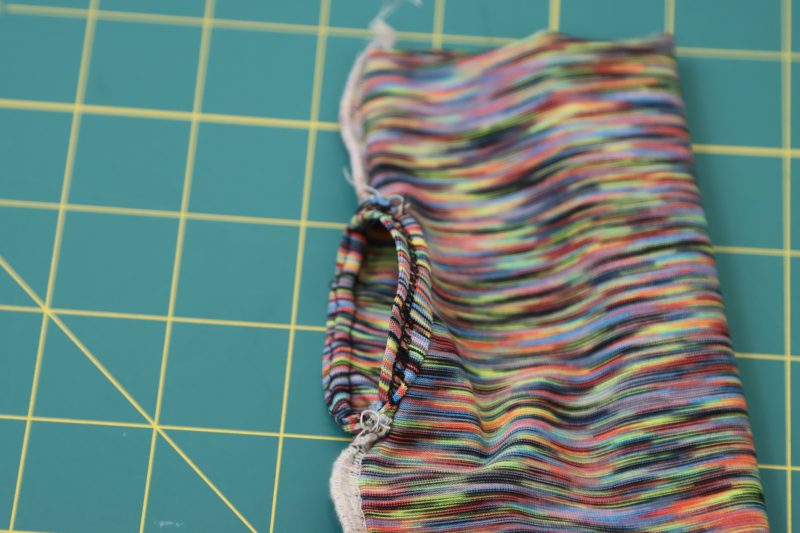
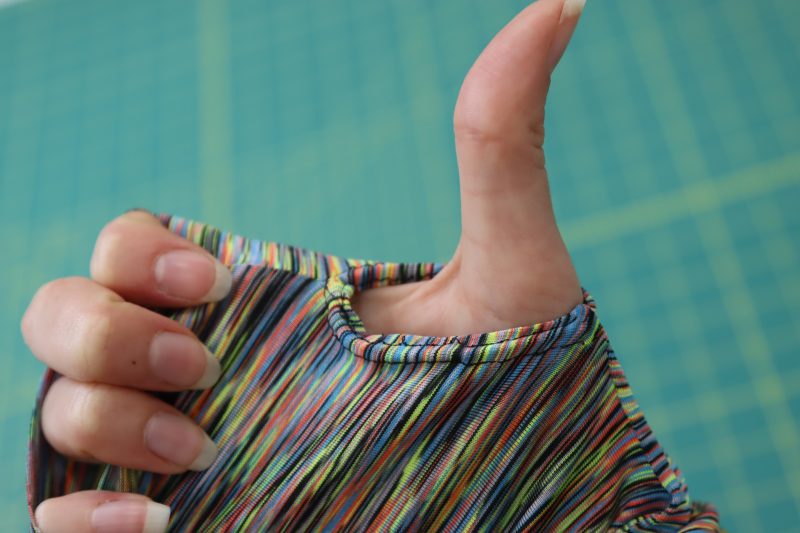
- Fold the raw edge of the thumb hole towards the inside of the sleeve with ½ inch seam allowance.
- Using the double needle again, sew around the thumb hole opening to hold the folded edge down.
- Repeat for both sleeves.
Step 7
SLEEVE HEM
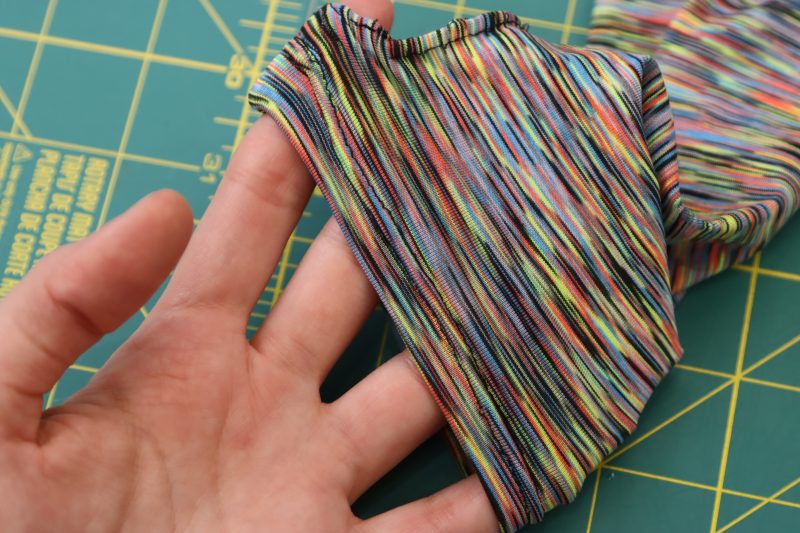
- Fold the raw edge of the sleeve opening towards the inside of the sleeve by ½ inch.
- Using the double needle again, hem the edge of the sleeve.
Step 8
COLLAR
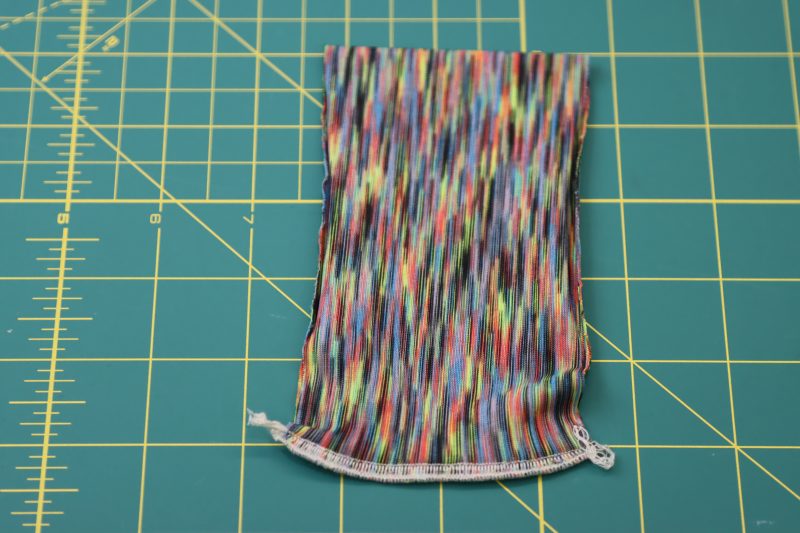
- Fold the collar right sides together hamburger style.
- Serge or sew the raw edges of fabric parallel to the folded edge of the collar.
- Fold the collar wrong sides together so that the serged edge is hidden inside the collar.
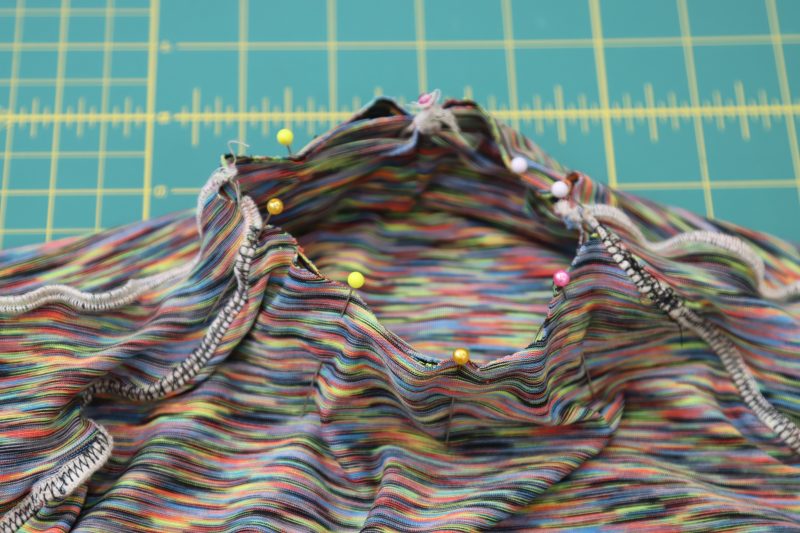
- Pin the collar to the neckline of the top, right sides together.
- Sew the collar to the neckline.
Step 9
TOP HEM
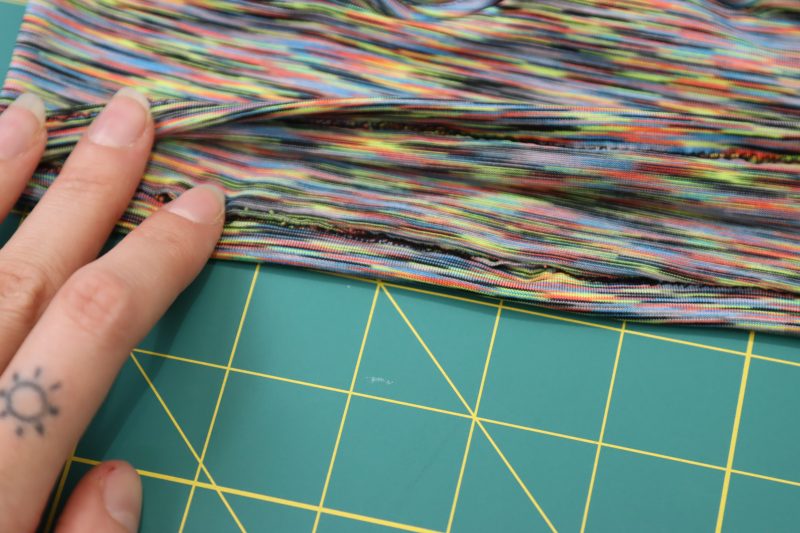
- The same way that the ends of the sleeves were hemmed is how you should hem the top. Just fold it up by ½ inch then use the twin needle for a clean finish.
Step 10
CROTCH SEAMS
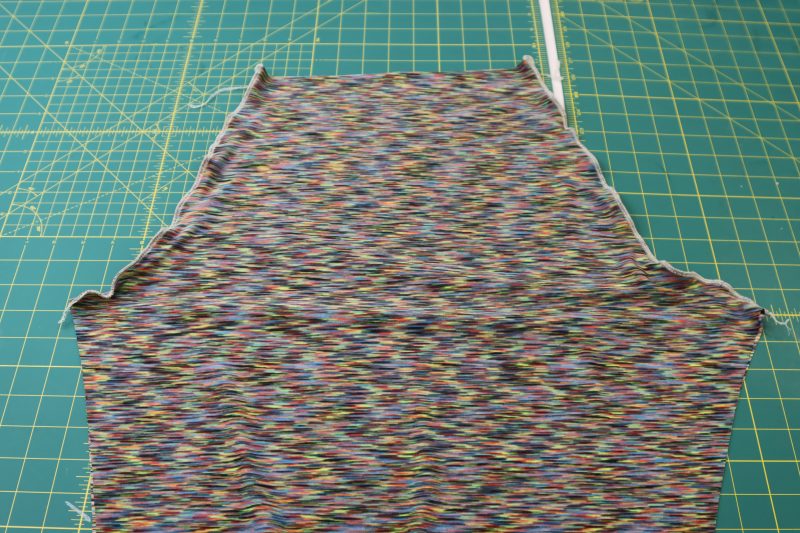
- Place the two pants pieces right sides together with the front and back crotch seams lined up.
- Pin and sew/serge along the crotch seams.
Step 11
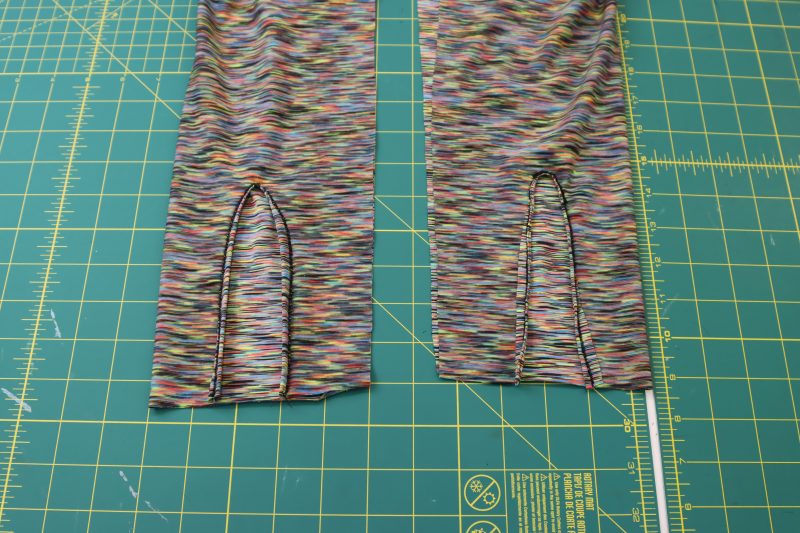
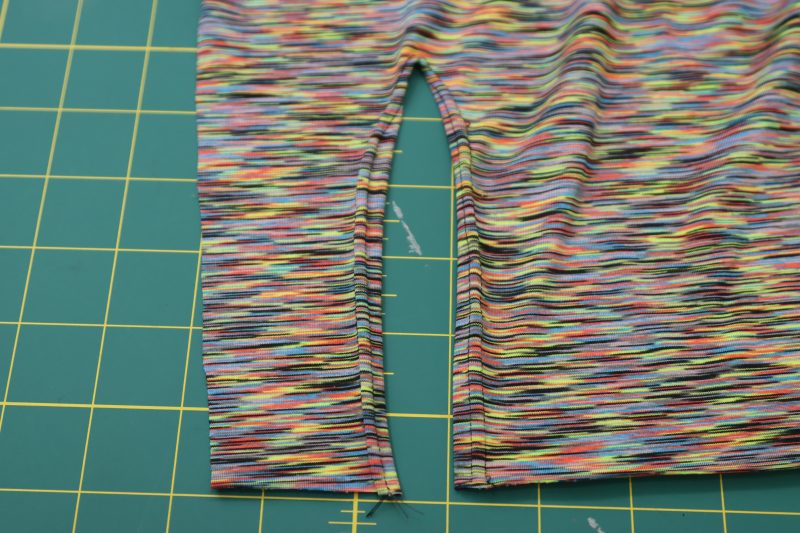
LEG SLITS
- Fold the raw edges around the slits at the hem of the leggings in towards the wrong side of the fabric by ½ inch.
- Using a double needle, sew around the opening of the slit to keep the raw edge hidden inside of the leggings.
Step 12
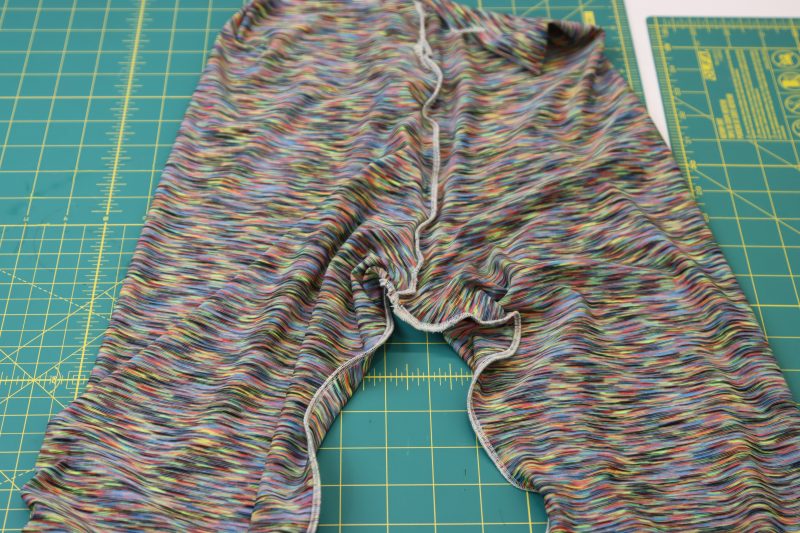
INSEAM
- With the wrong sides of the leggings facing out, fold the leggings so that the front and back crotch seam are on top of each other and the sides of the leggings are folded as if there were a side seam (but there’s not a side seam because they’re comfier and also easier to sew without one!).
- Pin and sew/serge around the entire inseam, making sure that the crotch seams and bottom hems of the leggings are lined up with each other.
Step 13
WAISTBAND
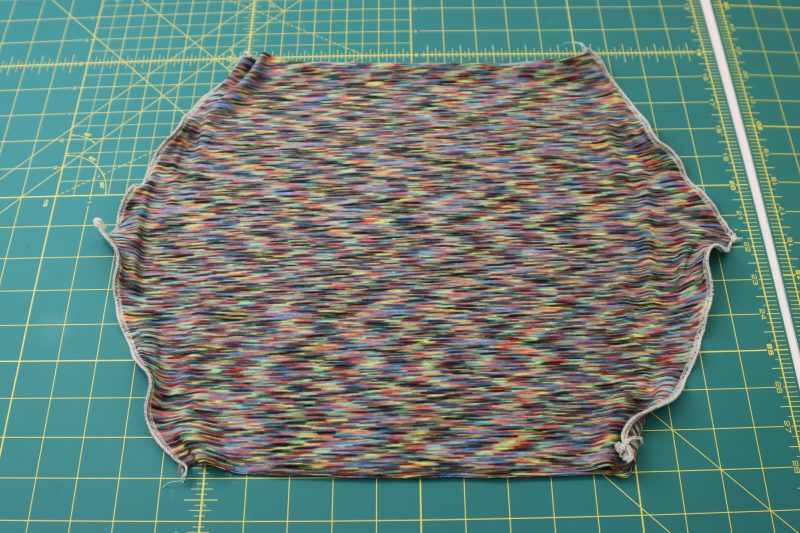
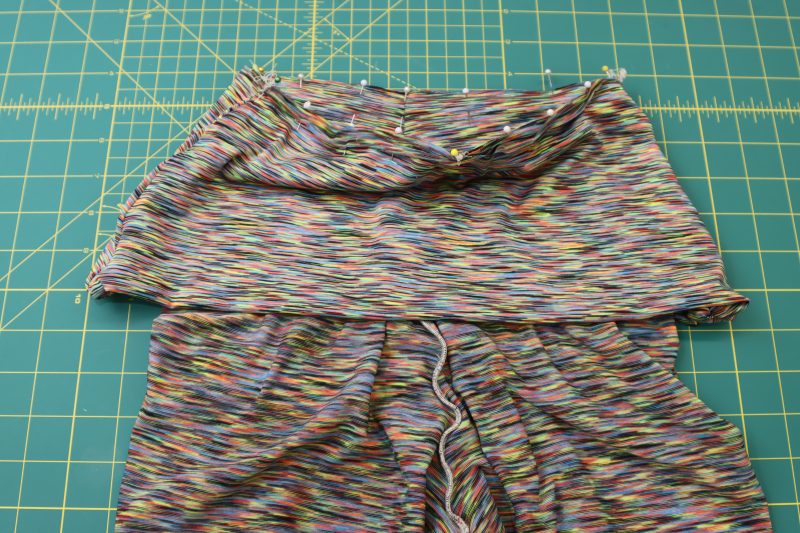
- Place the two waistband pieces on top of each other, right sides together.
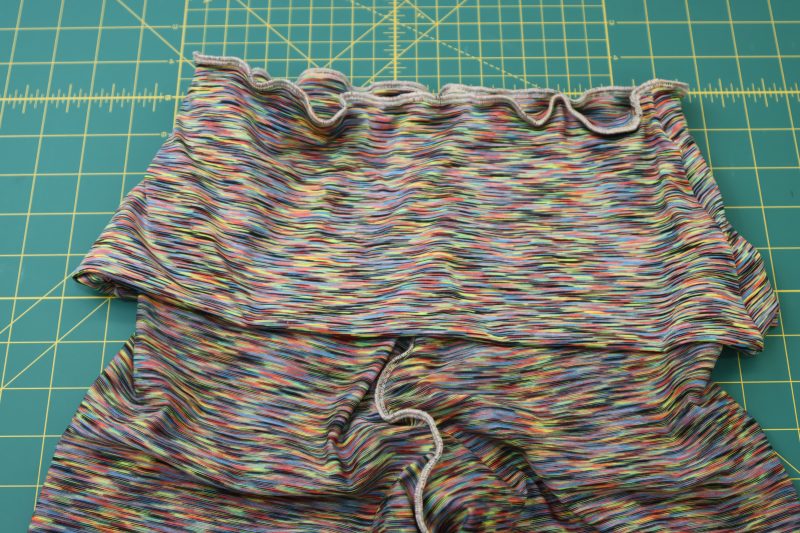
- Serge around the two sides of the waistband as shown in the photo below.
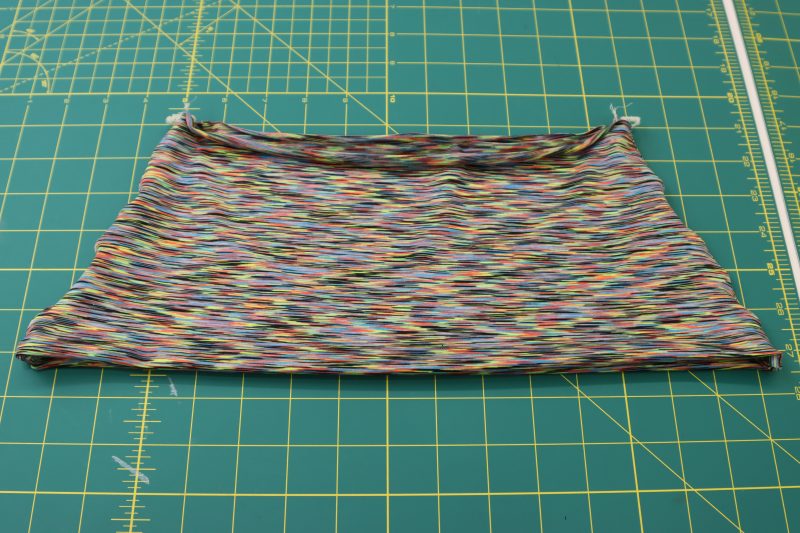
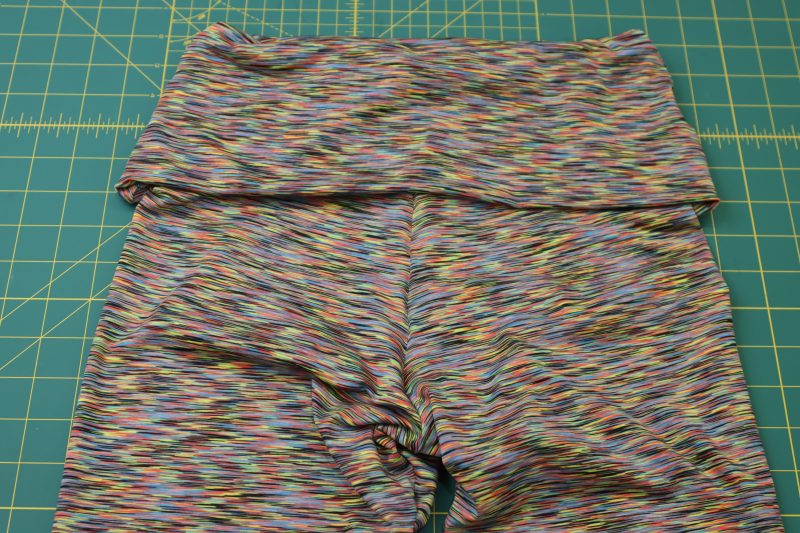
- Fold the waistband wrong sides together so that the right sides of the fabric are facing out on both the inside and outside of the waistband.
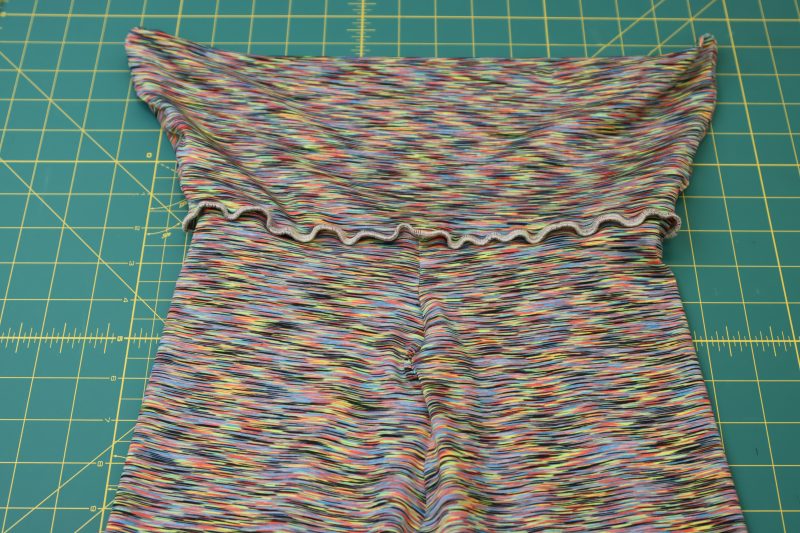
- Pin the raw edges of the folded waistband to the wrong side of the waistline of the leggings (I know this might not make any sense, but we’re putting the waistband on the wrong side of the leggings so that the seam allowance from attaching the waistband to the leggings will be hidden under the fold).
- Sew the waistband to the waistline, then flip the leggings right sides out and fold the waistband over the leggings, hiding the seam allowance.
Step 14
PANTS HEM
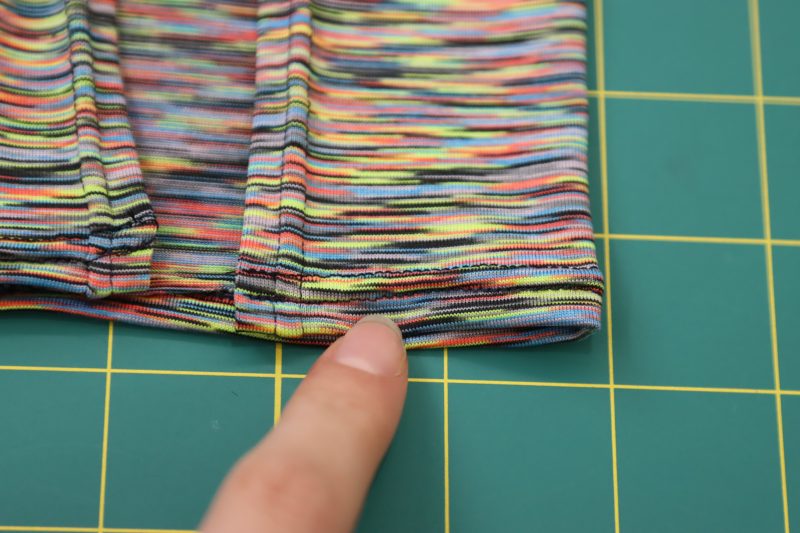
- Hem the leggings the same way that the sleeves of the top were hemmed.
- Fold over a ½ inch seam allowance on the bottom of the leggings then sew it with a double needle.
Sewing Success: The Finished Arlington Workout Set
Share this post with a friend (or two!), download the Arlington Workout Set free sewing pattern, and show us which fabrics and colors you choose, using the hashtags #MoodArlingtonPattern & #MadeWithMood—and don’t forget to tag us @MoodFabrics, too.
Free Sewing Pattern Inspiration for Your Next Project
With 480+ free sewing patterns and counting, your opportunities for sewing with Mood are endless!
We hope you had as much fun sewing this workout set pattern as we did! As always, we want to hear from you—share your thoughts and comments below and let us know where you’ll be wearing the Arlington Workout Set free sewing pattern!

What would the approximate yardage be for just the top? About 1/3 of the total recommended yardage?
Hi Hannah. Yes I would recommend somewhere between 1/3 and 1/2 of the yardage required for the whole set if you were to just sew the top.
Thank U
Nice website!
Is there any way that the instructions can be printed with pictures or be included with the pattern? My print settings don’t capture the images. I don’t use my phone when I sew. Any help would be appreciated.
Other than taking screenshots, I can’t really think of a better way. I know its frustrating not being able to print with the pictures included.
If you turn off your printer temporarily, your device should revert to default print settings. Then, instead of hitting “print,” look for the option to save as a PDF file.
If you’re on an iOS device, this will be in the share options. On a Mac desktop, look on the bottom of the print dialog for PDF options. (Sorry, I’m not familiar enough with android or PC to help with that!)
PDF viewers usually have more flexible settings so hopefully you’ll be able to print it out with pictures that way
Oh! And before saving as PDF, be sure to scroll all the way down the page so all the images are loaded.
Descargar moldes
I love trying mood free patterns! I’m a bit confused about sizing. I measure myself based on the sizing chart and it’ll say I’m a medium, but then I could tell the pattern was gonna be way too big so I went with small. And even that was so bad I had to cut off an extra inch flat for the leggings to be somewhat fitted.. what am I missing here?
Hey there! Our patterns are usually drafted with an inch of ease in the waist and 2 inches of ease in the hips. This makes it so that the pattern isn’t so skin tight when you make it that you’re bursting out of it at the seams. If you make it in your size an its still too big, that is probably why.