

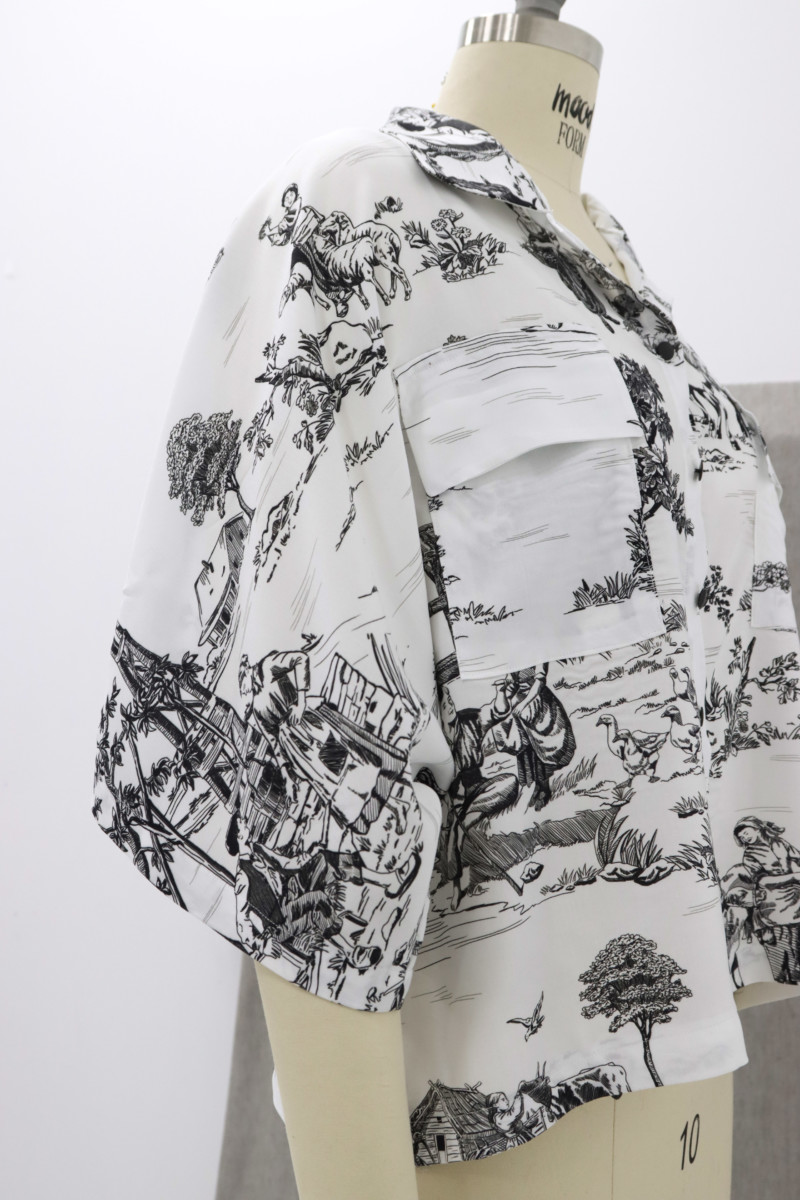
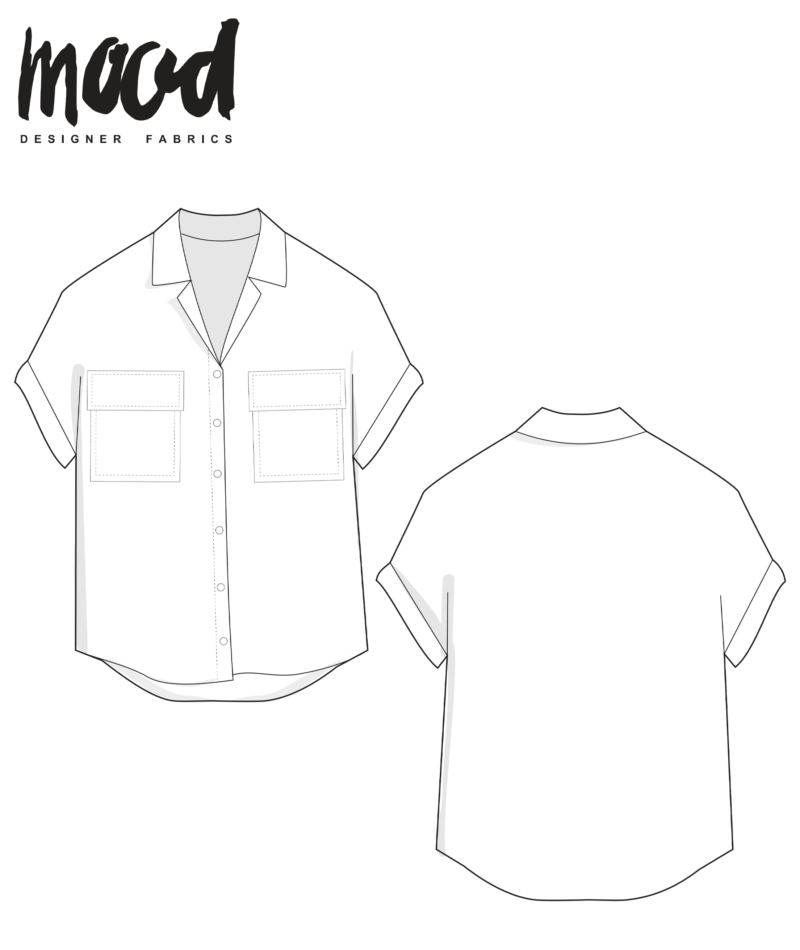
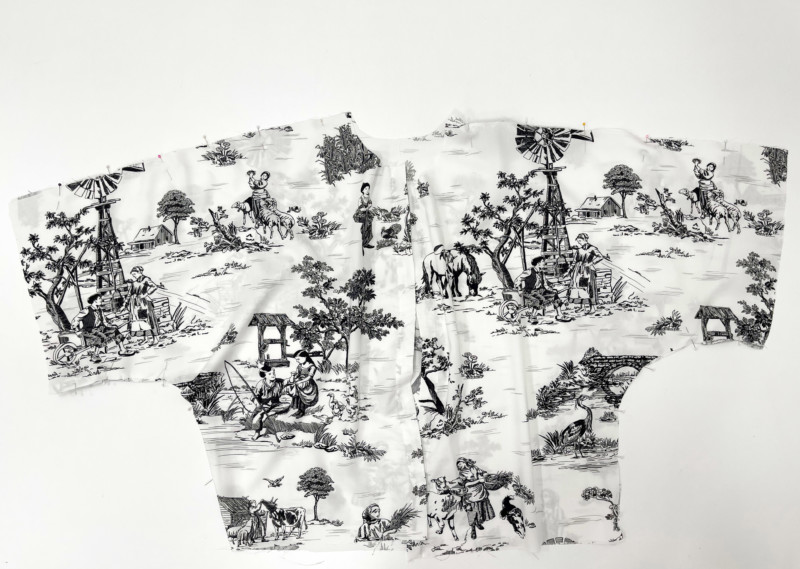
With a glimpse of some semi warmer weather, it’s making me think of spring; and when I think of spring, I’m ready to start bringing out the bold prints! Mood’s newest collection of toile prints was the perfect option to pair with their brand new pattern. The Clay Blouse is a slightly cropped, all-gendered garment with dolman sleeves that works well with lightweight, flowy fabrics like voile and batiste!
Purchase Materials Used Below:
- 2 yards Black and White Classic Toile de Jouy Viscose Batiste
- 1/2 yard Off-White Weft Fusible Interfacing
- 4-5 Italian Black Zamac Shank Back Button – 18L/11.5mm
- MDF291 – The Clay Blouse Sewing Pattern (free download below!)
Alternative Recommended Fabrics:
Note: All seams are French seams aside from the neckline and hems.
Step 1
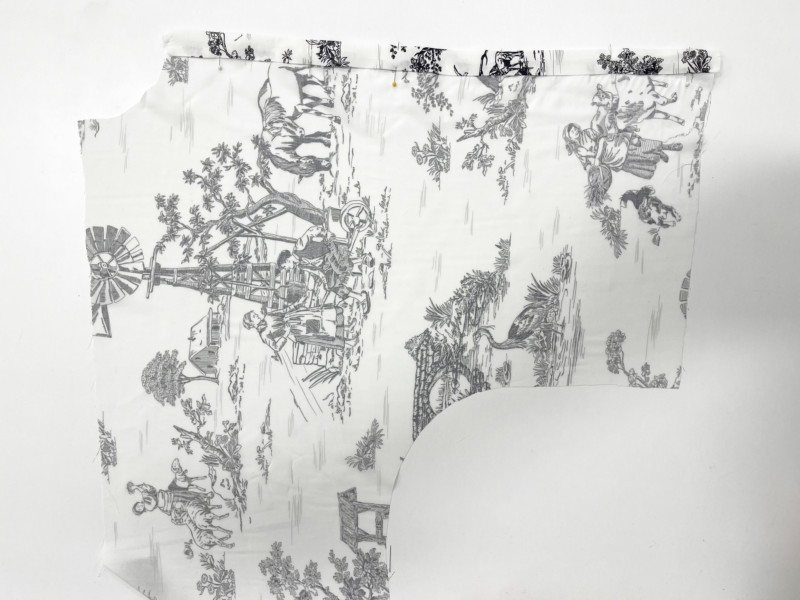
Print, tape, and cut out of fabric
Step 2
Lay the fabric out, place pattern pieces on top, and cut.
Step 3
Cut interfacing pieces and iron onto the indicated pieces. Tip: when ironing on the interfacing to the front pieces, place interfacing ⅜’’ away from the edge that way when you are folding the placket it will be inside the 1’’ area.
Step 4
Fold over the front edge to the wrong side of the front. Start folding ⅜’’, then 1’’ and pin. Go ahead and topstitch down, but leave a little space between the top so you can finish the edge later.
Step 5
Pin wrong sides together and sew using a French seam.
Step 6
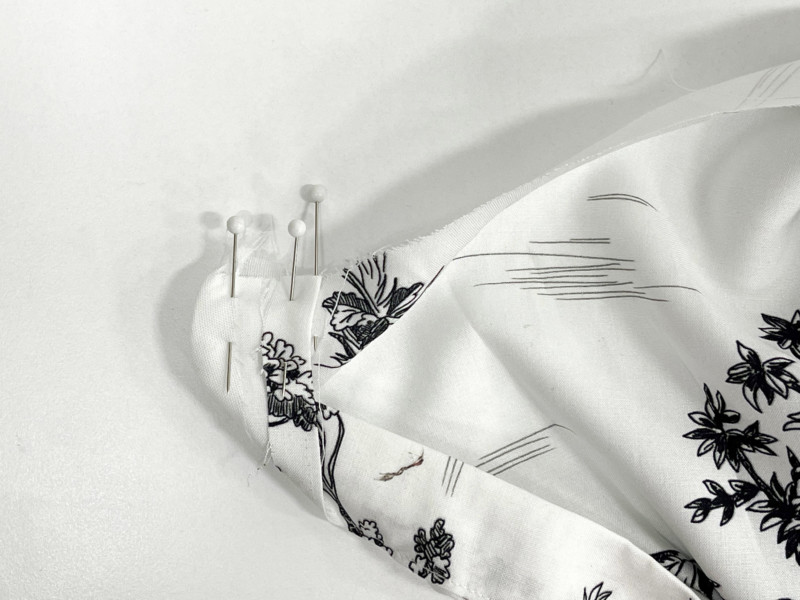
Flip the top part of your placket and stitch at ⅜’’ and press.
Step 7
Pin the right sides of the collar together, stitch, trim, and press.

Step 8
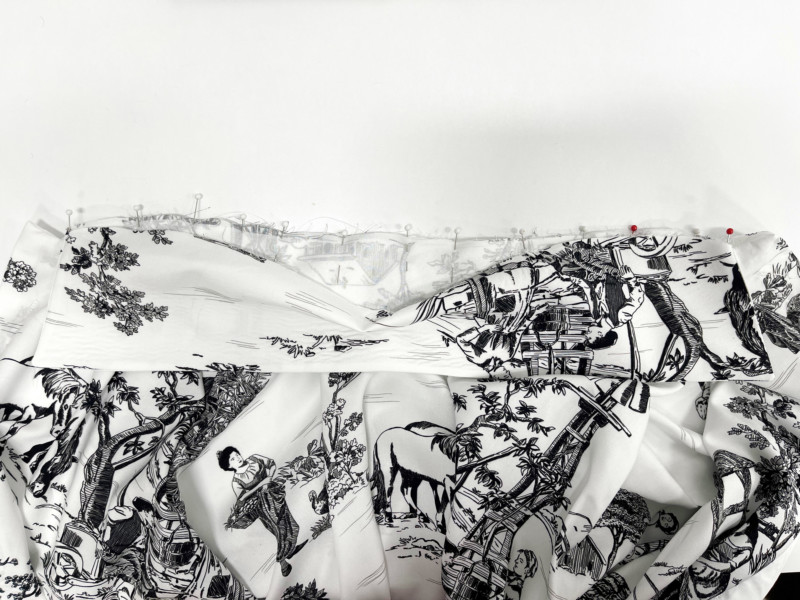
Pin collar to shirt matching notches at side seams. Stitch at ⅜’’.
Step 9
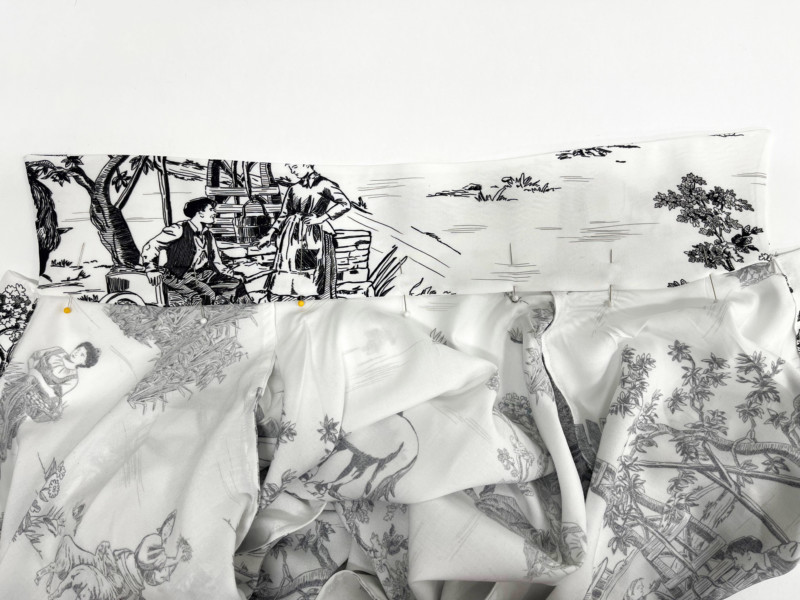
Turn up the raw edge, pin, and hand stitch.
Step 10
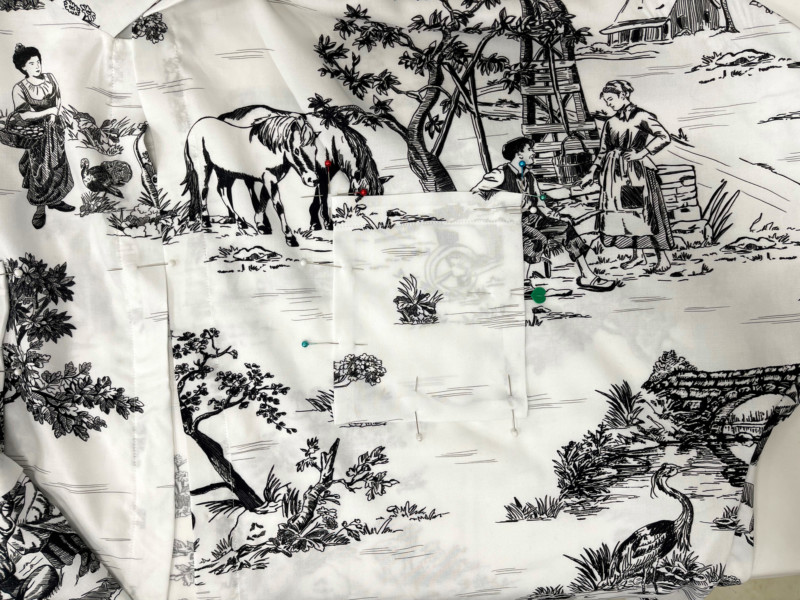
Fold the top edge of your pocket down ½’’ then ¾’’, pin, and stitch across.

Step 11
Fold the edges of the pocket in, pin, and place where pocket marking is indicated. Edgestitch around the pocket leaving the top open. Note: If you want to, you can place the pocket in a different area or just do one pocket instead of two.
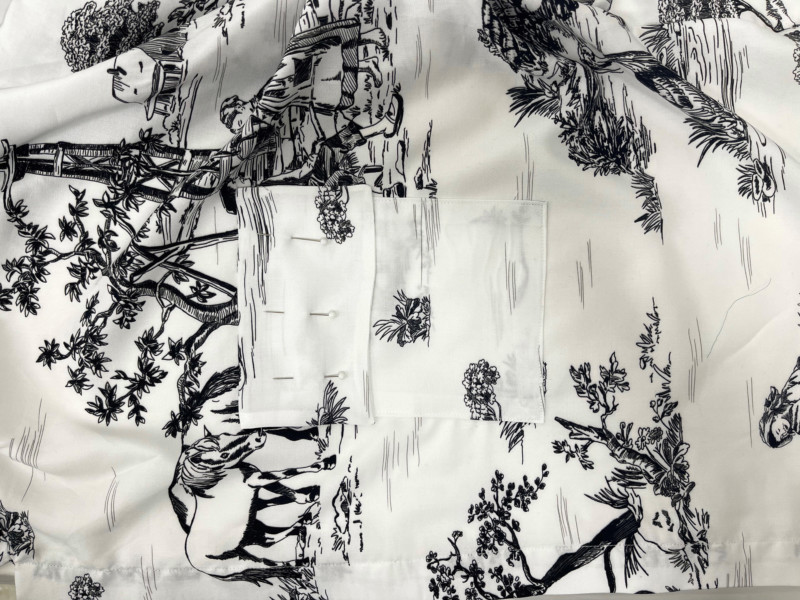
Step 12
Sew your pocket flap together at the sides leaving the top open, trim, and press.

Step 13
Pin pocket flap upside down ½’’ above the pocket. Pin and stitch ¼’’ across.
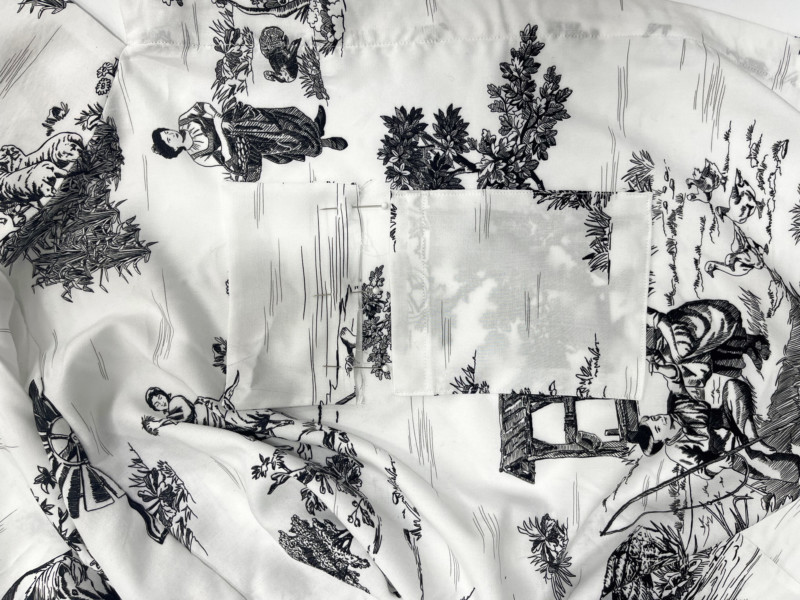
Step 14
Fold pocket down, press, pin, and stitch ¼’’ from the edge.
Kinda bummed the pattern didn’t turn out to be the line drawing but I’m going to alter the pattern some.
Hi Jess, it looks like the sleeve weren’t rolled into cuffs, but that is an easy solution! If you want permanent cuffed sleeves, simply roll to the length you prefer and add a few hand stitches to keep it in place!
Can you please explain point 6?
Once you do that bit and turn it out, the neck edge is then folded over at that point making it difficult to attach collar. Thank you.
Hi Sharon! You can snip into the seam allowance which will allow the neckline to lay flat again!
Please please please explain step 6. I’ve read it multiple times and still have no idea what does it mean. My blouse is almost done, the collar is the only thing left
Thank for this fantastically comfortable blouse.
About the cuffed sleeves : You have to do a large hem in order to have a lovely cuff to turn up without the wrong side (and the French seams) showing up on the outside. I turned in 1/4″, and then 1.5″ and hemmed. Gives me a nice 1.5″ cuff to turn up. There are also other ways to sew the collar – good tutorials to be found on youtube about lapel collars. Stitching down the plackets right at the start complicates things. The short sides at the top can be stitched closed when you attach the collar – that is if you can still turn out those plackets, right sides together, with the fronts. The short side of the plackets at the bottom can also be turned out and stitched closed – right sides together with the fronts – at the height of your bottom hemline. Trim seam allowances and turn back inside. Gives a neat finish and you can do the rest of the hem as usual. Stitching down the plackets for me is one of the last things to do – before buttonholes and buttons…
Could I use a linen or thin woven cotton for this? ❤️
Hi Ruby! Yes, both of those would work beautifully. 🙂
I know its free, but this is a horrible guide IMO. The instructions for stitching the collar aren’t clear, and I had to take it to two different seamstresses in order to get that bit done. The collar is WAY too big for the relevant size body, and had to be cut down. Interfacing the collar with light weight made it stick out like a vampire cape, so I had to waste time and fabric making another one. Neither of the seamstresses could understand the instructions, so together we had to figure out how to hand stitch it. There’s no instructions for the sleeves or hem either, so I guess you just finish those as you want? Iv’e made other shirts in the past, so it’s not my skill level that’s lacking. This turned up in the site section for ”beginners” – really!?!?
I am sorry to hear about this as sometimes it can be difficult to explain the sewing process through written words and still pictures. We are continuing to work on improving the clarity of our instructions and providing steps than can work for everyone. Keep in mind, Sewing garments can be approached differently and can be seen in different ways by everyone, as every sewist carries their own styles, techniques, and methods on how to sew.
Hi! I sew the Clay Blouse. It’s grat! I user a cotton and reinforced the ends of the sleeves, shirt, collar and interfacing.
After this, next time I will add a bigger interfacing to clean the fold of the collar.
(Actually I didn’t followed the instruction)
Thank you for the pattern
Thanks for free pattern
Is there a video for this
Unfortunately, there is not a video on the Clay Blouse, but you can check out our youtube page for future sewing tutorials to come!
Hello! Thanks for the free pattern! Is there a way to print the pattern only with the size line that fits me? I can’t find the “layers” in the pdf file.
Cheers, Emilie
Hi Emilie
Thank you for your inquiry! At this time, we only offer PDF pattern downloads with all layers (sizes) included. As we often get this request, it is on our radar and we hope to offer more formats in the future. In the meantime, happy sewing! ✨
Is this a unisex pattern? Can I use it to make it for my man?
If you make it for your man, I recommend sizing up from whatever size he normally wears and also lengthening the hem of the shirt because this one has a slightly cropped style.
it would have helped if the shirt you used in the photographs for instructions was in a plain colour. With this busy print it was hard to see what was going on.
Step 6 is insane! Demonstrating making it up on this fabric is also insane! “Flip the top of placket and stitch” but stitch where? I find it really tricky to work out what is what on a very busy pattern. also, no indication of right/wrong side or turning out.
But thanks.