

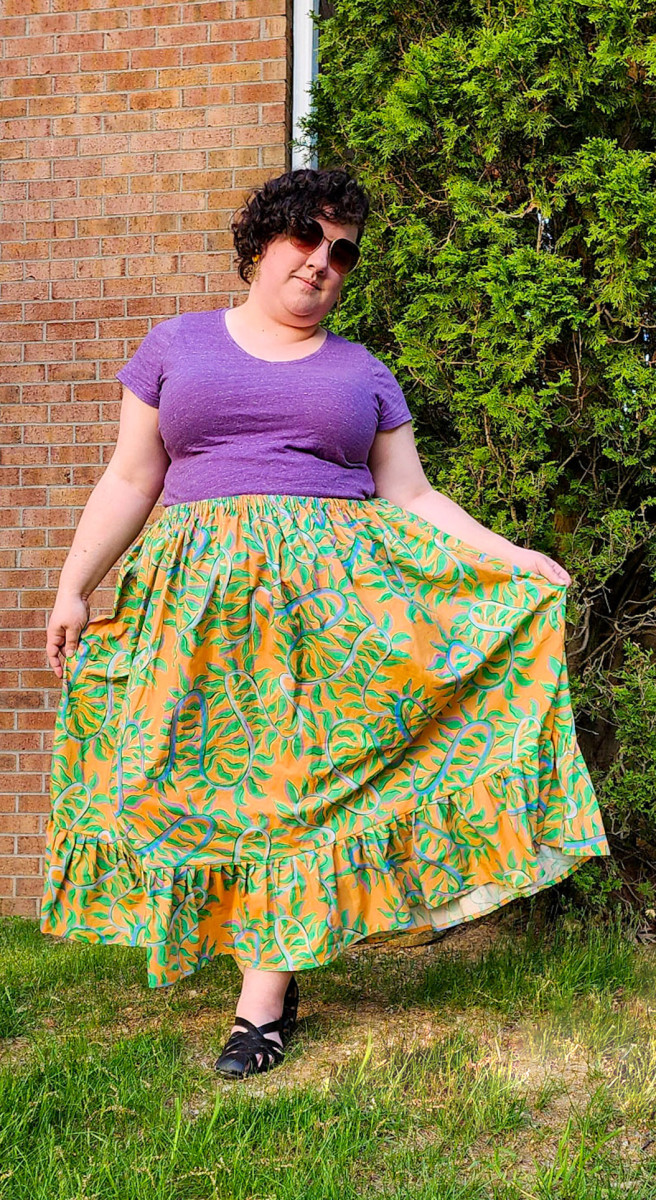
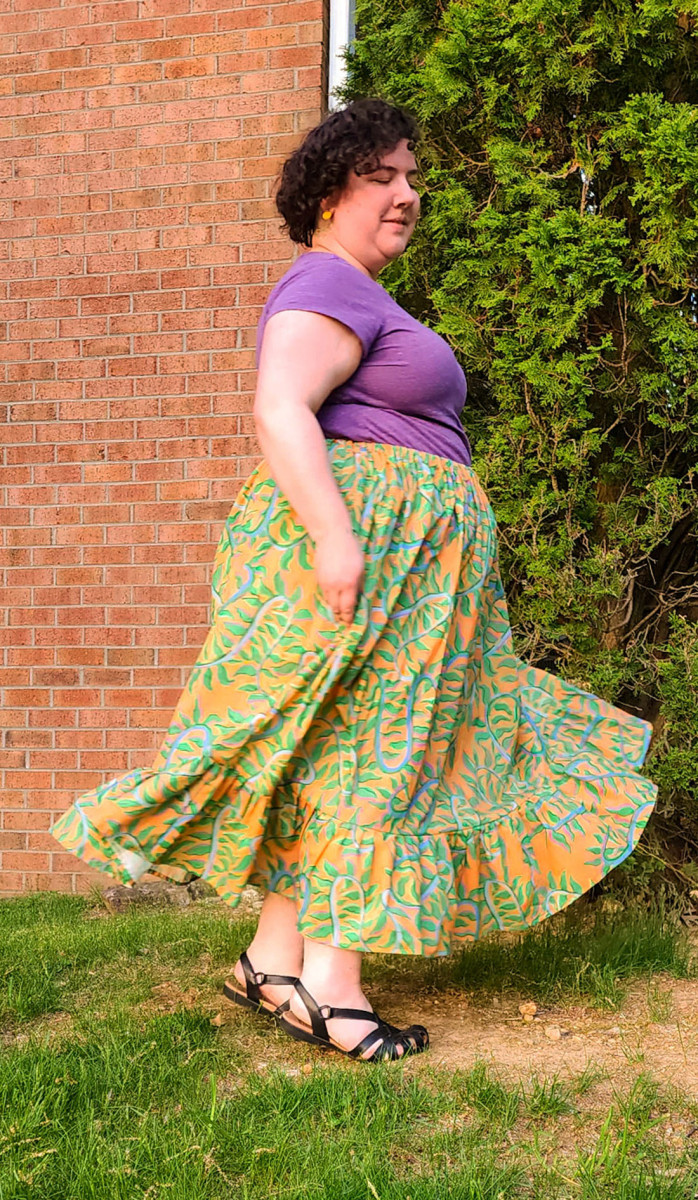
I’m a skirt fanatic. They’re perfect for any season, whether wearing them in layers for colder months or enjoying lightweight skirts for summer. Gathered skirts are most definitely my favorite to make—they’re quick, easy, and zero-waste (since they’re made with just rectangles of fabric), and when you add an elastic waistband, I think they might be more comfortable than sweatpants!
As summer rolls around, a breezy skirt is just the thing—so I made two, one in a delightfully airy and summer-appropriate cotton voile and one in a lovely printed linen-blend woven. This tutorial is completely adaptable to your desired length and fullness. A gathered skirt is a great beginner sewing project, for kids or anyone else just learning how to make clothes.
Materials Used:
- For the longer skirt: 2-2.5 yards of Mood Exclusive Looking Vine Cotton Voile
- For the shorter skirt: 1.5 yards of Mood Exclusive Turtledove Daring Impressions Sustainable Viscose and Linen Woven
- 1-2 yards of elastic
Alternative Recommended Fabrics:
The measurements you’ll need are as follows:
- Waist measurement: measure around your waist, keeping the measuring tape parallel to the floor. If your hip and waist measurements are drastically different, knowing your hip measurement may also be helpful when determining the volume of your skirt.
- Skirt Panel Width: Depending on how puffy you want your skirt, multiply your waist measurement by any number between 1.5 and 3. Multiplying by 1.5 will give you a fairly slim-fitting skirt, while 3 is quite voluminous. You can do more if you want to be really extra, but I find the elastic waistband is less comfortable with that much extra fabric. If there’s a large difference between your waist and hip measurements, I suggest multiplying by at least 2. Divide by two to give you the width of one panel.
- Length of skirt: measure from your waist to where you want your hem to fall. Add 3 inches to this measurement (or more, if you’re using a wider elastic or want a wider hem).
Cut your elastic to your waist measurement (subtract 1 inch if you want a tighter fit).
Cut two skirt panels, front and back, that are your skirt panel width by the desired skirt length. If your skirt panel is wider than your fabric, either cut the rectangle lengthwise from the fabric, or cut three pieces instead of two to get the full width. You can also adjust your measurements. I cut two fabric widths, meaning my skirt is only about 106 inches, accounting for selvages, rather than 126 as I measured. But that’s still plenty of volume for me!
Sewing the Skirt
Sew the edges of the rectangles, making a tube. Finish the seams however you’d like—I used French seams, but serging or zig-zagging them is great, too. You can also add pockets in these side seams, just be sure to leave at least 3 inches from the top edge so you have room for the elastic casing.
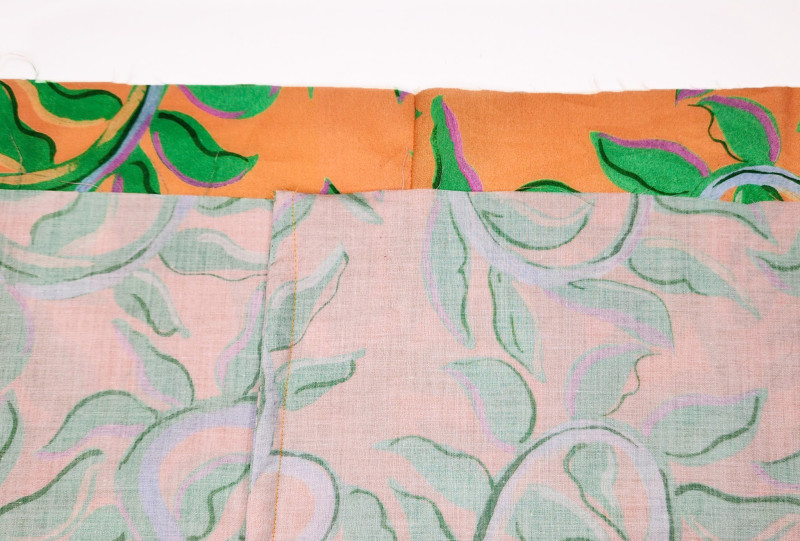
For the elastic casing, fold down the top edge of your skirt ¼ inch and press.
Then fold over again, ⅞ inches, or just slightly more than the width of your elastic.
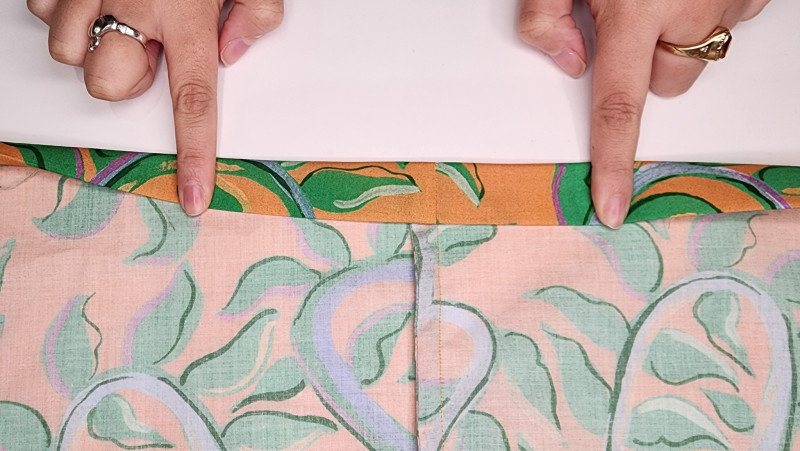
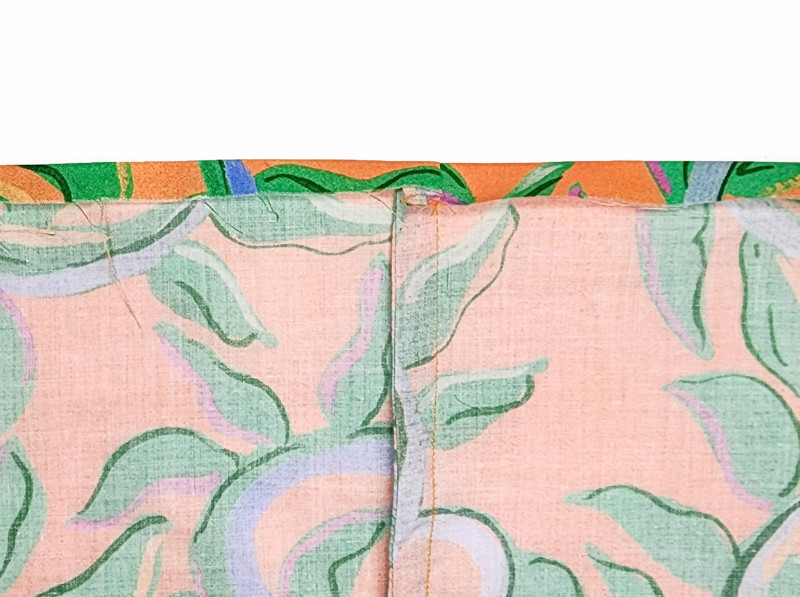
Sew along the edge of the casing, leaving a gap wide enough to insert your elastic.
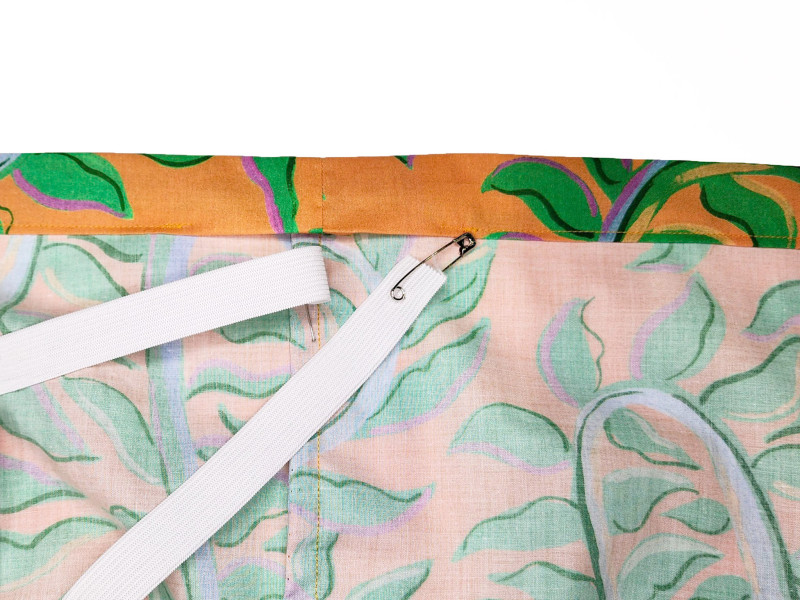
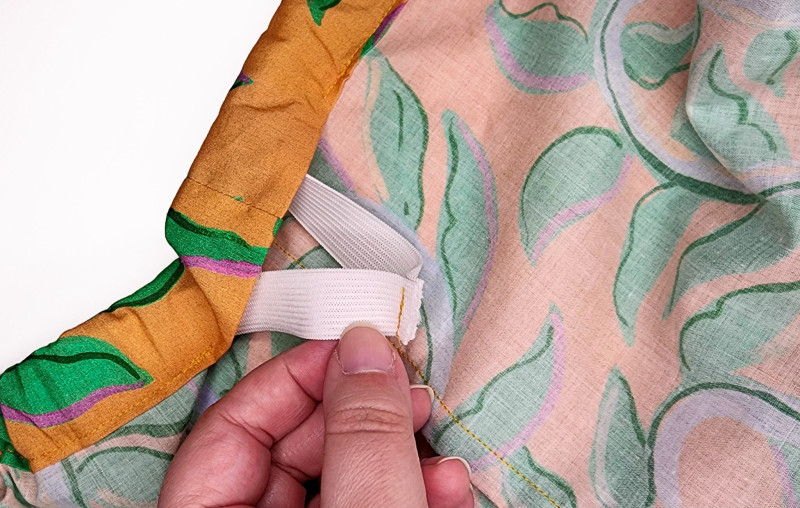
With a safety pin attached to the leading end, thread your elastic through the casing, making sure not to twist it and not to lose the other end. I often pin the other end of the elastic to the skirt outside of the casing to ensure it doesn’t get pulled inside.
Stitch the ends of the elastic together—again, make sure it hasn’t twisted inside the casing.
Sew the opening you left closed.
It may take a bit of work, moving the fabric around, to get the gathers evenly distributed.
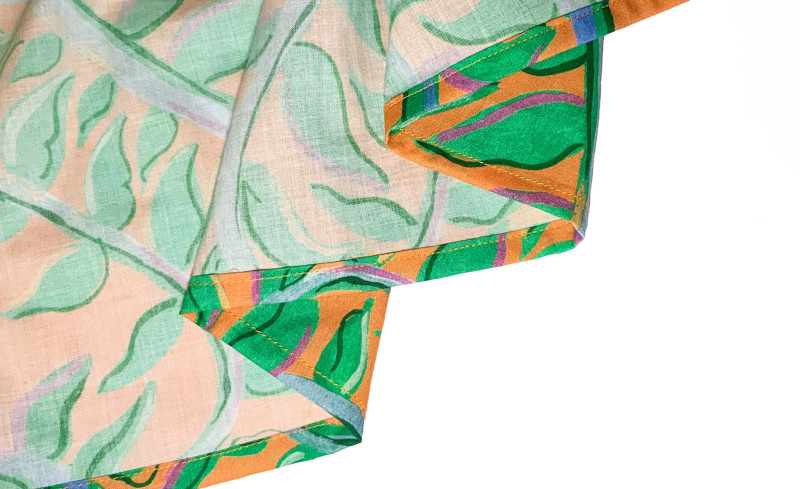
I try my skirt on here before hemming to make sure I’m still happy with the length. Making it shorter is easy, but if you want it longer, consider adding a ruffle or contrasting band of fabric to the bottom. I decided I wanted to make the Looking Vine skirt a full maxi skirt, so I added a ruffle that was 10 inches long and 1.5 times the width of my skirt.
Hem the skirt—I used a ¼-inch rolled hem—and you’re done!
Go forth and enjoy your new skirt-making powers—from making tiered skirts and patchwork skirts to adding ruffles and sheer overlays to creating tulle skirts with shorter linings, the possibilities are endless!
Wonderful directions, thank you so much!
You’re Welcome Anne! Happy sewing ! 😀
genial explicacion
I love this pattern! Thank you ma’am
Thank you for this! Very well written and beautifully illustrated.
Thank you for an easy and easy-to-understand skirt!
I would add one other point for readers and beginning sewists. One way to create a flat waistband that rolls less often is to add another line of stitching at the very top of the waistband. For example, if your elastic is 1” wide, the amount of fabric to be pressed to the wrong side of the fabric would be a total of 2”.
*The first step is to press 3/4”to 1/2” of the top edge of the skirt (waist) to the wrong side all the way around the top edge of your skirt. The best tool for this is a seam gauge. Be accurate and consistent in you measurements.
*The second step is to fold and press another width of 1/2” of the top edge to the wrong side. After turning down 1/2”, it is time to stitch the casing.
*The third step is stitching the lower casing edge in a straight line 1/8” away from the bottom fold. Leave a 1 1/2” to 2” opening in the stitching line for threading the elastic.
*Fourth, stitch a straight line of stitching 1/8” away from the very top fold on the top of the casing you are creating. You do not need to leave an opening.
*Now follow the directions for inserting the elastic.