

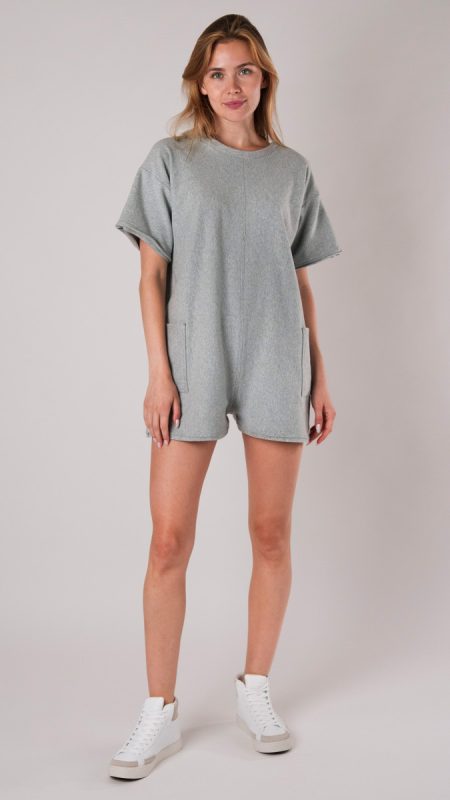
Summer style meets chic comfort with The Bivalvia Beach Romper Free Sewing Pattern!
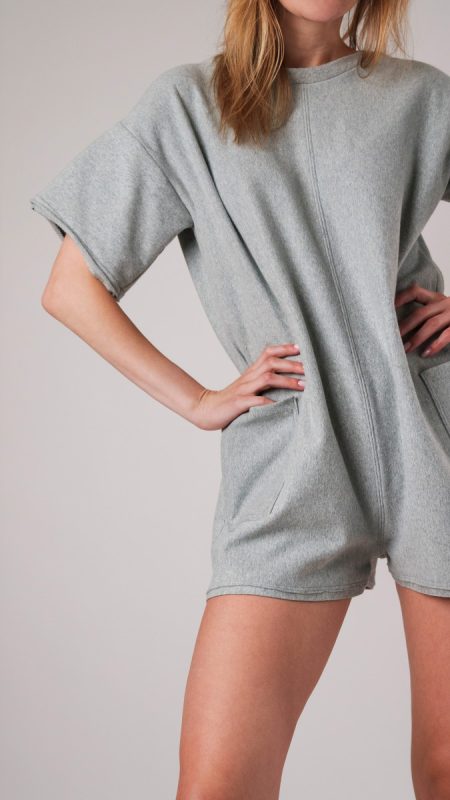
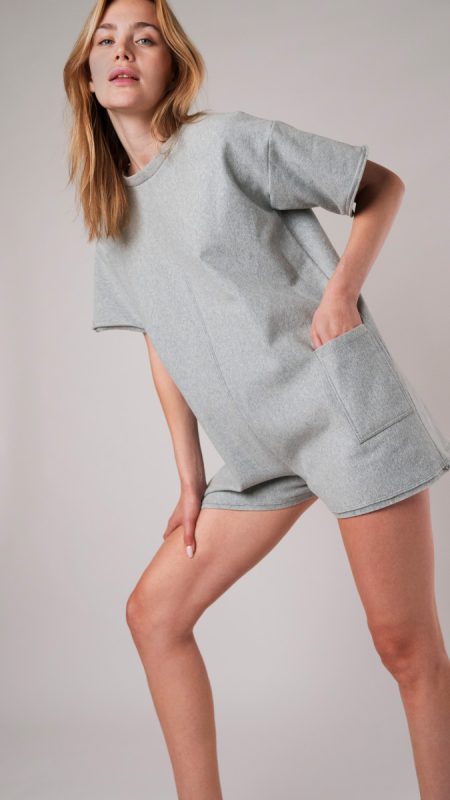
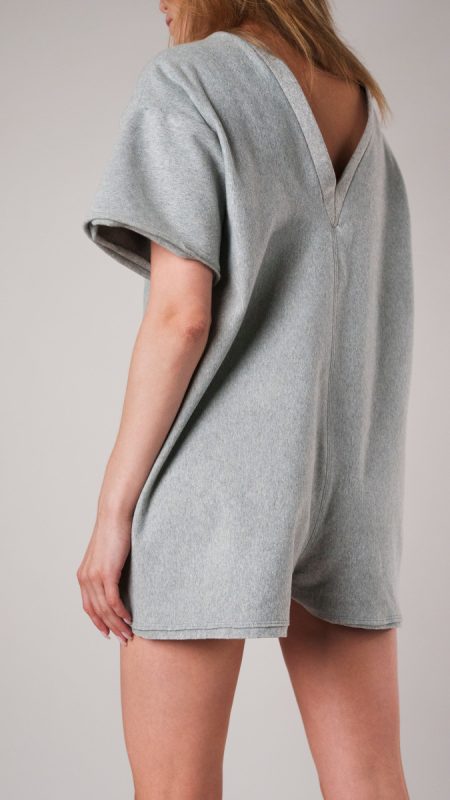
As the warmer weather arrives, it’s time to sew something light and breezy for your wardrobe. Crafted from a cozy Fleece-Backed Stretch Cotton, this beginner-friendly romper features a relaxed fit with a trendy drop shoulder, back V-neck, and practical patch pockets.
Providing ease and flexibility, this athleisure outfit is great for any activities under the sun. Whether you’re running errands in town or relaxing by the shore, embrace the summer vibes with The Bivalvia Beach Romper!
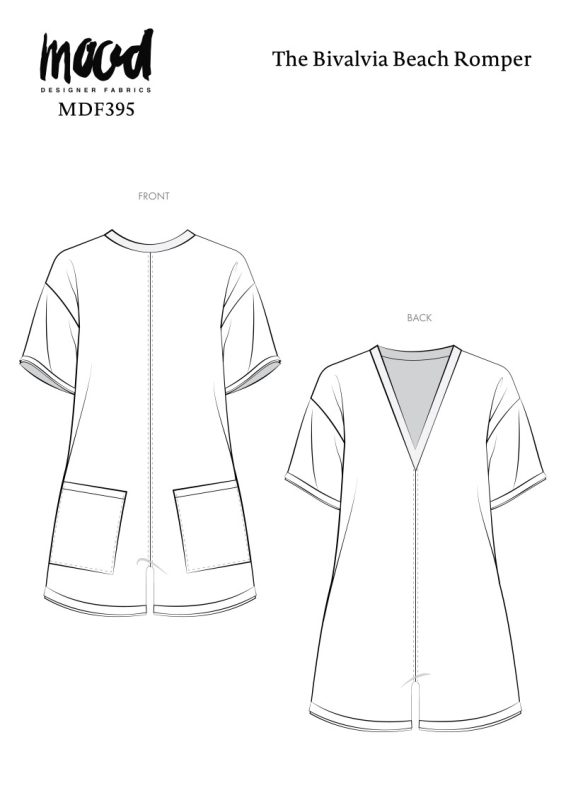
Purchase Products Used Below:
- 2 yards of Fleece-Backed Stretch Cotton Knit – Heather Gray – Cecil Collection
- 1/2 yard of Delia Heathered Gray Tubular Cotton 1×1 Rib Knit
- 1 spool of 110 Slate 100m Gutermann Sew All Thread
- MDF395 – The Bivalvia Beach Romper Sewing Pattern (Free download below!)
Alternative Recommended Fabrics:

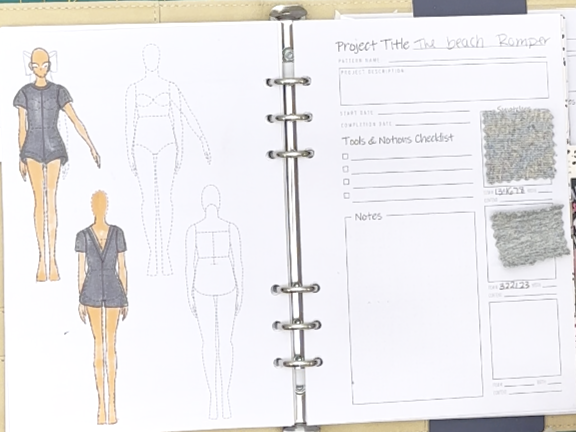
How To Sew The Bivalvia Beach Romper Free Sewing Pattern:
*Use a 1/2″ seam allowance for all seams unless otherwise specified.
Step 1
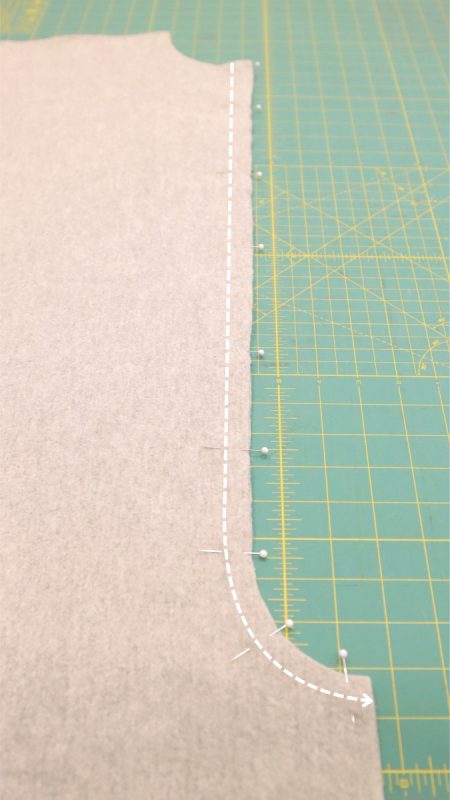
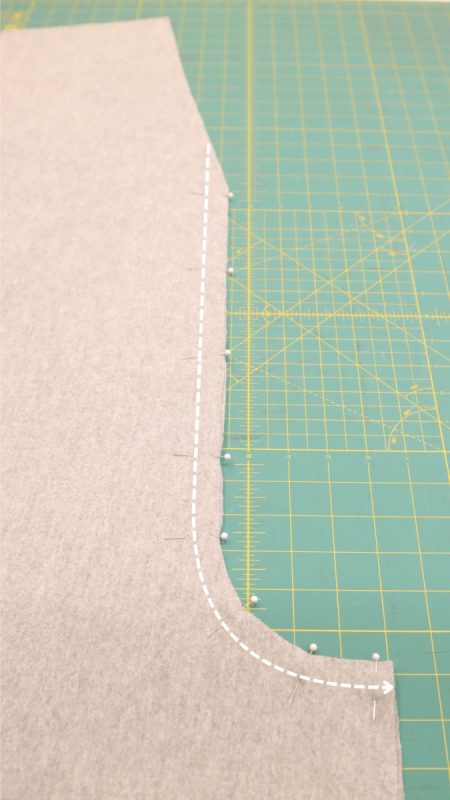
Pin and sew the front pieces together at center front.
Step 2
Pin and sew the back pieces together at center back.
Step 3
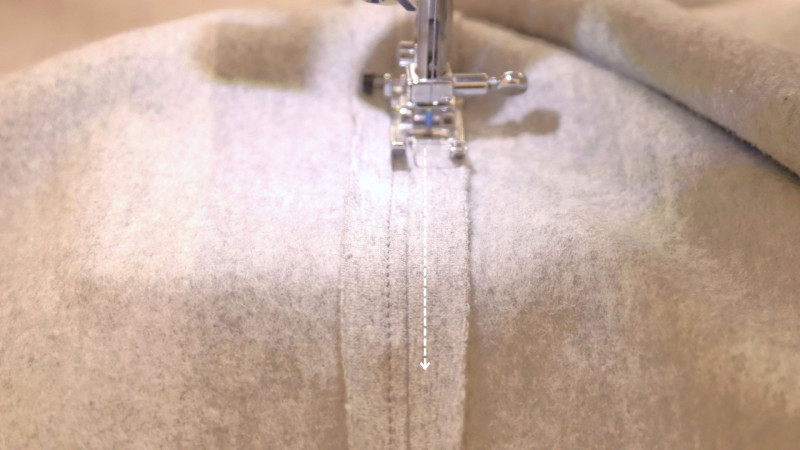
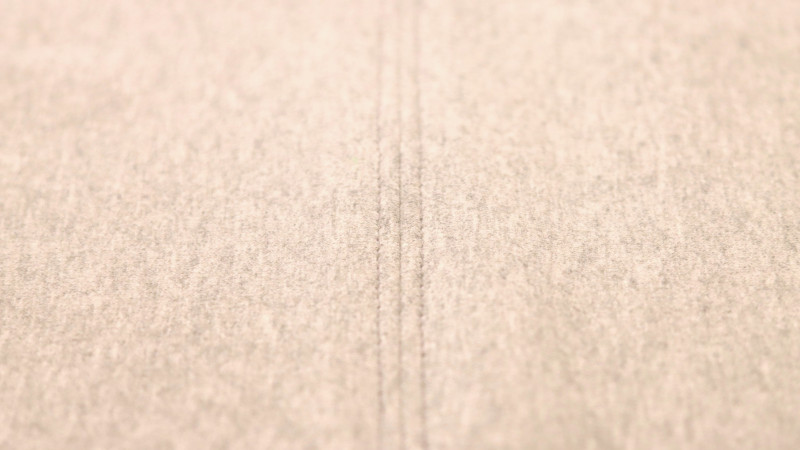
To create the top stitch details at center front and center back, sew 2 rows of stitches 1/8″ apart on each side of the seam.
Step 4
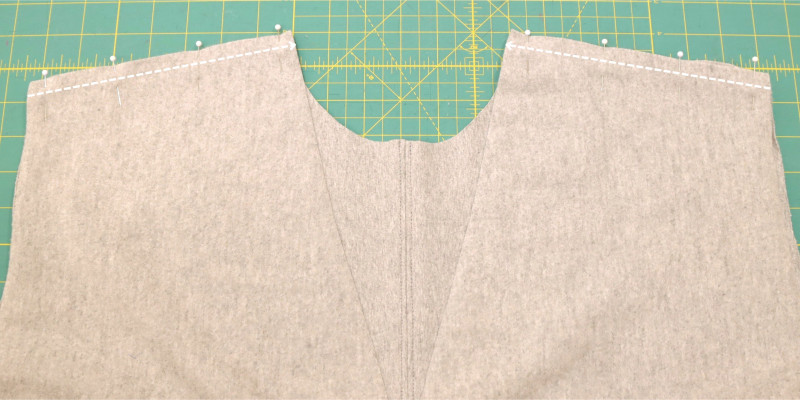
Sew front and back together at the shoulder seams.
Step 5
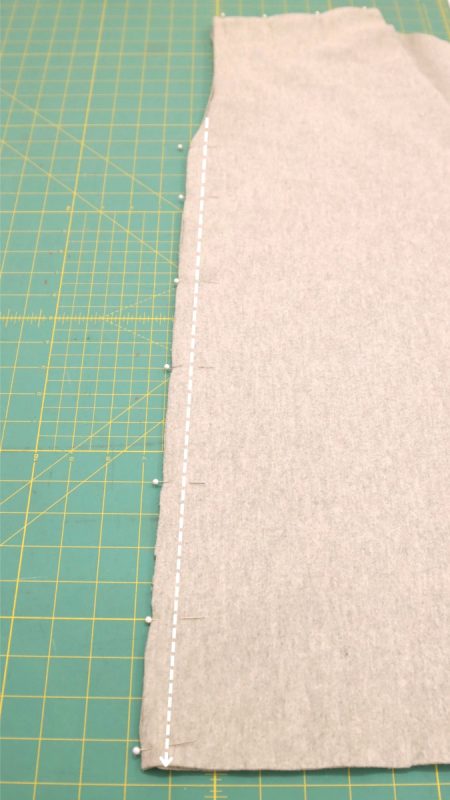
Sew front and back together at the side seams.
Step 6
Sew front and back together along the inseam.
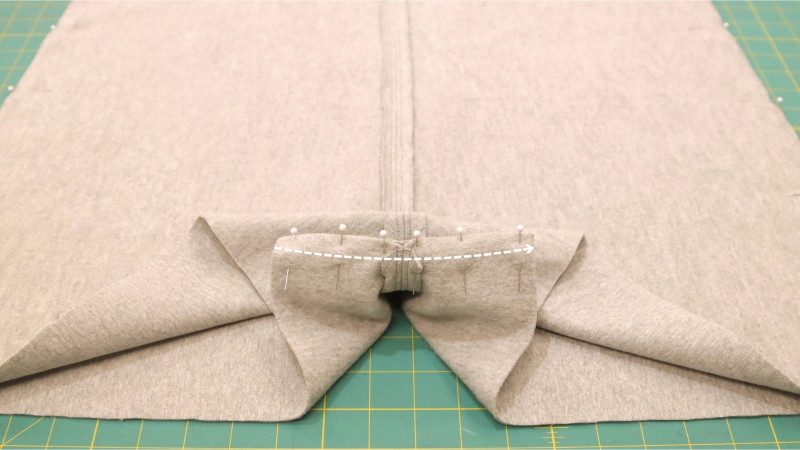
Step 7
Sew the sleeves at the inseam and hem the bottom.
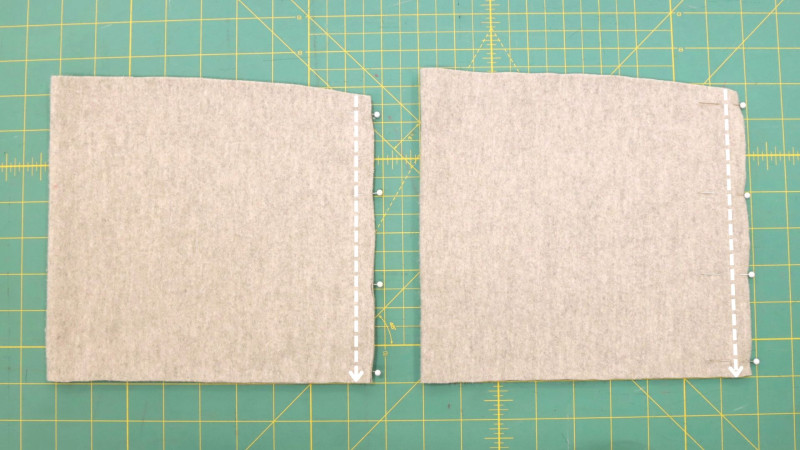
Step 8
Pin and sew the sleeve around the armhole.
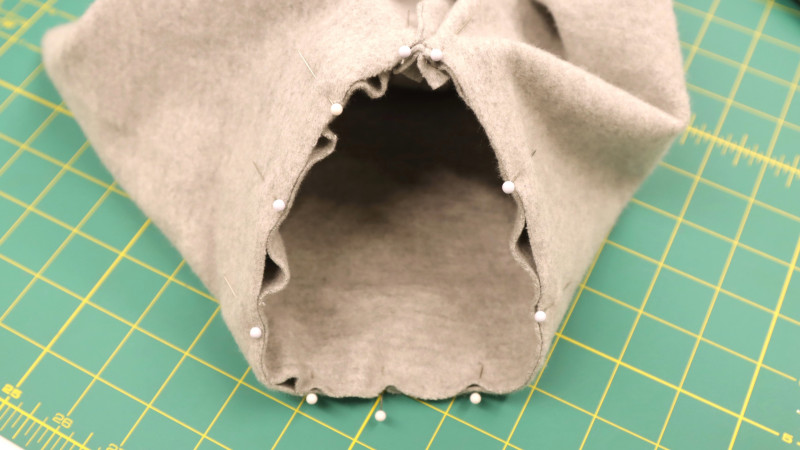
Step 9
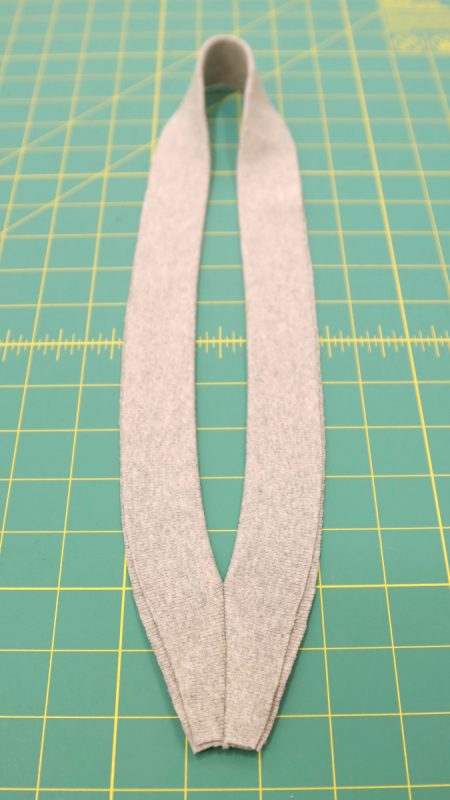
Pin and sew the ends of the neckband together to create the back V shape
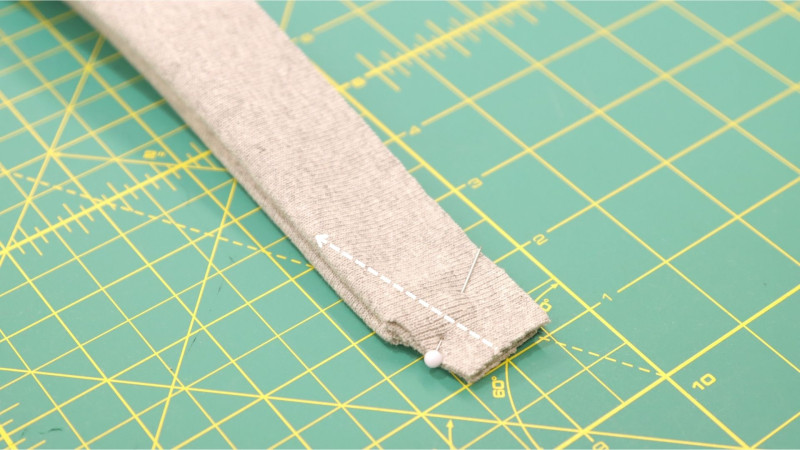
Step 10
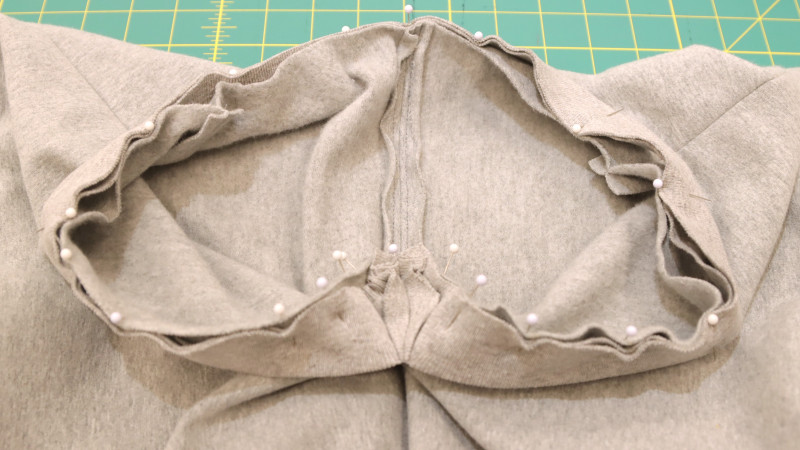
Pin and sew the neckband around the entire neckline.
Step 11
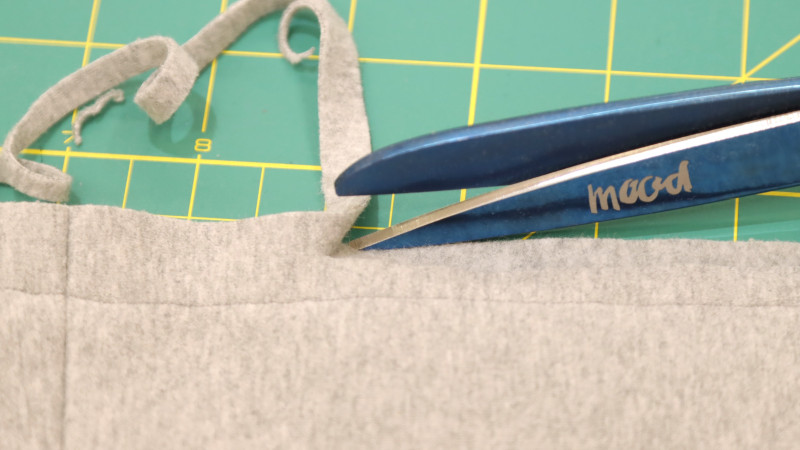
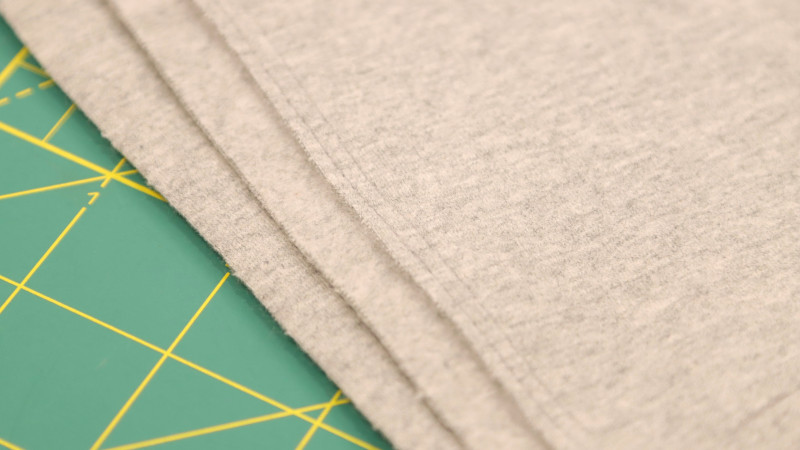
Optional – After hemming the bottom, trim the edges leaving the front shorter than the back, then top stitch around the front edge.
Step 12
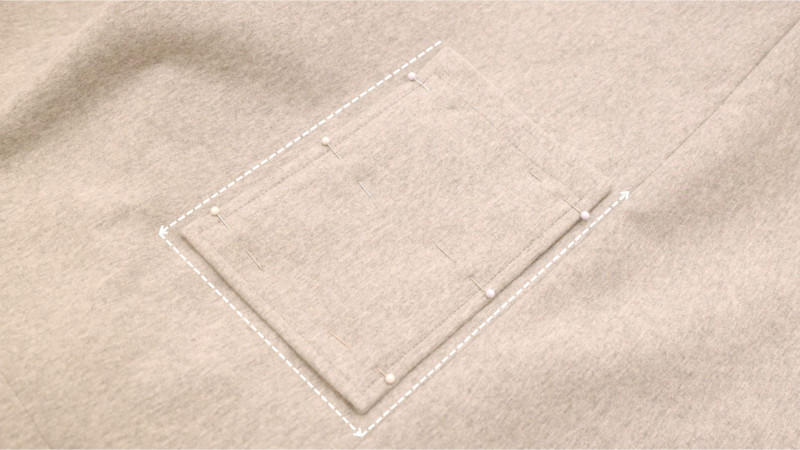
To complete the romper, pin the pockets to both sides of the front and sew around the edges.
The Bivalvia Beach Romper Free Sewing Pattern by Mood Fabrics

Feel free to share your completed beach romper pattern on social media to inspire others and showcase your hard work! Share this post with a friend (or two!), download The Bivalvia Beach Romper Free Sewing Pattern, and show us which fabrics and colors you choose, using the hashtags #MoodBivalviaPattern & #MadeWithMood.

It looks so comfortable love it. Thank you.
Would this be ok to sew in a cotton or thin linen ?
Yes, these fabrics will also work since the pattern has plenty of ease.
Fantastic. Thank you. I look forwards to sewing this .
Dude, you are killing me with your designs! I have like 3-4 projects queued for Stash, then I see another one drop in my email and I am like whaaaat! Thank you for these patterns, they are awesome skill builders, creative inducers (as the hackability is easy to do) I will need to adjust the crotch depth, but very simple lines. Thanks again!
Could you provide information on the size the model in the picture is wearing and her height? The sizing chart is throwing me for a loop on which to pick.
The model is about 5’10” (size 4) but the torso length may be different for every person. Our patterns are made to be printed with all the sizes visible, just measure your size pattern from shoulders to crotch before cutting the pattern pieces. You can adjust the pattern if needed, just cut the front and back patterns on the hips level and spread as much as you need. Also, a good reference for choosing your size is to find your bust circumference on the body measurements chart. This garment has 10 inches of ease, you can also refer to the finished measurements chart to choose a size with the ease you prefer.
Hello, I am 170cm tall. Is it good for me?
yes
I want the back to be the front!!!! This will be my first sewing project.
How did you accommodate the switch from front to back?
What an awesome pattern! It looks so comfortable and stylish! I can’t wait to sew it!
I love it! I intend to make this into a long dress without the pants. Great pattern and instructions!!! So glad someone turned me onto your site.
What is the rib knit for?
Hello, the rib knit is for the neckband.
Hello can I use the same fabric for the neckband?
Yes, you can also use the same fabric for the neckband.
Any tips on how to make it a double V-neck, in front and in the back?
Hello, just trace the front V shape starting at the point where the neckline meets the shoulder to the center front line, a standard V neckline should end about 5 to 6 inches down on the central line. Cut and sew the neckband as instructed for the back V shape.
can I use the romper both ways? like using the back as the front as well? or is it no possible? anyway, loved the design, I’m gonna make one in each color.
The back crotch is deeper than the front, so thick or stiff fabrics may create a baggy effect on the front. If you use soft fabrics like jersey or anything similar, there should be no problem wearing the jumper on either side.
Then I suggest sewing the pockets in between the front and back seam. In that way you can wear both sides. I have the same intention too
Is the neckband sewn wrong sides together first and then turned right side out?
Hello, sew the neckband right sides together at the bottom where it has the V shape. After, sew the neckband to the neckline with right sides together.
This pattern is so fun and pretty straightforward to make. I did notice that there is an error on the neckband pattern piece. It has you cut the fabric on the fold with the angled edges on the cut edge. I did this and was not able to attach the neckband without seeing the seam allowance. Looking more closely at the tutorial images, the angled edges are actually on the folded edge of the fabric. Recutting the neckband to reflect that made the whole thing go smoothly.
The neckband pattern piece should be updated to have the fold indicated on the opposite edge it currently is or a note should be added to the tutorial to clarify this.
Hello, thank you for pointing this out and we will review this pattern.