
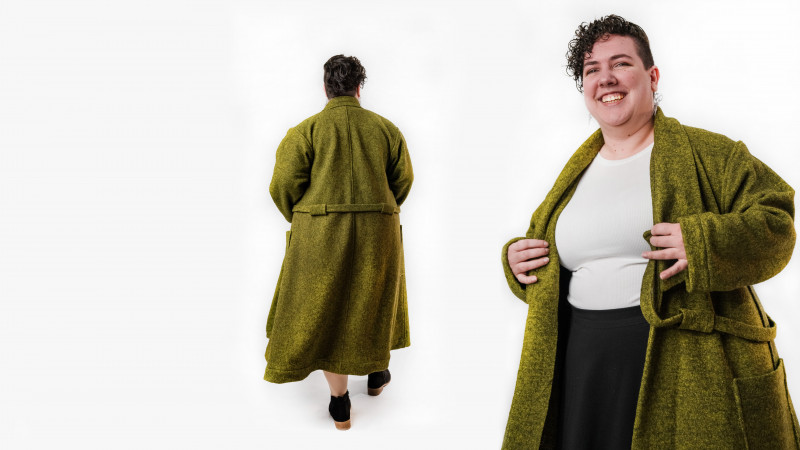
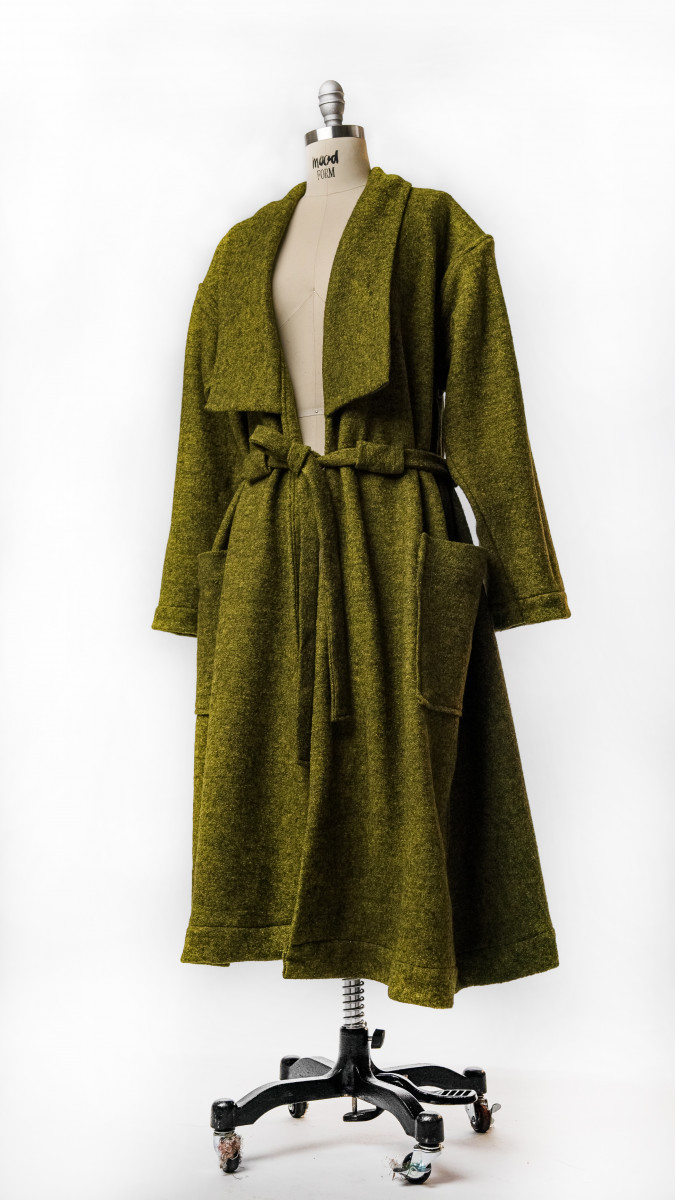
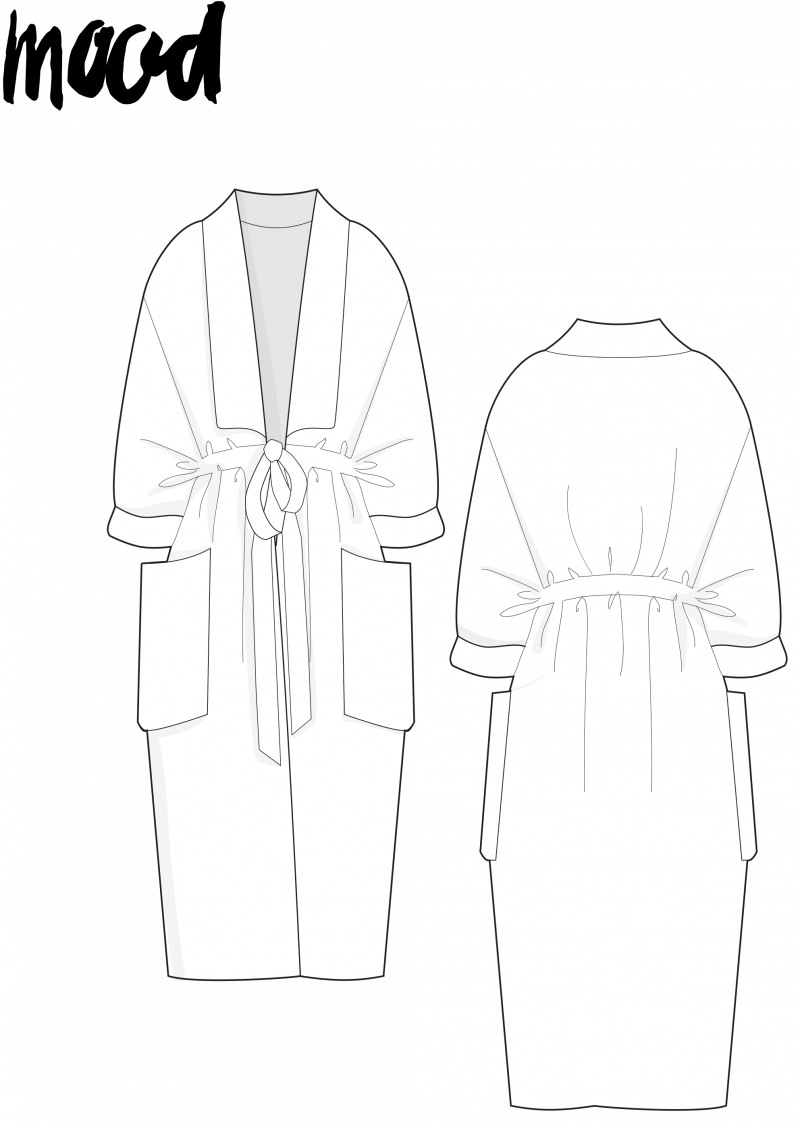
With temperatures freezing one day and then warm the next, one can never have too many coats. Oversized coats are my personal preference, allowing me to add and subtract layers throughout the day as the temperatures fluctuate. Our Blair Oversized Coat Free Sewing Pattern is very oversized indeed! Enough to wear a chunky sweater underneath and still have room for more. Sewn in our lush Chartreuse Boiled Wool, this coat is giving me major vintage army surplus vibes. Pair this with our Adair Cargo Pants, a black turtleneck, and some Dr. Martens combat boots and you’ve got the perfect fall outfit.

Purchase Materials Used Below:
- 3.5 yards of Ketil Chartreuse Marbled Boiled Wool
- 1 spool of 764 Sage 100m Gutermann Sew All Thread
- 4 yards of Chive Cotton Twill Tape
- MDF327 – The Blair Oversized Coat Sewing Pattern (free download below!)
Alternative Recommended Fabrics:
A few notes before you get started:
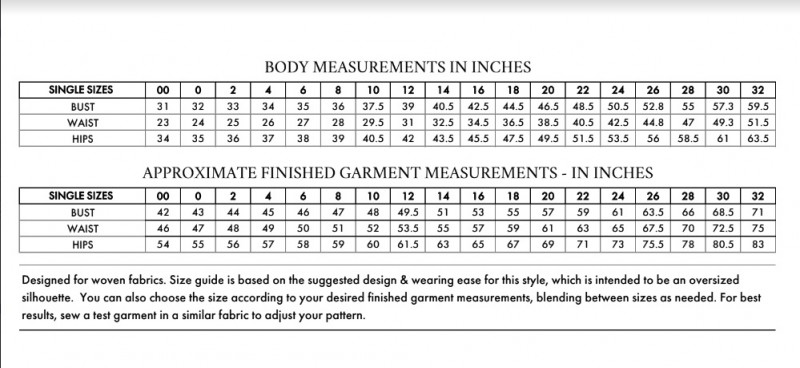
This coat is intentionally generously oversized. We made a size 10, as pictured on the dress form and on Erin who is a size 22. If you prefer something less oversized, refer to the Finished Garments Measurements chart to select your desired fit!
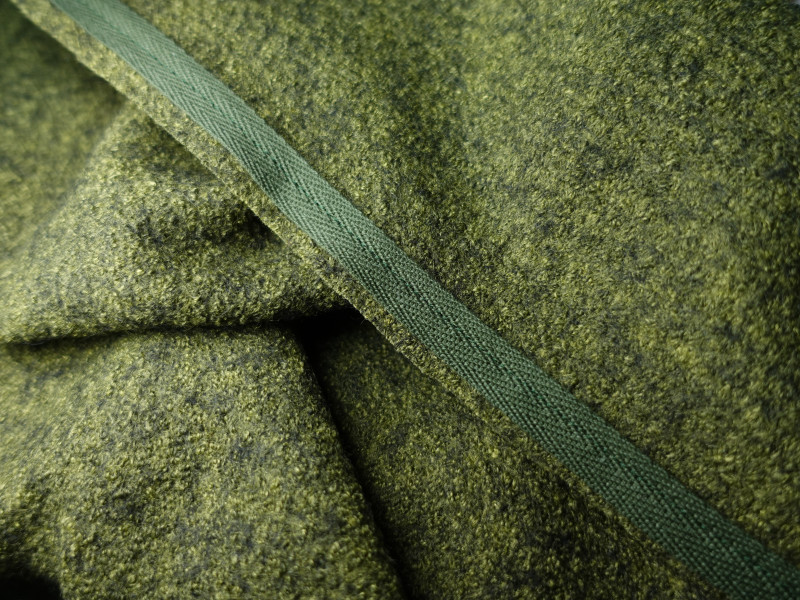
Because this boiled wool has a bit of stretch, it has the tendency to “grow” at the seams once the garment is being worn. To prevent this from happening, I used twill tape. This acts as a nice seam finisher too!
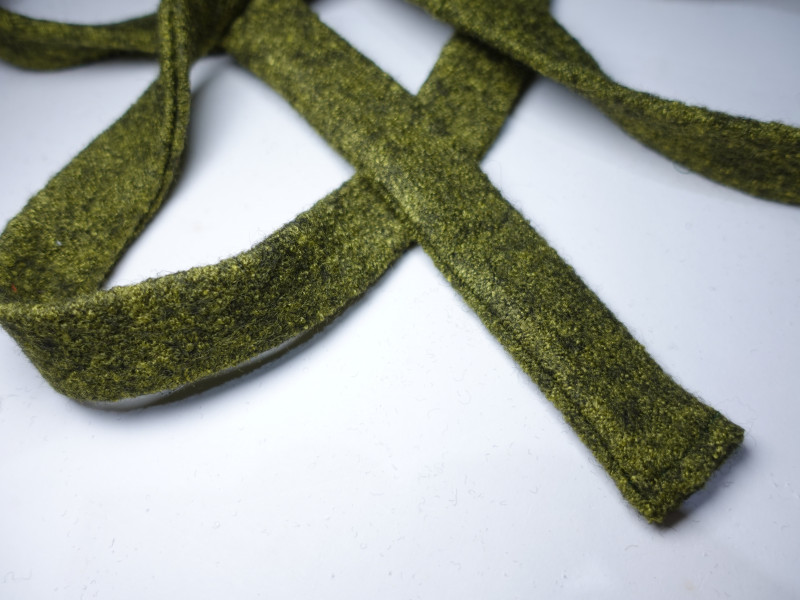
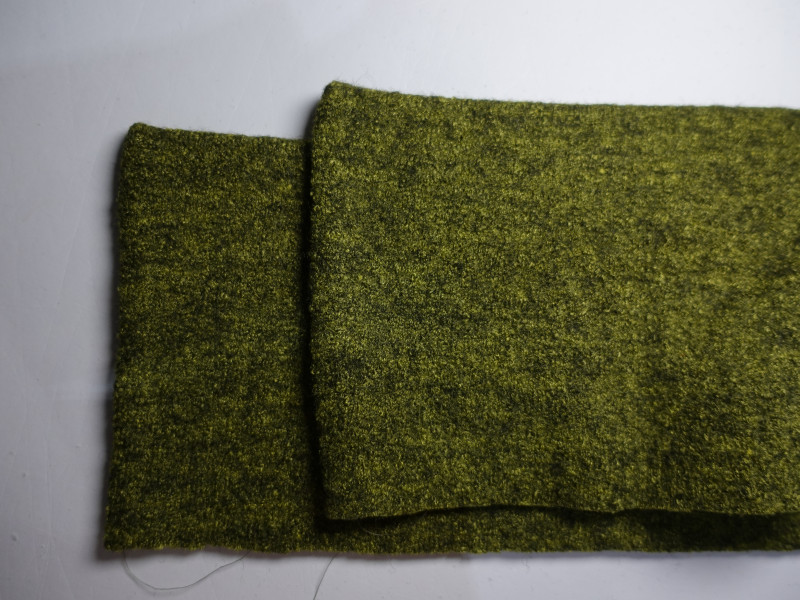
How to sew the belt & loops:
Step 1
Sew the belt pieces right sides together, at one short end. Trim the seam allowance and press open.
Step 2
Right sides together, fold lengthwise and sew. Trim SA. Use a loop turner to bring the belt right side out. Press. Fold each end under and press, then sew shut.
Step 3
Fold two sides of the belt loops under ½”. Press and sew.
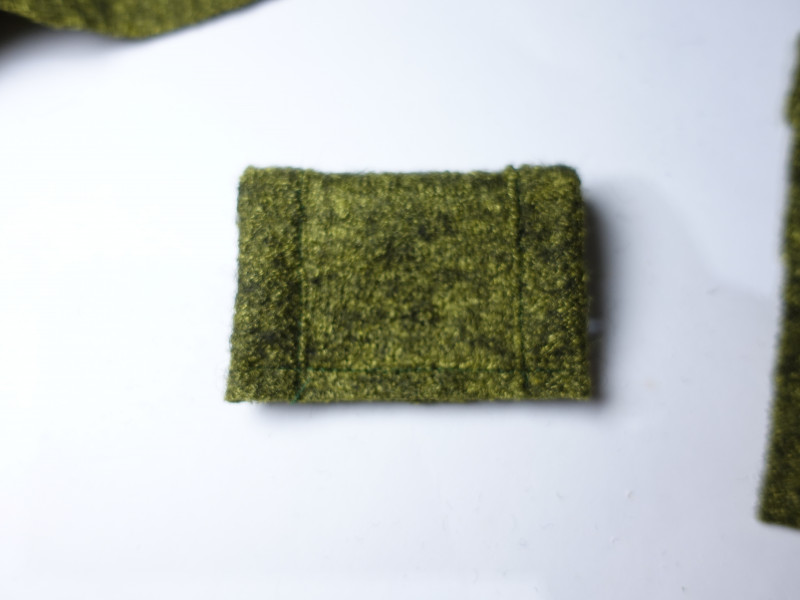
Step 4
Fold in half, right sides together. Sew, trim the SA, then turn right side out and press.
Step 5
Using the belt loop markers as a guide, pin the belt loops onto the back and front coat pieces.
Step 6
Turn back the top edge to stitch the bottom edge to the coat. Repeat with all the belt loops. Alternatively, if you’re using a less bulky fabric, topstitch the top and bottom of the belt loops to the jacket.
How to sew the coat:
Step 1
Measure the side, CF back, and shoulder seams of your coat, then cut the twill tape to length.
Step 2
With one of your back coat pieces, pin the twill tape to the CB. Since the seam allowance and twill tape are both ½”, I pinned the tape slightly further inward so it would be securely sewn into the seam.
Step 3
Baste the tape.
Step 4
Repeat with both front coat pieces, only this time baste the twill tape onto the side and shoulder seams.
Step 5
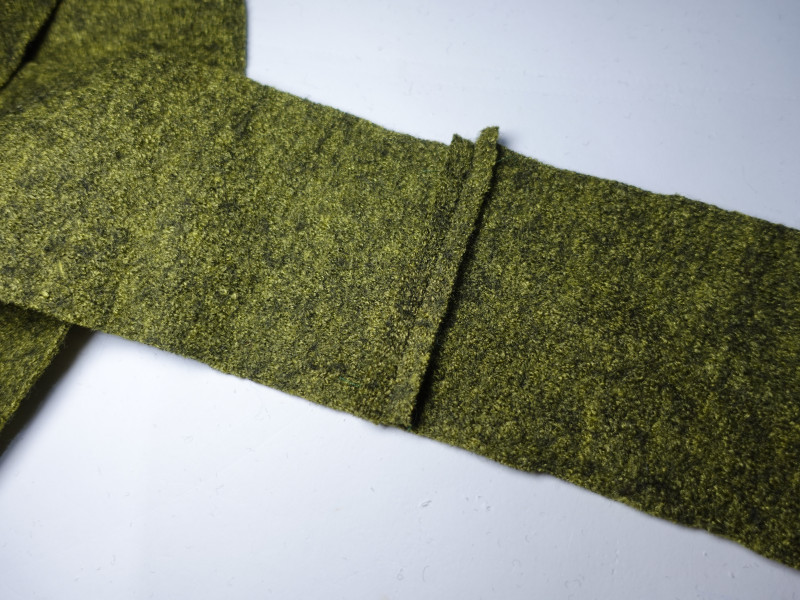
Sew the back coat pieces together at the CB.
Step 6
Trim the seam allowance on the fabric, not the twill tape.
Step 7
Press the seam to one side so that the twill tape is visible.
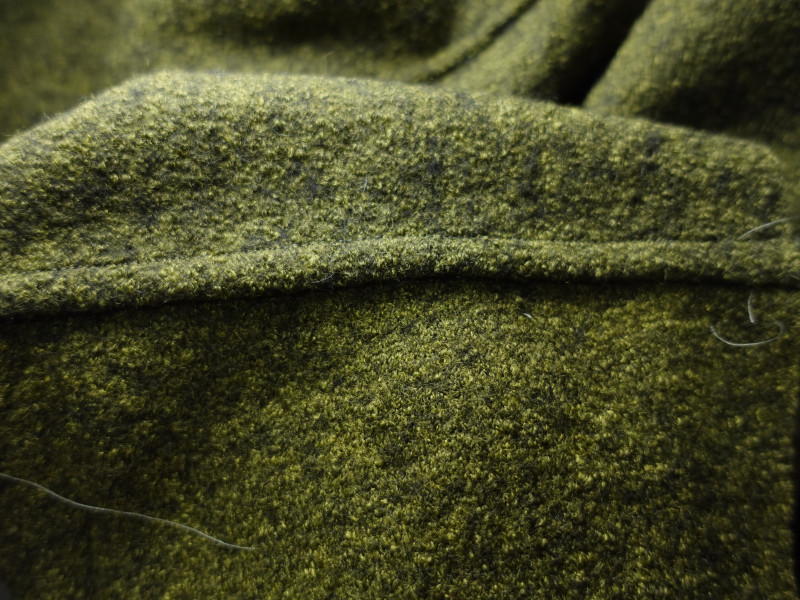
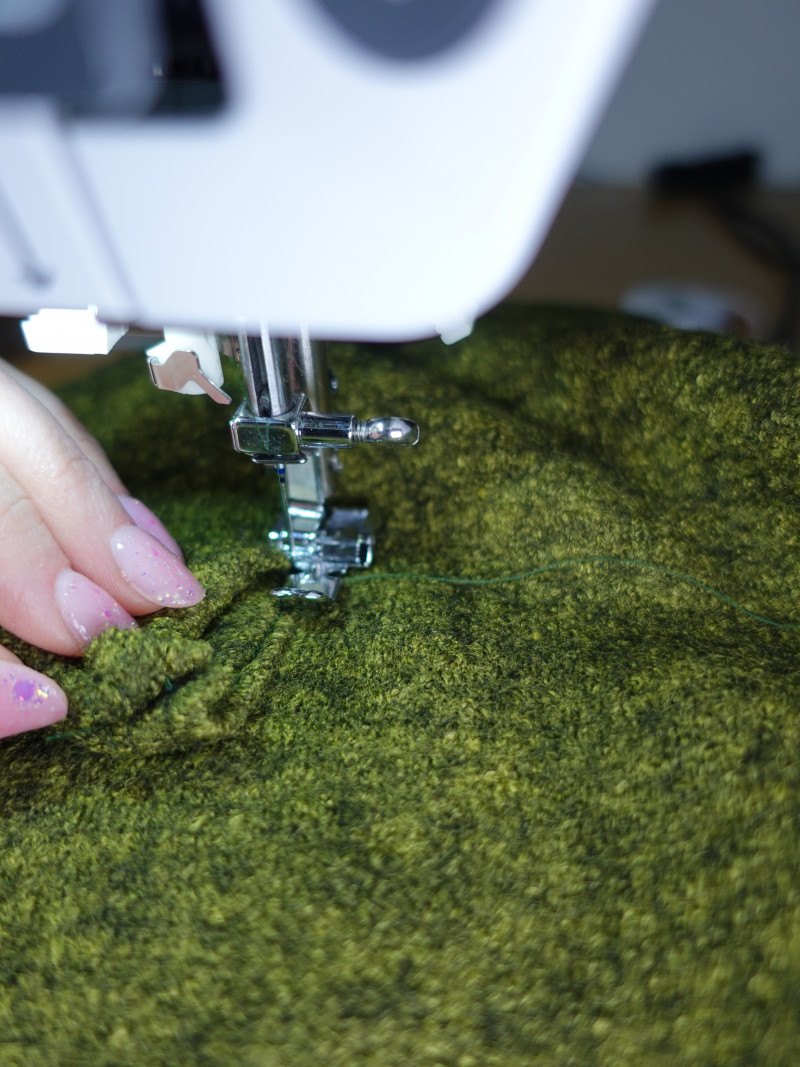
Step 8
Welt stitch the twill tape down so that it covers the seam.
Step 9
Repeat with the front coat pieces at the side seams.
Step 10
On the front coat pieces, pin the facing to the wrong side. Align notches and baste to the shoulder.
Step 11
Sew the front coat pieces to the back at the shoulder seams, right sides together.
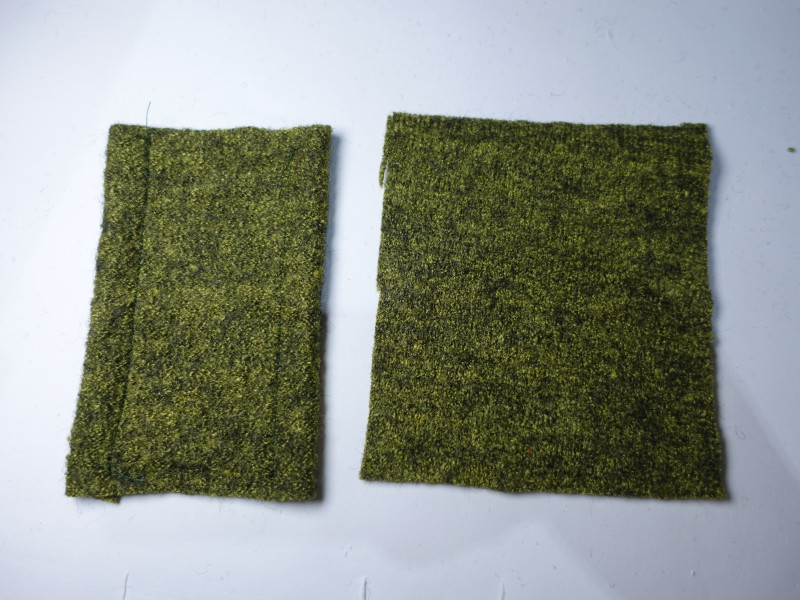
How to sew the pockets:
Step 1
Fold the pockets down ½”, press, then hem 2”. Press, then sew.
Step 2
Fold the sides and bottom down ½”, then press.
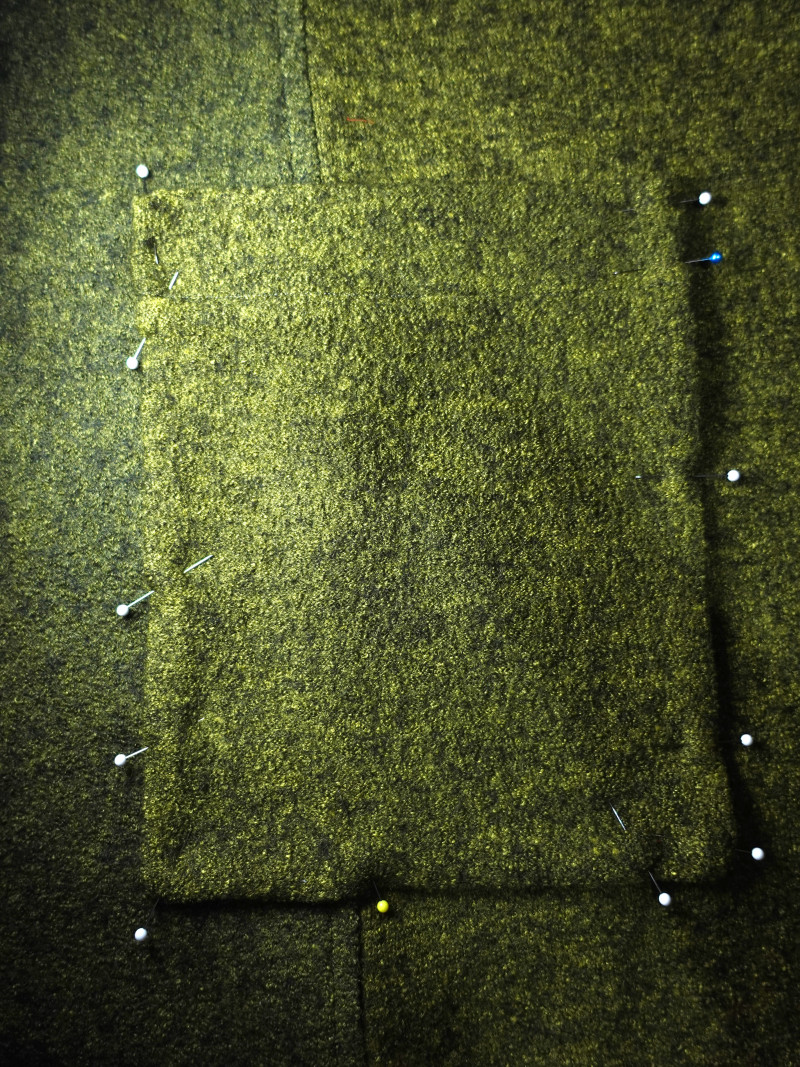
Step 3
Place the pockets on top of the coat’s side seams, using the transferred markings from the pattern as a placement guide.
Step 4
Topstitch the sides and bottom of each pocket.
How to sew the sleeves:
Step 1
Turn the sleeve cuff under ½”, press, then sew a 2” hem.
Step 2
Sew twill tape to the top edge of each sleeve.
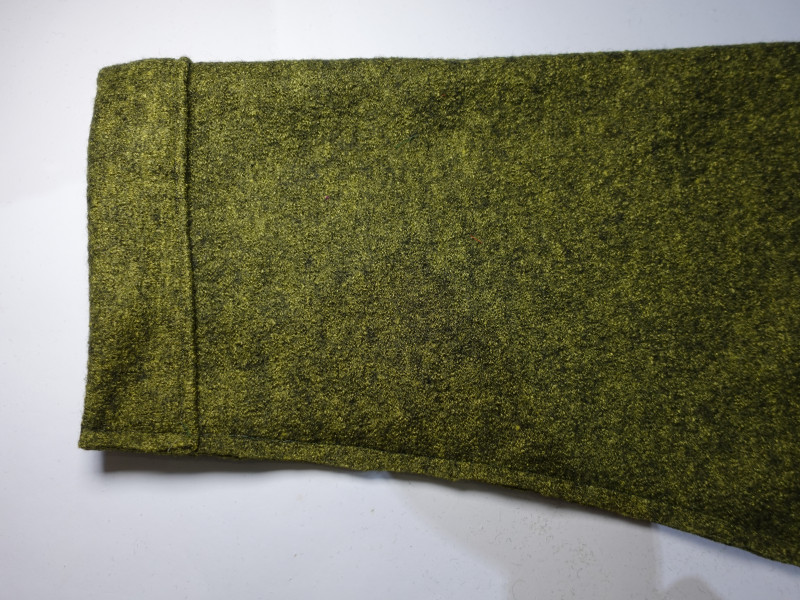
Step 3
Fold one sleeve right sides together and sew along the long edge. Trim the seam allowance and press. Repeat with the other sleeve.
How to sew the collar & facing:
Step 1
Fold the collar lengthwise, right sides together. Sew the two short ends, then trim the seam allowance and clip corner. Turn right side out and press.
Step 2
Align the raw edges of the collar to the coat’s neckline, right sides together. Line up the notches, then pin.
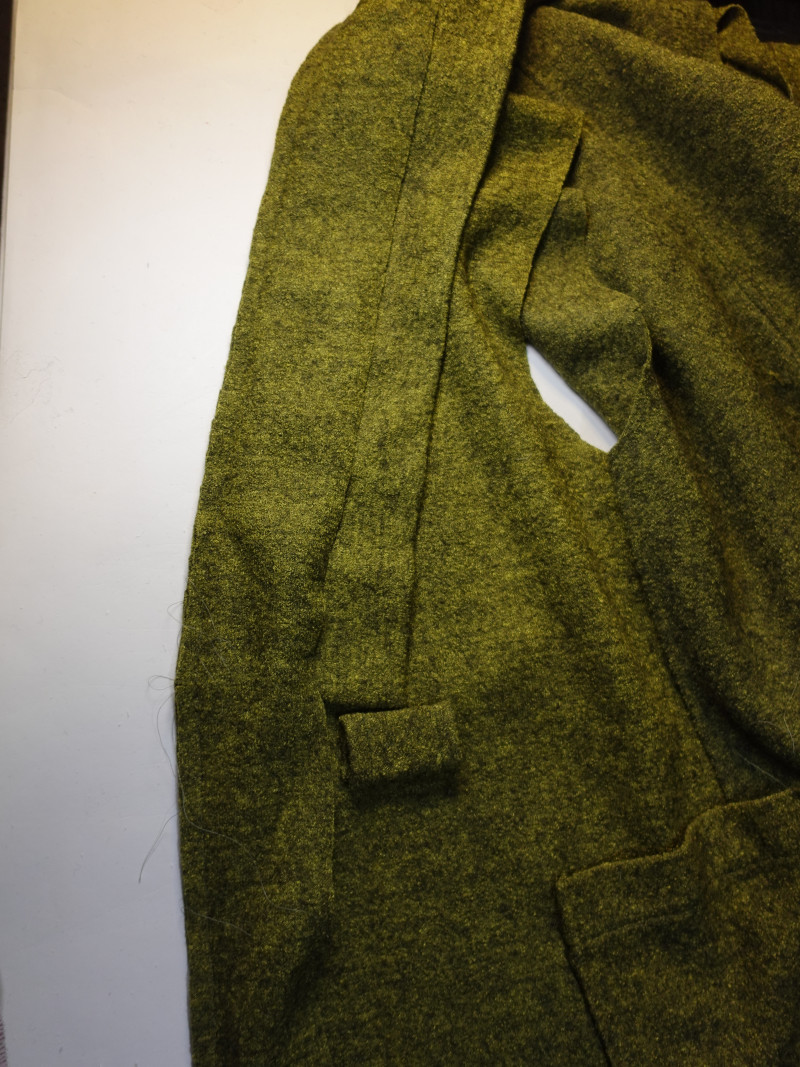
Step 3
Right sides together, pin the facing to the front edge of the coat. Sandwich the collar between the layers. Repeat on the other side.
Step 4
Sew the facing, and the collar beneath, to the coat. Stop when you reach the end of the facing, near the shoulder seam.
Step 5
Grade the seam allowance, open up the facing, and press. Under stitch, then fold back under and press.
Step 6
Open up the unsewn portion of the collar, and sew the outer side to the back neck, right sides together. Grade the seam allowance, and press it towards the collar.
Step 7
Pin the inner collar down ½” and stitch in the ditch.
How to finish the coat:
Step 1
Double hem the bottom of the coat ½” + 2”. Press, then sew.
Step 2
Optional: use an invisible stitch by hand to keep the facing in place.
I love the look and all of this! Somehow not too dressing gown-like. What I particularly noticed and loved was all the thread in the form’s wheels, however. It’s seen some action!!!!
Looks incredible! Thank you for this wonderful pattern.
Fabulous pattern, I am having a fuchsia pink one, too brighten our next winter and I have some cotton voile for a lovely duster. I am also a frequent hospital inmate, a gorgeous viscose would make a wonderful dressing gown. I may need buttons for that which will be an easy hack. Thank you mood! You have inspired me to make two stash fabrics up and look for another. With great joy
These ideas sound great! It always feels so good to use stash fabric, doesn’t it? 🙂 Happy sewing!
Merci pour ce joli modèle
Any tips for adding a lining?
Hi there! Use pattern pieces C, D, and E to cut out the lining, taking off about 1″ at the bottom of each piece. Sew them all together to make the jacket lining. Sew the self pieces C, D, and E together. Sew B to the lining, right sides together. Then sew the rest of the jacket as instructed, with the lining inside the self, wrong sides together. Before you hem the coat and sleeves, make sure the lining gets sewn into the hem for a clean finish. 🙂
Beautiful design and I soo look forward to making it. So the size 10 was generous in its give for the beautiful plus size model (Erin) or the size 10 was on the manequin and she sported the size 22?
Hi Kris! Yes, this coat is VERY oversized. Erin was wearing the size 10!
I wish Mood would make the instructions a little more detailed. Some parts I get and others I am completely lost and get discouraged.
Hi Tori, we’re sorry you’re feeling discouraged! In order to keep our sewing patterns free, we aren’t always able to provide the most detailed instructions. However, if you have any questions I am happy to help!
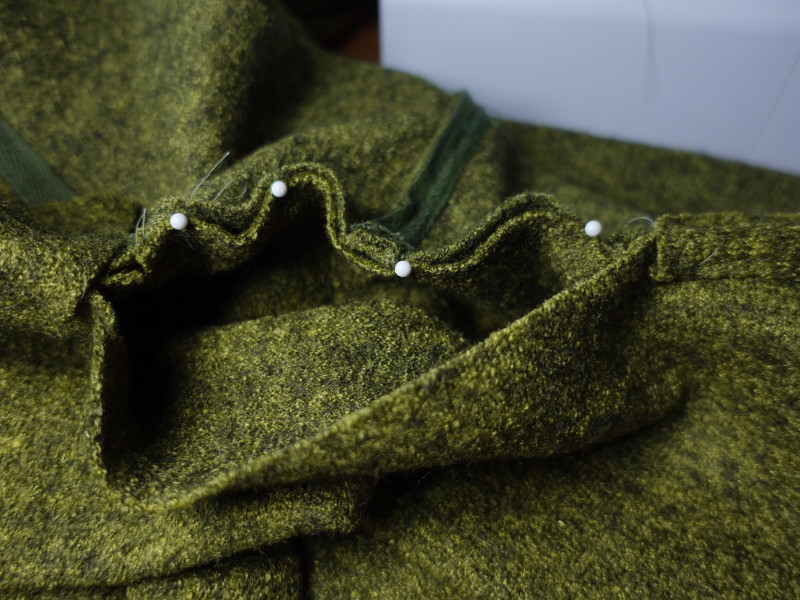
Hello! This all seems doable, but I can’t get my head around the twill tape instructions on this, specifically points 5-10. It would be my first time using twill tape. Could you perhaps provide a bit more detail on these specific sections? I’d be so grateful! Would love to make this ready for cosy autumns.
Hi Nick! The boiled wool used for this coat has a tendency to grow, so using the twill tape helped stabilize those seams and keep them from sagging and growing. If you were to use a more stable fabric, this wouldn’t be a necessary step, and you can just finish the seams as you normally would. With that being said, here’s how I added the twill tape!
1 – Pin the center back seams right sides together. Hand baste for extra stability going forward, otherwise move onto step 2.
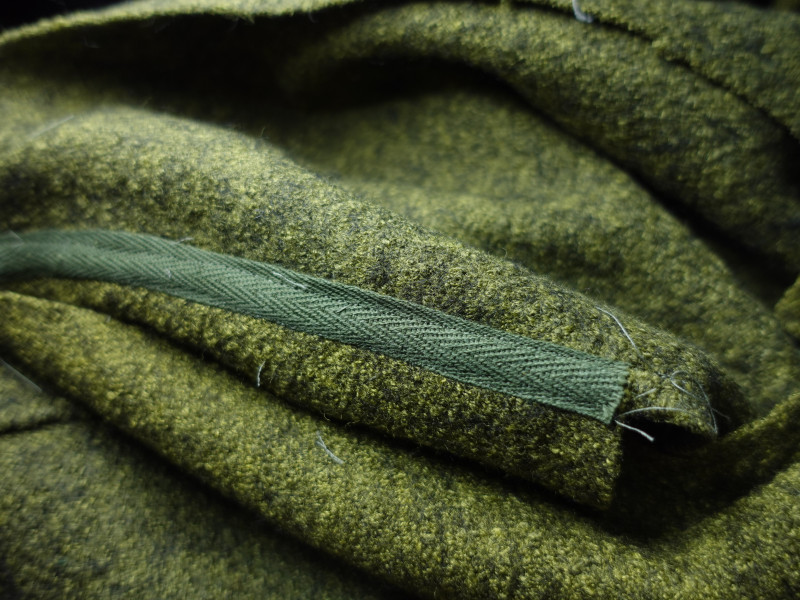
2 – Place the edge of the twill tape JUST past the seam allowance. When we sew the seam, we want to sew the edge of the twill tape.
3 – Sew the CB seams together, catching that edge of the twill tape.
4 – Trim the SA so that it’s shorter than the width of the twill tape.
5 – Press the seams and twill tape all to one side, with the tape on top. Pin in place.
6 – With the twill tape facing up and the coat’s SA hidden, sew the remaining edge of the twill tape with a 1/8″ SA. This is shown in the first picture below step 7. The second picture shows this seam from the right side of the coat.
I hope that helps! 🙂
Hi, this is Pritha from India.
I love the fact that you made this pattern for all of us for free. Thanks a lot for being so generous. I loooooooooooove your nails!! I could not resist myself saying this to you.. <3
Hi live the pattern, im a bit confusing on how to attach the facing to the collar, can you give a bit more info on that xx
Hello!
Thank you so much for this pattern!
I would love to add buttons in the front
Do you have any advice?
Thank you so much
Hello, you can easily add buttons to this pattern. Simply mark the placement below the lapels, sew the buttons on one side, and sew button holes on the other side to align perfectly.
I have a wonderful fabric that I’d love to use for the Blair Oversized Coat pattern. It’s a blend of some sort that has a bit of scratchiness on the wrong side. It’s got nice drape, and is heavy enough, but I’m wondering if I can line it? Or at least flatline it? I’m thinking the folded back lapels and collar might be an issue. What do you think?
Hello, you should have no problem with lining this pattern as it is meant to have a lining as well! Use the same outside fabric to double layer the lapels with self lining, and the collar will not need a lining as it will remain being the main fabric.