

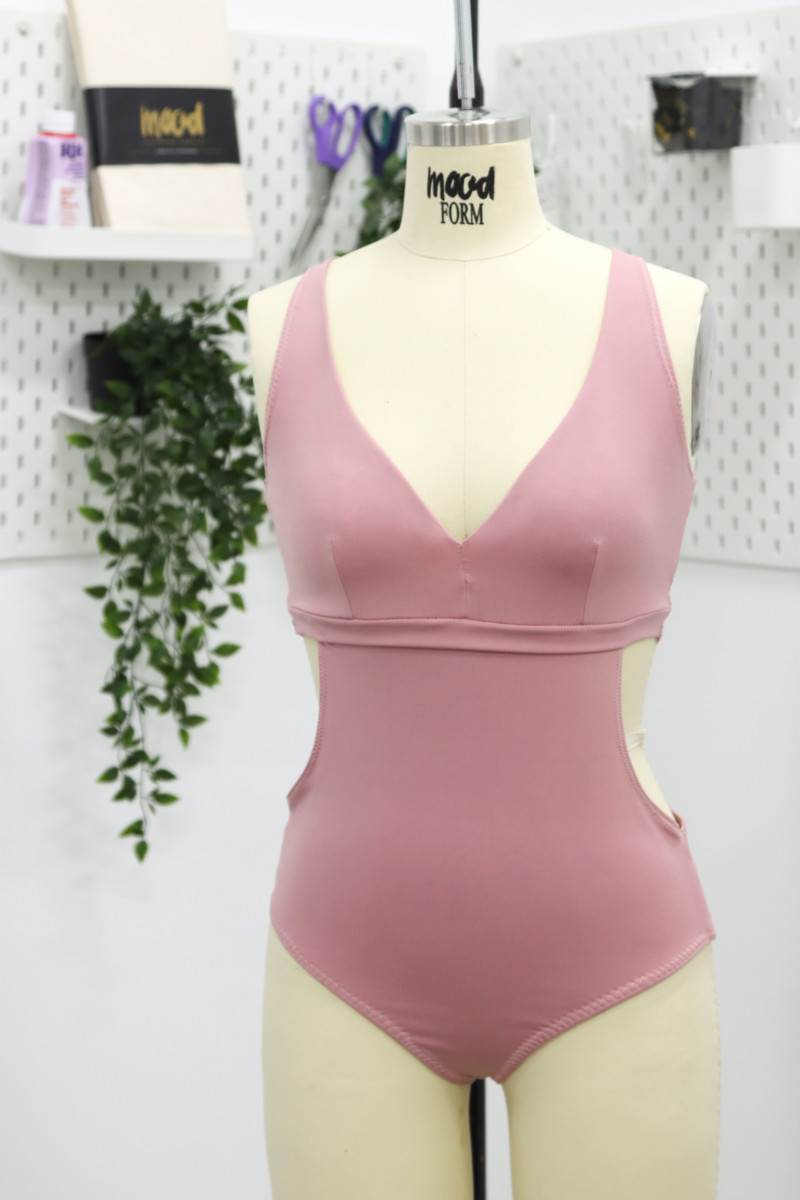
Swimsuit season is finally (finally!) approaching and it’s time to make sure your wardrobe is ready. The new Speedwell Swimsuit brings the classic style of a one-piece along with the comfort and breeziness of a two-piece. Make yours in a tricot for the perfect fit!
Purchase Materials Used Below:
- 2 yards Dusty Rose UV Protective Compression Swimwear Tricot with Aloe Vera Microcapsules
- 2 yards Nude Shaper Power-Mesh
- 1 pkg Dritz Cotton Swimwear Elastic – 0.375″
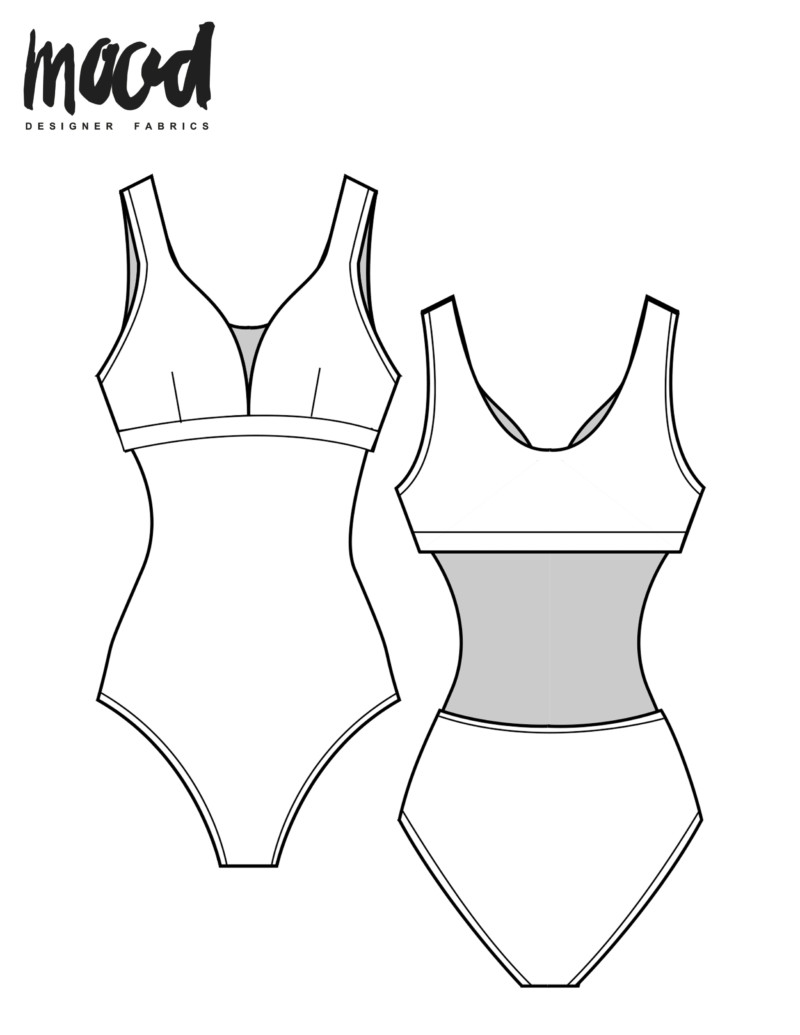
- MDF254 – The Speedwell Swimsuit Sewing Pattern (free download below!)
Alternative Recommended Fabrics:
I recommend a rotary cutter for swimsuit fabrics as it can be hard to cut precision with scissors, pinning the fabric can leave pulls or holes so opt for pattern weights.
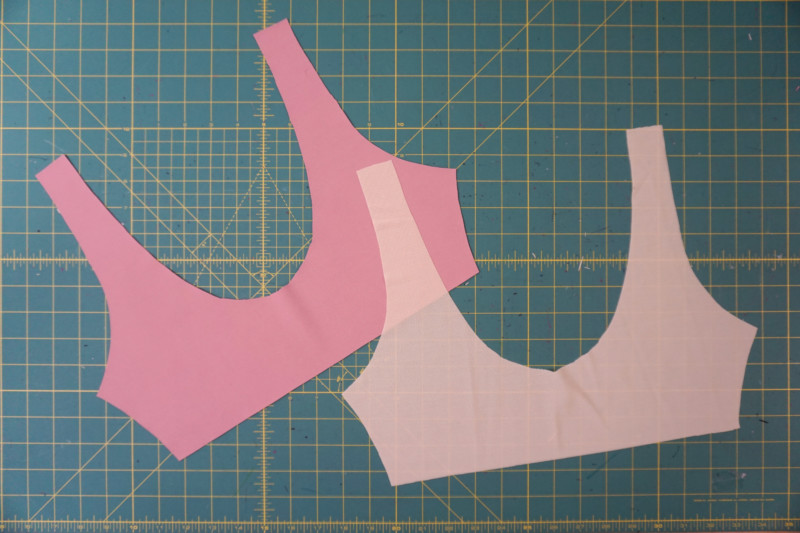
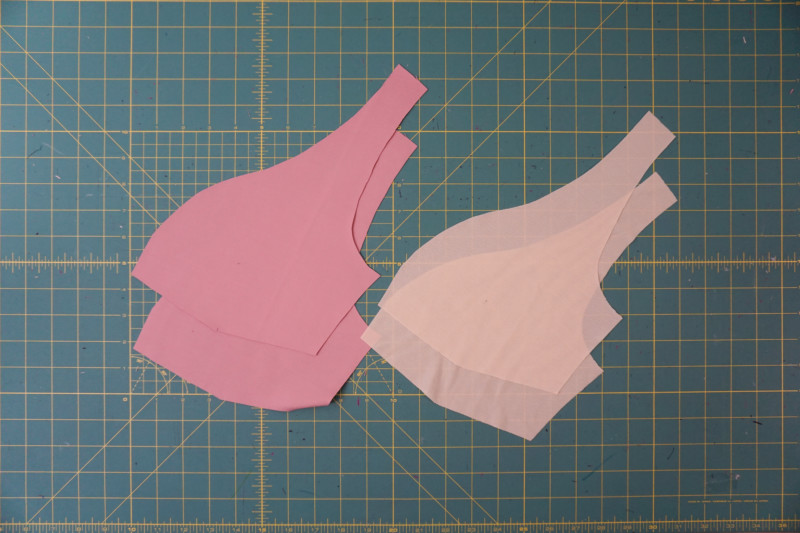
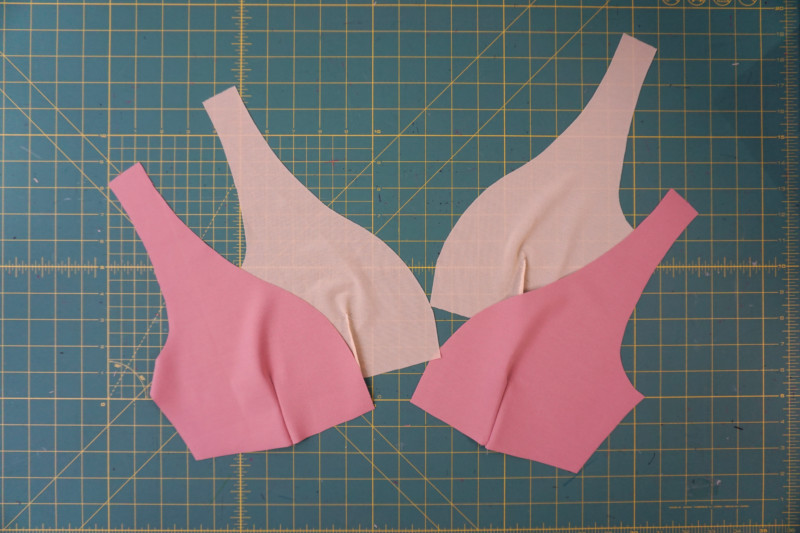
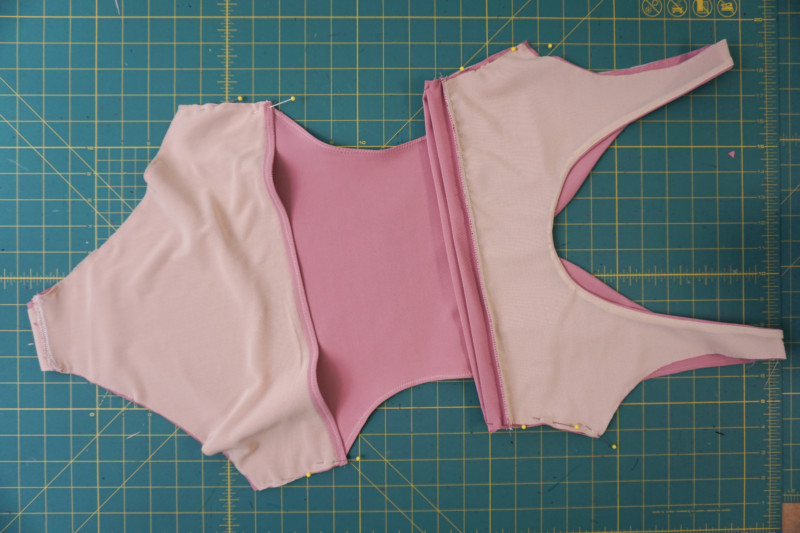
First, cut all your pattern pieces (not including belt pieces) in both self-fabric and power mesh. Using a running stitch (elongated straight stitch on the highest length setting), baste your self-fabric and mesh pieces together along the entire perimeter 1/8″ from the cut edge. Be sure to have your self-fabric with the right side facing out.
Basting your pieces separately will help when aligning the seams to join each of them.
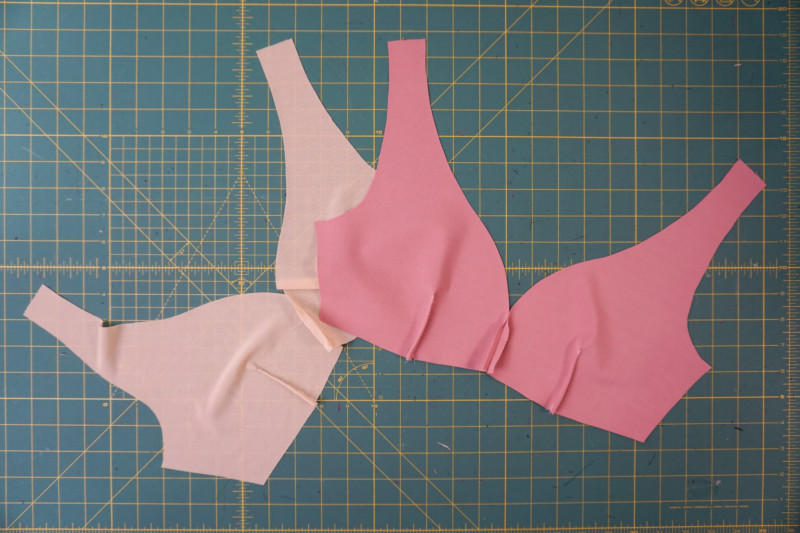
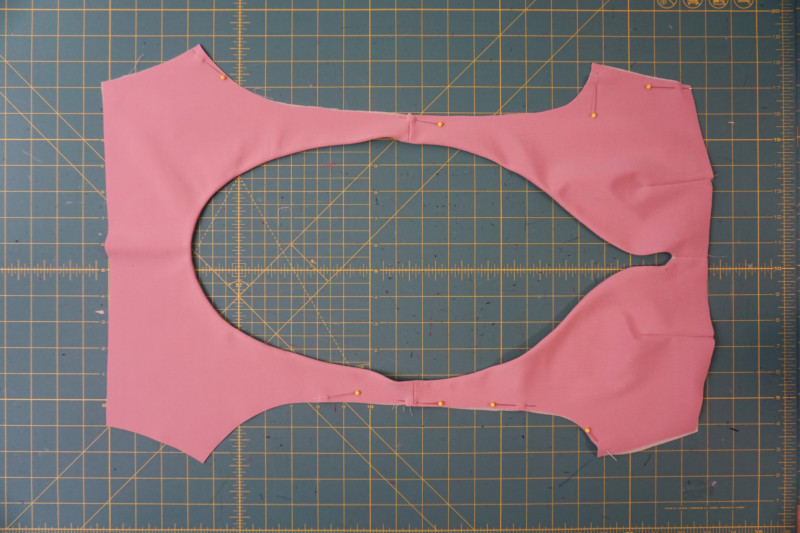
Close the darts for both power mesh and self-fabric pieces before joining to one another. For the front top pieces, close the center front first before basting them to the power mesh, making sure to baste the power mesh set with the seam allowances facing one another so this can be hidden in between both layers of fabric.
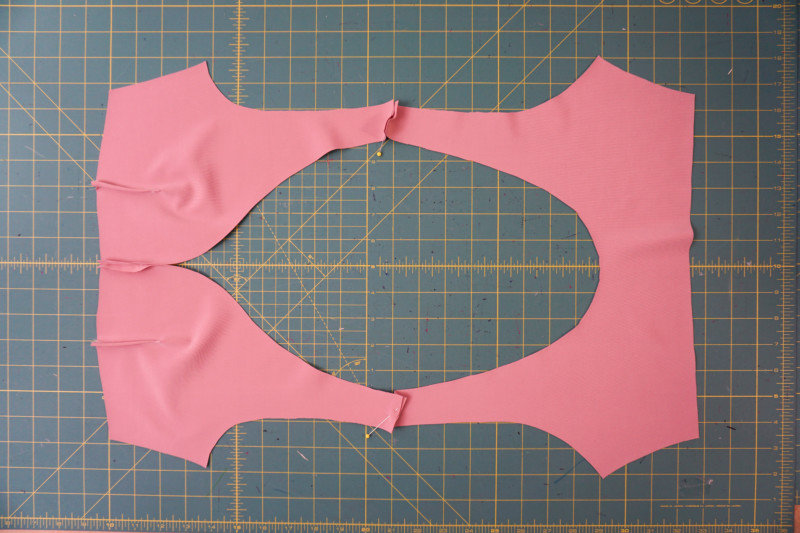
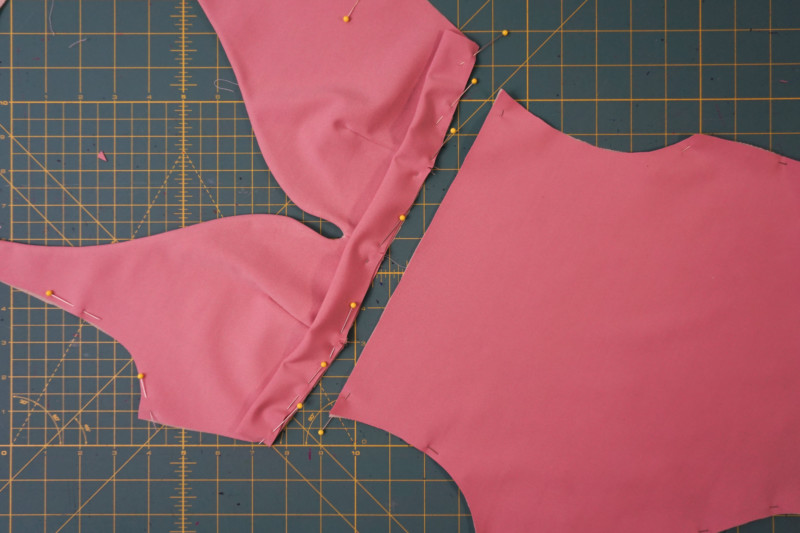
Join shoulder seams of front and back top portion of swimsuit, repeat steps for power mesh version of these pieces:
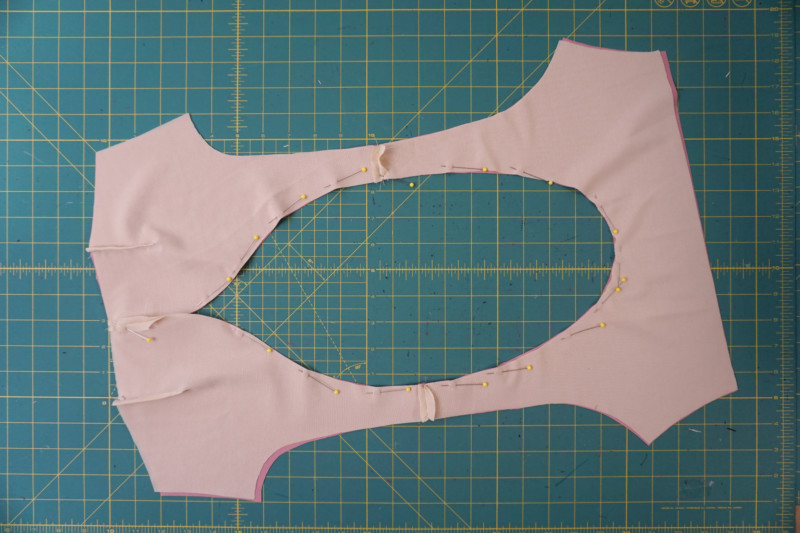
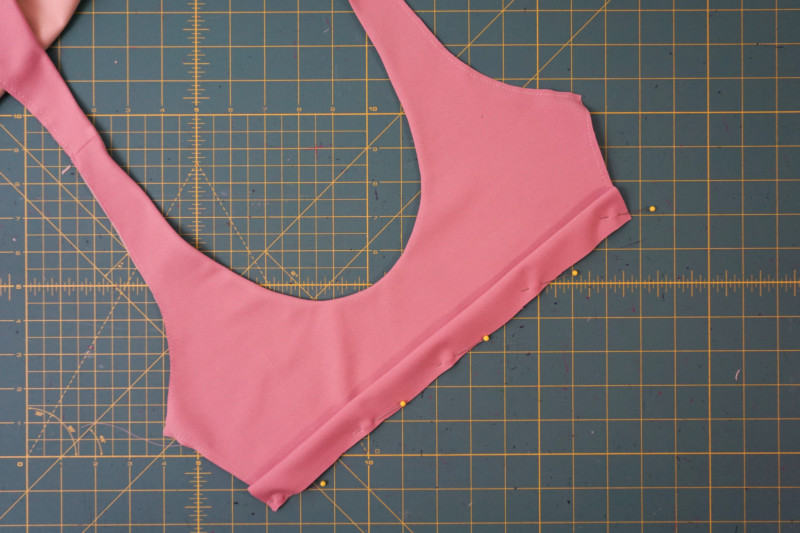
I opted for a clean-finished edge on my neckline and joined the piece with right sides of the fabric facing, an understitch to catch both seam allowances AND the power mesh, and then basted both pieces together along the perimeter, not including the neckline edge. It is a bit challenging to do this method as mitering the v-neckline is very advanced in stretch fabric.
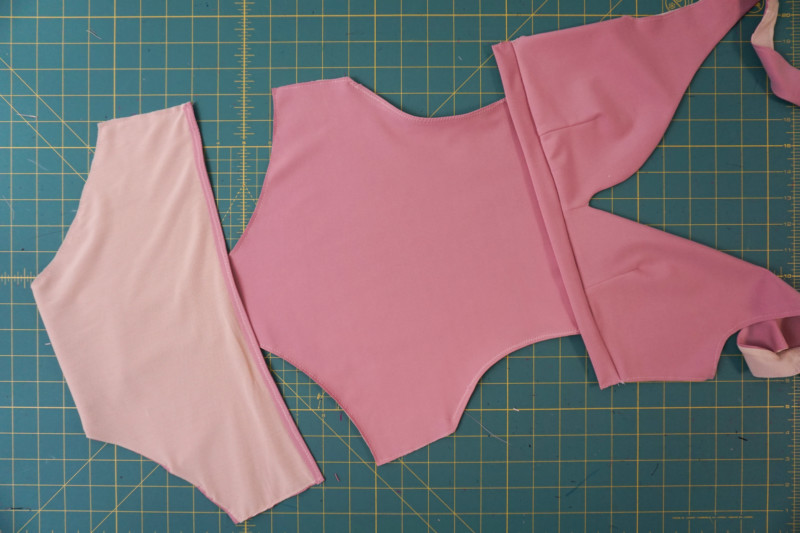
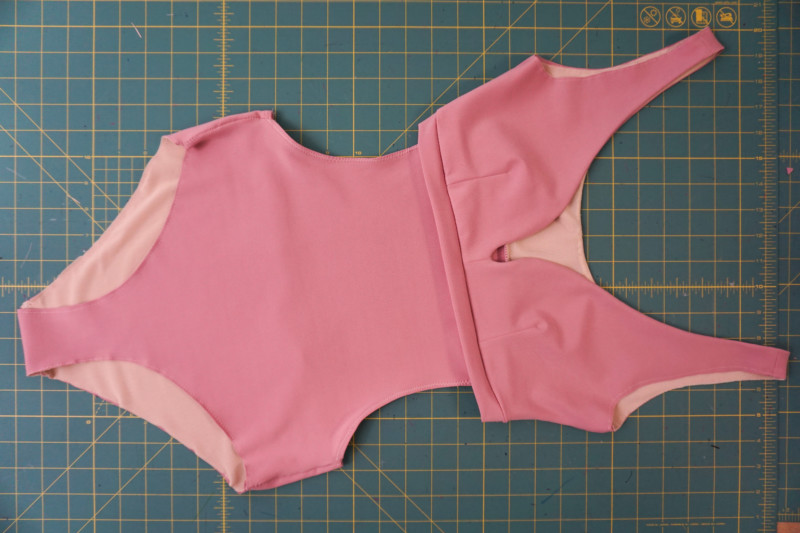
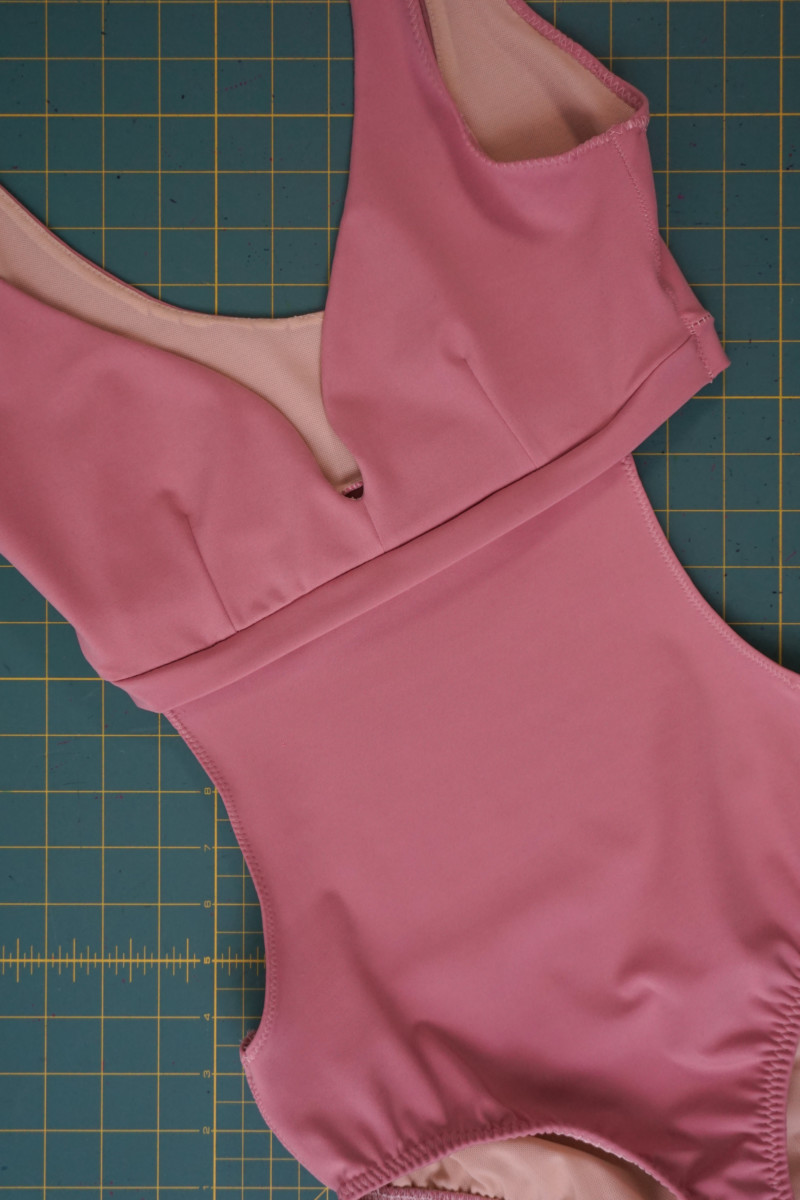
Attach the front belt to the bottom edge of the front top bodice by folding the wrong sides together using a lightning stitch or zigzag stitch with a 3/8′ seam allowance.
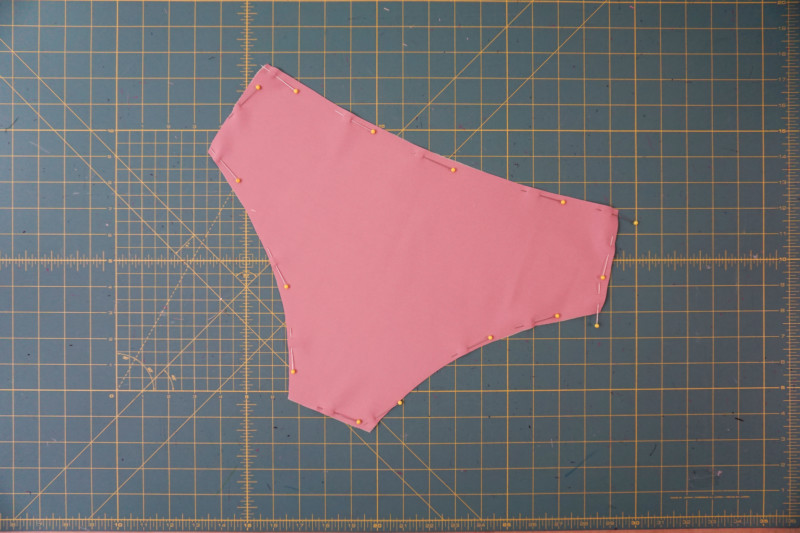
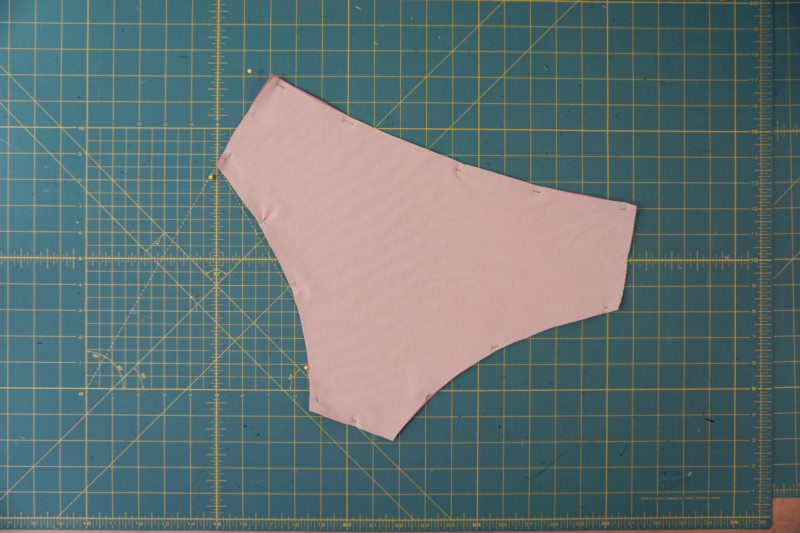
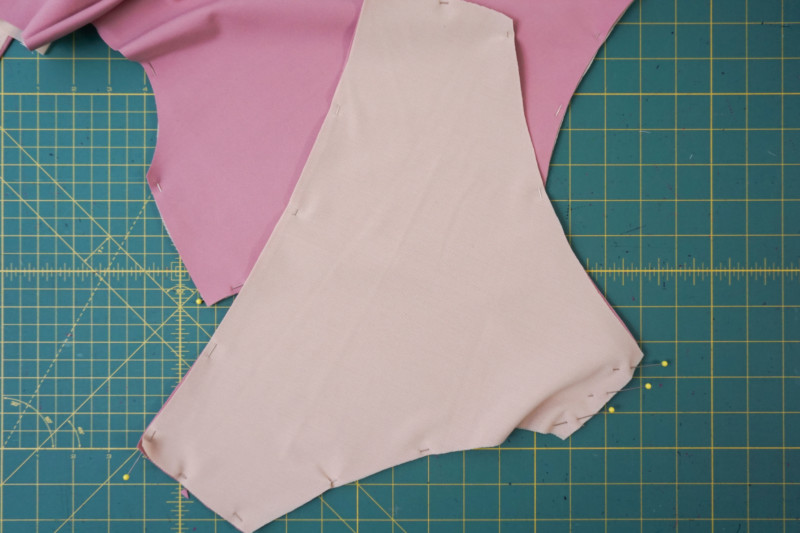
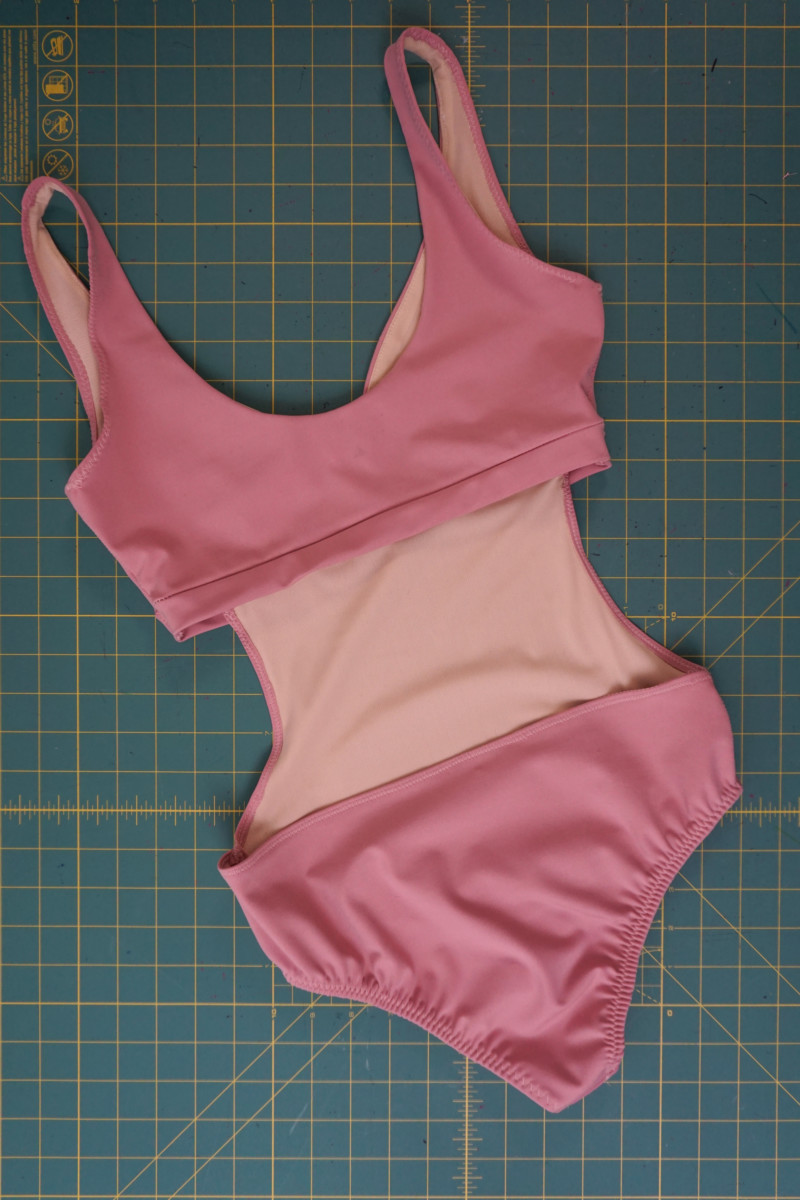
Next clean finish the cut-outs on the sides of the front bottom portion of the swimsuit before attaching it to the belt and bottom of top pieces of the bodice front. Clean finish the top edge of the back bottom piece with a fold-over 3/8″ seam allowance using a zig-zag stitch.
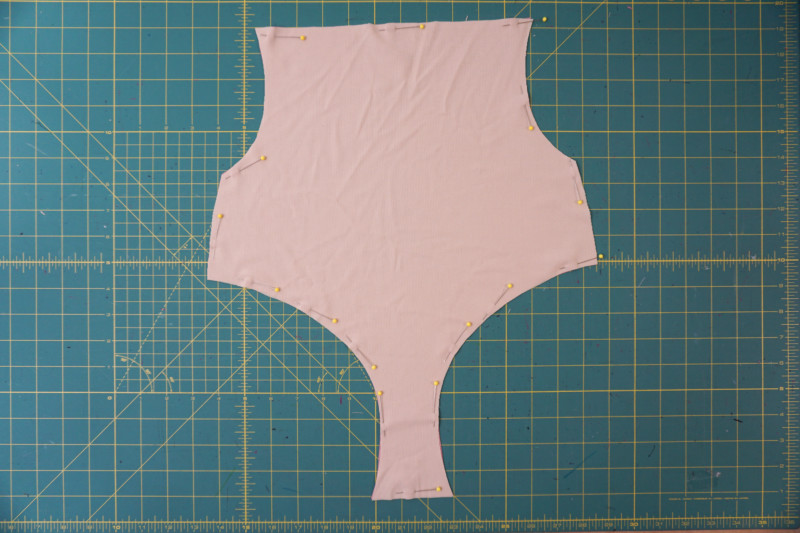
Join the front to the back at the crotch seam with 3/8″ seam allowance:
Attach the back belt to the bottom of the back bodice edge, using the same technique as attaching the front belt:
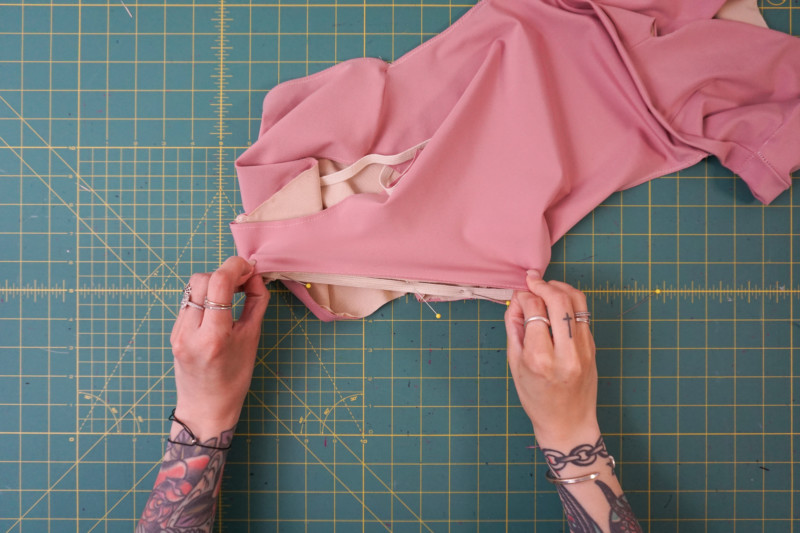
Close up your side seams using 3/8″ seam allowance with a zigzag or lightning stitch:
For legholes, use elastic that is 25% less than the circumference of the leg openings and stretch to fit that opening. Be sure there is a 1/2″ overlap of the raw edges of the cut elastic. I used my serger to join the elastic to the inside of the leg openings.
Optional: At this point, you can try the swimsuit on, I did not need elastic in the armholes but you can apply it here for extra support.

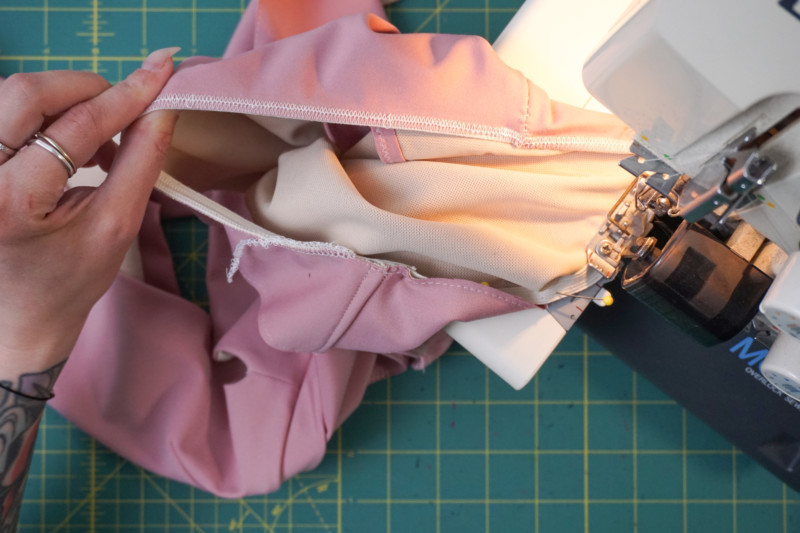
Stretch the elastic gently while attaching in the serger or machine, as it needs to be pulled to fit the leg openings:
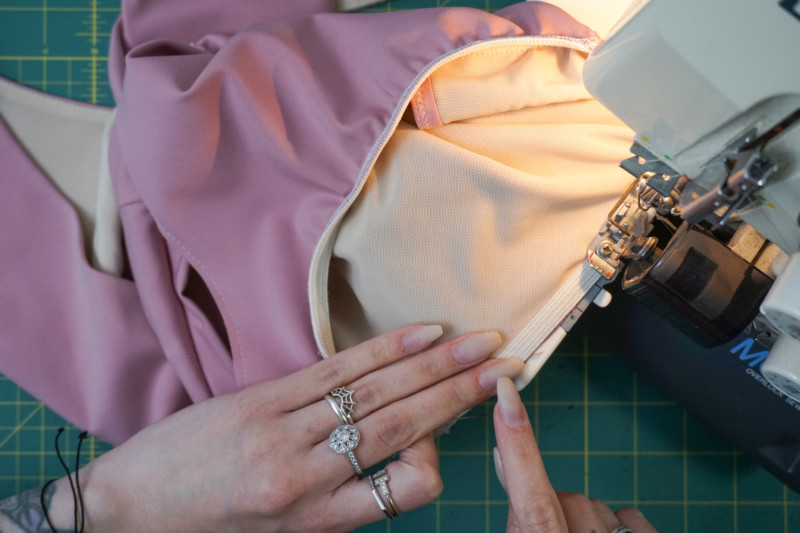
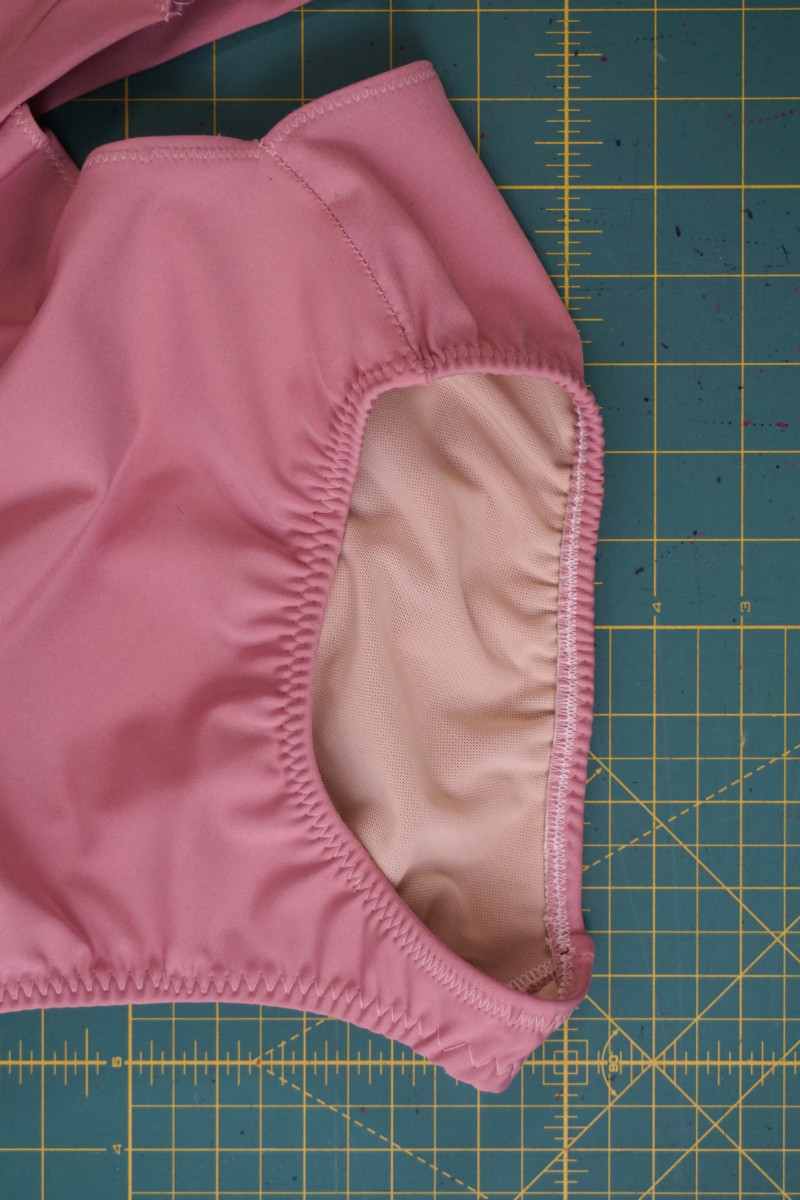
Use a zigzag stitch to turn the armhole and leg opening edges and gently stretch so the elastic is laying flat to the fabric as you topstitch those edges.

Hello- thank you so much for the swimsuit tutorial. I have a vintage swim pattern, and ordered swimsuit fabric from Mood. Your tutorial gives me courage to take the next step and see my own swimsuit. Thank you also for not including cup liners. They are bulky, deny the beauty of breasts, and take forever to dry when drying off.
Hola Helen Castillo y a todos los lectores y miembros de Mood ,el patrón Bañador Speedwell .me parece un diseño precioso ,me gusta por la forma de escote ,la cadera ,la forma de la espalda y melocotón.
Voy hacer varios bodys y los voy a combinar con el patrón HEER FOR SPRING de tu compañero Courtney Norris .
Gracias por compartir este maravilloso Body que tengas un buen día.
Thank you for the swimsuit pattern. I have been sewing my swimsuits occasionally since the 1980’s with a Stretch N Sew pattern. Problem is I now need better coverage. I need the back to reach my armpits to hold and cover, I do not need the cutout waistline that’s a cute feature for a younger person but I will be able to adjust the pattern bringing the side seam out on front and back pieces. I can also possibly bring the lining fabric out at the sides leaving the main fabric as shown.
Hi! What type of paper should I use to print this pattern? Thanks!
Hi Belen! Our patterns are formatted for US Letter or A4 size paper. 😀
I love this pattern! I don’t see a sizing key anywhere? As in, which lines correspond to which size?
Hi Allison, the sizes are shown on the waistband piece 🙂
Hola Isabel,recién encontré este espacio y vi este patrón y con tu maravillosa explicación me animaré hacerlo.Estoy aprendiendo acoser.Gracias
Hello! It seems Moods older patterns don’t send a download link for the .pdf but rather point people to something like this, https://blog.moodfabrics.com/mdf254-the-speedwell-swimsuit/. I just bought a bunch of swimsuit fabric from you guys with the intent of making one of these suits and I can’t figure out how to download the PDF.
Can someone help?
Hello, Please email info@moodfabrics.com for any issues with pattern downloads.
Bonjour
Je n’arrive pas à télécharger le maillot de bain en PDF
Pourriez vous m’aider
Merci Beaucoup
MJ
Bonjour, veuillez envoyer un e-mail à info@moodfabrics.com pour tout problème avec les téléchargements de modèles
Hello! I would like to sew only the top part of the swimsuit (the bra part), do I need to add an elsatic at the underbust? Thank you!
Yeah it would probably be a good idea to add some braided elastic into that channel under the bust.