

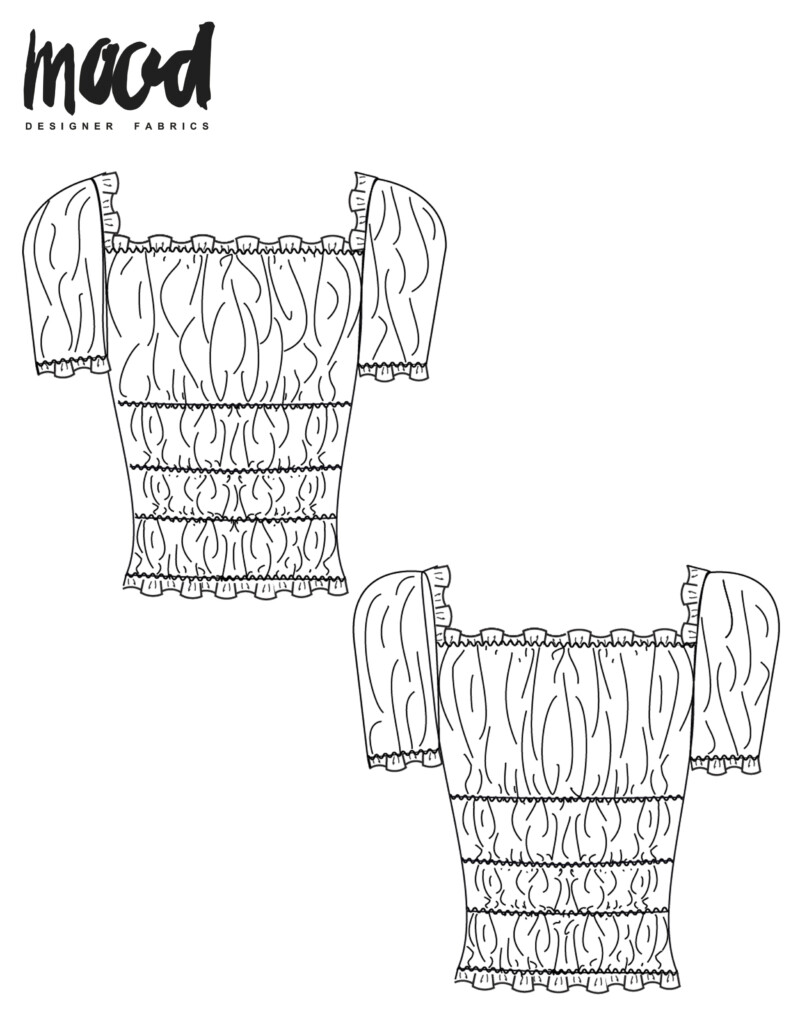
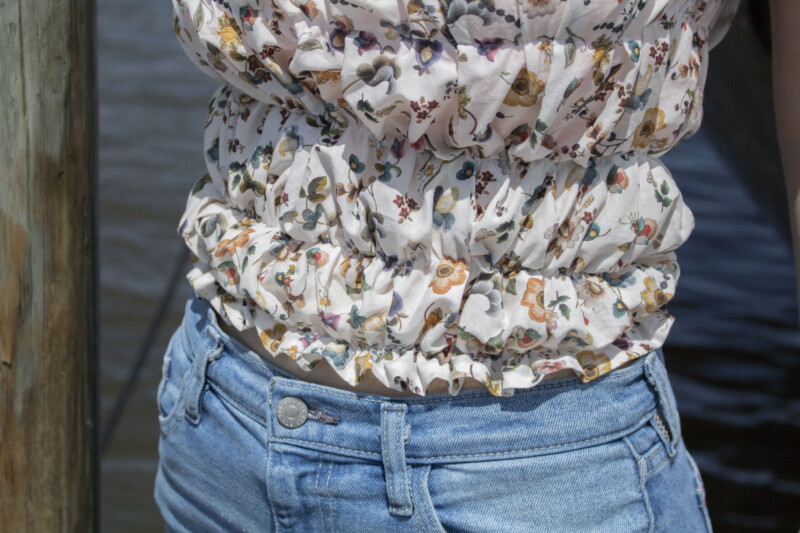
The adorable puff sleeve trend we saw this past spring is following us into the summer and (we hope!) fall. Such a sweet and romantic silhouette can be made from a variety of fabrics to achieve different looks, making The Camellia Top free sewing pattern an ideal piece for your transitional wardrobe. With the sun currently shining at its brightest, we opted for a slightly translucent cotton voile for a light and breezy look paired with some high-waisted denim. Try your Camellia Top in a poplin or linen for more casual and transitional fabric options, or create a stunning piece with organza for an elegant night out!

Purchase Materials Used Below:
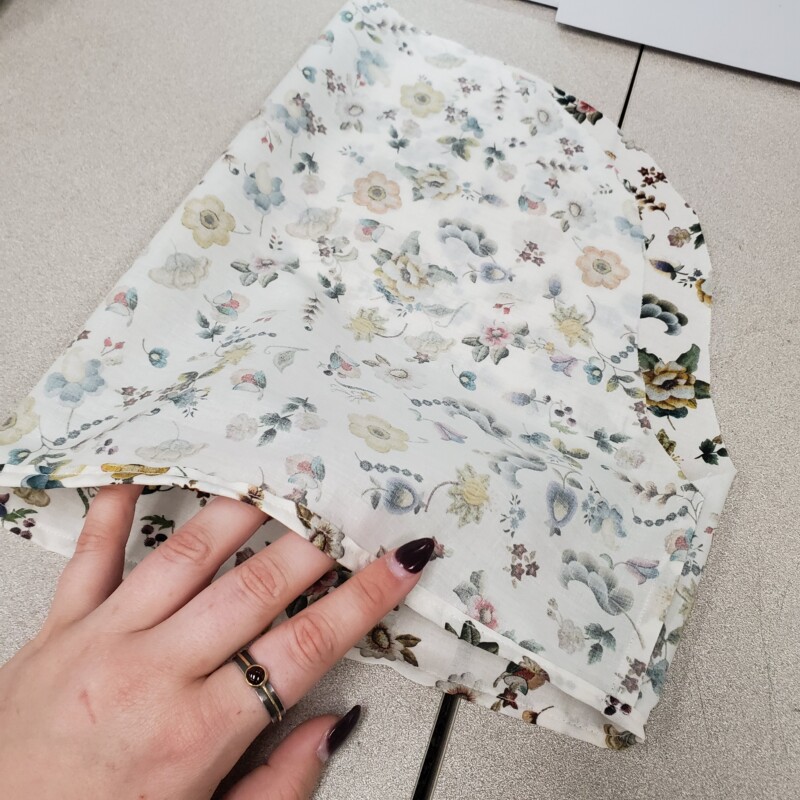
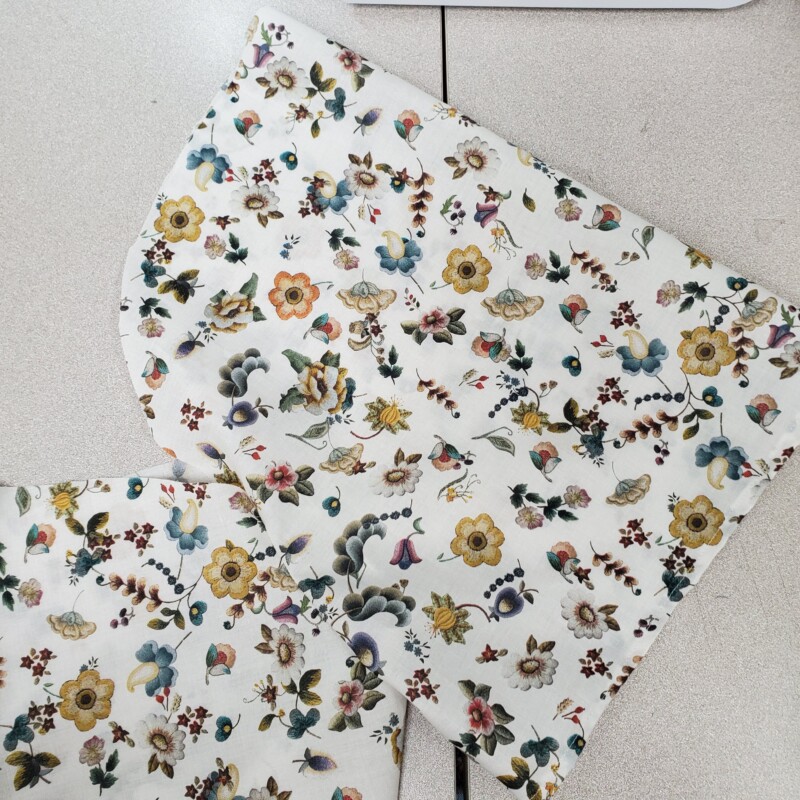
- 2 yards Mood Exclusive White Blooms of Nature’s Bounty Cotton Voile
- 4 yards 1/4″ White Elastic
- MDF154 – The Camellia Top Sewing Pattern (free download below!)
All seam allowances are 1/2″ unless otherwise stated. See chart below for sizing specifications. Note, this specific pattern is available up to a size 30.

Step 1
Begin by forming each of your sleeves at the inseam and then finish off the bottom edge with a simple rolled hem, like you see below. Since this garment is unlined, I recommend French seams for this project.
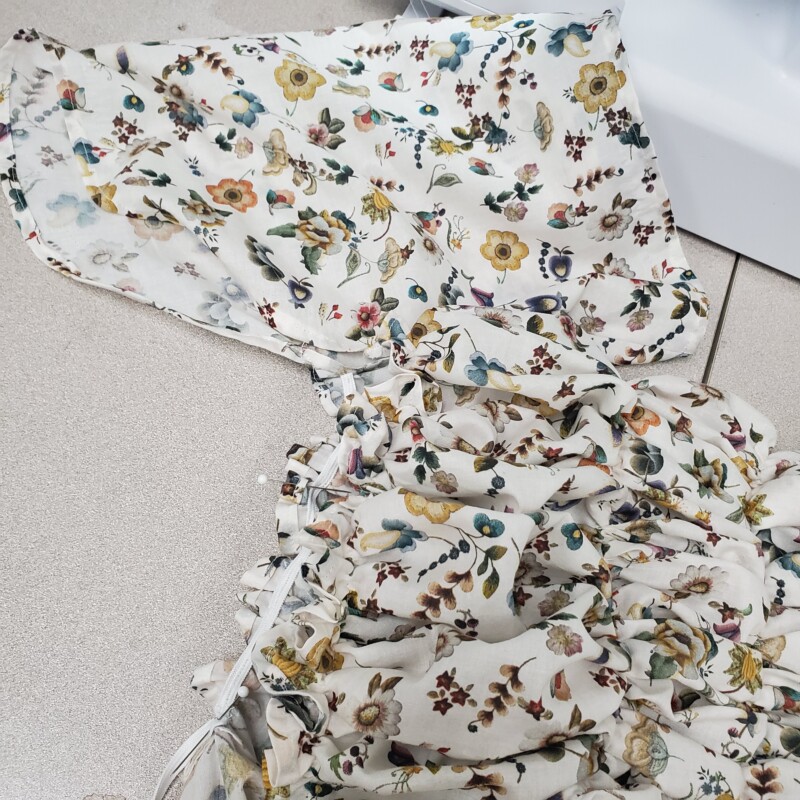
Step 2
Attach the front and back of your shirt at the side seams, hem them bottom edge the same way you did your sleeves, and then attach each of your sleeves to either side of your shirt. Only the bottom half of your armscye will be attached, so hem the remainder of your sleeve opening, where it will go over your shoulder, along with the neckline of your blouse.

Step 3
Next, cut your elastic to the lengths shown on your pattern for the torso placements and pin them along the lines provided. Evenly stretch the elastic along your shirt, pin, and stitch into place with a wide straight stitch.
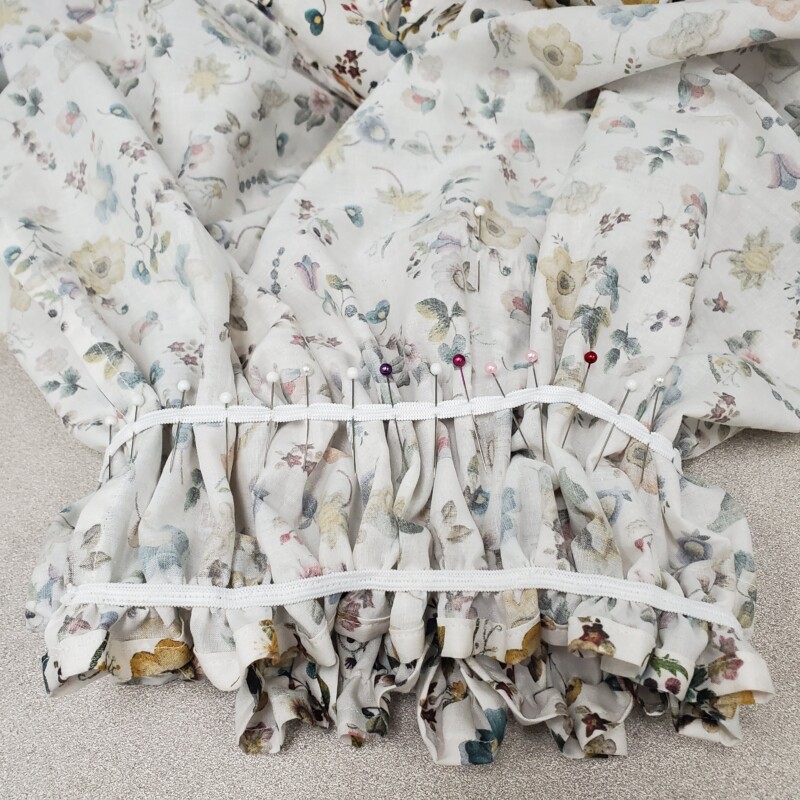
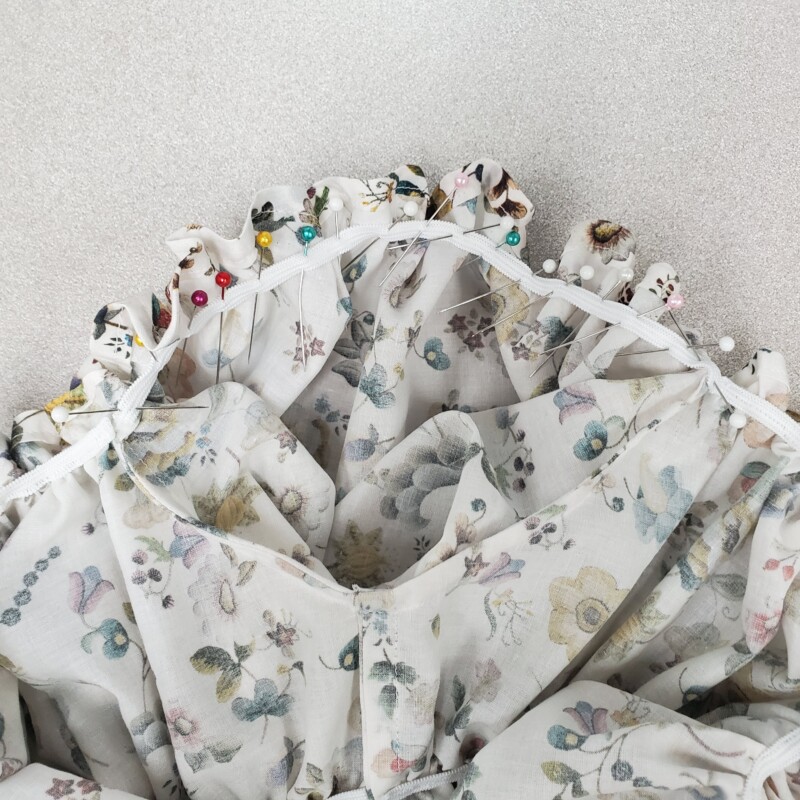
Step 4
Repeat with the elastic at your neckline, followed by the remainder of your armscye. Lastly, insert the elastic at the bottom of your sleeve and your shirt is ready to wear!


For More Ideas and Pattern Hack Using the Camellia Blouse, Click the Link Below:
Sewing a Shirred Summer Dress with Ruffles – The Camellia Redux
OMGG, so cute!!!
Live this design! Im in the middle of making the size 20 version and i must say that the elastic part of the pattern is HUGE compared to what it should be. It didnt say to stretch the elastic before cutting it out but i believe that that is what i was supposed to do. No worries cause im just gonna trim them to fit me perfectly but figured i would send a heads up to anyone else attempting 🙂
Glad you said that Reyanne because I’ve been making this for my sister and the elastic bit threw me off brilliant pattern otherwise so far! Looks cute I’m excited to see the finished product. I have gone for a light green gingham 🙂
I feel like to combat the elastic waist you could double the back panel and shirr it so you do get that stretch but you’re not actively fighting with elastic all day. I’m considering doing this with an old bed sheet
That sounds like a great idea!
Could you use elastic thread instead? Like through the bobbin
Yes, you definitely could!
Hi
I’m wanting do do shirring across the top. This is my first attempt at this. But I was wondering, the front of the pattern has a curve, do I make a sew a curve or straight lines ??
My mind is a little blow at the minute ha ha
Thank you
Hi Jacqui! Follow the curve. 🙂
Comically oversized in the plus sizes – I made a 3x, using the shirred hack from the blog. I recall it did suggest going down A size if you were going to use that instead of the elastic, but…
I ended up recutting all the pieces – I took 10 inches off the back and 12 off the front, as well as lopping 2.5 off the shoulders at the apex (and redoing the curve). Looking at the pattern and the elastic it seems pretty clear to me that when the larger sizes were drafted something went REALLY awry…each pieces is inches bigger than the next size down, and there is no way the elastic guides for the original version are correct.
I’d really suggest a redraft because after recutting, it is super cute.
Unfortunately something’s went really wrong with the sizes and elastic. My friend and I both made this top separately and ran into the same problem, it was absolutely TOO LARGE. I downsized as the instructions suggested but I cannot even put it on because it slips right off me. It’s such a shame because it looks so stunning. I really hope the author redrafts it because it simply isn’t wearable like this.
Hello, we are sorry to hear this and will keep it in mind for our future patterns.
Does anyone know if they’ve updated this pattern? Or have plans to? It sounds like from the comments that the pattern is off in the sizing, especially plus sizes. I really want to try this but not if the pattern is still off.
I just made a size 6 and I can confirm this was comically oversized on me. I’m going to take it apart and resize it based on one of my other shirts.