
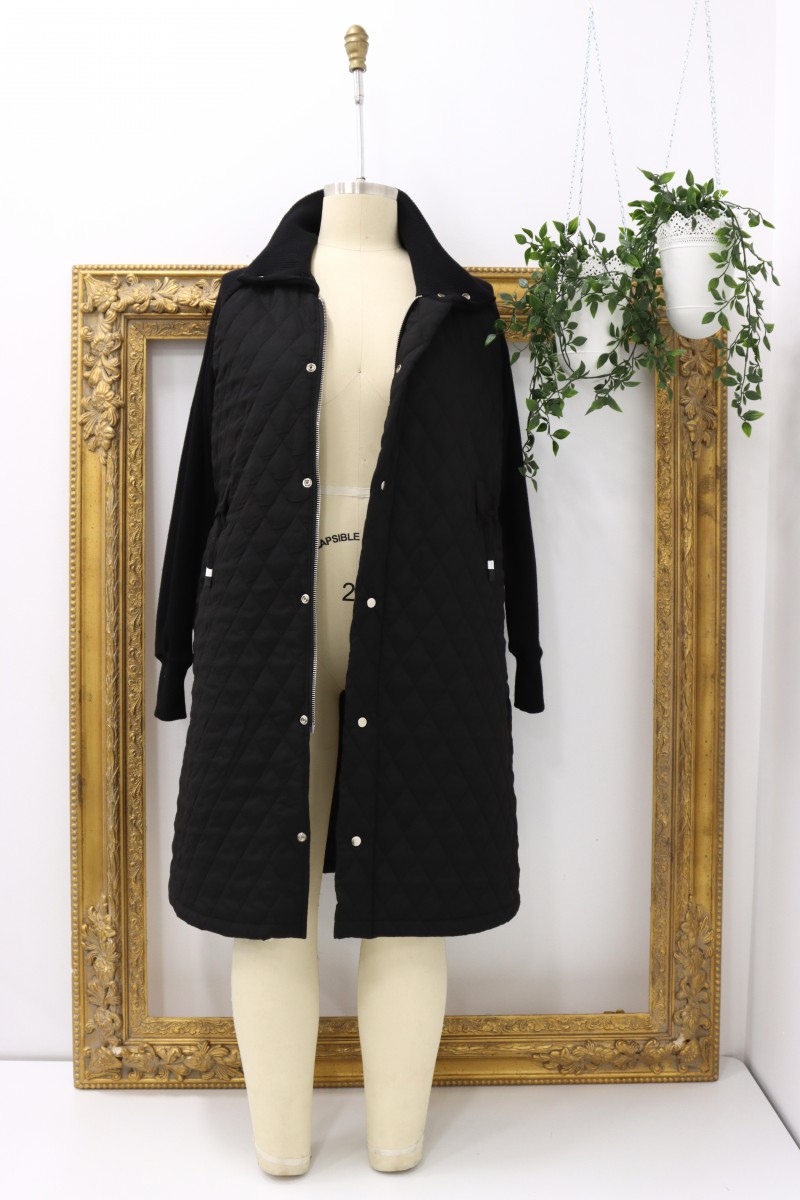
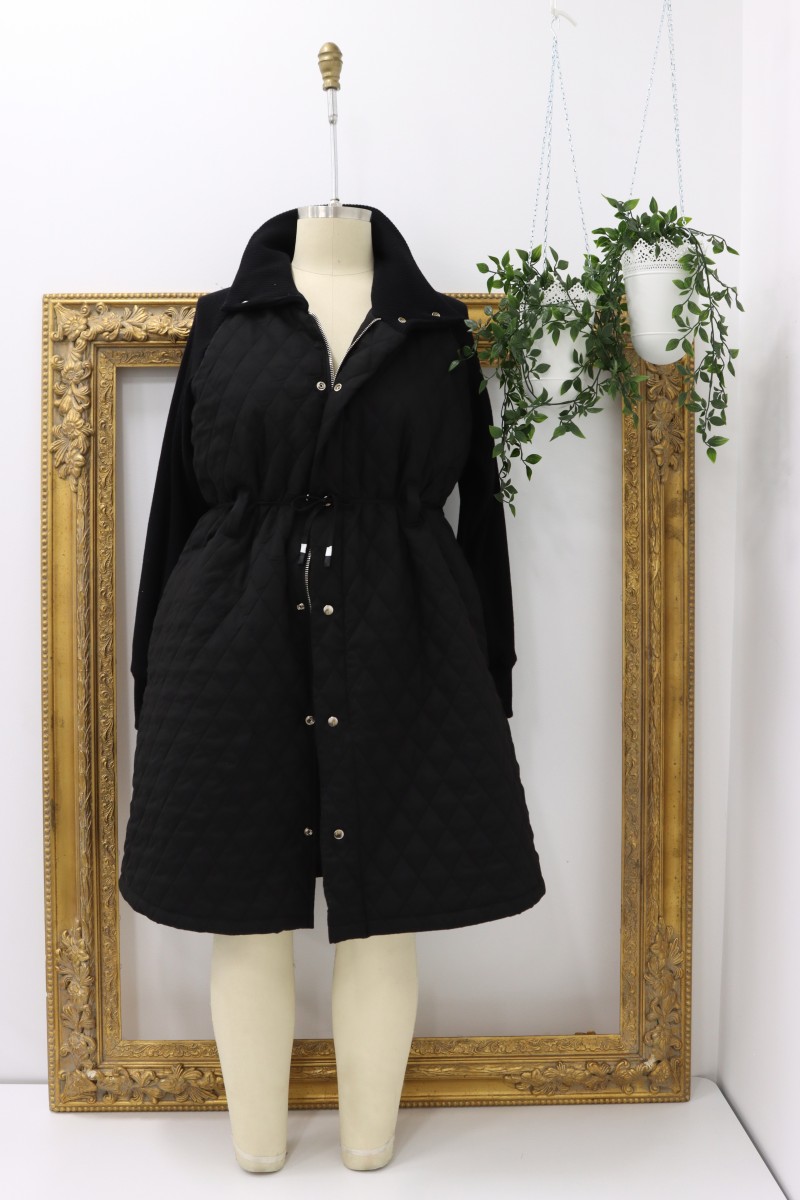
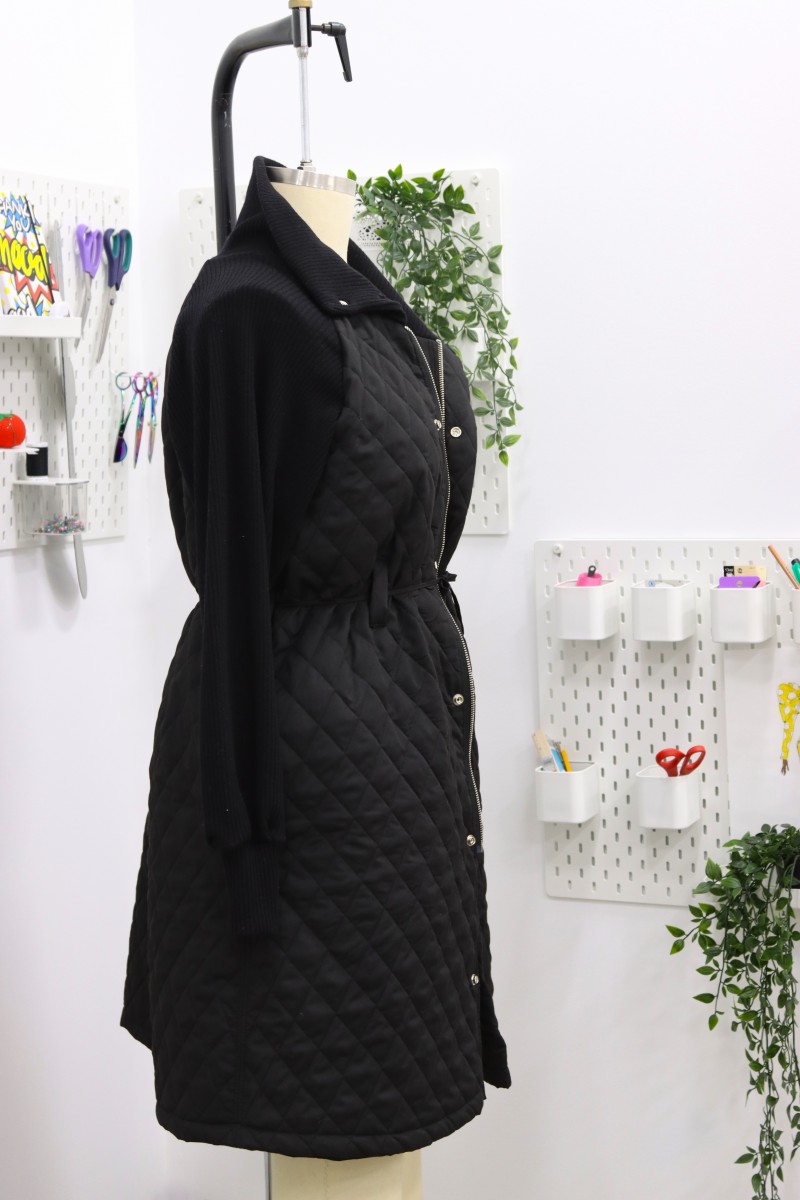
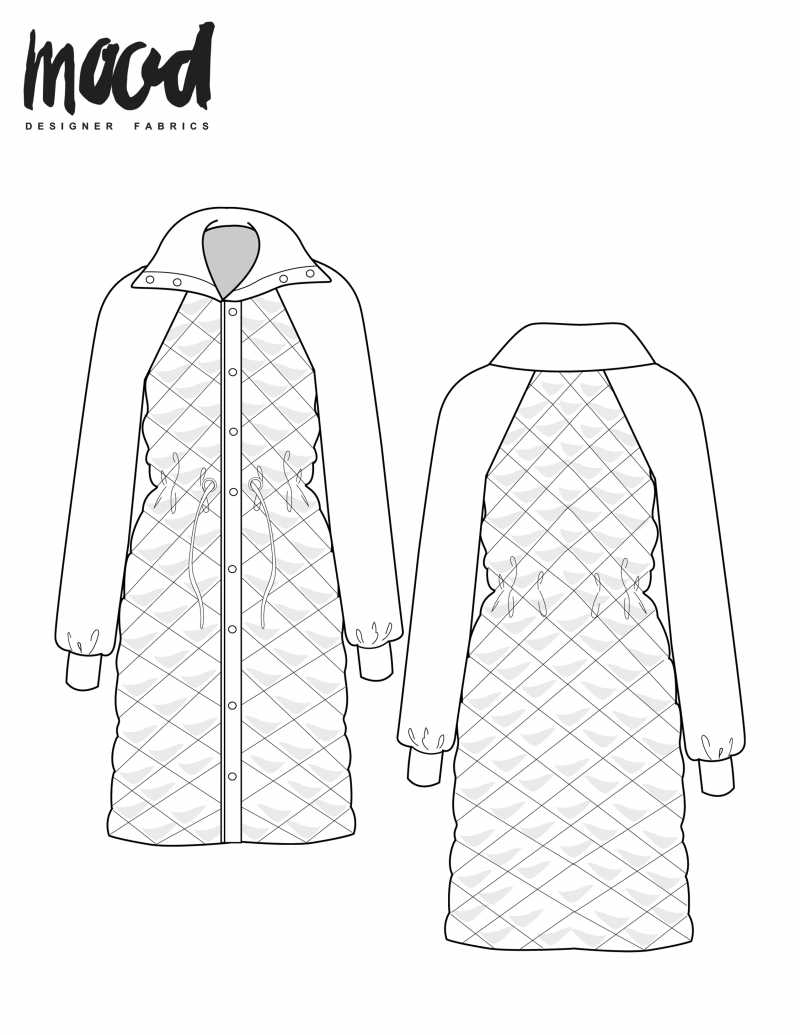
Puffer coats have been on the rise for a while, but lately the trend has been growing, literally. The quilted coats and puffer coats we’re seeing this season are huge, long, and look cozy as heck. The Fennel Coat encapsulates the quilted trend easily, with long panels, inseam pockets, and contrast raglan sleeves perfect for a rib knit!
Purchase Materials Used Below:
- 3-5 yards Matte Black Diamond Stitch Quilted Coating
- Quilted Coating was used for both outer shell and lining for this garment.
- 1-2 yards Italian Black 2×2 Wool Rib Knit
- 1 pkg Brass/Silver Heavy Duty Snaps
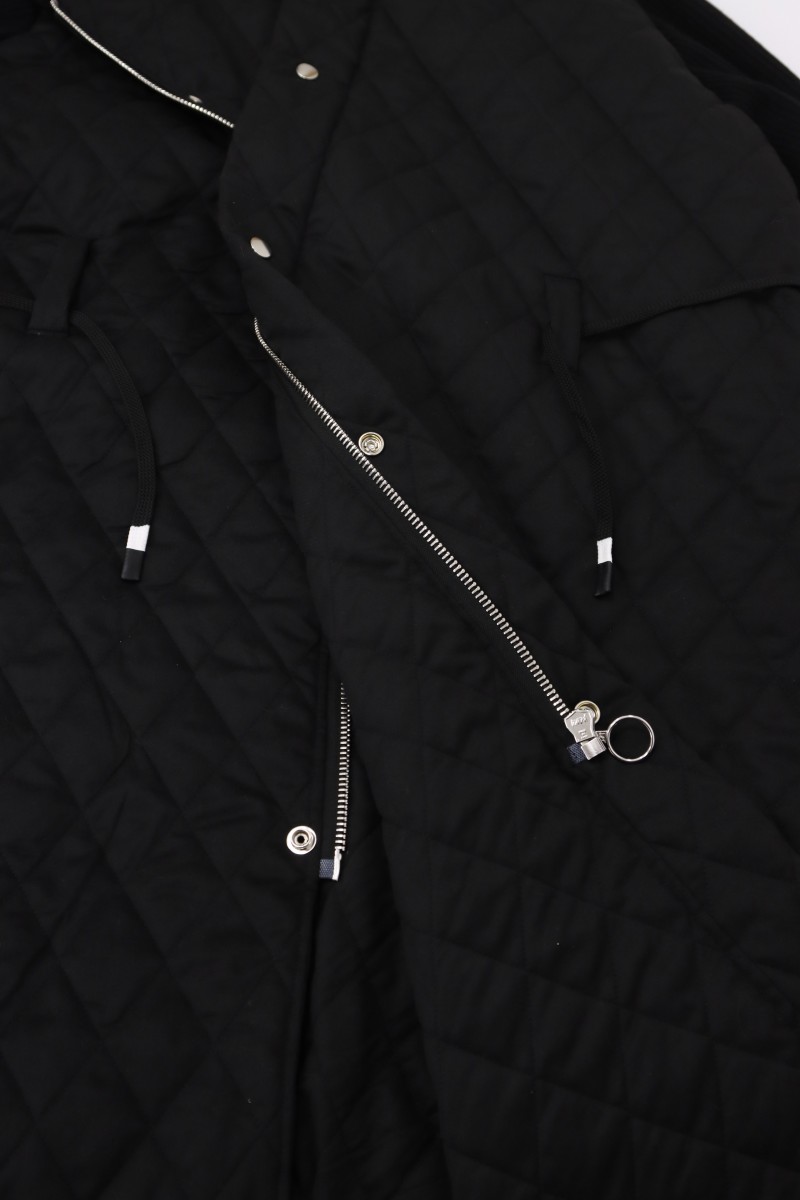
- 1 Mood Exclusive Italian Black and Silver T8 Open End Metal Zipper – 27.5″
- 1 Mood Exclusive Italian Large Silver Round Metal Zipper Pull
- 1 Italian Black Drawstring with White Accents – 49″
- MDF224 – The FennelCoat Sewing Pattern (free download below!)
Alternative Recommended Fabrics:
All seam allowances are 1/2″ unless otherwise stated. See chart below for sizing specifications. Note, this specific pattern is available up to a size 30.

Step 1
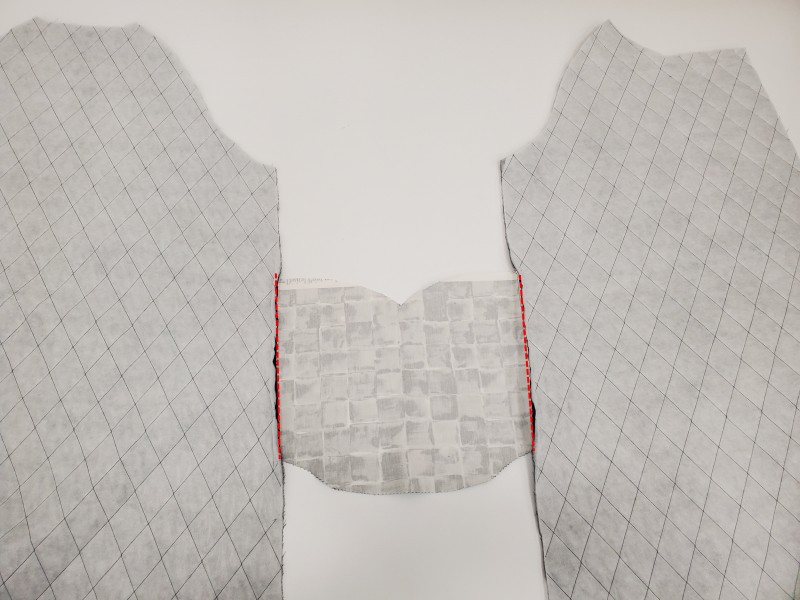
Begin by pinning your pocket to the sides of your jacket fronts and back. Pin them face to face, ensuring that the top edges of the pocket are aligned horizontally to the front and back at the side seam.
Step 2
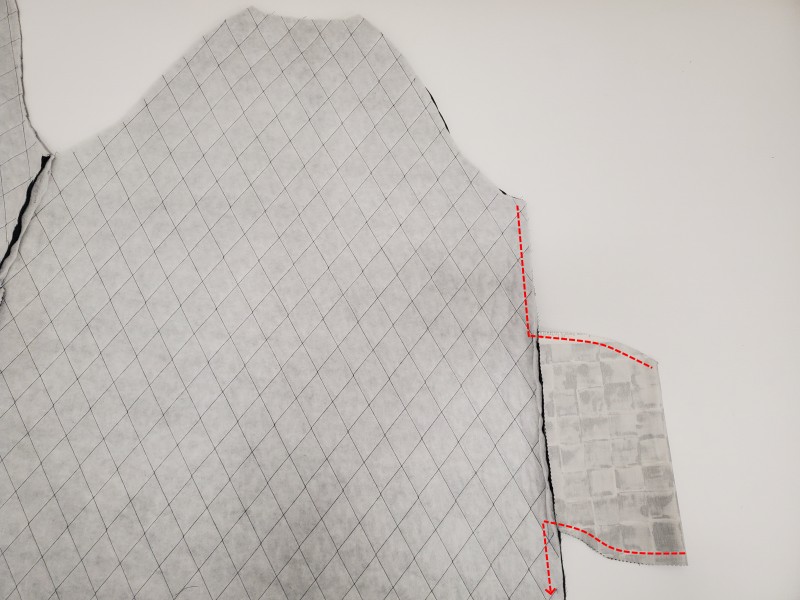
Sew the remainder of the side seam along with the top and bottom edges of your pockets, like you see below.
I recommend lightly pressing your seams open and stitching down your seam allowance with a long top-stitch.
Step 3
Create your lining similarly to your outer shell, minus the pockets. Simply attach the front panels to the back at the side seams.
Step 4
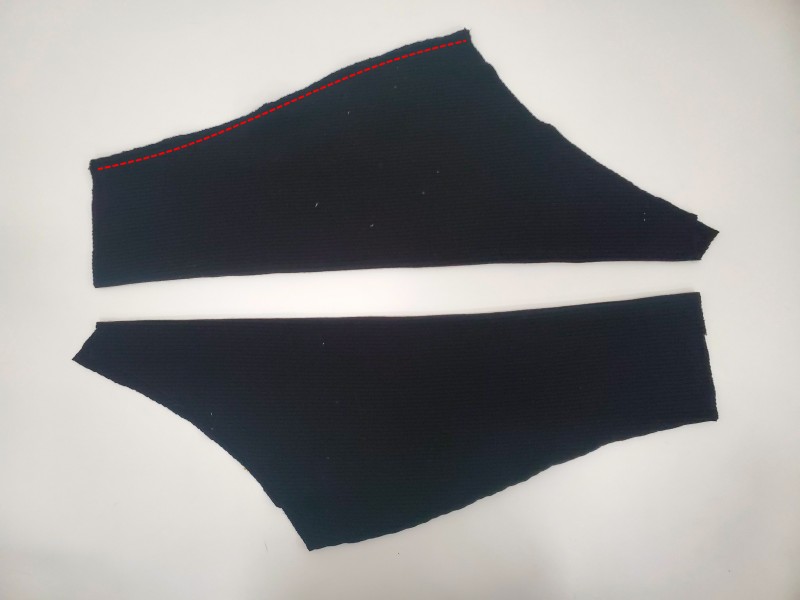
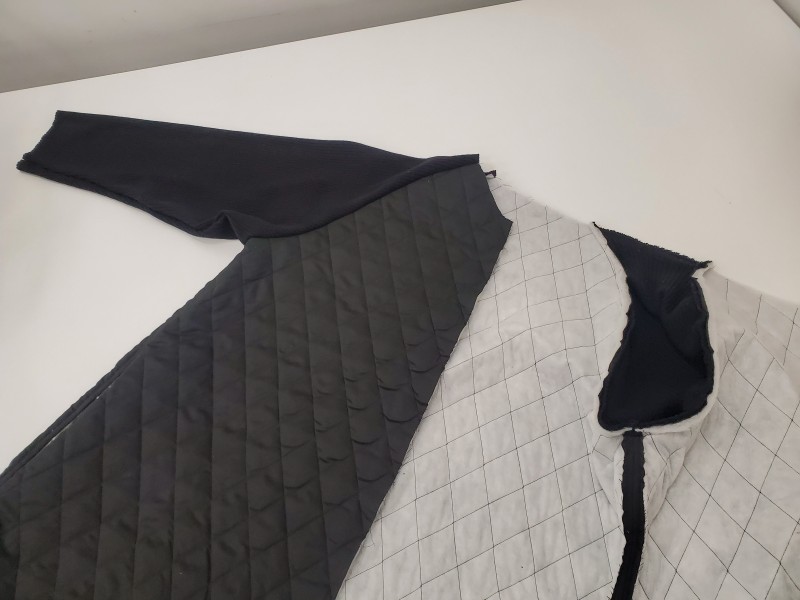
Sew the inseams of your sleeves using a stretch or overlock stitch. Attach each sleeve to its respective armscye, lining up the inseam and side seam. Since stretch isn’t necessary here, a regular stitch is best.
Step 5
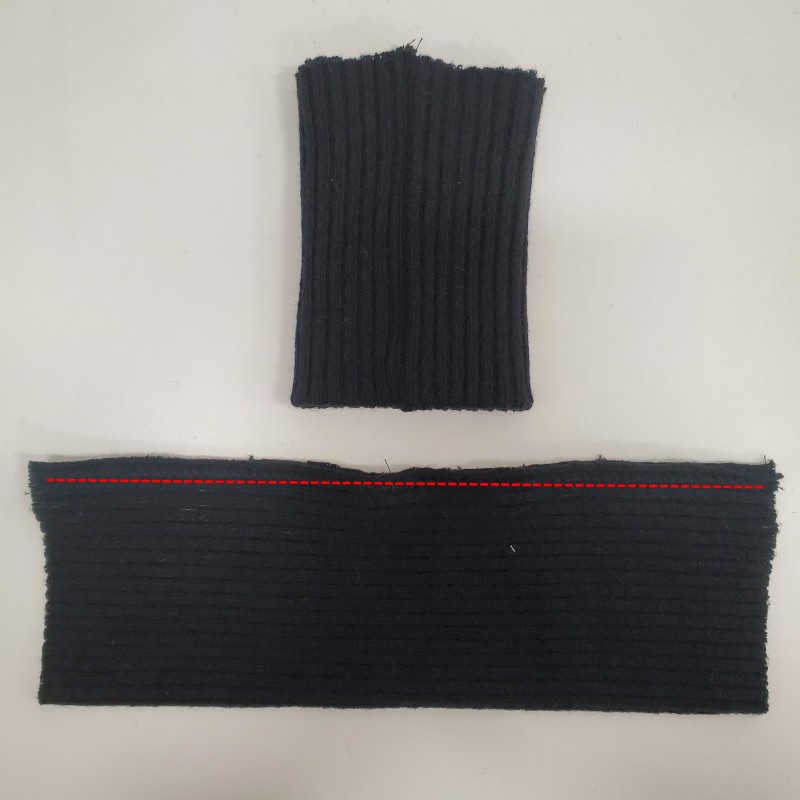
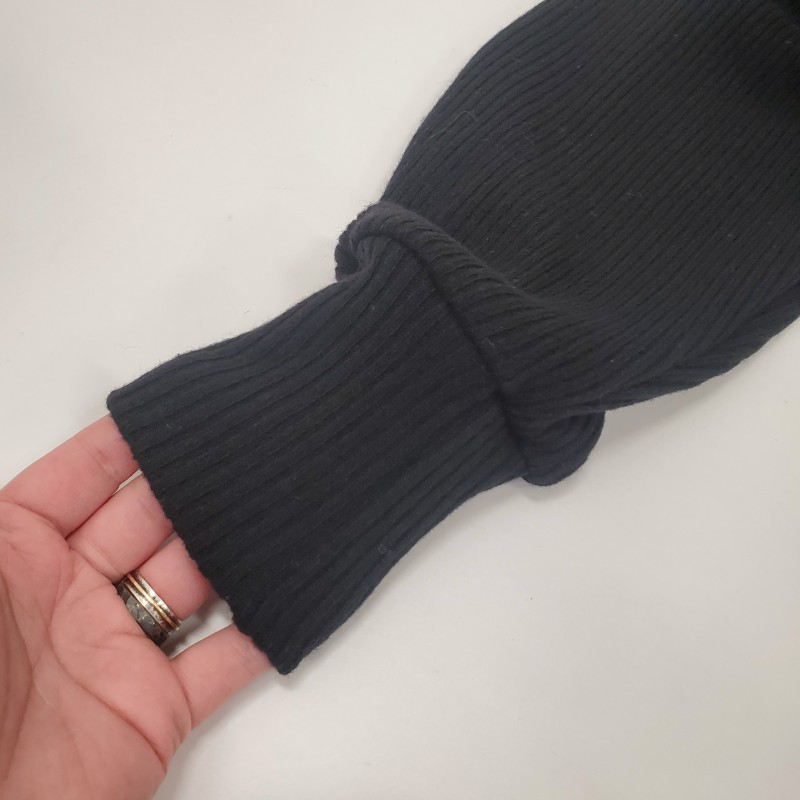
Create each of your sleeve cuffs and fold them in half with the seam allowance inside. Gather the bottom of your sleeve into the cuff using a stretch stitch.
Step 6
Attach your zipper along the center front edges, face to face, and with the teeth about 1/2″ down from the top edge of your neckline.
Step 7
Also face to face, pin your lining to the outer shell with the zipper tucked in between. Sew along both center front edges.
Step 8
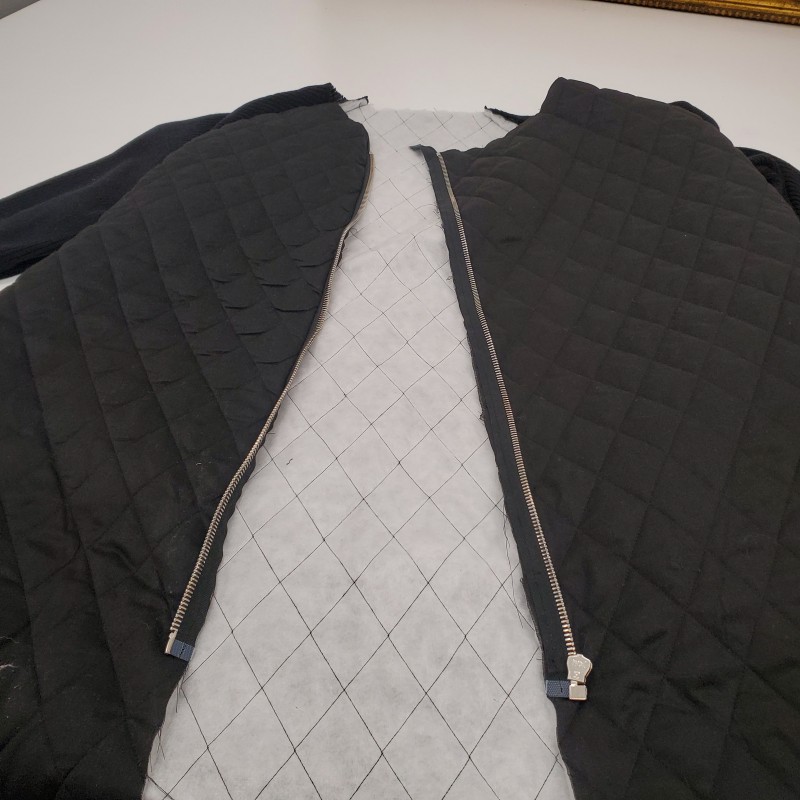
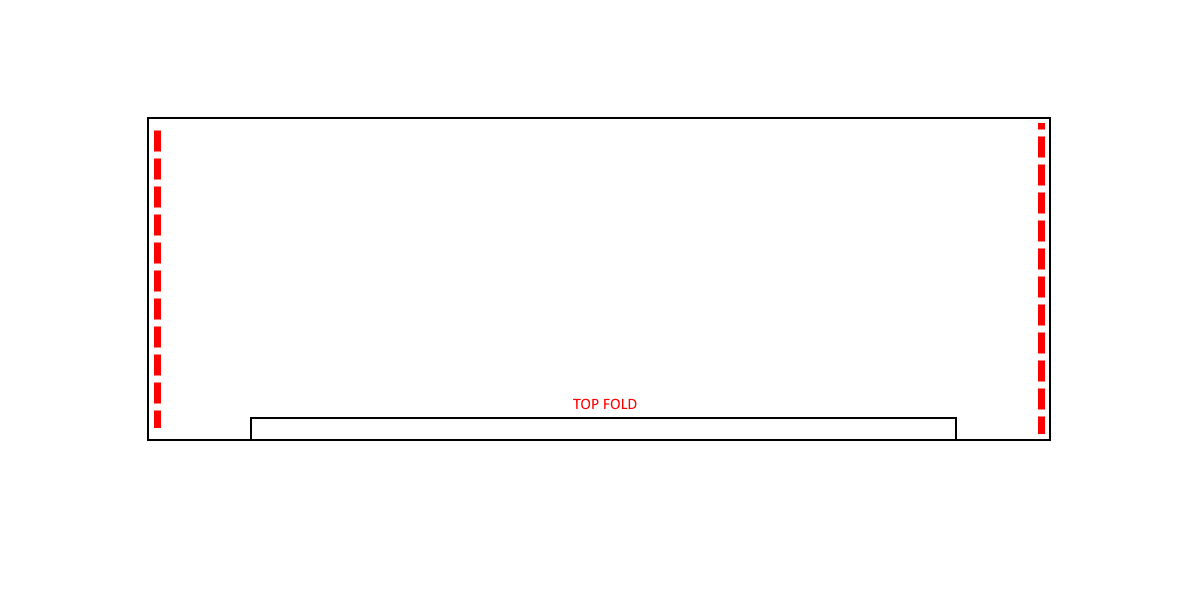
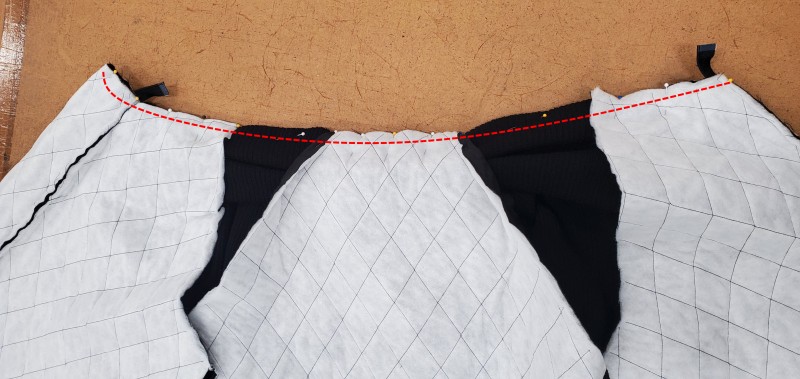
Fold your collar in half along the length and sew up the two sides. Flip right side out and pin in between your outer and lining layer, lining up the raw edges. I recommend beginning at the end with no zipper extension, lining up any seams as you pin. As you get to the other end, the extra fabric remaining becomes the placket extension.
Step 9
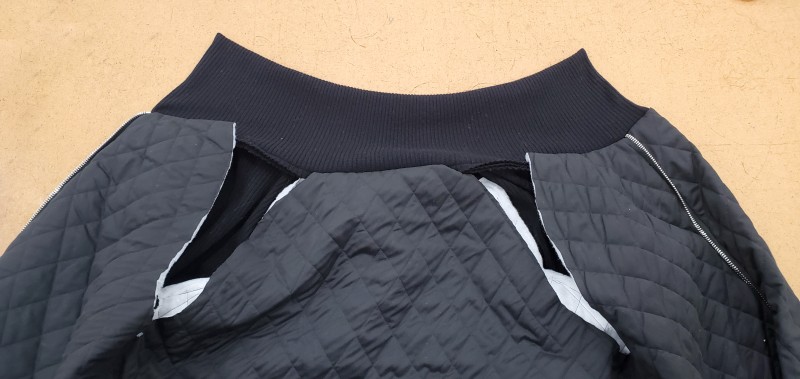
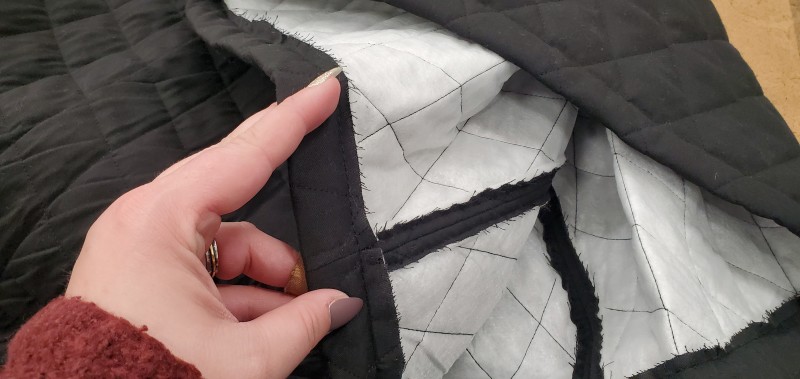
When flipped right side out, your collar should look like this, below. You can tuck the raw edges of the lining armscyes inward and slip-stitch them to your sleeves. Fold the bottom edge of your coat up 1″ and stitch into place to hem.
Step 10
Press your placket extension lightly, and then top-stitch along the seam to keep it in place correctly.
Step 11
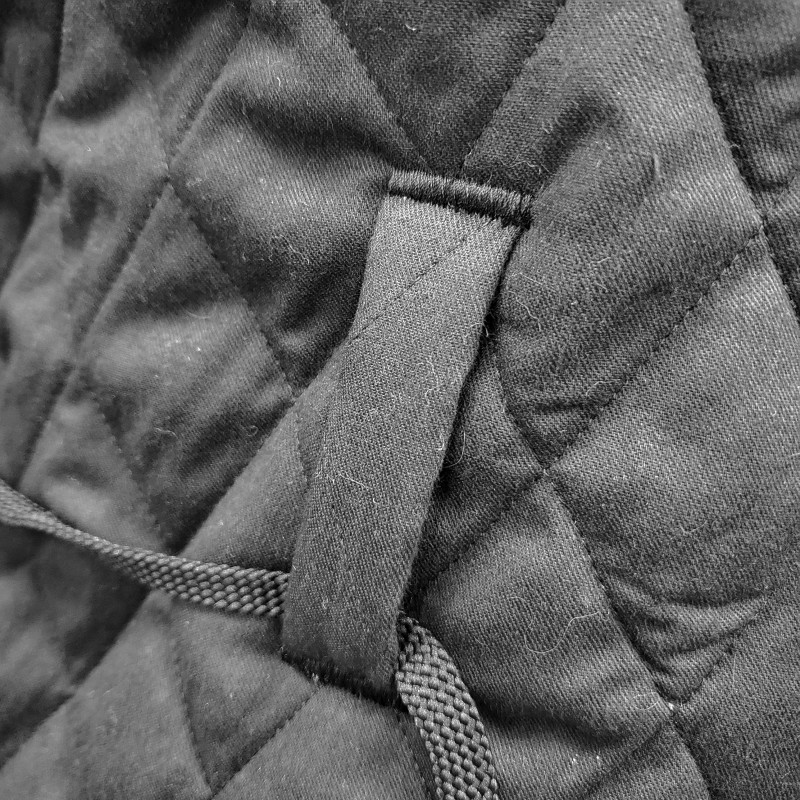
Make 5 belt loops at tack them onto your coat at the waist – one on each front panel and side seam, and one at the center back.
Step 12
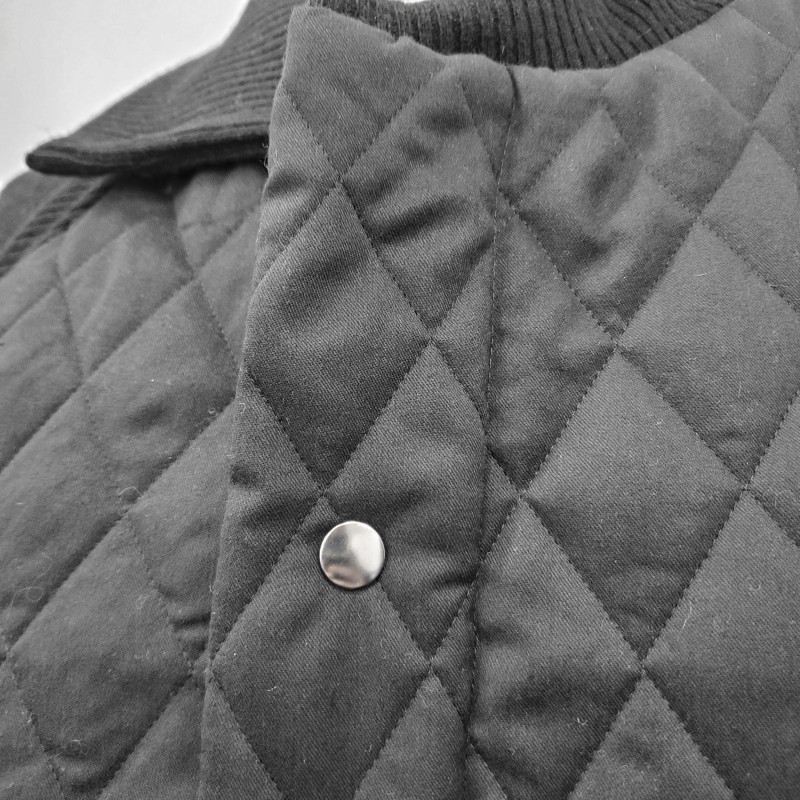
Using the directions on your preferred snap tool, add snaps along the placket extension and your new quilted coat is ready for your winter wardrobe!

Beautiful! Can the sleeves be made of the same fabric as the rest of the coat?
Yes, they could! 🙂
I’ll be getting my fabric soon! I can’t wait to start!
Question: since it isn’t marked on the pattern and the instructions say ‘respective armscye’ the sleeves have one top side longer. Is this the back side of the sleeves? I’m pretty sure it is but I haven’t had the issue come up before.
Hi, Annette! The notches are marked on both the front and back pattern pieces and sleeve piece – the single notch on the sleeve corresponds to the single notch on the front piece and the double notch on the sleeve corresponds with the double notch on the back pattern piece.
Has anyone shortened the coat? I’d love to see it.
I did lengthen it to a maxi coat.
I did put in my email.adress to download the pattern
In the green block was a confirmation that the pattern was send but when I open my gmail there were nothing
May I kindly please ask if you can email the pattern to me please
Please reach out to us at patterns@moodfabrics.com and we’ll make sure you get your free download. ✨
I want to make this without the rib knit; can I follow the pattern as is for the collar and sleeves, or do I need to add more ease to accommodate a woven fabric? It’s hard to tell by looking at the photos. Thanks!
Hi Julie! If you’re not planning on using the rib knit at the collar and sleeves, I recommend extending those pattern pieces by a few inches since the ribbed knit pieces were meant to be a stretched a bit to fit the sleeves. Alternatively, you could always alter the pattern to include a button closure at the wrist, much like a cuff on a dress shirt.
In the PDF it states that the first page should be printed to ensure that the Mood square is 2 inches. Should all the mood squares on all the pieces be two inches? I have assembled all the pages in adobe illustrator so that I can print it on a larger format paper and I want to make sure that it is correct. Many thanks.
Yes that’s correct, they should all be 2 inches by 2 inches.
I did put in my email.adress to download the pattern
In the green block was a confirmation that the pattern was send but when I open my gmail there were nothing
May I kindly please ask if you can email the pattern to me please
You can download the pattern for free by entering your name and email address into the field under “Download Your Free Sewing Pattern”. Then, check your email inbox (and your spam, just in case) for an email from Mood Sewciety Patterns with the subject line “Your Free Download from Mood Sewciety”. Scroll down to the blue link under the title of the email and click on that. It will bring you to a web browser page where you have to scroll down and find the orange button that says “click here to download your free sewing pattern”. That button will redirect you to the webpage with the PDF of the pattern, which can be printed on 8.5×11 paper on your printer at home. Let me know if you need any additional help accessing the pattern!
CAN YOU SEND ME PATTERN FOR FREE?
You can download the pattern for free by entering your name and email address into the field under “Download Your Free Sewing Pattern”. Then, check your email inbox (and your spam, just in case) for an email from Mood Sewciety Patterns with the subject line “Your Free Download from Mood Sewciety”. Scroll down to the blue link under the title of the email and click on that. It will bring you to a web browser page where you have to scroll down and find the orange button that says “click here to download your free sewing pattern”. That button will redirect you to the webpage with the PDF of the pattern, which can be printed on 8.5×11 paper on your printer at home. Let me know if you need any additional help accessing the pattern!