

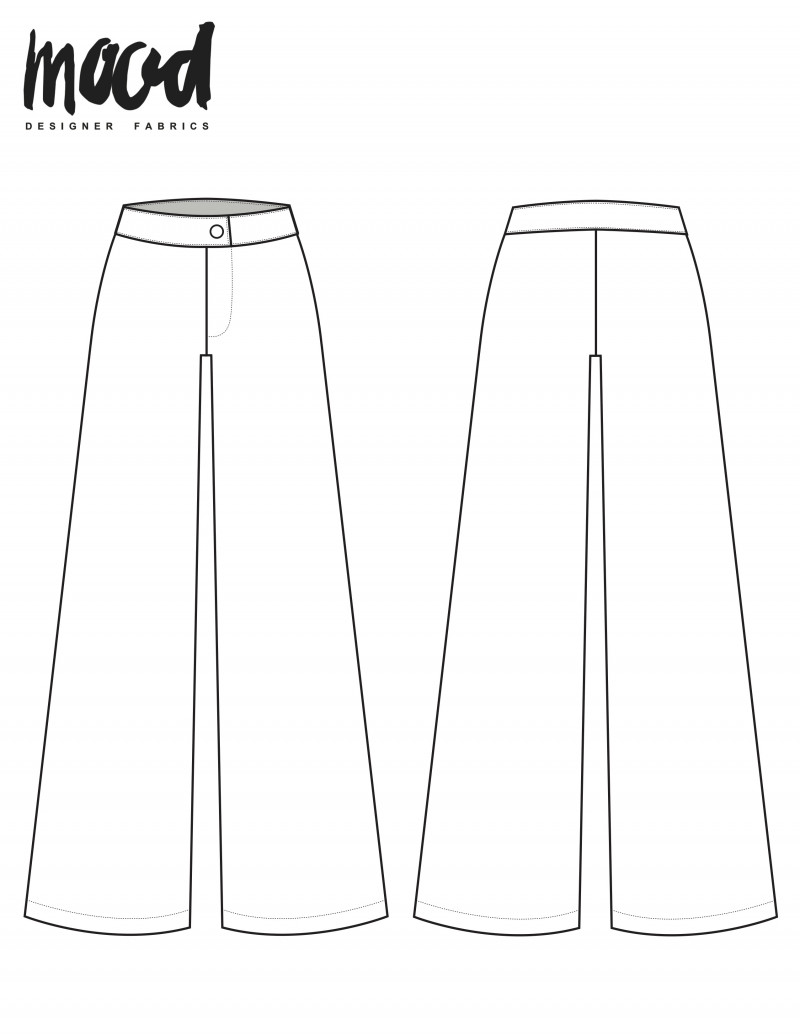
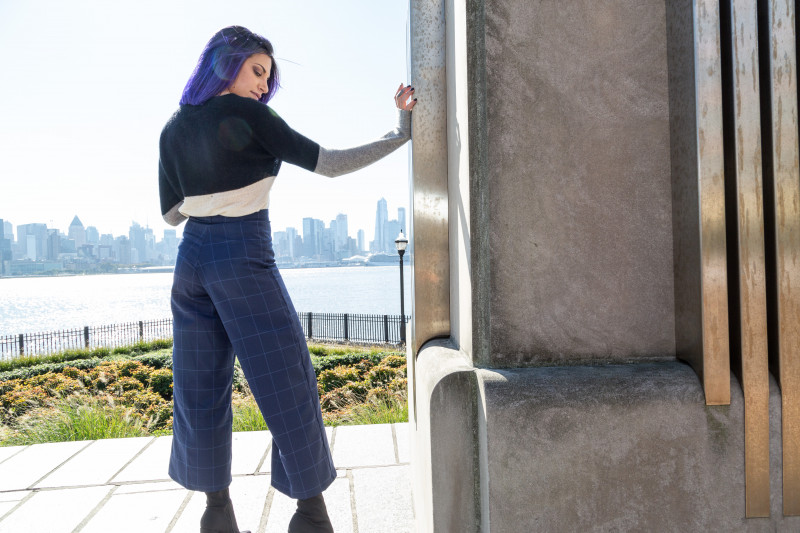
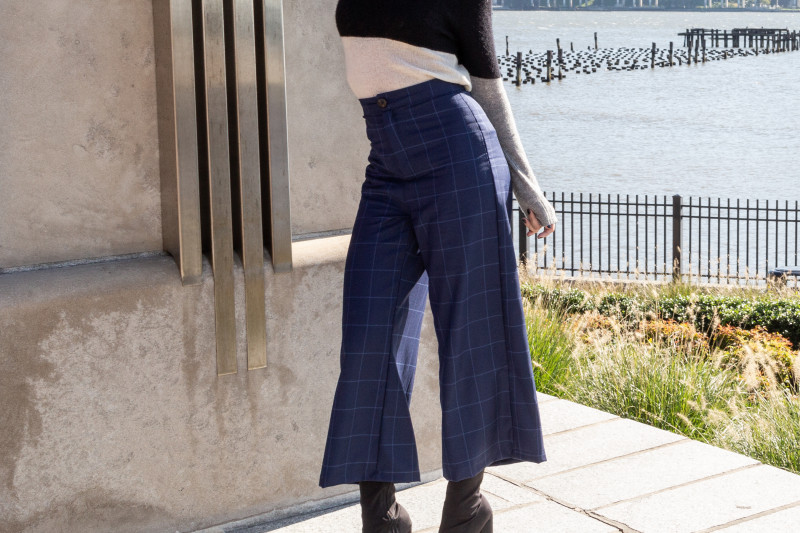
The ultimate feminist fashion item, first gaining momentum in the 1500s, and then again in the Victorian era — culottes are an article of clothing that afforded women the freedom to play sports and live their most active lives without the restraint of a skirt or dress. Plus, they’re airy, versatile, and they fall somewhere in between “work casual” and “oh, just on a stroll for a cup of coffee from the cafe down the block.” They’re a perfect summer-into-fall transition item. Our Maple Culottes are made with a super wool suiting, however, these can definitely be made out of a variety of fabrics. Try a silk charmeuse for evening wear paired with a long blazer or 4 ply crepe paired with a lacy top for fancier occasions such as weddings instead of a skirt. The possibilities are so very endless.


Fabrics & materials used:
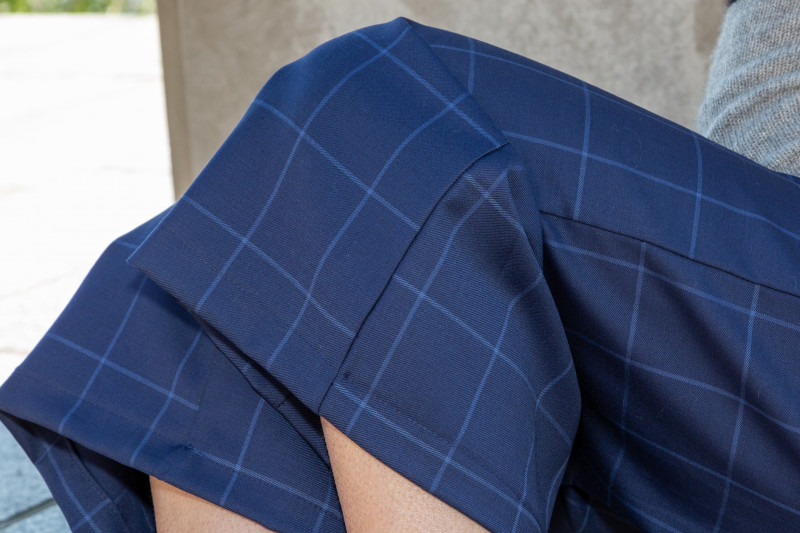
- 2.5 yards of Blue Windowpane Check Super 150 Wool Suiting
- .5 yd of Black Knit Fusible Interlining
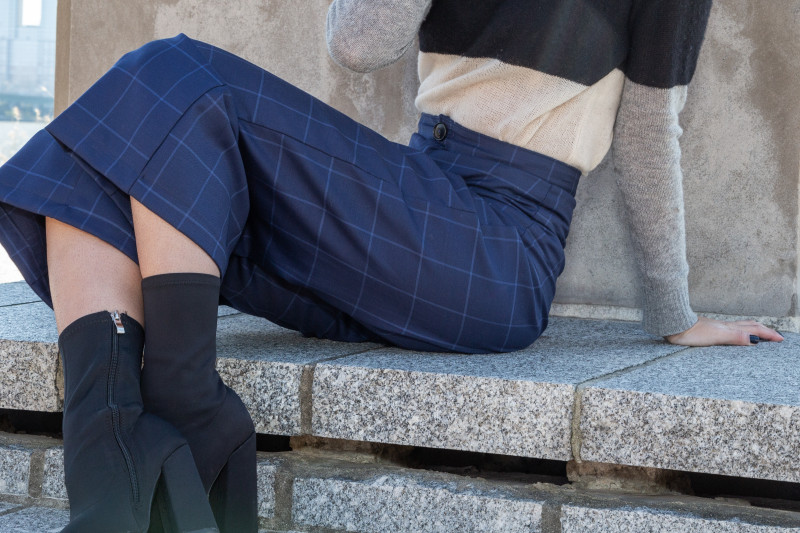
- 1 Dark Brown Horn 4-Hole Button – 36L/23mm
- 1 919 Dark Blue 9″ Regular Zipper
- 1 spool of 267 Dark Navy 100m Gutermann Sew All Thread
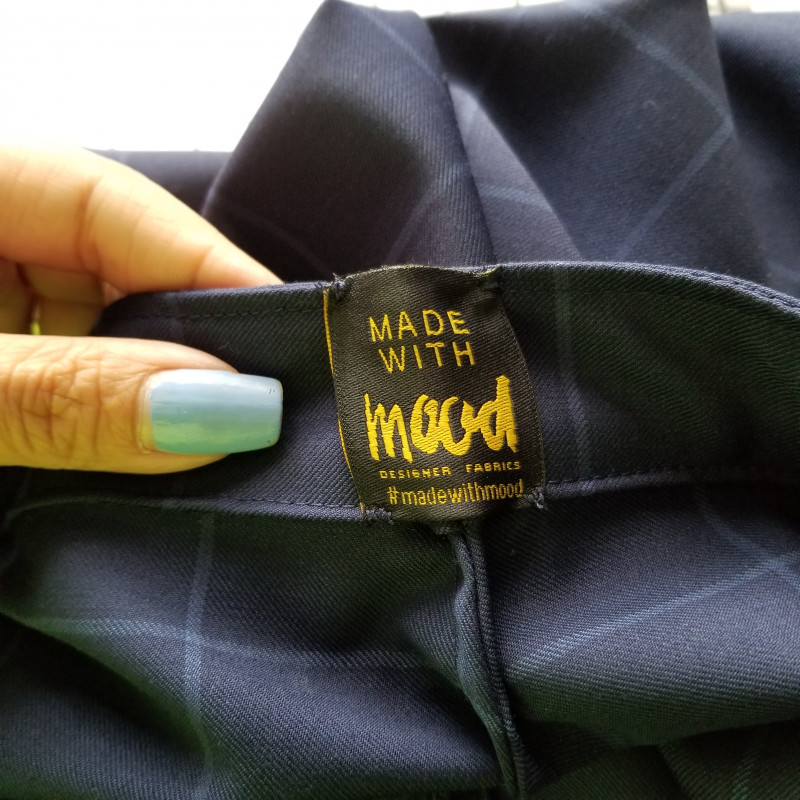
- 1 Made With Mood Label
- MDF089 – The Maple Culottes Sewing Pattern (free download below!)
All seam allowances are 1/2″ unless otherwise stated. See chart below for sizing specifications. Note, this specific pattern is available up to a size 30.

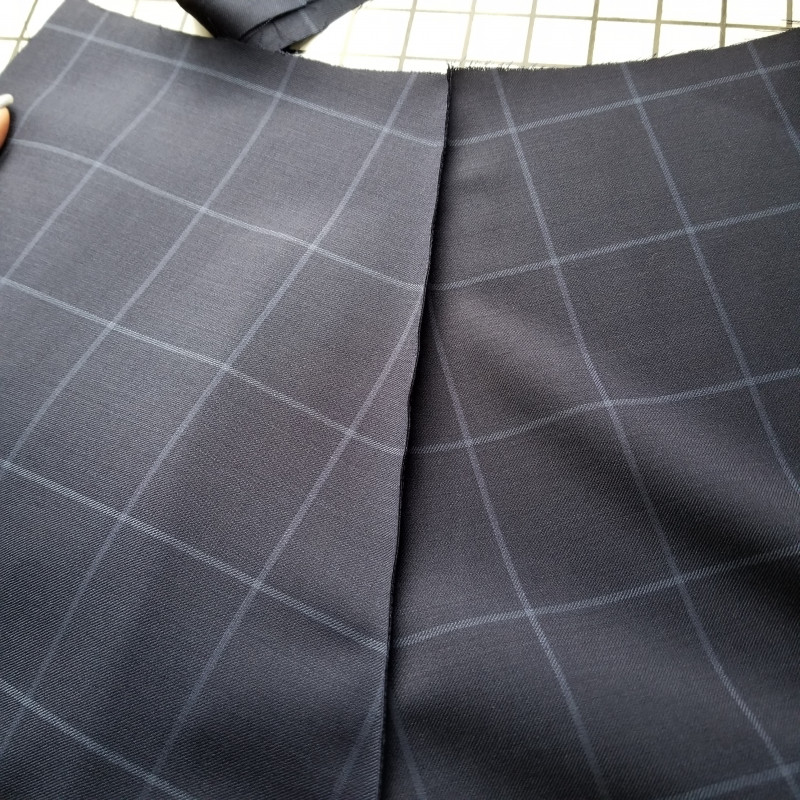
Step 1
Begin by cutting out all of your pattern pieces and making sure the notches have been marked. Then locate your back pant pieces and connect them at the center back rise using a french seam.
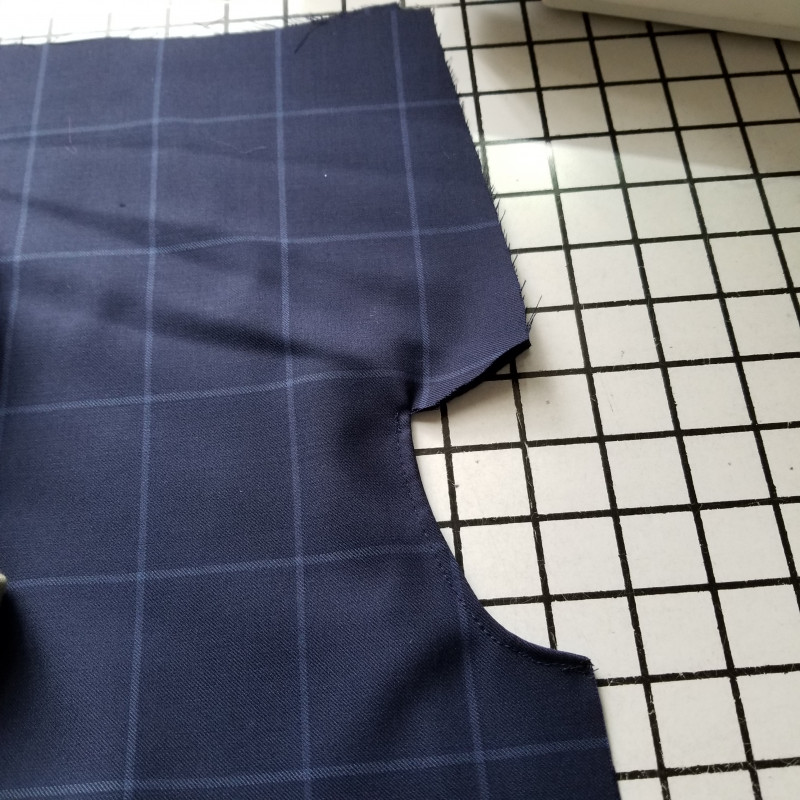
Step 2
Next, connect your front pant panels at the center front rise right below the opening for the zipper, again, using a french seam.
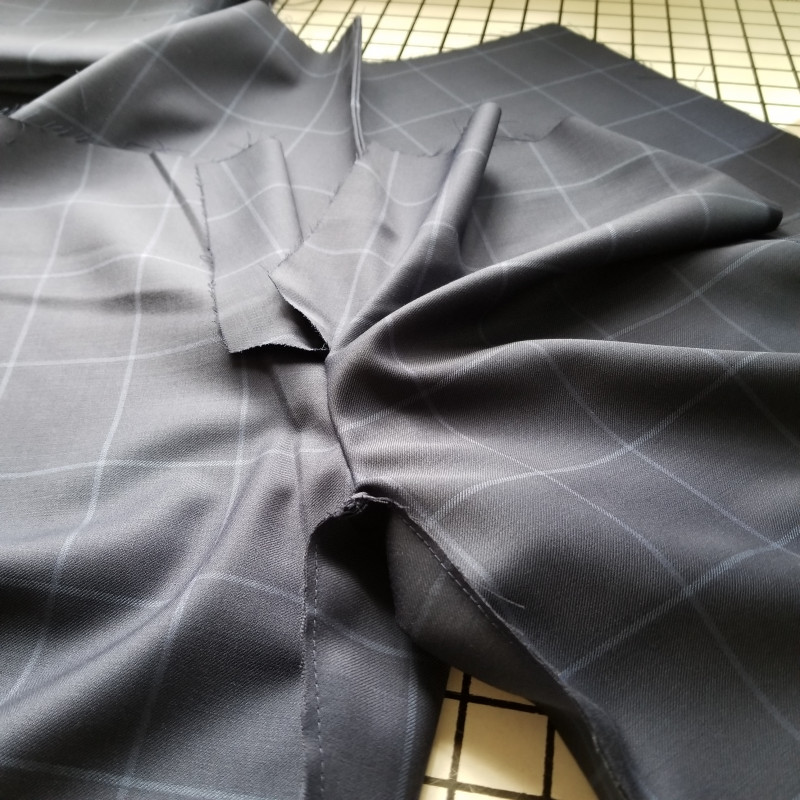
Step 3
Now, connect the front and back pieces at the sides and inseam using a french seam.
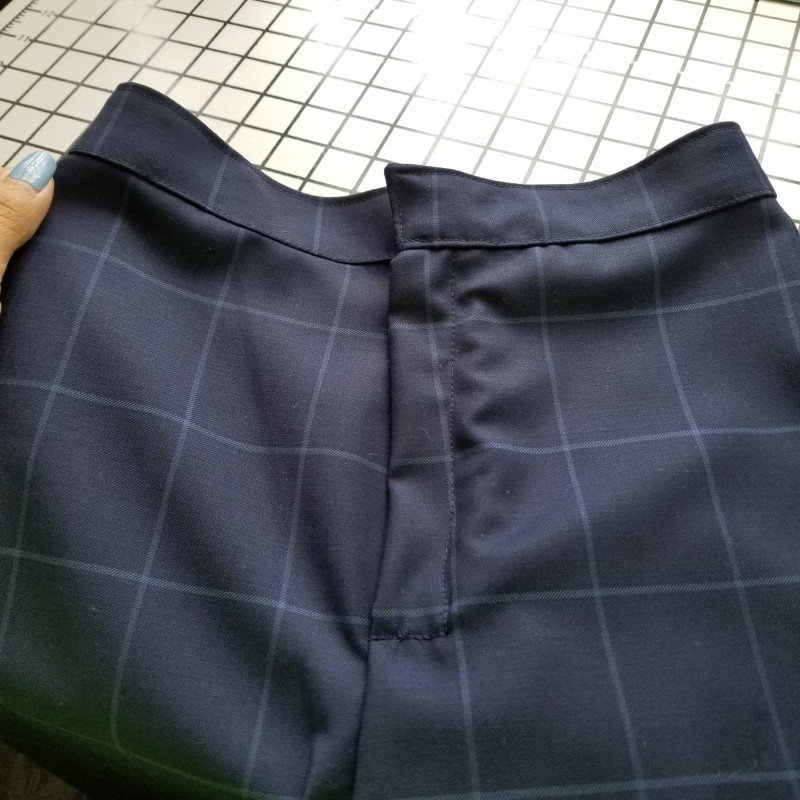
Step 4
Locate your waistband pieces. Use the fusible interfacing to stiffen one side of the waistband. Then sew the waistbands together at the top.
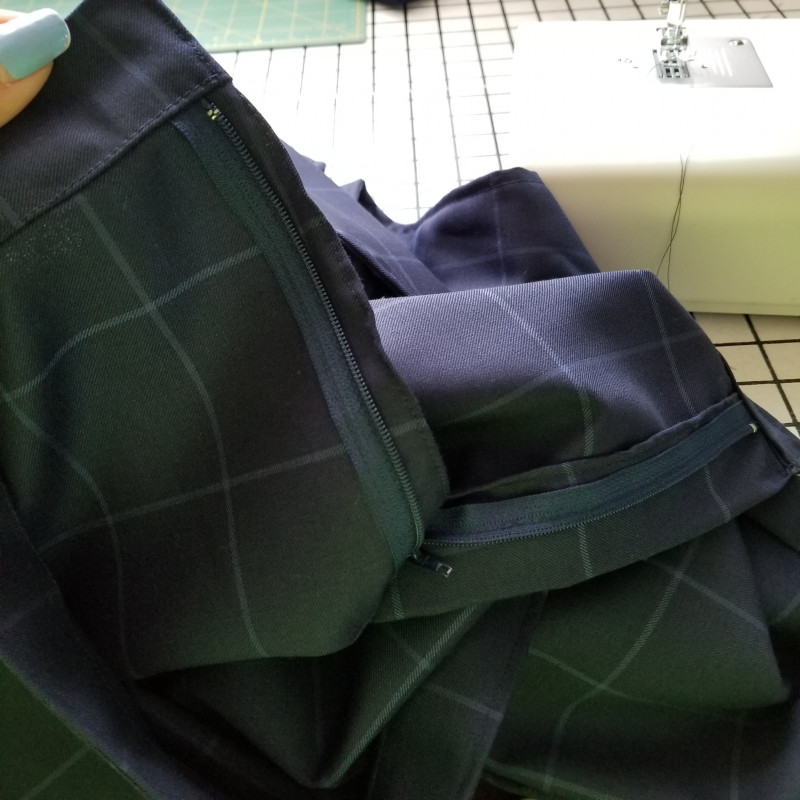
Step 5
Carefully insert your zipper by attaching one side to the built-in zipper guard flap, flat, and the other side to the flap that has been folded in. Top stitch one side into place. Finish the inside edges of the zipper guard carefully, by hand with a small rolled hem. Once the zipper has been successfully inserted you can now attach the waistband.
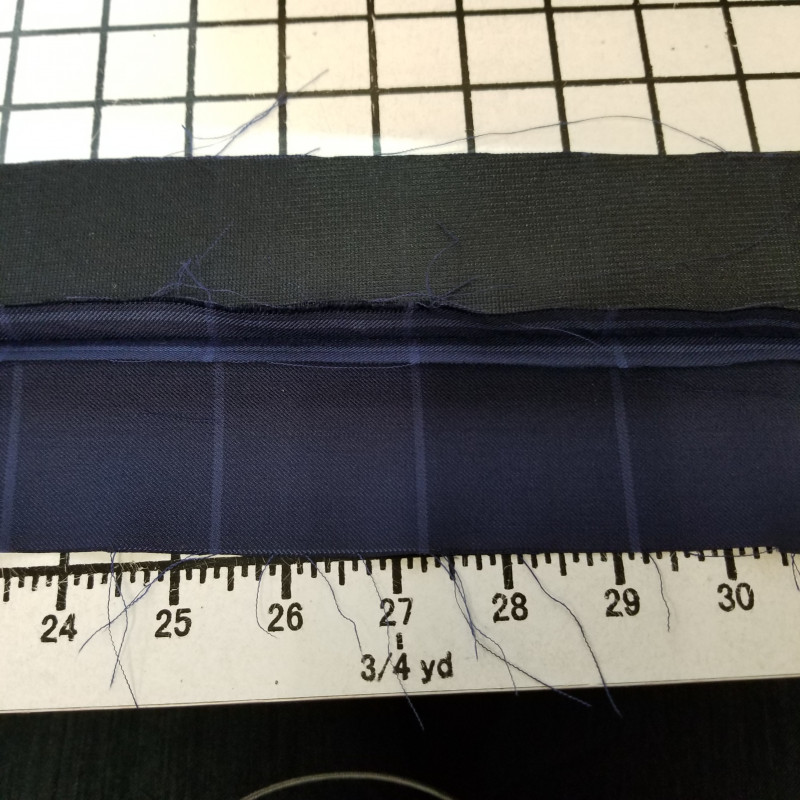
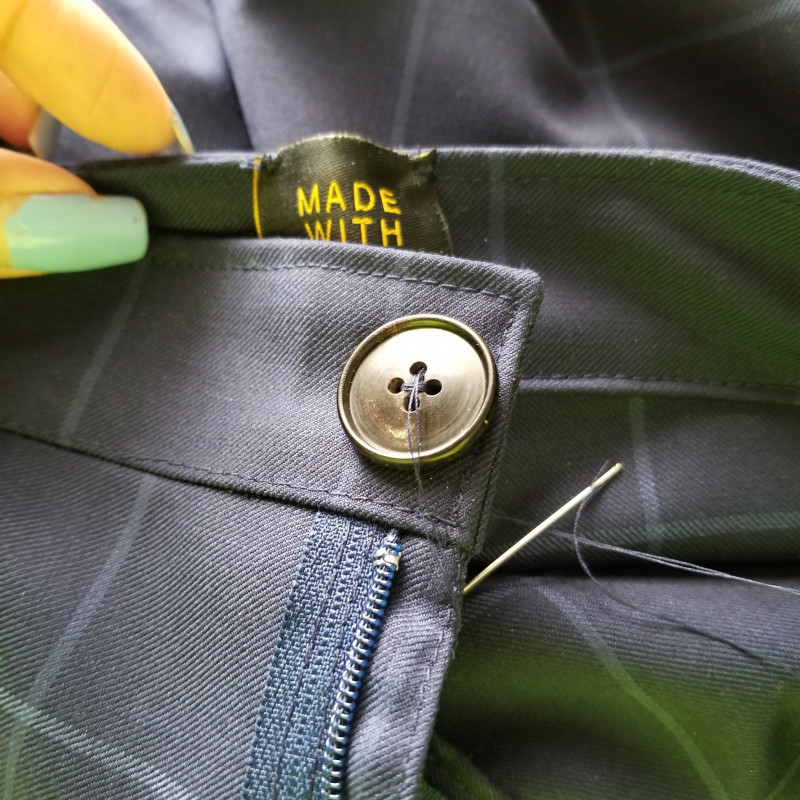
Step 6
Add your button and buttonhole. Complete with a 1″ rolled hem and a “Made with Mood” label at the center back of the waistband. Enjoy!

Bonjour
Where’s the pattern though? The email just sends me back here?
Hi Caroline! The email should send you to a page with a download button, but if it isn’t working for you then email info@moodfabrics.com for the pattern, and they’ll send it directly to you! 🙂
I’m having the same problem. I’ll try the email address. Thank you!
If you’re still having trouble you can email info@moodfabrics.com and they’ll send the pattern directly to you!
Are the measurements in the table for the finished garment?
Hi Emily, the measurements in the size chart are meant to match up with your body measurements. The garment seems to be made with about 1 inch of ease, so I would pick whichever size matches your body measurements most closely and possibly size up if needed.
would love this with pockets
As an alternative, you can download a pocket pattern from one of our other free sewing patterns, then take a look at our youtube tutorial on How To Add Pockets to Any Garment.
Do the fabric requirements vary by size, or do all sizes need 2.5 yards?
This is one of our older patterns/blog posts, so it doesn’t include the recommended yardage for each size. For every size up from a Small, I recommend buying an additional 1/2 yard. For example, if you’re making a size Large, you should buy at least 3.5 yards.
How do I widen the circumference of the leg? Do I slit the leg up from the hem along the grainline (a vertical line) or do I extend the hemline to my desired circumference (yes, I know its half) and draw a line from the end points to where? The full length of the inseam and the full length of the side seam? Or to the hip or crotch depth? Please advise. Thanks
Hi Jacquie, yes you’re 100% right. This method is called “slash and spread” and is used to maintain the same shapes and measurements along the waist and crotch seams while being able to widen the pant leg in any dimension you want. Try using this blog post as a reference for adjusting patterns and let me know if that helps!
I love these pants! I made two already. One short and one long, with pockets. I am a size 28 and the 28/30 pattern fits very very well, with a little give. Only had to adjust a bit of the waist size.
The full pattern is on the longer side for the plus-size. I am 173cm (about 5’6) and it is LONG. I cut on the smaller size hem line to have a culotte look like the picture.
I finished the waistband on the inside with bias tape so there is no visible stitching on the outside. The pockets were also fairly easy to add on to the pattern.
I used 2m for the shorter version, and a little less than 2.50m for the longer one.
Thank you for this pattern!